10 Best Exterior Color Ideas for Stucco Houses: Review
Made from a mixture of lime, cement, sand, and water, stucco exteriors not only add great charm to your home’s curb appeal but also increase its durability. It withstands the harshest weather conditions while ensuring no stone is left unturned in attracting eyeballs.
The Spanish-style homes are all about giving you the exotic vibes of having a relaxing time at a majestic beach.
Wondering about the exterior color ideas for stucco houses? Here comes your answer.
To refresh your house’s exterior, the colors that best complement the stucco lie more on the neutral palette, but bold colors don’t hurt, too, unless they have a high LRV (light reflective value) to preserve pigment from fading. Our top three picks are White, Gray, and Beige.
We have compiled a list of 10 exterior color ideas for stucco houses that can be your source of inspiration.
At the end of the blog, I’ve also revealed my favorite color for stucco exterior that enhances the curb appeal and gives you a whopping 51% to 55% increase in the ROI of the investment.
Have a wholesome ride with me!
Best Exterior Stucco Paints, 2022
1. The Unbiased Neutral
Neutrals are a perfect way to give your home a nonjudgmental look. They blend perfectly with the surroundings and can help you accessorize your homes. The pretty big palette of neutrals offers you a plethora of shades to pick from the line, including brown, gray, white, and even blue and green.
Our Top Pick:
Montage Signature Interior/Exterior Eco-Friendly Paint, Riverstone, Low Sheen, 1 Gallon

Features to Love:
- A wide array of neutral palette
- Easy to clean
- Great price for durability
- Defends against mold and mildew
- Can be used on both interior and exterior surfaces
- Backed by 10 years warranty
2. The Pearl Sophistication
Looking for something to brighten up the home and lighten the mood? Go for an off-white hue. The off-white color gives a pearly vibe while fetching more eyes. Having your doors and windows painted in a dark color completely transforms the game, and your house becomes magnetic just like that!
Our Top Pick:
Romabio Masonry Textured, Italian Mineral Paint For Brick, Stone, Stucco & Cement, Richmond White, 15L/4GAL

Features to Love:
- Beautiful off white with gray undertones
- High UV resistant for color fade
- High performing
- Allows bricks to breathe
- Suitable to be used both inside and outside the house
- Backed by 20 years of warranty
3. The Timeless Earthy
From red sun to cloudy gray, rustic green, and soil-brown, earthy colors add more passion and a vintage vibe to stucco exteriors. With earthy colors, imagine the lighter accents for doors and windows. With this contrast, your house is surely a showstopper in the neighborhood.
Our Top Pick:
Diamond Brite Paint 1 Gallon Oil Based Enamel Paint in Chestnut 32350-1
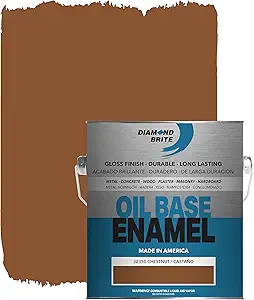
Features to Love:
- Chestnut color feeling close to nature
- Excellent to use on multiple surfaces
- Easy to clean
- Finishes with a durable surface
- Resists fading, peeling, cracking, and scuffing
- Good value for money
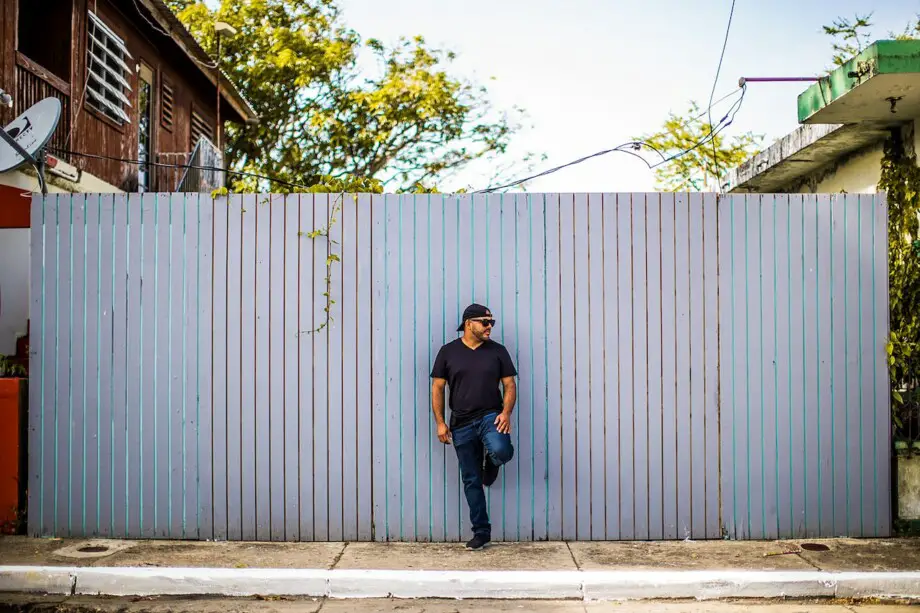
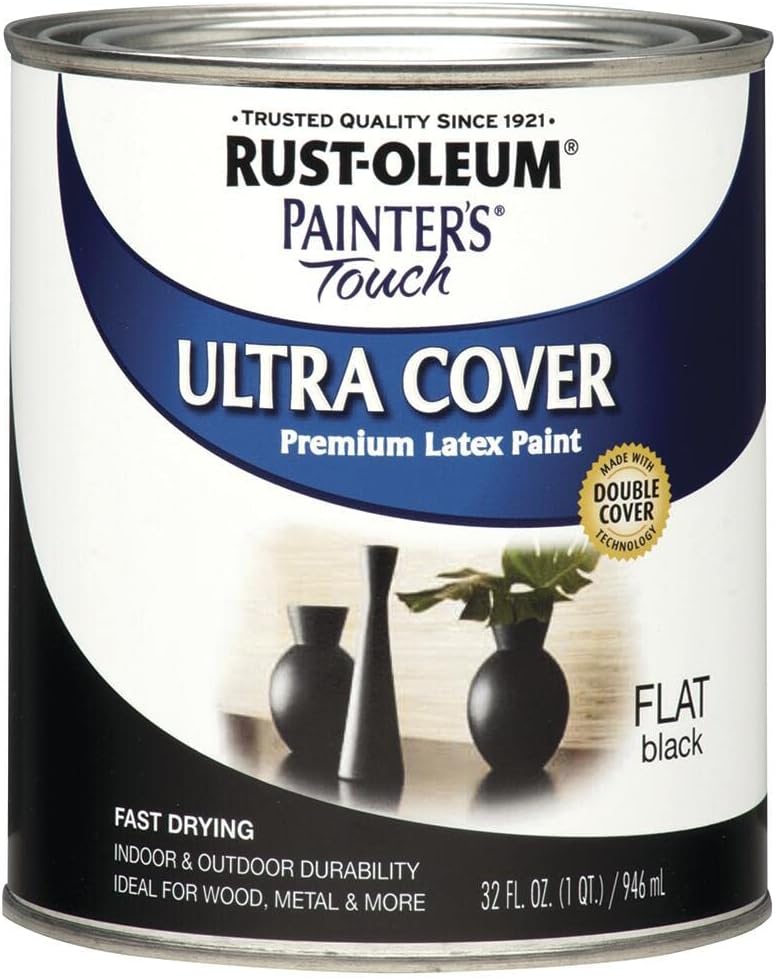
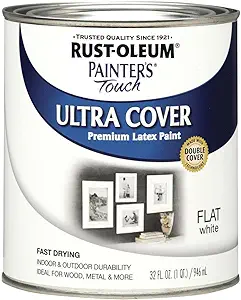
4. The Chessboard Pop
White walls and black wood works… most eyes won’t stop drooling over the combination. The right contrast pays, and that’s just the case with the combination of classy yet timeless white and black. Both of these are modern stucco house colors that make your home pop.
Our Top Pick:
Rust-Oleum Zinsser 31.5 fl oz. PermaWhite Exterior Semi-Gloss

Features to Love:
- Easy to clean with soap and water
- Great price for durability
- Mold and mildew proof
- Self-priming formula
- Resists dirt and moisture
- Odorless paint
- Backed by 5 years of mild-proof warranty
5. The Low-Maintenance Hues
The list of high-maintenance things is already too long to add another. Darker shades may give a vintage vibe but tend to show more dirt and fade away easily. On the other hand, medium shades like tan, beige, taupe, light blue, and light green last longer and hide dirt rather than making it visible.
Our Top Pick:
Montage Signature Interior/Exterior Eco-Friendly Paint, Riverstone, Low Sheen, 1 Gallon
Features to Love:
- A wide array of neutral palette
- Easy to clean
- Great price for durability
- Defends against mold and mildew
- Can be used on both interior and exterior surfaces
- Backed by 10 years warranty
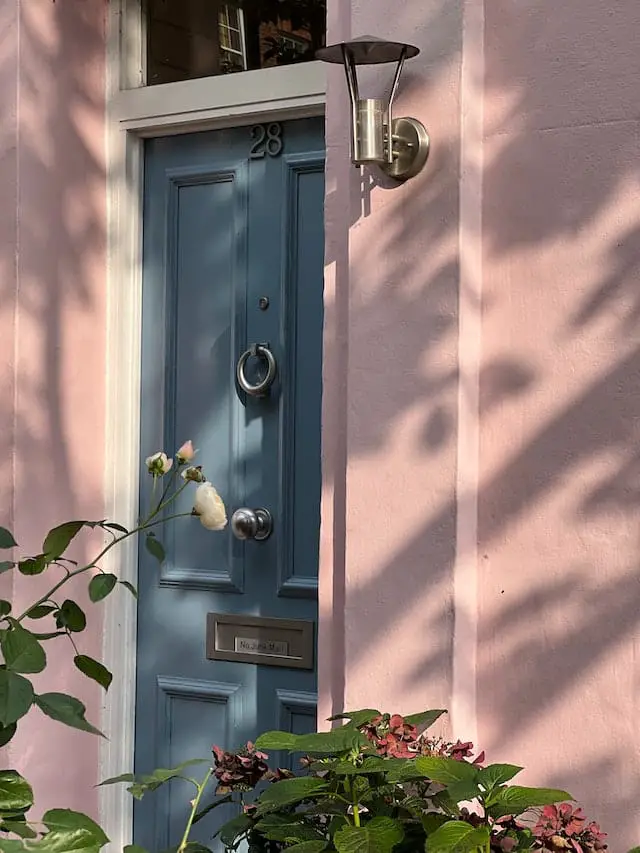
6. The Shy Pink
Light pink is a great way to add brightness and delicacy to the curb appeal without going too bold. It’s one of the best stucco paint colors that add depth to your home while keeping it on the neutral side. It makes you refreshed and updated.
Our Top Pick:
Prestige Paints Exterior Paint and Primer In One, 1-Gallon, Satin, Comparable Match of Valspar* Western Pink

Features to Love:
- A shade of terra cotta complimenting your plants
- Paint and primer in one
- Little to no smell
- Low UOV
- Excellent coverage (just one coat needed)
- Easy to clean with soap and water
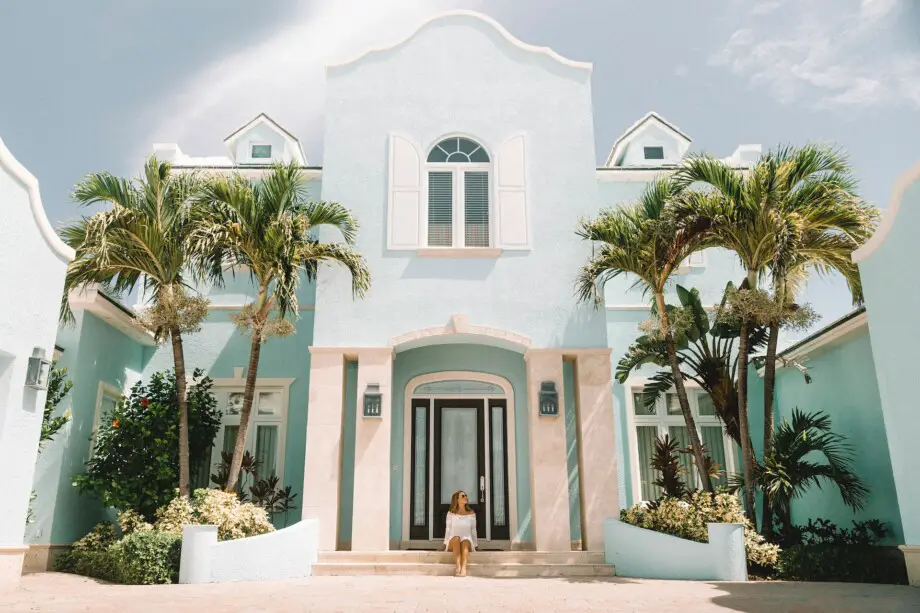
7. The Modest Blue
Did you know that people who live in blue houses are the most successful ones? They say blue keeps the spirit away, and blue doors represent prosperity. But my thinking about blue stucco house colors is that they give a charming vibe and are an attractive way to use monochromes with lighter walls and darker doors and windows.
Our Top Pick:
Diamond Brite Paint 1 Gallon Oil Based Enamel Paint in Ocean Blue 32550-1

Features to Love:
- Deep ocean blue color
- Excellent to use on multiple surfaces
- Easy to clean
- Finishes with a durable surface
- Resists fading, peeling, cracking, and scuffing
- Good value for money
8. The G for Genuine
Or gray? When they say less is more, this is what I envision. The epitome of class and timelessness, gray translates to genuine cohesiveness and enhances the features of your home’s exterior, especially when combined with bricks and stones. It gives you the feeling of a warm and bright poetic day.
Our Top Pick:
1 Gallon Oil Based Enamel Paint in Silver Gray 32200-1
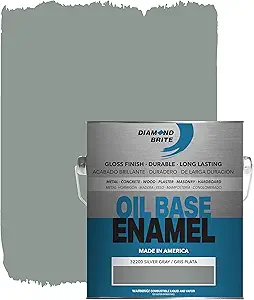
Features to Love:
- Silver-gray color with high-gloss finish
- Excellent to use on multiple surfaces
- Easy to clean
- Finishes with a durable surface
- Resists fading, peeling, cracking, and scuffing
- Good value for money
9. The Evergreen Green
When it comes to green, the options are just endless. In fact, the list of best exterior paint colors for stucco houses is incomplete without green. From black forest green to olive green, gray-green, deep-bluish green, or lime green, the color represents the sweetest earthy contrast with the light blue sky at the horizon when seen from afar.
Our Top Pick:
Glidden Exterior Paint + Primer: Green/Luscious Lime, One Coat, Satin, 1-Gallon
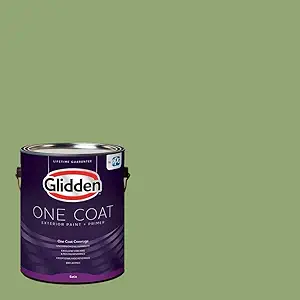
Features to Love:
- Hand-picked beautiful green color to especially compliment exteriors
- Excellent resistance to peeling and cracking
- Uncompromising durability to withstand harsh weather
- Just one coat needed
- Self-priming paint
- Available in different finish types
10. The Pacific Oyster
Have you ever seen a Pacific oyster? Irresistible brown with hints of white, making a mixture of awe. Now imagine your house’s exterior with this combination of oyster-brown sidings with white trims and shutters. This is one of the most used stucco and trim color combinations that highlight your home in the neighborhood. Moreover, don’t forget to add a touch of gold with metallic work like door knobs for more luster (ensure not to overdo it).
Our Top Pick:
Glidden Exterior Paint + Primer: Brown/Peppered Pecan, One Coat, Flat, 1-Gallon

Features to Love:
- Pecan brown resembling oyster
- Excellent resistance to peeling and cracking
- Uncompromising durability to withstand harsh weather
- Just one coat needed
- Self-priming paint
- Available in different finish types
A Little Heads Up Before Starting
Your homes take all the wrath nature has to offer. So before you start painting your stucco houses, make sure you use the right paint and follow the right steps for lasting durability.
Here are certain things you should consider before you tread on the journey.
- Use paints with a high LRV (light reflective value). LRV is a factor that maximizes paint’s fade-resistant property by reflecting more UV radiation. The better the LRV, the longer the pigments will be preserved.
- Do not use interior colors on the exterior stucco surfaces, as their LRV is low, and they will fade away faster than you can think.
- For even better results, use a primer before painting the stucco exterior for a flawless and durable finish.
- Stucco repair is a crucial preparation that goes without saying. All holes and cracks need to be filled prior to refurbishing your exterior to get a smooth finish and let the paint dry well.
- Wash your homes to remove dust, dirt, and contamination to avoid it from getting into your paint.
Best Exterior House Color for Stucco – My Secret to Added 51% to 55% ROI
There is no debate when it comes to choosing just ONE color from the stucco designs gallery. It enhances your curb appeal, makes it appear neat, and stands the test of time. The most popular exterior color that lets you cash out the maximum is White walls with black doors and window sills. Read The Chessboard Pop from our list of best exterior stucco paints in 2022.
FAQs
What colors look good on stucco homes?
Stucco exteriors give a plethora of color options to choose from. Make sure you use a paint that has a high light reflective value (LRV) to minimize fading. Most colors that favor stucco surfaces are white, off-white, gray, and beige. But bold and bright colors always add that much-needed pop and are a favorite for many.
How do you modernize a stucco exterior?
Repainting your stucco exterior is the perfect way to modernize your homes and make them appear trendy. Make sure to pressure wash your exterior and fill in all the cracks and holes for a smooth finish.
How do you pick stucco colors?
When selecting colors for the exterior of your house, consider how they will relate to the roof, landscaping, and permanent fixtures on or around your house. If you have a black or gray roof, consider using gray, blue, or white. For a brown or dark tan roof, consider tan, brown, red, green, or cream colors for stucco.
What exterior color homes sell for the most money?
The neutral shade card is likely to sell for the most money. Most buyers are looking for homes where it is easy to give a touch of personalization without getting into too much hassle. So if your purpose is to make it to the listings, be sure to go neutral or, best of all – white.
How often should stucco be repainted?
Stuccos are ideally known for their durability, but they are not indestructible. It is best advised to repaint your stucco houses every 5 to 10 years to avoid your hairline cracks becoming larger and keep your home in a neat shape. Keeping your house’s exterior well-maintained by washing it and repairing the damages annually can increase the paint’s durability.
Exterior Color Ideas for Stucco Houses – Summing it Up!
A well-painted stucco house gives a welcoming and warm vibe – or, as they say, HOME! For the best stucco paint colors, you can choose anything from earthy colors to lighter hues and even bold and bright. You can go for various options taking into consideration your mood, surroundings, and other factors mentioned in the blog.
Let us know in the comments below about the color you chose for your stucco. May be upload a picture too 🙂