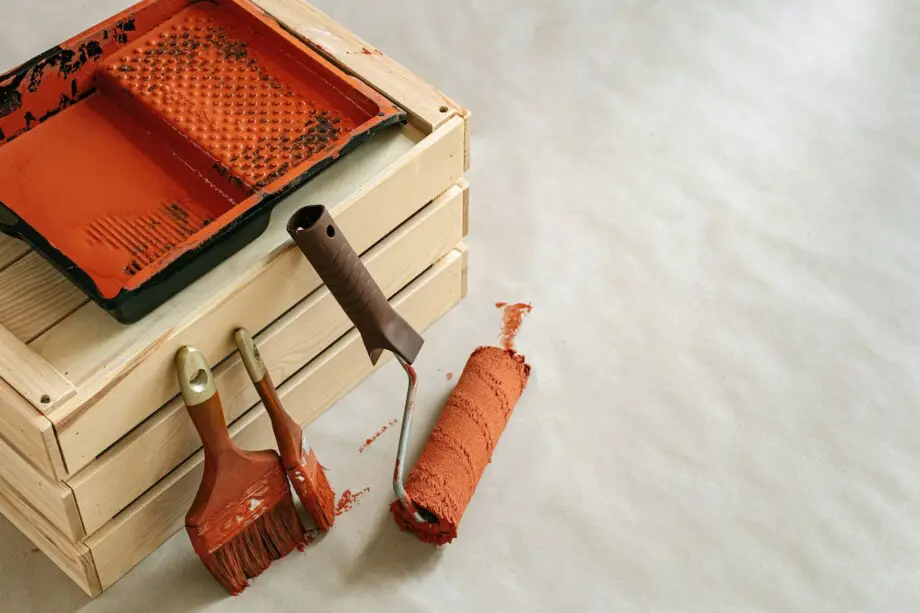
How Long Does It Take for Oil Paints to Dry
Delving into the world of oil painting is an exciting journey, with its vibrant colors, rich textures, and endless possibilities. Yet, as your brushes dance across the canvas, leaving trails of creativity in their vibrant wake, one question lingers in mind: How long does it take for oil paints to dry?
The short answer to this query is that oil paints require more drying time than regular paints, taking anywhere from 6 to 8 hours for surface dryness and a day to a week for touch dryness. They must cure for several months before they can be polished and framed.
In this article, we will explore the drying time of oil paints, factors influencing the duration, and helpful tips for maneuvering this beautiful medium.
It’s time to grab your brushes and join us as we navigate the sticky, gooey, and somewhat mysterious journey of answering the age-old question: How long do oil paints take to dry?
Spoiler alert: it’s slower than your favorite pizza delivery, but it’s worth the wait!
What is the drying process of oil paints called?
First, it’s essential to comprehend how oil paints dry. They dry by a process known as oxidation, in which the paint’s oil and the oxygen in the air combine to form a solid coating that solidifies.
This technique differs from watercolors or acrylics, which dry through evaporation.
Due to the slow-drying nature of oil paints, artists have more time to blend colors and create intricate details in their artwork.
What are the different phases of drying?
Navigating the drying time of oil paints is an art in itself. They go through different stages: a delicate touch-dry phase, a surface-dry intermission, and finally, the big reveal of a completely dry masterpiece.
Let’s get some in-depth information about these phases before diving into the factors influencing the drying period.
- Surface Dry:
Oil paint usually appears dry on the surface after a few hours or overnight. Although the cover may feel tacky at this stage, it won’t easily smudge. You can safely handle these partially dried paintings but still need to be cautious to avoid accidental damage.
- Touch Dry:
Touch dry refers to a point where the surface is no longer tacky to the touch. Depending on the thickness of the application, this stage can take anywhere from 1 to 5 days. It is recommended to wait until this stage before applying additional layers or varnishing the artwork.
- Completely Dry:
Complete drying can take weeks to months, especially for thickly applied oil paints. During this time, the paint undergoes a chemical process known as “curing,” during which the oil fully oxidizes and hardens.
You must exercise patience and allow sufficient drying time before final varnishing, framing, or exhibiting your artwork. Remember, patience is the key that transforms sticky potential into a finished canvas, proving that good things, like art, come to those who wait.
In addition to being well-known among artists, oil painting is popular with people of all ages and occupations. But remember, safety is key, especially if you’re sensitive to certain materials. Check out our blog for essential safety tips before starting your project.
What factors affect the drying time?
Unlocking the secrets of oil paint drying times is key to stunning artwork. Variables like humidity, temperature, pigment density, and the thickness of applied layers all come into play to manipulate the drying time of oil paints.
- Pigment Density
Achieving vibrant colors in oil painting often involves a delicate balance. While higher pigment density enhances color intensity, it’s essential to be mindful that this richness may extend the drying time. Experimenting with different pigment concentrations will allow you to strike a harmonious balance between color vibrancy and efficient drying.
- Paint Thickness
The thickness of applied layers plays a pivotal role in the drying process. Opting for thinner layers speeds up the drying time, reducing the risk of smearing or cracking. Aim for a balanced application steering clear of excessively thick applications that could slow down the drying time.
- Humidity and Temperature
The external environment significantly influences oil paint drying times. Higher humidity levels can slow down the oxidation process, prolonging drying time. On the other hand, low humidity and warm temperatures can accelerate drying. Artists living in humid climates may need to plan accordingly and provide ample drying time for their artworks.
- Drying Methods
Oil painting comes with a drying secret: you can control it! Artists use mediums like solvents and oils to change the paint’s texture and speed up drying. Alkyd mediums, for example, are like turbochargers for getting your paint dry faster and adding unique effects to your artwork.Experimenting with different drying methods allows you to tailor your approach based on the desired outcome.
Tips and techniques to increase or decrease drying time
Embarking on the oil painting journey unveils a world of color and texture. However, mastering this art requires understanding the nuances of increasing or decreasing the drying time.
Let’s delve into the tips and tricks that will either accelerate the drying clock or allow you the chance to paint at your own terms.
- Drying Retarders: Incorporating drying retarder additives into your oil paint extends the drying time, giving you more flexibility for intricate blending and detailing on canvas. Experimenting with different proportions of retarders allows you to fine-tune your desired drying pace and offers a versatile tool for when you plan to work over extended periods.
- Thinning Agents: Thinning agents like turpentine or mineral spirits allow oil paints to dry more quickly. You can incorporate these agents into the painting process to achieve faster drying times, mainly when working in layers or using glazing techniques. Though often used interchangeably, thinner and turpentine have distinct roles in the oil painting world. Browse our article on thinner vs turpentine to get a detailed insight on these agents.
- Proper Ventilation: Establishing good airflow in your studio space facilitates your well-being and promotes faster drying times for your artwork. Adequate ventilation prevents the accumulation of solvents’ fumes, ensuring a healthier working environment while expediting the drying process for your oil paintings.
- Controlled Environment: Utilizing dehumidifiers or air conditioning units allows you to create an optimal environment for controlling drying times. By managing humidity levels, you can fine-tune the pace of oxidation, ensuring that paintings in progress dry efficiently. This method proves especially beneficial for artists working in regions with fluctuating environmental conditions.
- Leaner Paint Mixtures: Opt for paint mixtures with reduced oil content to accelerate the drying time while introducing subtle changes to the paint’s texture. Finding the right balance in oil-to-pigment ratios allows you to strike a harmonious compromise between efficient drying and preserving the desired characteristics of the paint.
- Pre-Primed Surfaces: Choose pre-primed surfaces specifically designed for oil painting, which can significantly reduce drying times. These mediums often contain additives that expedite the oxidation process without compromising the quality of the paint. You can also apply a thin layer of acrylic gesso as a base. This provides a more absorbent surface, allowing the paint to dry faster.
- Heat Guns or Hair Dryers: For artists seeking immediate drying in specific areas of their artwork, using heat guns or hair dryers on low heat settings can be effective. Caution is advised to prevent overheating or adverse effects on the paint, but wise use of these tools allows for targeted drying in localized sections.
Frequently Asked Questions
Can oil paints be used on different surfaces?
Yes, oil paints are versatile and can be used on multiple surfaces such as canvas, wood, paper, and even specific prepared panels, allowing you to explore diverse artistic expressions.
How should I store my oil paints?
Store oil paints in a cool, dry place, away from direct sunlight and extreme temperatures. Keeping the paint tubes tightly closed and stored upright helps maintain their quality over time.
Can oil paints be mixed with other types of paints?
While oil paints are traditionally used on their own, they can be mixed with certain types of paints like acrylics or alkyds. Still, it’s essential to consider the compatibility of drying times and characteristics to achieve the desired results.
Do oil paints have an expiration date?
Oil paints generally have a long shelf life but can become unusable over time. If paints develop an odd smell, mold, or an unusual texture, it’s advisable to replace them. Properly stored, high-quality oil paints can last for many years.
How do I clean my brushes after using oil paints?
You can clean oil paint brushes by wiping off excess paint, then using a solvent like mineral spirit or turpentine to remove the remaining paint. Finish by washing the brushes with soap and water to ensure they are thoroughly clean and ready for future use.
Conclusion
Oil paints are a vibrant world of color and texture, but they have a mind of their own when it comes to drying. This can take anywhere from a few hours to several months, depending on various factors.
Whether you’re a seasoned artist or just starting out, understanding these factors and the tips and tricks mentioned above is key to achieving optimal results with every stroke. So, grab your brushes and happy painting!