
How to Use a Paint Edger: Step-by-Step (No Smears)
This post contains affiliate links. As an Amazon Associate, we earn from qualifying purchases.
To use a paint edger, load the pad lightly, wipe the excess back onto the tray, and pull one short straight pass with the guide wheels riding the surface. Lift before the pad runs dry. BEHR’s own instructions add one rule: always stroke in one direction.
The wheels are the whole trick. They hold the pad a fixed distance from the trim or the ceiling line, which is why the edge comes out straight even when your hand doesn’t. Get paint on those wheels and the how to use a paint edger question starts drawing a second line beside the one you wanted.
What follows is the six-step sequence, the four edge conditions where a pad beats a brush, and the one point the sources haven’t settled: whether an edger really replaces tape.
Key Takeaways
- Load lightly and wipe the excess back onto the tray. An oversoaked pad pushes paint under the guide.
- Wheel contact is the one thing the sources split on. BEHR says tight to the surface; Renovation Range says clear of the wet film.
- Stroke in one direction, and follow the grain on any wood surface.
- Skip the edger on deep texture, loose coating and inside corners. Brush, tape or repair first.
- Test the coating on scrap before it goes anywhere near a finished wall.
What a Paint Edger Does, and Where the Wheels Come In
The BEHR Edger Painter is a flocked pad on a short handle with guide wheels at the leading edge. Those wheels do the work. They hold the pad a fixed distance from the trim, the ceiling line or the baseboard, so the wet edge lands where you aimed it.
A paint edger is a flat pad applicator with a guide system running along one edge. The guide holds the pad a fixed distance from a straight boundary while the wet film sits against that boundary. Line quality depends on pad load, surface flatness and stroke speed more than on the tool’s shape.
BEHR’s pad resists shedding and is reusable with BEHR Edger Refill Pads, so the handle outlives the pad. The company lists the tool as compatible with all paints and stains. You can read the full spec on the BEHR Edger Painter product page.
Here’s what the tool won’t do. Renovation Range is direct about the limits, and the list is short:
- Deep texture. Texture can lift paint into the pad or leave gaps along the boundary.
- Loose, chalky or damp coating. Fix the adhesion or moisture problem before a finish coat goes near it.
- Uneven plaster. Repair first, edge second.
- An inside corner where two wet planes meet at an angle. That’s a brush and a controlled cut-in.
A pad that’s running dry starts skipping the surface. You’ll hear it before you see it.
My own kit is one edger and one angled brush. Everything else in that drawer is a maybe.
How to Use a Paint Edger: The Six-Step Sequence
Six steps, in this order: load, wipe, seat, pull, lift, reload.
- Remove loose fibers from the pad. A stray fiber from a new flocked pad lands in the finish, and you’ll be picking it out of wet paint with a fingernail.
- Float the pad into the paint until the white fibers are coated, keeping the wheels clean while dipping into the tray. Paint on a wheel is the start of a second line.
- Wipe the excess off on the tray rim. BEHR’s instruction is blunt: do not oversoak the pad.
- Set the edger down with the wheels adjacent to the surface you’re cutting against. Wheels off the wall and the pad drifts, and a drifting pad wanders.
- Slide with moderate pressure in one direction. BEHR says wheels tight to the surface. Renovation Range says keep the guide away from wet paint. That conflict gets its own section below.
- Lift before the pad runs dry. A dry pad skips, and a skipped pass leaves a ragged edge you’ll be sanding back.
On wood, BEHR overrides its own one-direction rule: stroke with the grain. The grain wins.
Plan your cutting in walls work before you open the second can, then roll while the film is still open.
Which Edges Get the Pad and Which Get a Brush
Four edge conditions decide whether the pad or the brush gets the job.
| Edge condition | Tool that works | Why |
|---|---|---|
| Smooth wall beside a straight ceiling | Edger, tested first | A flat pad lays a narrow even strip when the edge is stable |
| Clean baseboard on a smooth wall | Edger or angled brush | Either one keeps the guide off the wet paint |
| Deep texture, loose coating, uneven plaster | Brush, tape or repair first | Texture lifts paint into the pad and leaves gaps |
| Inside corner where two planes meet | Small brush, controlled cut-in | Most edgers don’t sit cleanly in a changing angle |
That breakdown comes from Renovation Range’s guide to using a paint edger without smearing, and it matches what I’ve seen on the job. The pad wins wherever the boundary is straight and the surface is flat. It loses everywhere else.
Easy to miss: A crumb under the pad. Renovation Range notes that a bit of dust or grit on the strip makes a clean-looking pass wobble, and you won’t spot it until the paint dries.
Wipe the strip with a damp rag before the first pass. That’s the whole fix.
For the edges the pad can’t reach, an angled brush does the work, and the brushes for edging question is mostly about stiffness and width rather than brand. If the ceiling line is the one giving you trouble, the habits that help you keep paint off ceiling apply here too: short strokes, thin film, and a wet edge you can still see.
Does a Paint Edger Replace Painter’s Tape?
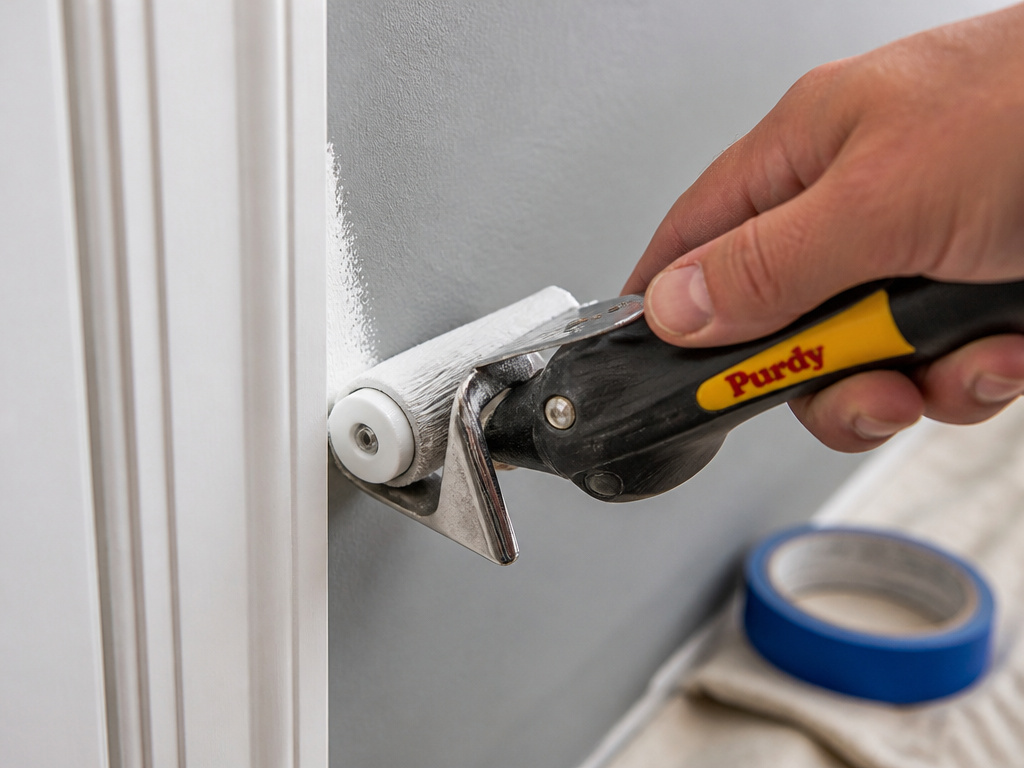
BEHR markets the Edger Painter as eliminating the need to tape around moulding and trim. Renovation Range says a paint edger doesn’t make taping, masking or surface repair unnecessary in every room, and recommends masking when a clean line matters more than speed.
Both statements describe the same tool, and they don’t reconcile. The honest reading is that an edger removes tape from the long, straight, smooth runs and leaves it in place everywhere the surface gets complicated.
Where the Two Sources Actually Split
BEHR’s claim is a product claim, made on a product page, and it holds for the case the tool was designed around: a straight boundary on a flat wall. Renovation Range’s counter is a technique claim, and it’s the one that survives contact with a real room.
Both are answering different questions.
I keep a roll of tape in the room even when the edger is doing the work. The long runs don’t need it. The one edge where a wobbly line would bother me every time I walk past it does.
If you’d rather skip tape entirely, the cut in without tape approach is worth learning alongside the edger, because the two skills cover the same ground. When tape is the better call, crisp tape lines come down to pressing the edge down hard and pulling the tape at the right angle.
Why Does My Edger Leave a Second Line or a Smear?
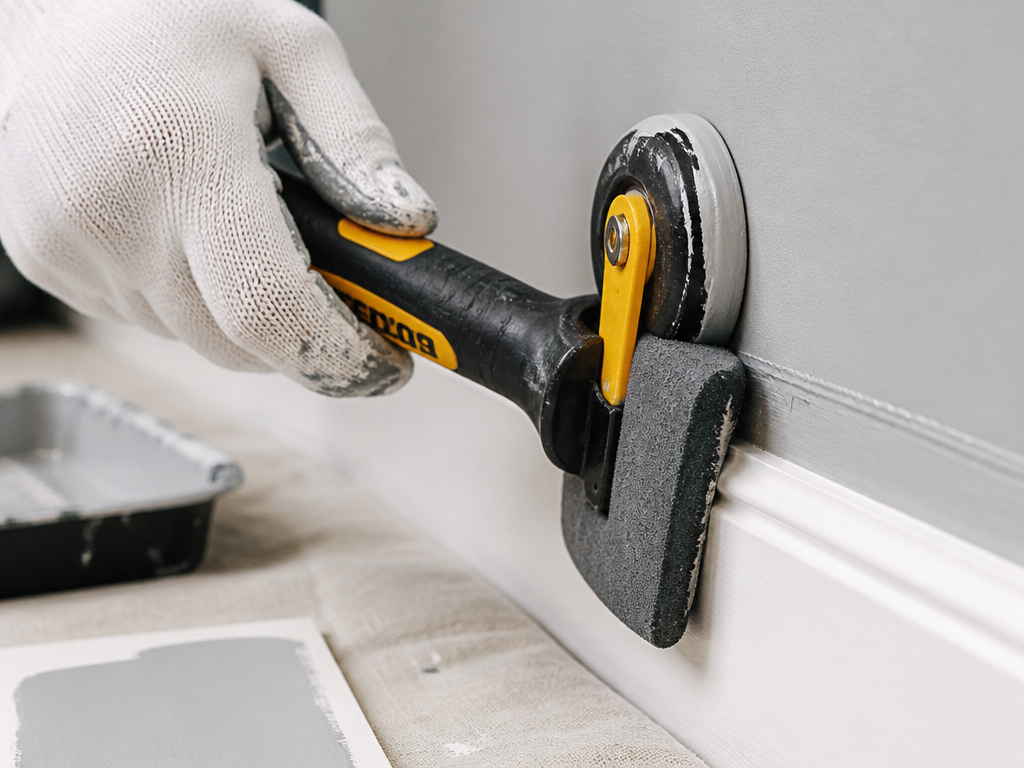
You pull a pass along the baseboard, lift the pad, and there it is: a thin second stripe riding just above the line you wanted.
That stripe is thin and glossy, sitting just above the boundary.
Now the scrap comes first, every time.
Renovation Range makes the same point in one line: test the pad on a scrap surface to see whether the coating releases as a thin film or leaves a heavy edge.
The Stripe Beside the Line
This is where the two sources genuinely disagree. BEHR says to slide the edger with the wheels tight to the surface. Renovation Range says to keep the guide wheels away from wet paint, because a wet wheel prints a second line beside the edge.
Both describe the same physical limit from different sides. The wheel has to register against something solid, and it has to stay out of the film. On a clean, dry trim face those are the same instruction. On a wall where paint has crept up to the guide, they aren’t.
| What you see | Likely cause | Fix |
|---|---|---|
| Thin second stripe above the line | Wet paint on the guide wheel | Wipe the wheels, reload lighter |
| Paint squeezed under the guide | Pad oversoaked | Wipe the excess on the tray rim |
| Ragged, skipping edge | Pad ran dry mid-pass | Lift sooner and reload |
| Heavy ridge at the boundary | Coating too thick or pad pressed hard | Test on scrap and ease the pressure |
Where this goes sideways: Reloading without wiping the wheels. The stripe reappears on the very next pass, and by the third you’re painting over a line you’ll have to sand out.
If the line is the part you care about most, the habits behind a paint a straight line result are the same ones that keep an edger honest: light load, short pass, lift early.
Why the Roller and the Edger Have to Stay in Step
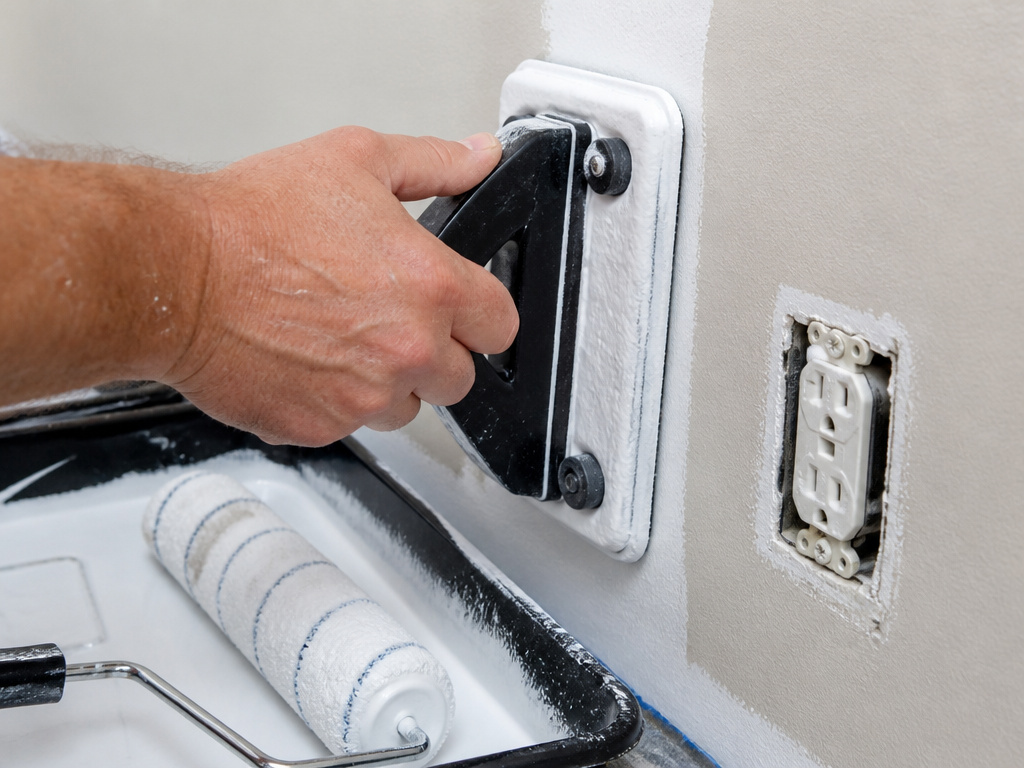
A wet edge is a clock, and the edger and the roller have to stay on the same side of it.
Renovation Range’s guidance here is the practical part most guides skip. Plan the room so the main roller and the edge tool stay close in time, then work in an order that keeps you moving.
- Set a loaded edger on a protected tray, never on the floor or the drop cloth.
- Keep a clean pad for each coating. Wash it as the product instructions require, and don’t carry yesterday’s dried latex into today’s trim enamel.
- Leave a margin around sockets and irregular trim. A brush gets those edges. The pad doesn’t.
- Don’t thin the paint unless the label allows it.
- Keep enough coating on hand for a consistent second coat. Running short mid-wall shows.
Load for a film, not for a puddle. If paint reaches the wheels or squeezes under the guide, the pad is carrying too much and the next pass will tell you.
Rinse it the same day and the fibers stay soft.
The full clean a paint edger routine is worth doing, and it’s the difference between a pad that lasts and one that doesn’t.
Choosing an Edger Without Buying a Drawer Full of Them
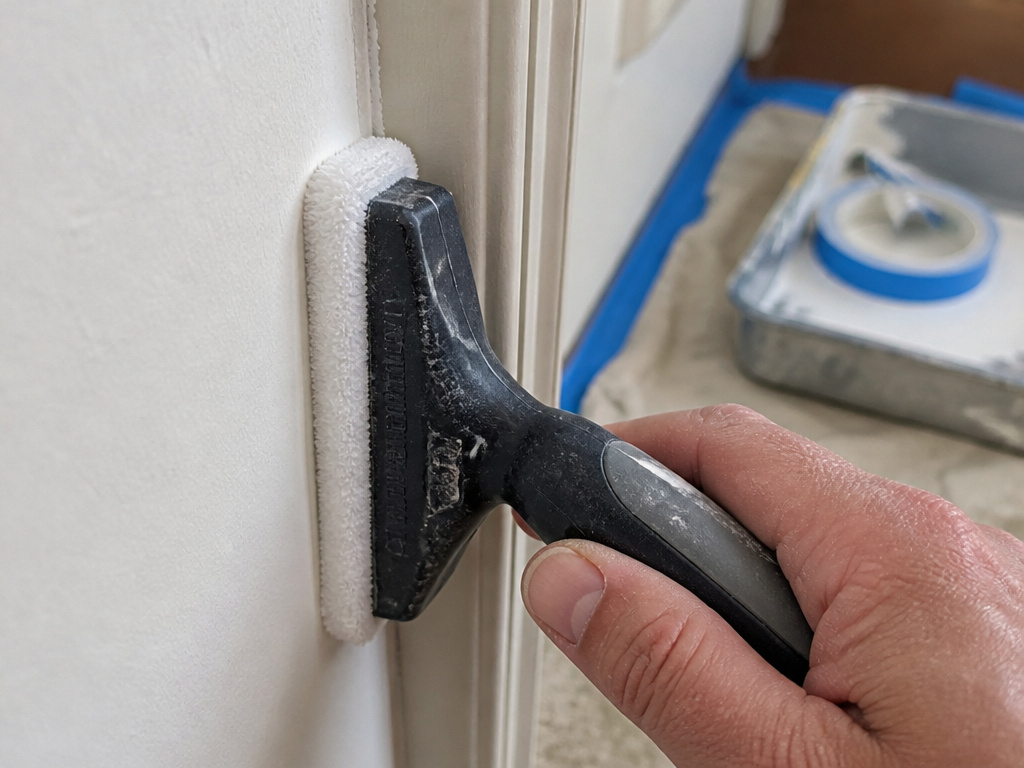
BEHR’s own product page shows a 4.3 out of 5 average from 27 reviews, which is a modest sample but an honest one, and the refill pads mean you buy a handle once instead of a new tool every season.
What I’d Buy First
Frequently Asked Questions
Do I still need painter’s tape if I use an edger?
Sometimes. BEHR markets the Edger Painter as eliminating tape around moulding and trim, while Renovation Range says an edger doesn’t make taping unnecessary in every room. On a smooth, straight run the pad handles it. On texture, patched plaster or a wobbly boundary, tape is faster than a repair.
Can I use a paint edger on textured walls?
Not with the same control. Renovation Range notes that texture can lift paint into the pad, catch it, and leave gaps along the line. Test the exact coating and surface on a scrap first, and expect to brush or tape the worst of it.
How much paint should be on the pad?
Enough to leave a continuous film, not enough to reach the wheels or squeeze under the guide. BEHR’s instruction is to float the pad until the white fibers are coated, then wipe the excess off on the tray and avoid oversoaking.
Should the guide wheels touch the wall?
BEHR says to keep the wheels tight to the surface while you slide the edger. Renovation Range says to keep the guide away from wet paint, since a wet wheel prints a second line. The wheel needs something solid to register against, and no wet film on it.
How do I clean a paint edger pad?
Rinse it the same day, using whatever the pad and coating instructions specify, and keep a separate clean pad for each coating. A pad left loaded goes stiff overnight and stops releasing paint evenly.
Before You Go
Here’s the trigger worth memorizing: if the boundary is textured, chalky or damp, stop. No edger fixes a surface that isn’t ready, and Renovation Range says it plainly, so resolve the adhesion or moisture problem before adding a finish coat.
Your first move this week is small. Pull one pass on a scrap of primed board before the pad goes anywhere near a wall. That teaches you more about load than a page of instructions.
One concession, because everything above about how to use a paint edger assumes a smooth, sound surface. On old plaster, a brush and a steady hand still beat the pad.
