
How to Avoid Paint Bleeding Under a Stencil: Step-by-Step
This post contains affiliate links. As an Amazon Associate, we earn from qualifying purchases.
To avoid paint bleeding under a stencil, use far less paint than feels right: offload the brush on a paper towel, then dab straight down in thin passes. The other two culprits are a greasy or slick surface, and a base coat that hasn’t fully cured.
Cure time is the thread that unravels the rest of it. A finish that feels dry to the touch can still be releasing solvent, and that solvent is what lifts old dyes out of a base coat and carries them up into fresh color. Which explains why a stencil that looks clean on Tuesday can show a pink haze three weeks later, and why knowing how to avoid paint bleeding under a stencil starts with patience.
What follows is the five-cause checklist I run before any stencil: paint load, surface prep, cure time, the chemistry of the new coat, and the film itself. Then the repair paths, because some of these you can’t prevent, only fix.
Key Takeaways
- Offload the brush until it barely marks a paper towel. A loaded brush is a leading cause of a fuzzy stencil edge.
- Degrease, then degrease again. Fingerprints carry salt that kills adhesion, and paint won’t grab where it can’t stick.
- Let the base coat cure, not just dry. Orafol’s data sheet requires freshly painted surfaces to be completely cured before film goes on.
- Bleeding can surface weeks after you finish. Johns Mega Paints puts the window at weeks to months, and lighter topcoats show it worst.
- Skip spray adhesive for flat, smooth work. Burnish the edge with tape instead.
Why Paint Bleeds Under a Stencil in the First Place
Two separate mechanisms produce the same red or yellow stain, and they need different repairs. One is a solvent problem. The other is a catalyst problem. Every troubleshooting guide I’ve read calls both of them bleeding, which is exactly why people fix the wrong one.
Bleeding has two documented mechanisms. A solvent in the new topcoat dissolves soluble dyes or pigments in the original finish, and those dissolved colorants seep up into the fresh coat. Separately, excess or badly mixed peroxide catalyst in a polyester body filler migrates to the surface and discolors the new paint. Both show as a red or yellow cast.
Sherwin-Williams describes the first mechanism as solvent in the new topcoat dissolving soluble dyes or pigments in the original finish. WEG Coatings and Johns Mega Paints describe the second as excess or badly mixed peroxide catalyst in a polyester body filler migrating upward through the new paint. Same symptom, different culprit, different fix.
A third failure gets lumped in with bleeding: paint physically creeping under the stencil edge because there’s too much of it. That one you can fix by taking paint off the brush.
I’ll take the creeping-edge version first, because it’s the one you’ll hit this weekend.
The Brush Is Loaded Like a Frosting Bag
I ruined a repeat run on a cabinet door because I loaded the brush like I was frosting a cake. Paint crept under the edge on nearly every repeat, and by the time I noticed, several rows were trash.
Now I dab the brush on a paper towel until it leaves almost nothing behind, then build color in two or three light passes. Same stencil, same paint, no creep, and that is how to avoid paint bleeding under a stencil.
A properly loaded stencil brush feels like it’s doing almost nothing. You tap, the bristles barely bend, and the color arrives as a thin haze instead of a wet patch. If you can see a wet patch around the stencil opening, there’s too much on.
Loading a stencil brush is like seasoning a soup. You add a little, taste, add a little more. Dump the whole jar in and there’s no way back.
Before you start: Two-component sealers and hardeners sensitize skin with repeated contact, so wear nitrile gloves and keep the stuff off your forearms. Solvent-based coats need real air movement through the room, not an open window two rooms away. And if a paint has to bake to cure chemically, the stencil film comes off first, per Orafol’s data sheet.
How Much Paint Is Actually Enough
- Dip the tip only. A full dip floods the ferrule and paint runs down onto the stencil face.
- Offload on a paper towel until the brush barely marks it. Skip this and the wet edge wicks under the cut every time.
- Dab straight down. A sideways stroke works like a squeegee and pushes paint under the edge.
- Build two or three thin passes, letting each one flash. One heavy coat stays wet longer and finds every gap in the stencil contact.
If you’re weighing a stencil brush vs roller for a big fill area, the brush still wins at the edge and the roller only wins on flat, open space.
Fair warning: I’ve had worse luck with foam rollers than brushes on detailed stencils, because foam holds paint and gives it back unevenly.
Common mistake: Loading the brush and then wiping it on the rim of the jar. The rim leaves a bead of paint right at the ferrule, and that bead drops onto the stencil. You’ll see it as a bloom at the edge.
Is Your Surface Actually Clean Enough for a Stencil?
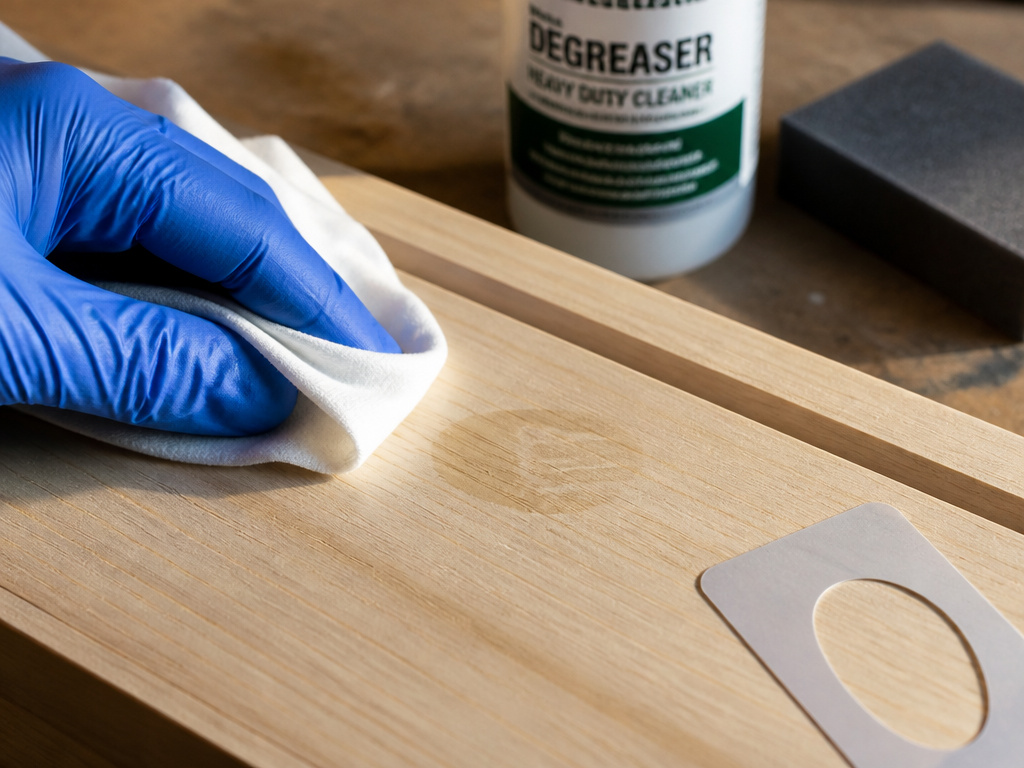
Dust is the easy one. Grease and fingerprints are the ones that survive a wipe-down, and they matter when you compare a how to avoid paint bleeding under a stencil checklist.
Orafol’s data sheet for ORAMASK 813 stencil film says surfaces must be thoroughly cleaned of dust, grease, or any contamination that could affect adhesion. WEG Coatings lists painting over contaminated surfaces as a direct cause of bleeding. Johns Mega Paints goes further and names hand and finger prints as one of the most underestimated risks in the whole process, because skin carries salt from perspiration.
A fingerprint doesn’t announce itself. It sits there looking like nothing until the paint dries over it, and then you get a dull patch where the color won’t sit the same way as its neighbors.
Degrease with every step, not once at the start. That’s Johns Mega Paints’ instruction, and it matters most after sanding, because sanding drives contamination into the scratches you just made.
- Dust: vacuum or tack it off. Compressed air just moves it around the room.
- Grease: degreaser, then a clean water wipe, then dry.
- Fingerprints: nitrile gloves from here on.
- Gloss: scuff with fine grit so the paint has something to bite.
- Silicone: if the piece has ever been near furniture polish, assume it’s contaminated.
On slick furniture, a light scuff with fine grit before the stencil is the difference between a pattern that holds and one that lifts. I skipped that step on one drawer front and the pattern scratched off with a fingernail.
Press the stencil edge down hard once it’s positioned, the same burnishing motion that gives you crisp lines with tape.
Where this goes sideways: Wiping a surface with a rag that already has oil or silicone on it. Silicone spreads, and paint crawls away from it in a visible ring.
Is the Base Coat Really Cured, or Just Dry?
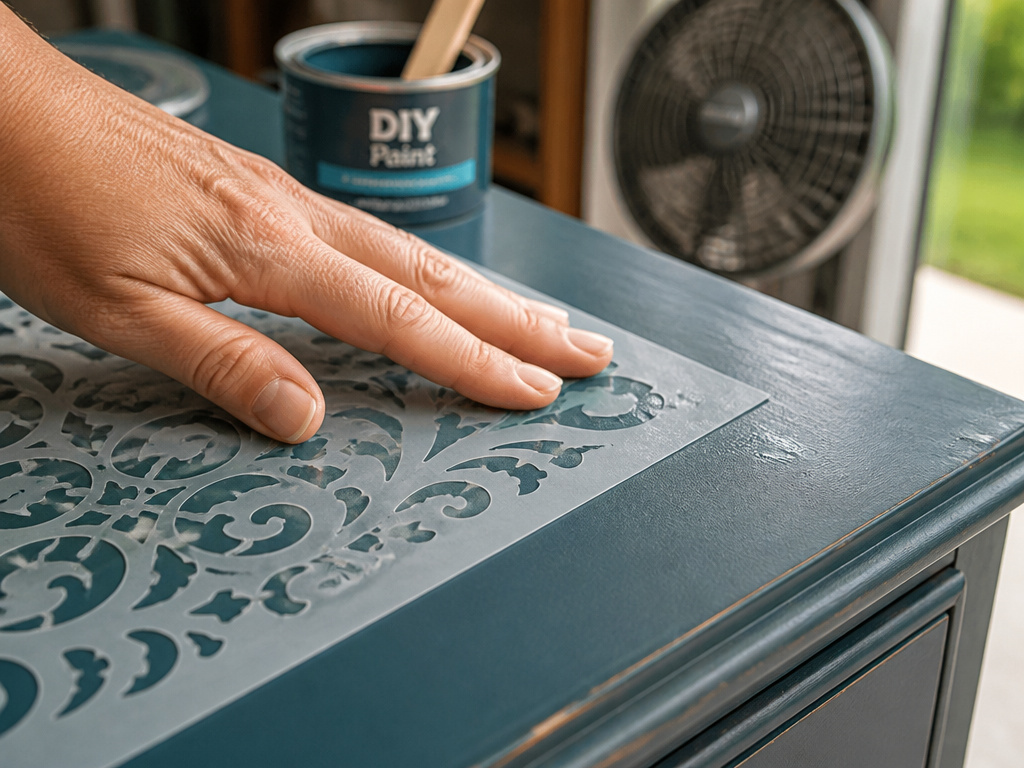
Orafol’s technical data sheet says it plainly: freshly lacquered or painted surfaces should be completely cured before stencil film goes on.
Dry and cured are different states. A water-based coat can feel dry while still releasing moisture. An oil-based enamel still smells of solvent hours after it looks dry, and that smell is the part doing the bleeding.
WEG Coatings lists inadequate flash-off time as a cause of bleeding. Johns Mega Paints asks for the recommended flash-off times plus good air circulation, which is the part people skip in a closed garage.
The best paint for stenciling is the one whose recoat window you’ll actually respect, not the one with the prettiest label.
On a thrifted dresser I stenciled with chalk-style paint and sealed with wax. Forgiving, dried fast, and the wax took a while to feel cured. On a floor I’d skip wax entirely and use a water-based polyurethane, because foot traffic scuffs a waxed pattern fast.
Johns Mega Paints notes that bleeding can appear weeks to months after application. That’s the detail that makes cure time worth respecting. You get no warning at the moment you could have fixed it.
When the New Coat Dissolves the Old Finish
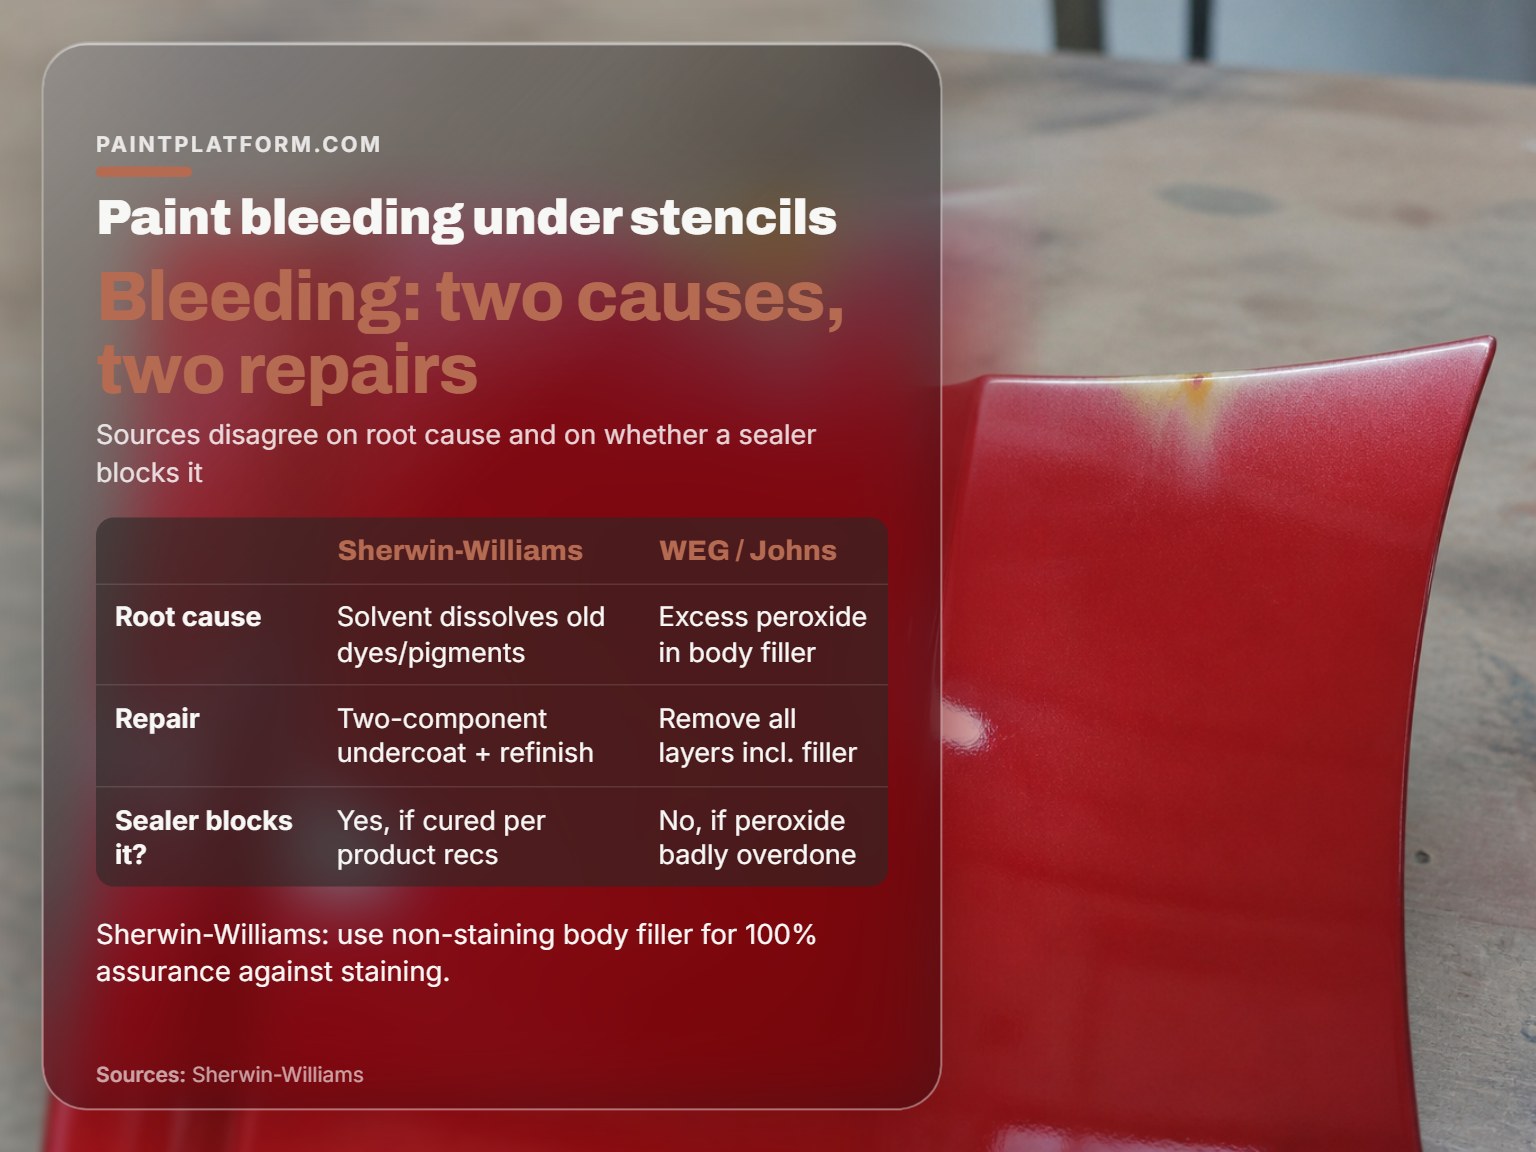
A light topcoat over an old red finish is the classic bleeding setup.
Sherwin-Williams is direct about the mechanism: solvent in the new topcoat dissolves soluble dyes or pigments in the original finish, and those dissolved colorants seep up into the fresh coat. The result reads as a red or yellow discoloration in the topcoat color, sitting inside the film rather than on top of it.
The repair, per Sherwin-Williams, is to let the color cure, isolate with one or more two-component undercoats, and refinish. The alternative is to remove the original paint film entirely and start over.
WEG and Johns Mega Paints point at a different source with the same symptom: peroxide catalyst from a polyester body filler. Excess catalyst, or a batch that wasn’t mixed into a homogeneous mass, migrates to the surface and shows up as yellow or reddish staining.
Here’s where the sources genuinely disagree, and it matters because the repair differs.
| Source | Root cause given | Repair prescribed |
|---|---|---|
| Sherwin-Williams | Solvent in the new topcoat dissolves old dyes | Two-component undercoat and refinish, or strip |
| WEG Coatings | Excess or badly mixed peroxide in filler | Remove all layers including filler, redo system |
| Johns Mega Paints | Peroxide migrating up from filler | Strip back to the bleeding layer, or spot-fix |
The sealer question splits the same way. Sherwin-Williams says a two-component surfacer and/or sealer isolates a bleeding finish, provided it cures per the product recommendations, and adds that a non-staining body filler is the only route to 100 percent assurance. Johns Mega Paints counters that when the peroxide is really overdone, even a Primer Surfacer EP won’t block the migration. Both are describing real conditions. The difference is how badly the filler was mixed.
If you’re layering stencils over a base you mixed yourself, that last point is the one to remember. A hot batch of filler beats a sealer every time.
When the Filler Is the Problem
Johns Mega Paints gives a specific remedy for a spot repair: sand the visible spot with P500 dry, apply a fine silver metallic until opacity is reached, then re-spray the topcoat system. That’s a spot fix, and it assumes the contamination is mild. When it isn’t, the same guide says to remove the paint system back to and including the bleeding layer and build it up again.
WEG’s correction is the harshest of the three: eliminate all layers including the polyester body filler and redo the coating system. If the filler is the source, sealing over it is a delay, not a repair.
One more from Johns that’s easy to skip: never wet-sand polyester body filler. Chalk and salt deposits from contaminated sanding water stay on the substrate, absorb moisture, and get trapped under the new paint film.
Stencil Film Has Three Limits Nobody Reads
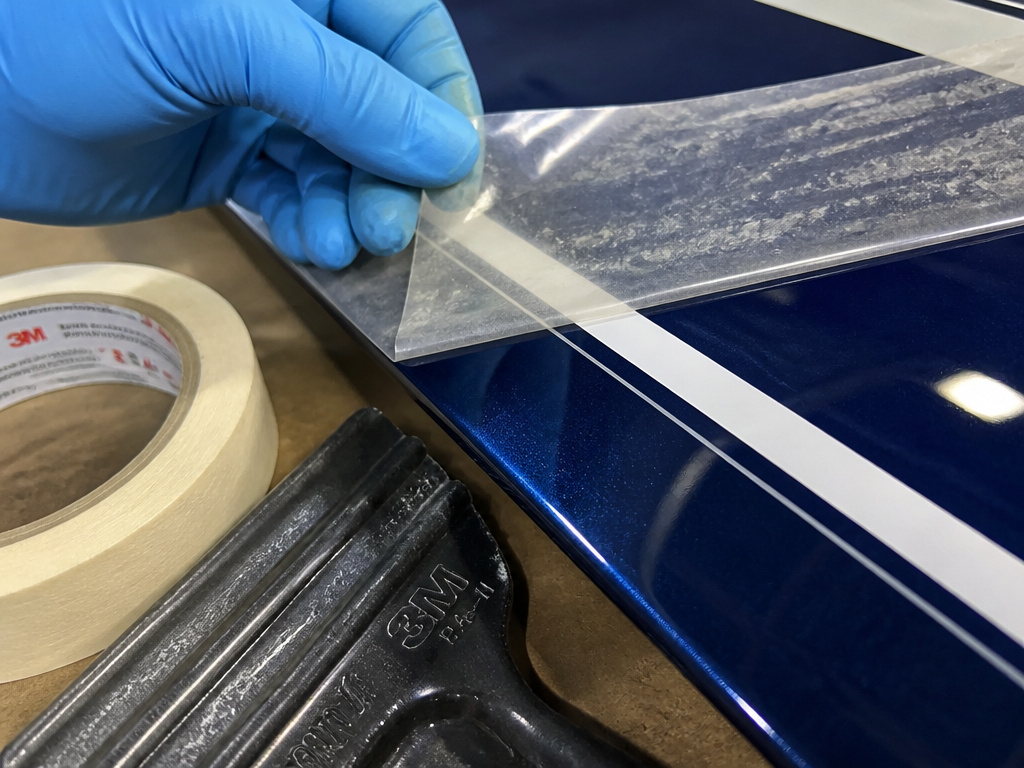
Stencil film has three limits worth knowing before you peel the backing.
Orafol’s ORAMASK 813 data sheet is short and specific. The film is not suitable for wet applications. It comes off before baking any liquid paint that cures chemically. And it may leave adhesive residue behind if left on a freshly painted or porous surface for too long.
That third one is the quiet one. Residue doesn’t look like a bleed, but it changes how the next coat sits, and on a porous surface you’ll find it after the paint dries.
Orafol also asks users to test their painting process for compatibility, and to test the selected lacquer or paint before applying the film. That’s a cheap test that saves a whole panel.
For home projects, reusable film stencils with a low-tack backing generally hold an edge better than a cut manila folder on a detailed pattern.
The PPG Mercedes-Benz two-tone guide is the other end of the spectrum: a full OEM procedure with four adhesive-backed stencil parts running the length of the delineation, two people required for alignment, and the stencil always applied from the front of the vehicle when more than one component is being painted.
What the PPG Guide Gets Right
The individual stencil foils go down in an exact overlapping line. The stencil is fixed to the body with adhesive tape applied over the slots in the template. The contour line tape gets pressed with a plastic squeegee, protective paper still on. Then the paper comes off at an acute angle with a smooth, steady motion, and there’s a tab at the beginning and end of the tape so it pulls cleanly later.
Every one of those steps is about contact. A stencil that isn’t pressed down flat has a gap, and a gap is where paint goes.
The guide also bakes at 60 °C for 60 minutes as part of its procedure, and states that this deviates from the D8173 technical data sheet. Orafol’s instruction runs the other way for chemically curing liquid paints: film comes off before the bake. If you’re using a stencil film and a baking paint, those two instructions can’t both be followed.
Which is why stencil materials matter more than most tutorials admit. A rigid film with a low-tack adhesive behaves differently from a manila folder you cut yourself.
It pays to clean stencils between passes, because dried paint on the back of the film lifts the edge off the surface.
Overrated in this space: spray adhesive for a simple one-color project. A repositionable spray gives you a tacky edge to fight. Burnish with tape instead.
Easy to miss: A stencil film left on a freshly painted panel past the point where the paint has set will leave a residue you can’t see until the next coat goes on. By then you’re sanding back.
What to Do When It Bleeds Anyway
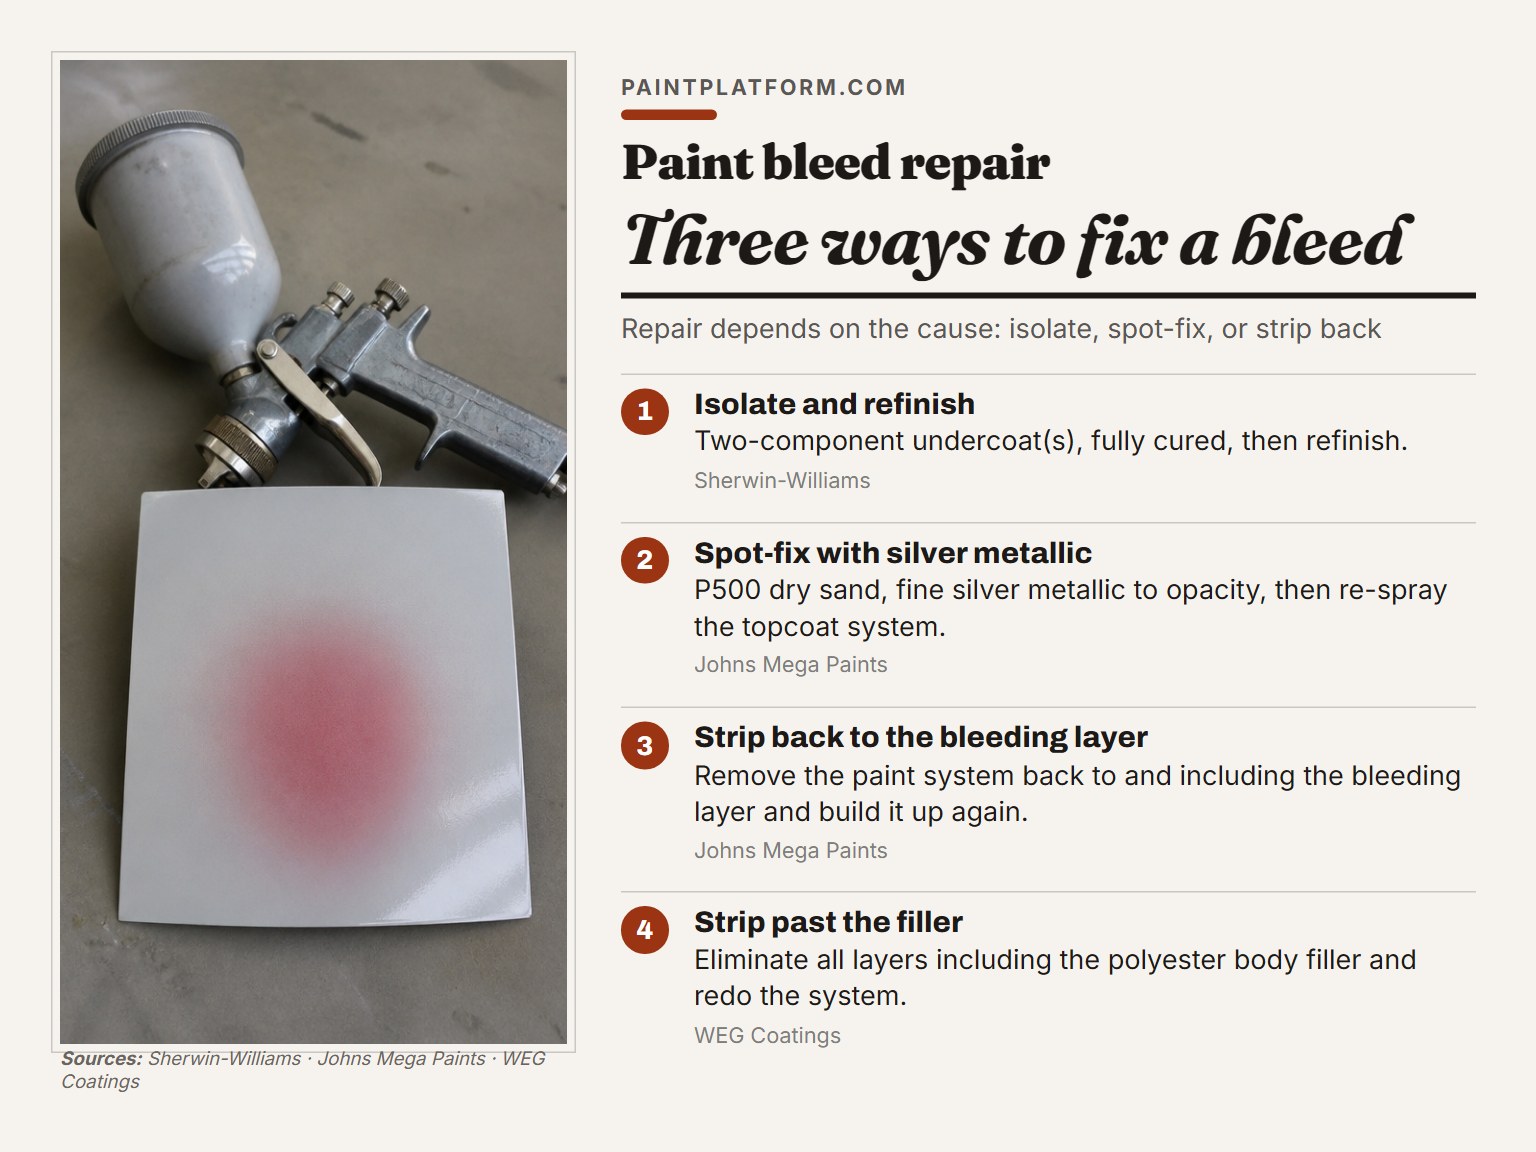
What do you do when the stain is already there? The repair depends entirely on which mechanism caused it.
Sherwin-Williams gives two paths: let the color cure and isolate with two-component undercoat or undercoats before refinishing, or remove the original paint film and refinish. WEG’s correction is to eliminate every layer including the polyester body filler and redo the system. Johns Mega Paints says to remove the paint system back to and including the bleeding layer and build it up again.
The Three Repair Paths
- Isolate and refinish. Two-component undercoat, fully cured, then topcoat. Fastest, and it works when the contamination is mild.
- Spot-fix with silver metallic. P500 dry sand, fine silver metallic to opacity, then re-spray the topcoat system. Johns Mega Paints’ method, and the least invasive of the three.
- Strip back to the bleeding layer. The only option that removes the source. Slower, and it’s what WEG recommends outright.
Here’s the diagnostic version, which is how I actually decide in the shop.
| What you see | Likely cause | First move |
|---|---|---|
| Ragged, fuzzy stencil edge | Too much paint on the applicator | Offload the brush, dab thin passes |
| Red or yellow cast in a light topcoat | Solvent lifting old dyes | Isolate with a two-component sealer |
| Stain returns after a refinish | Peroxide from the body filler | Strip back past the filler |
| Dull, patchy grab in one spot | Grease, dust, or a fingerprint | Degrease and re-prep the area |
If a stain comes back after a sealer and a refinish, the filler is the source. Stop sealing and strip it.
Six Feet Back, Nobody Sees a Fuzzy Edge
Back from a stenciled wall, a fuzzy edge disappears.
Small bleeds don’t bother me anymore. On a wall pattern, from a distance, nobody sees a fuzzy edge. They see the rhythm. I fixed one smudge with a cotton swab and it looked worse than leaving it alone.
That’s a wall-specific tolerance. If you’re learning how to stencil a wall for the first time, aim for rhythm over razor edges.
On furniture, the tolerance is smaller. A drawer front is seen up close every day, and a bleed there reads as a mistake. Same defect, different standard.
Let it be messy first.
I won’t chase a very small bleed on a wall. The repair costs more attention than the defect, and attention is the thing you run out of on a big pattern.
Where I do stop: any bleed that shows a hard, dark line rather than a soft edge. A soft edge is paint creeping under. A hard line is the stencil lifting.
Frequently Asked Questions
Does painter’s tape stop paint bleeding under a stencil?
Sometimes. Tape gives you a straight edge to burnish against, but it doesn’t fix a loaded brush. If paint is creeping under a stencil on a flat surface, check the paint load first and the tape second.
Why does my stencil bleed even when I use very little paint?
Check the surface and the base coat. Orafol’s data sheet requires a thoroughly clean surface and a completely cured base before film goes on. Grease, fingerprints, and a base coat that’s still releasing solvent all pull color under an edge that looks perfectly sealed.
How long should a base coat cure before stenciling over it?
Orafol says freshly lacquered or painted surfaces should be completely cured, and gives no number, because cure time depends on the product. Follow the recoat window on the can, then add time if the room is cold or humid.
Can I use a foam roller with a stencil?
You can, but offload it harder than you would a brush. Foam holds paint and gives it back unevenly, and a roller that’s even slightly loaded pushes paint under the stencil on the second pass.
Does sealing a bleeding stencil actually work?
It depends on the cause. Sherwin-Williams says a two-component surfacer and sealer isolates a bleeding finish if it cures per the product recommendations. Johns Mega Paints warns that when the peroxide in a filler is badly overdone, even a Primer Surfacer EP won’t block the migration.
The Bottom Line
Here’s the threshold I use: if a bleed is very small and you’re working on a wall, leave it. If it’s a hard line, or it’s on furniture you’ll touch every day, fix it before the next coat goes on.
The thing worth doing this week is the paper-towel test. Load your brush the way you normally do, dab it on a towel, and look at what’s left. A wet patch is your bleed, and you’ve just found it before it costs you a panel.
None of this helps if the base coat underneath is the problem. A solvent bleed or a hot batch of filler will beat every application trick described here, and the only honest fix is to strip back to the source and start again.
Test on a scrap first, the same way you’d swatch a color before committing it to a painting.
