
How to Stencil a Wall: Step-by-Step (Without Bleed)
This post contains affiliate links. As an Amazon Associate, we earn from qualifying purchases.
To stencil a wall, clean and sand the surface, let the base coat dry, then fix the stencil flat with low-tack spray adhesive or painter’s tape. Load a stencil brush or foam roller, work most of the paint off, and pounce or roll in thin coats. Lift the stencil before the paint dries completely.
That last clause in how to stencil a wall decides the whole result. Lift too late and the paint skins over, then tears along the stencil edge as you peel. Lift too early and wet paint wicks underneath the bridges.
What follows is the order that works: prep, fixation, loading, coats, and removal timing. Two of those steps carry genuinely conflicting instructions from reputable sources, and I’ll show both positions rather than quietly pick a winner.
Key Takeaways
- Sand and wipe the wall first. Dust stops the stencil sitting flat, and any gap becomes a channel for paint.
- Spray adhesive from 10 to 12 inches, then wait. Benjamin Moore says 1 to 2 minutes; Designer Stencils says 30 to 60 seconds.
- Work most of the paint off the tool. A roller should feel almost dry to the touch before it touches the wall.
- Build color in multiple thin coats, with about 15 minutes of dry time between them, per Benjamin Moore.
- Lift the stencil before the paint dries completely, starting at the top corner.
What Do You Need Before You Stencil a Wall?
The kit is short: a stencil, something to stick it down with, a level, a brush or foam roller, paint, and a rag.
Surface preparation governs adhesion more than stencil choice does. A wall wiped free of dust, sanded smooth over rough patches, and sealed with a cured base coat gives the stencil a flat plane to sit against. Dust and texture both create gaps where paint travels under the edge. That single step prevents most bleed before any paint is mixed.
- A flat stencil. Rolled ones need to sit unrolled and flatten before they’ll lie down properly, per Eaton Worx.
- Low-tack spray adhesive, Frog Tape painter’s tape, or both. More on that split below.
- A carpenter’s level and a pencil.
- A stencil brush or a mini foam roller. Benjamin Moore retailers stock brushes cut specifically for stencil work.
- Stencil paint, a drop cloth, and a damp cloth.
Surface prep is where the sources mostly agree, with one gap. Designer Stencils wants the wall cleaned, rough patches sanded, and a fresh base coat laid down to help prevent paint bleeding. Eaton Worx says start clean and dry, follow the paint maker’s prep instructions, and let the base coat cure before tape goes anywhere near it. Dutch Boy stops at a wipe with a clean, damp cloth.
Dust is the reason for all of the how to stencil a wall steps. A dusty wall won’t hold the stencil flat, and a stencil that isn’t flat is a stencil that leaks.
Benjamin Moore rates its Wall Tattoos for ceilings and floors as well as walls, so the same steps carry over if you want to stencil a floor. The physics don’t change. Gravity just makes the drips more interesting.
The 7-Step Sequence That Holds a Clean Edge
Seven steps, in this order: mark, fix, smooth, load, pounce, build, lift.
Before you start: Aerosol stencil adhesive drifts, so spray the stencil over newspaper away from the wall and keep the window open. If you’re cutting a homemade stencil with a craft knife, clamp the sheet down and cut away from your fingers, because a dull blade skates across plastic instead of biting into it.
- Mark the position. Benjamin Moore marks the stencil edges with light pencil, chalk, or painter’s tape. Dutch Boy finds the center of the wall, marks it, and centers the stencil over that mark. Skip the mark and your second repeat drifts sideways.
- Fix the stencil flat. Spray one even coat of low-tack adhesive from 10 to 12 inches, then smooth the stencil from the center outward with your hands or a clean foam roller. Trapped air pockets give paint somewhere to pool.
- Tape the edges. Painter’s tape holds position and stops the roller running past the stencil edge. Miss this and you get a paint stripe on the wall that no amount of touching up will hide.
- Load light, then off-load. Work most of the paint onto a paper towel until the tool feels almost dry. A loaded roller drips and seeps through the cutouts.
- Pounce or roll, never sweep. Use gentle up-and-down tapping with a brush and light, even pressure with a roller. Sweeping drives paint under the bridges.
- Build in thin coats. Multiple coats, about 15 minutes apart, without lifting the stencil. One wet coat seeps; three thin ones cover.
- Lift before the paint dries completely, starting at the top corner, and lift without dragging across the design.
Step seven is the one I’d tattoo on my forearm if I stenciled more often. Everything upstream is recoverable. That one isn’t.
Adhesive or Tape? Where the Sources Actually Split
Three sources, three positions on how to hold a stencil down.
| Fixation method | What the source says | Where it fits |
|---|---|---|
| Low-tack spray adhesive | Benjamin Moore: one even coat at 10 to 12 inches, primary method | Detailed designs, any wall with texture |
| Painter’s tape alone | Designer Stencils: acceptable on its own or alongside spray | Small stencils, smooth flat paint |
| Adhesive plus edge tape | Eaton Worx: adhesive secures all areas, tape secures the edges | Repeat patterns and borders |
That first row is the strongest position, and it comes from the only manufacturer instruction sheet in the group. Benjamin Moore treats spray adhesive as the primary fixation and uses painter’s tape only to hold position and stop the roller straying past the edges.
Designer Stencils is more relaxed. It recommends repositionable adhesive spray but lists painter’s tape alone as a workable alternative. Eaton Worx sits in the middle, using adhesive to secure the whole sheet and tape to lock the edges down further.
If You Use Spray Adhesive
Spray the stencil itself, not the wall. Designer Stencils is blunt about this: spray away from the wall so the wall doesn’t turn sticky. Benjamin Moore says lay the stencil flat on a surface big enough to catch the overspray first.
Then wait, and here’s the real disagreement. Benjamin Moore says let the sprayed stencil sit for a minute or two so the wet adhesive settles. Designer Stencils says 30 to 60 seconds, and warns that skipping the wait makes the stencil hard to remove later.
Both are describing the same mechanism. Adhesive that hasn’t flashed off is still wet, so it bonds hard to the wall instead of gripping lightly. Start at 30 seconds, and if the stencil fights you on removal, give it the full two minutes next time.
If You Use Tape Alone
Frog Tape is the gentle option Designer Stencils reaches for, because it lifts less paint on removal. Run it along all four edges and press the stencil flat from the center outward.
One caveat from Eaton Worx worth repeating: test the tape on a spare board or an inconspicuous patch first. Tape that pulls paint off a cured wall will absolutely pull paint off a fresh one.
Skip this if: Your wall has heavy texture or a deep orange-peel finish. Tape bridges the bumps and leaves gaps underneath, so go with spray adhesive instead.
How Dry Should the Brush or Roller Be?
Dry enough that it feels almost dry to the touch. Both Benjamin Moore and Eaton Worx land on the same phrase, which is rare in this pile of sources.
Eaton Worx describes the loading routine precisely: pick up a small amount of paint, then work most of it back off onto a paper towel or a spare surface. What’s left is the working charge.
Brush, Roller, or Sponge
Benjamin Moore recommends a stencil brush used with pouncing or swirling, and notes that many Benjamin Moore retailers carry brushes designed for stencil work. Dutch Boy goes the other way and specifies a mini foam roller for applying the second color. Designer Stencils keeps it open: dry brush, roller, sponge, or rag, depending on the effect you want.
I tried the mini foam roller to save time on a full wall. Faster, yes. It also pushed paint under the edge, and that was with the roller rolled nearly dry. A stubby stencil brush gives me noticeably more control in tight detail.
Cheap makeup-style sponges are the underrated tool here. Dab straight down for soft, mottled color. Swirl and you’ll turn a leaf motif into a blob, which is exactly how I ruined one.
I keep both within arm’s reach now: roller for the big flat fields, brush for anything with narrow bridges. Switching tools mid-wall costs little time and saves a repair.
Common mistake: Loading the brush and going straight to the wall. The first touch always dumps too much paint, and that’s the patch that bleeds.
Build Color in Thin Coats, Not One Wet Pass
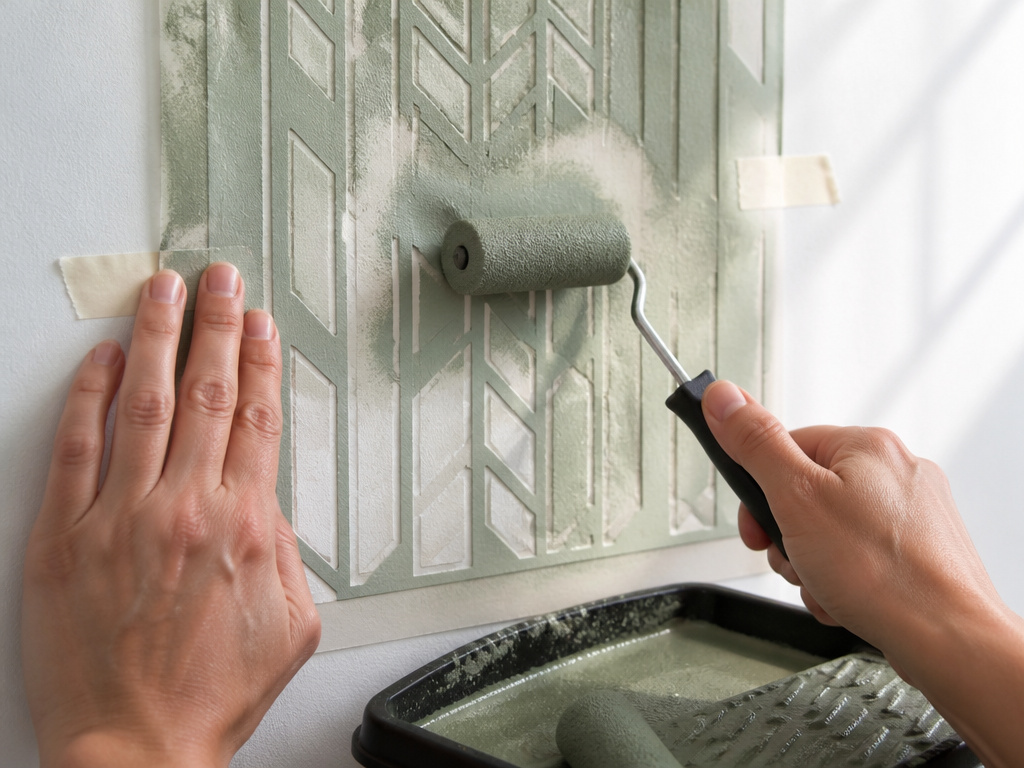
Coverage comes from repetition, not from paint volume.
Benjamin Moore is specific: apply multiple coats without removing the stencil, and allow about 15 minutes of dry time between coats. The instruction sheet also warns against trying to build color with one heavy coat, because that’s what leads to seeping and dripping through the stencil.
Eaton Worx says the same thing without the number. Build coverage gradually in light layers and follow the paint instructions for drying between layers. Designer Stencils doesn’t give a coat count at all, just the dry brush or roller technique.
So the sources agree on the principle and split on the number. Fifteen minutes is the only figure anyone published, and it comes from the manufacturer sheet, so that’s the one I use.
Add another coat when:
- The color looks chalky or uneven across the cutout.
- You can still see the base coat through the design.
- The previous coat feels dry to a light touch, not tacky.
For patterns that stack two or more designs on the same wall, the sequence matters as much as the drying. That’s covered in the guide to layered stencils, and it’s worth reading before you commit to a two-color scheme.
Two thin passes beat one heavy pass every time. The heavy one bleeds before it covers.
Why Your Stencil Curls, Sogs, and Stops Registering
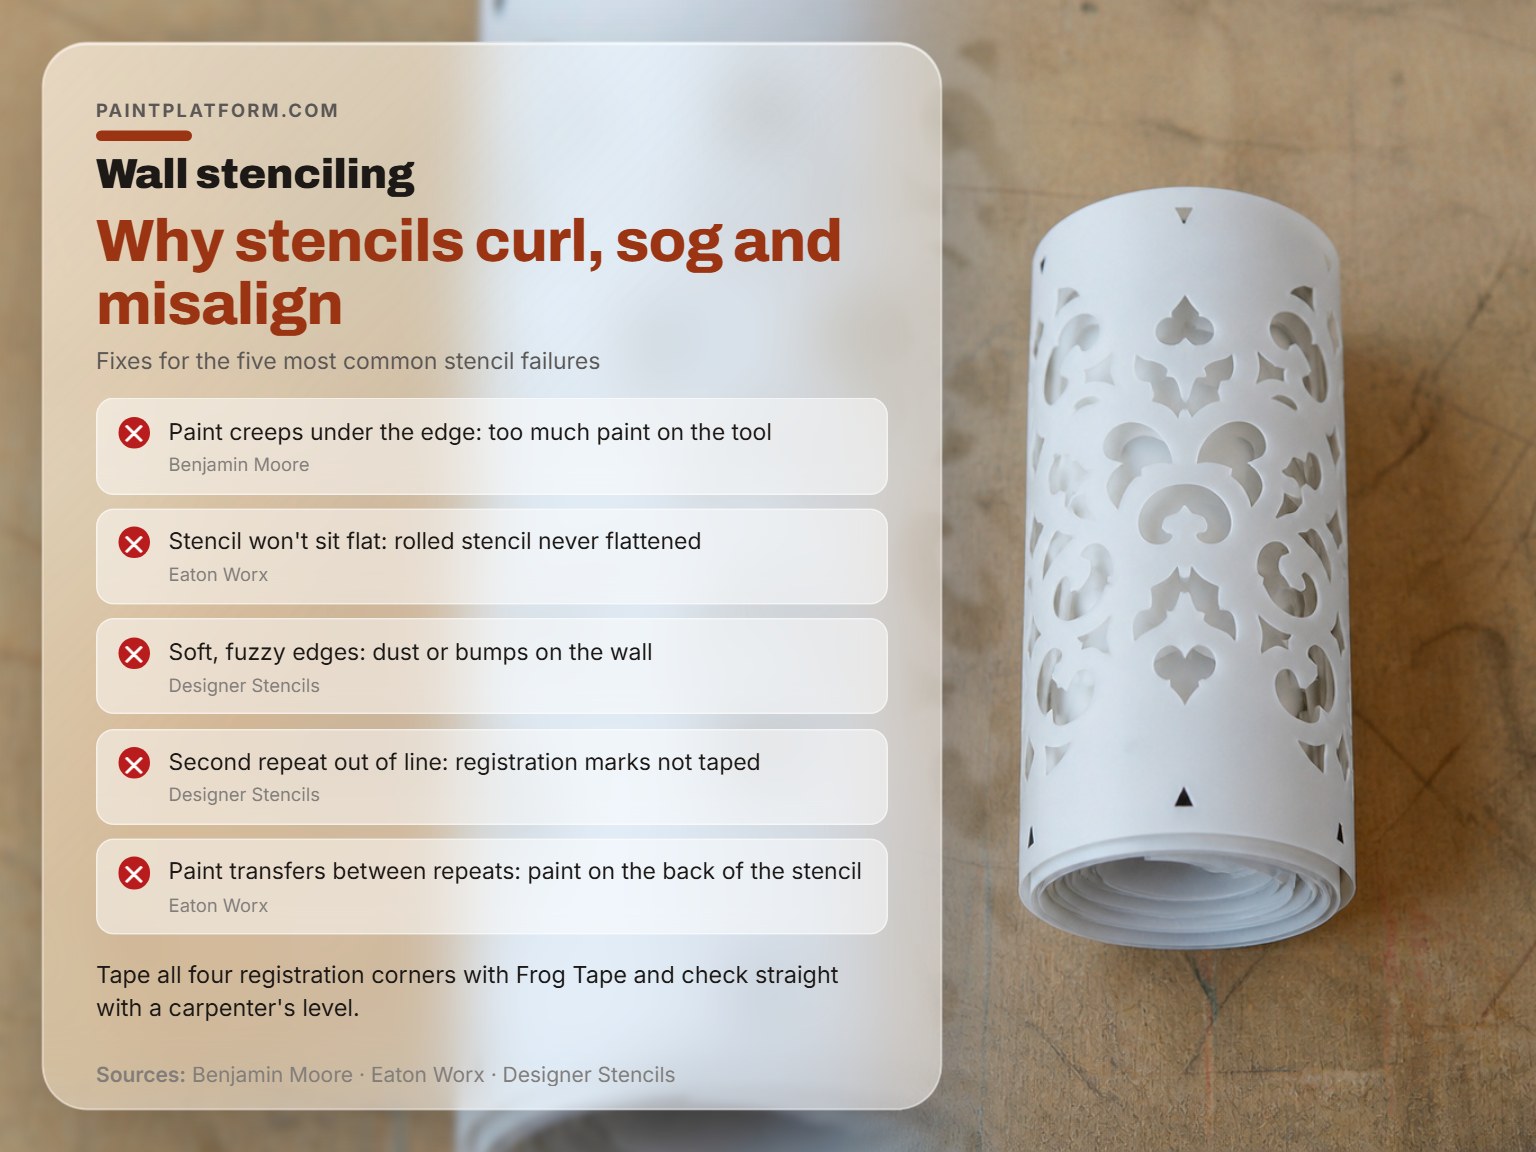
Registration marks are the small triangular corners on a repeating stencil, and they’re the part everyone forgets to tape.
| Symptom | Likely cause | Fix |
|---|---|---|
| Paint creeps under the edge | Too much paint on the tool | Off-load until nearly dry |
| Stencil won’t sit flat | Rolled stencil never flattened | Weight it flat for a few hours |
| Soft, fuzzy edges | Dust or bumps on the wall | Wipe, sand, seal with base coat |
| Second repeat out of line | Registration marks not taped | Tape all four corners |
| Paint transfers between repeats | Paint on the back of the stencil | Check, clean, dry before moving |
Designer Stencils handles registration properly: put a small piece of Frog Tape beneath the marks in all four corners of the template, then use a carpenter’s level to check the stencil is straight. Those marks are what guide you back to the right position on the next repeat.
Eaton Worx adds the step almost nobody does. Check the back of the stencil for paint before moving to a new area, then clean and dry it before repeating. Paint on the back is paint that lands on the wall in the wrong place.
Where this goes sideways: Lifting a stencil and immediately repositioning it over wet paint. Eaton Worx says let the previous area dry sufficiently first, or the stencil drags the design you just finished.
The curling problem has a boring fix. Eaton Worx says let a rolled stencil flatten before use, and that’s it. A few hours under a couple of books costs nothing and prevents the corner lift that starts every bleed.
Making Your Own Stencil, and Where Store-Bought Still Wins
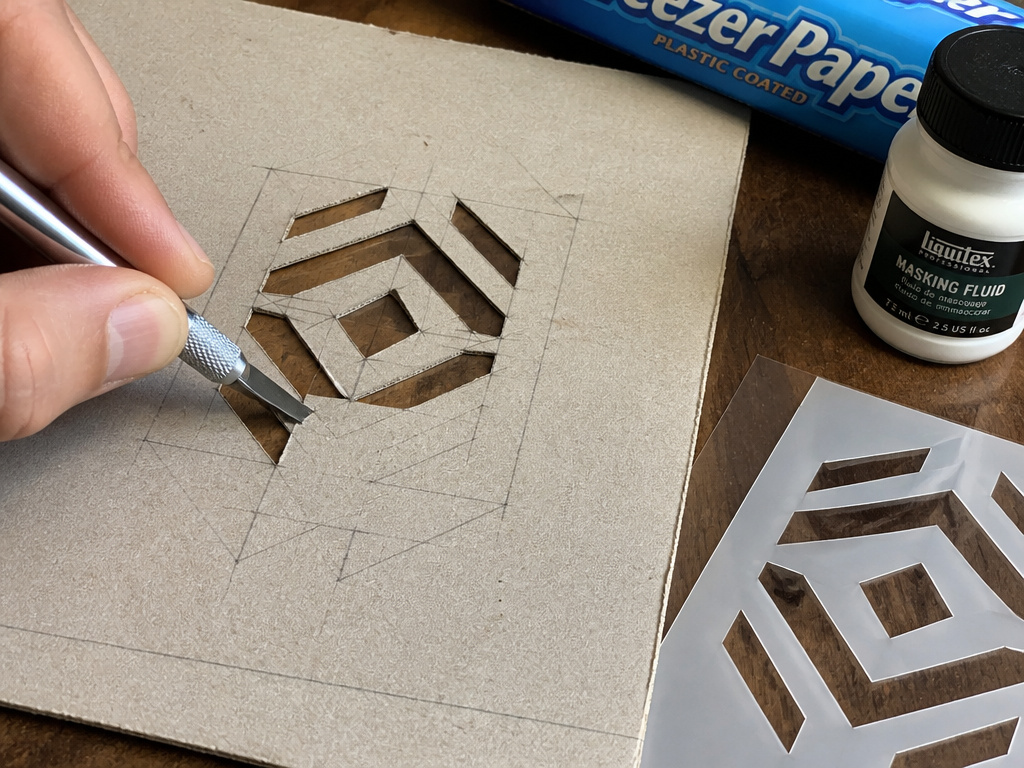
A cereal box, a craft knife, and a sketch traced from a library book. That was my first stencil, and it survived repeated uses before the edges went soft and soggy.
Brushing a thin coat of clear sealer on both sides stretched it further. Not indefinitely, but enough to finish the project.
Freezer paper is the better homemade option for one-off designs. Iron the shiny side down and it sticks lightly to the surface with almost no bleed. I peeled one off a table top and the edges were sharper than any store-bought plastic stencil I owned at the time.
If you want to go that route, the walkthrough for a DIY wall stencil covers the cutting order, and the guide to stencil material explains why mylar sheets outlast cardboard by a wide margin.
Store-bought wins on one thing: repeatability. A cut cardboard edge softens with every pass, so the tenth repeat looks different from the first. Plastic holds its shape.
Freezer paper beats plastic for a single-use design. Iron the shiny side down, cut the shape, and it grips the surface closely enough that almost nothing travels underneath.
Cleaning and Storing a Stencil So It Survives the Next Wall
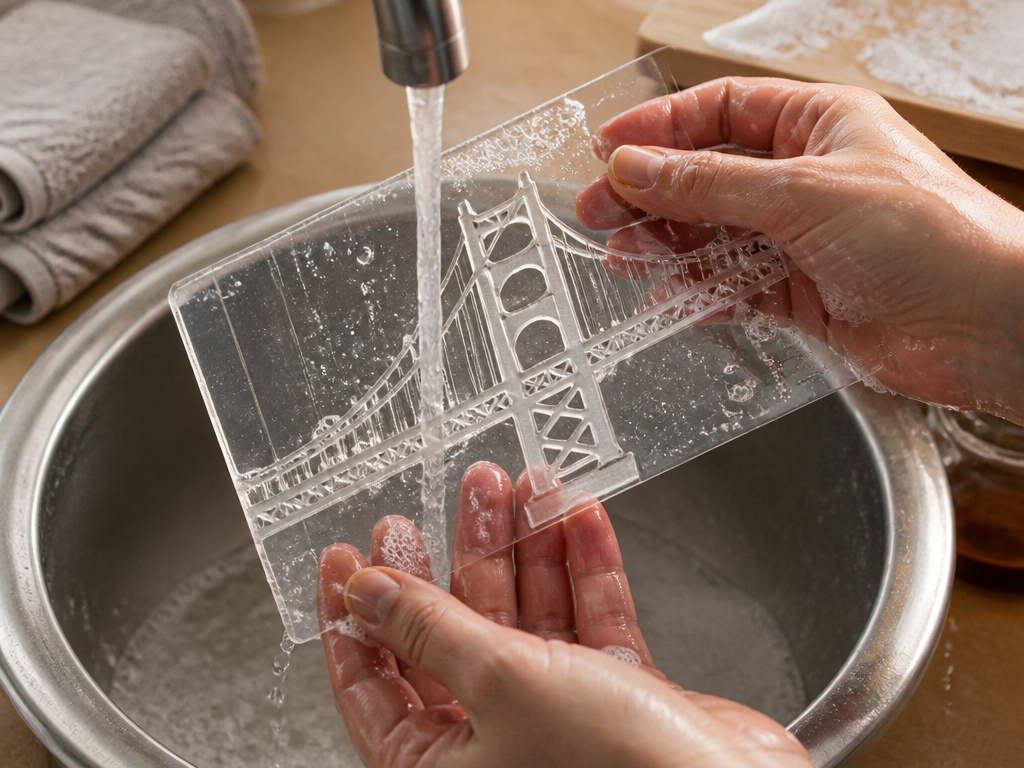
Cleaning advice splits along the same lines as everything else in this craft.
Eaton Worx says for water-based paint, gently clean the stencil with warm soapy water before paint builds up. Support delicate bridges while you do it, and don’t scrub or pull at small details. Dry it fully, then store it flat or loosely rolled with the design protected.
Dutch Boy takes the quick route: wipe the stencil down after each use. Designer Stencils notes that wall stencils can be washed and reused, without prescribing a method.
Benjamin Moore goes the other direction entirely, telling you to apply multiple coats without removing the stencil at all. No cleaning between coats, because there’s no between.
Both approaches work. If you’re building color on one design, keep the stencil down and skip the cleaning. If you’re moving around the room, wipe the back between placements. The full routine lives in the guide to clean stencils if you want the longer version.
One last thing on storage: dry means dry. A stencil put away damp curls at the corners, and a curled corner is the start of your next bleed.
Frequently Asked Questions
Do I have to use spray adhesive, or is tape enough?
Designer Stencils lists painter’s tape alone as acceptable, and Eaton Worx uses tape to secure edges on top of adhesive. Benjamin Moore treats low-tack spray adhesive as the primary method. On a smooth, flat wall, tape alone works. On texture, use the spray.
How long should I wait after spraying the stencil?
The sources disagree. Benjamin Moore says 1 to 2 minutes so the wet adhesive settles. Designer Stencils says 30 to 60 seconds and warns that skipping the wait makes removal harder. Start at 30 seconds and extend if the stencil sticks too aggressively.
How many coats does a stencil need?
Benjamin Moore says multiple coats with about 15 minutes of dry time between them, and warns against one heavy coat. Eaton Worx says build gradually in light layers without giving a number. Designer Stencils doesn’t specify a count. Add coats until the color reads evenly.
When should I pull the stencil off?
Benjamin Moore says remove it before the paint dries completely, starting at the top corner. Eaton Worx says lift without dragging it across the design. Once the paint skins over, peeling tears the edge.
Can I stencil a ceiling or a floor?
Benjamin Moore rates its Wall Tattoos for ceilings and floors as well as walls. The steps stay the same, though floors need a longer cure before traffic and ceilings need a ladder and a lot of patience.
The Bottom Line
Here’s the trigger that decides most of it: if your wall has any texture at all, use spray adhesive. Tape alone is a smooth-wall shortcut, and a textured wall will punish it every time.
Your first move this week costs nothing. Take a scrap of cardboard and practice loading a brush until it feels almost dry to the touch. That single skill, more than the stencil design or the paint brand, is what separates a crisp edge from a fuzzy one.
The rest of how to stencil a wall is patience with drying times and a willingness to lift the stencil before you think you should. Start messy, refine later.
