
How to Spray Paint Metal: Step-by-Step (No Runs)
This post contains affiliate links. As an Amazon Associate, we earn from qualifying purchases.
To spray paint metal, clean and scuff the surface, apply a metal primer, then spray in thin overlapping passes with the gun held 10 to 12 inches from the work. Keep the shop between 15 and 25 degrees Celsius, and overlap each pass by 50 percent.
The 10-to-12-inch distance and the 50 percent overlap are the two numbers that decide whether a coat lands wet and even or dry and streaky. Push the gun closer and paint piles up faster than it can flash. Pull it back and the droplets dry mid-air, landing as grit you sand off later.
What follows is the full sequence: what to buy, how to prep, which primer, and how to set the gun. The numbers come from OEM service bulletins and regulator guidance, not from a hobby forum.
Key Takeaways
- A 1/4-inch air hose is off the table on a DeVilbiss GFG-670 Plus; the OEM bulletin requires 5/16 inch I.D. Minimum.
- Strain material through a 60 or 90 mesh screen before it goes anywhere near the cup.
- Aluminum cups and chlorinated solvents don’t mix. Delrin or Nylon only.
- Tighten the fluid tip to 15-20 ft-lbs, and use only the HAV-500 or HAV-511 air adjusting valve.
- Remove all filters from airless equipment when spraying AkzoNobel Interline products.
What You Actually Need Before the First Pass
A hose too narrow to carry the air and a cup that reacts with the solvent will both wreck a metal paint job before the first coat flashes. Neither problem shows up until the paint is already on.
The DeVilbiss GFG-670 Plus gravity-feed gun requires a minimum air hose inside diameter of 5/16 inch, and a 1/4 inch hose is explicitly prohibited in the OEM service bulletin. The fluid tip tightens to 15-20 ft-lbs, and material is strained through a 60 or 90 mesh screen before it reaches the cup.
That bulletin is worth reading before you buy anything. It’s short, and it names the parts that actually fail.
I’m a hobbyist, not a refinishing shop, so the numbers below come from the people who make the equipment. I’m just translating.
Here’s the short list I’d put on the bench:
- A gravity-feed gun rated for a 5/16 inch hose, not the 1/4 inch coil that ships with most hobby compressors.
- A 60 or 90 mesh strainer. Cheap, and it catches the skin that clogs a tip.
- Delrin or Nylon cups if you’re spraying anything with chlorinated solvent in it.
- A sharp scraper for old flaking paint.
- Cardboard. A lot of it.
The cardboard matters for how to spray paint metal. Two passes on scrap tell you more about your gun setting than any chart.
Which Air Hose Diameter Keeps Pressure From Dropping?
Five-sixteenths of an inch is the floor for a DeVilbiss GFG-670 Plus, and 1/4 inch is a hard no. The bulletin doesn’t hedge on this one.
A narrow hose adds restriction, and restriction eats pressure at the gun. Your compressor gauge reads fine while the gun starves, which is why the problem is so hard to diagnose by feel.
For airless equipment, AkzoNobel publishes its own numbers, and they don’t match across products. Interline 984C calls for a 13 mm (1/2 inch) line with a maximum 40 m (131 ft) run. Interline 975P calls for a 10 mm (3/8 inch) line with a maximum 45 m (148 ft) run.
| Spec | Interline 984C | Interline 975P |
|---|---|---|
| Pump ratio | 60:1 or greater | 56:1 or greater |
| Line diameter | 13 mm (1/2 inch) | 10 mm (3/8 inch) |
| Max line length | 40 m (131 ft) | 45 m (148 ft) |
| Whip-end | 10 mm (3/8 inch), 3 m (10 ft) | 3 m (10 ft) |
| Filters | Remove suction tube and all filters | Remove all filters |
Both guidelines are correct for their own product. Hose sizing follows the coating, not the other way around.
How to Spray Paint Metal Without Lifting Paint
A scraper bites into a flake of old paint and a curl of it peels up clean. That’s the sound you want. A dull edge skates across the surface instead, and the marks it leaves have to come out with sandpaper.
I cleared a flaking window sill with a sharp scraper. Every chemical stripper I’d tried before that was slower and messier. Pull the scraper toward you with the grain. I learned that one by leaving chatter marks across a door frame.
Before you start: Solvent vapor can sit above the Occupational Exposure Limit even with the extractor running, so a cartridge mask won’t cut it. AkzoNobel’s application guidelines require air-fed hoods or pressure-fed masks with eye protection, plus overalls, gloves, and non-spark footwear.
Here’s the sequence I use:
- Strip or sand the old finish. Flaking paint has to come off. Paint over it and the new coat lifts within a season.
- Degrease. Solvent wipe, then let it flash off completely. Trapped solvent under primer turns into a bubble later.
- Scuff the bare metal. A scuffing pass gives the primer something to bite. Skip it and the primer sits on top like a decal.
- Wipe the dust. A clean cloth, not a rag. A rag just moves the dust around, and it shows up as grit in the finish.
- Prime within the recoat window. Miss the window and the next coat won’t bond. Check the can before you start.
Rusted spots need a different approach. Sand back to sound metal, then treat the rust before priming, and spray paint for rusted metal covers which products convert rust versus which just cover it.
If the old finish is thick enough that scraping is hopeless, remove paint from metal walks through the chemical route.
Scuffing Without Over-Sanding
A light scuffing pass is the goal. Anything coarser leaves scratches the primer can’t fill, and anything finer polishes the metal instead of scratching it.
The goal is a surface that feels slightly dull. Run your hand across the panel. If it still feels slick, scuff it again.
Primer, Then Paint: The Order That Matters
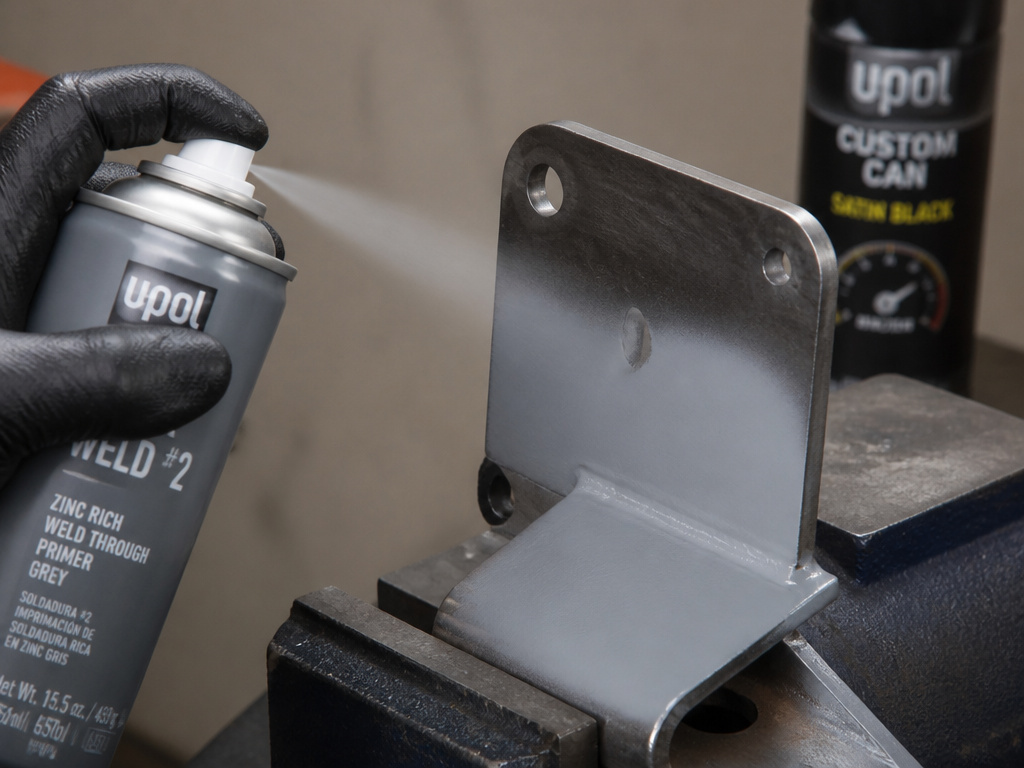
Primer on bare metal is like salting pasta water. Skip it and no amount of sauce saves the dish.
Primer does two jobs: it bonds to the metal, and it gives the topcoat something to grip. A topcoat sprayed straight onto bare steel has nothing to hold, and it flakes from the edges inward once the film starts to move.
One thing I’ll flag: I’m not the person to ask about long-term pigment stability. If the piece needs to survive twenty years in direct sun, that’s a conservation question, and the can’s label won’t answer it.
When the Primer Must Be an Acid Etch Wash Primer
Modified zinc chromate primer must never go directly onto bare metal. The GCAA guidance is explicit: apply an acid etch wash primer first. Skip that step and the primer film fails at the interface, which means the whole system lifts as one sheet.
For a hobbyist spraying a chair or a set of brackets, a metal primer in a rattle can is fine. The chemistry matters more than the delivery method.
Topcoat choice is its own decision. Spray paint for metal covers the enamel-versus-lacquer question, and it’s worth reading before you commit to a can.
How Do You Set the Gun for an Even Coat?
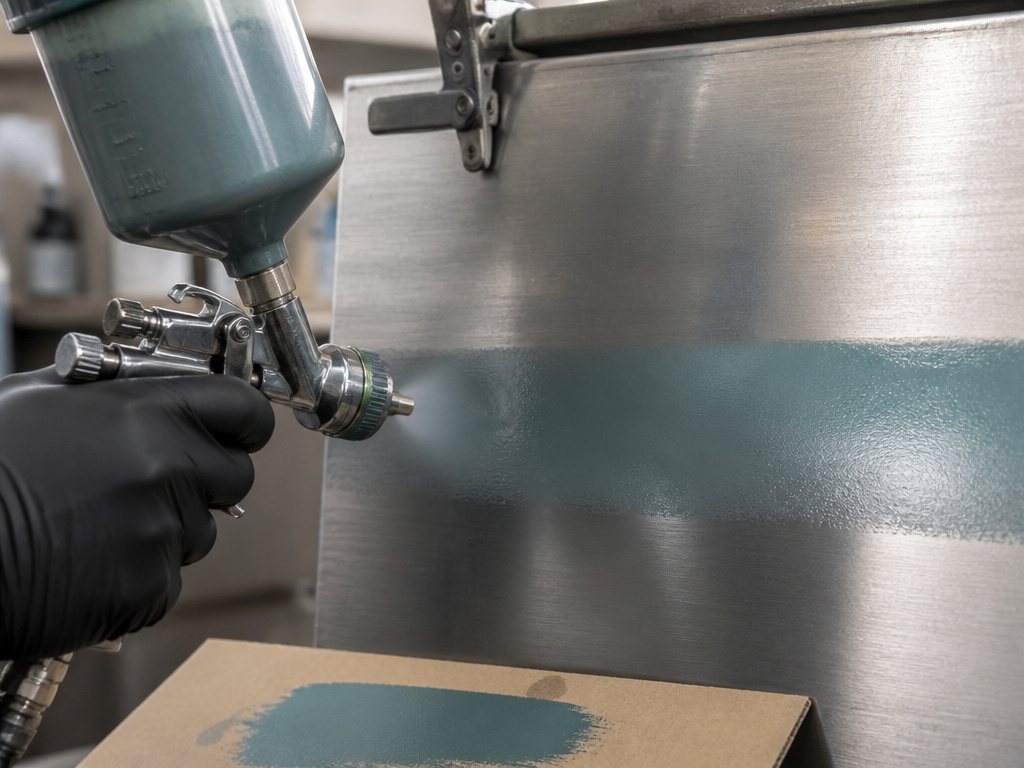
Distance, overlap, and air cap orientation do most of the work. Get those three right and the paint behaves.
The GCAA guidance for aircraft painting puts the gun 10 to 12 inches from the surface and calls for 50 percent overlap on each pass. Some vendor guides widen that overlap for clearcoat. The GCAA number is the one with a regulator behind it, so that’s where I start.
A properly set gun runs smoothly. A sputter or a wet gurgle means something in the gun setup needs attention.
Dry spray lands as a fine grit you can feel before you can see it. Run your hand over the panel between coats and you’ll catch it early.
Air Cap Rotation for Vertical Surfaces
Rotate the air cap 90 degrees for a vertical panel. The fan then runs horizontally, and each pass lays down a band that gravity pulls into the one below it. Leave the cap vertical on a vertical surface and the paint sags in curtains.
When the pattern goes wrong, the fix is usually in the gun, not the paint. The DeVilbiss troubleshooting chart is a good place to start:
| Symptom | Likely Cause | Fix |
|---|---|---|
| Dry spray | Gun too far from the work | Hold 10-12 inches |
| Heavy center pattern | Fluid flow too high for atomization air | Thin material or step up a tip size |
| Split spray pattern | Spreader valve set too high | Reduce the spreader adjustment |
| Fluid leaking from front of gun | Loose or damaged fluid tip | Tighten to 15-20 ft-lbs |
I keep a scrap of cardboard by the gun for the first trigger pull of every session. Two passes on the cardboard tell me whether the pattern is split or heavy before the piece ever sees paint.
Speed matters as much as settings. Move at a steady pace, parallel to the work, and don’t arc at the ends of the pass. That’s the core of any technique for a smooth spray finish.
If the coat looks wet and glassy when you finish a pass, it may be too heavy. Aim for a thin, even coat.
Small Objects, Furniture, and Outdoor Pieces
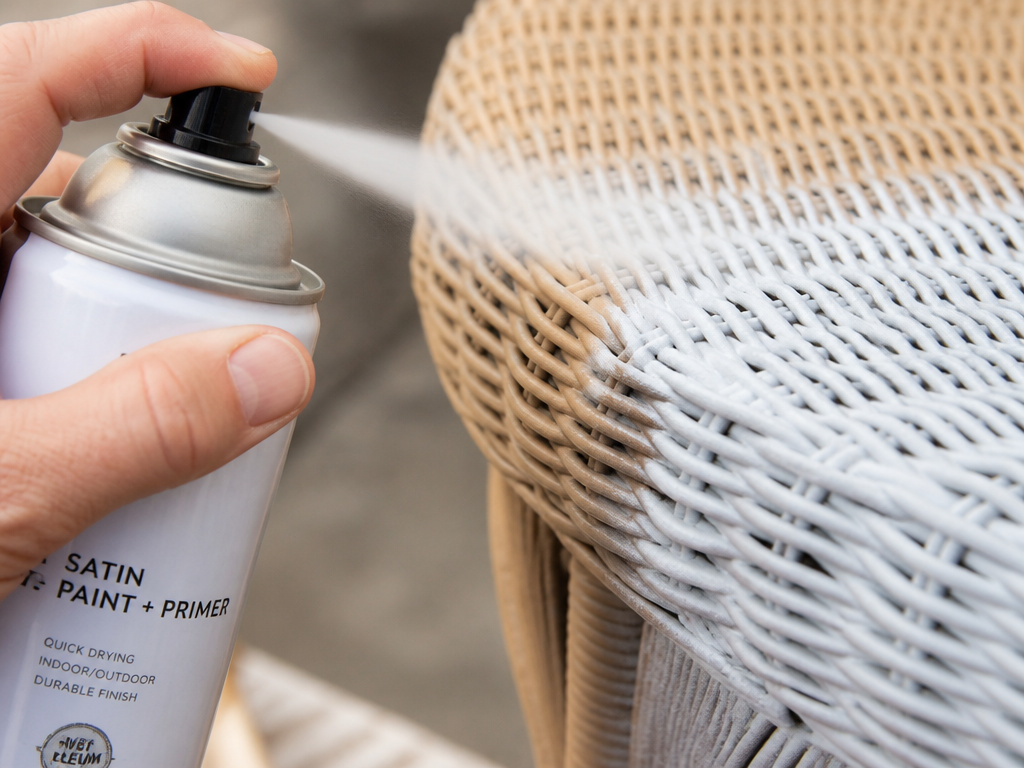
Rattan is the test case. All those crevices eat paint, and a brush pushes it into the weave until the whole thing goes gloppy.
My first rattan attempt was with a brush. It went gloppy in the weave and took a long time to dry. Now I do thin coats with a spray can, rotating the piece as I go so I’m not painting myself into a corner.
Small objects need a different setup than a big panel. Adjust pressure and distance, and use short passes.
For outdoor metal, the topcoat has to handle UV and moisture, which narrows the field fast. A product rated for direct sun is a different animal from an interior enamel, even when the cans look similar.
Painting outdoor furniture is a forgiving first project. The piece is usually small enough to move, and a bad coat sands off without much drama.
Indoor pieces are a different calculation. Spray paint furniture that lives in a bedroom needs a fully cured film before it comes inside, because the solvent keeps off-gassing after the surface feels dry.
Try this before your next project: hold the piece at eye level and rotate it. Any spot you can’t see straight-on is a spot you’ll miss.
Where the Numbers Disagree (and Which to Follow)
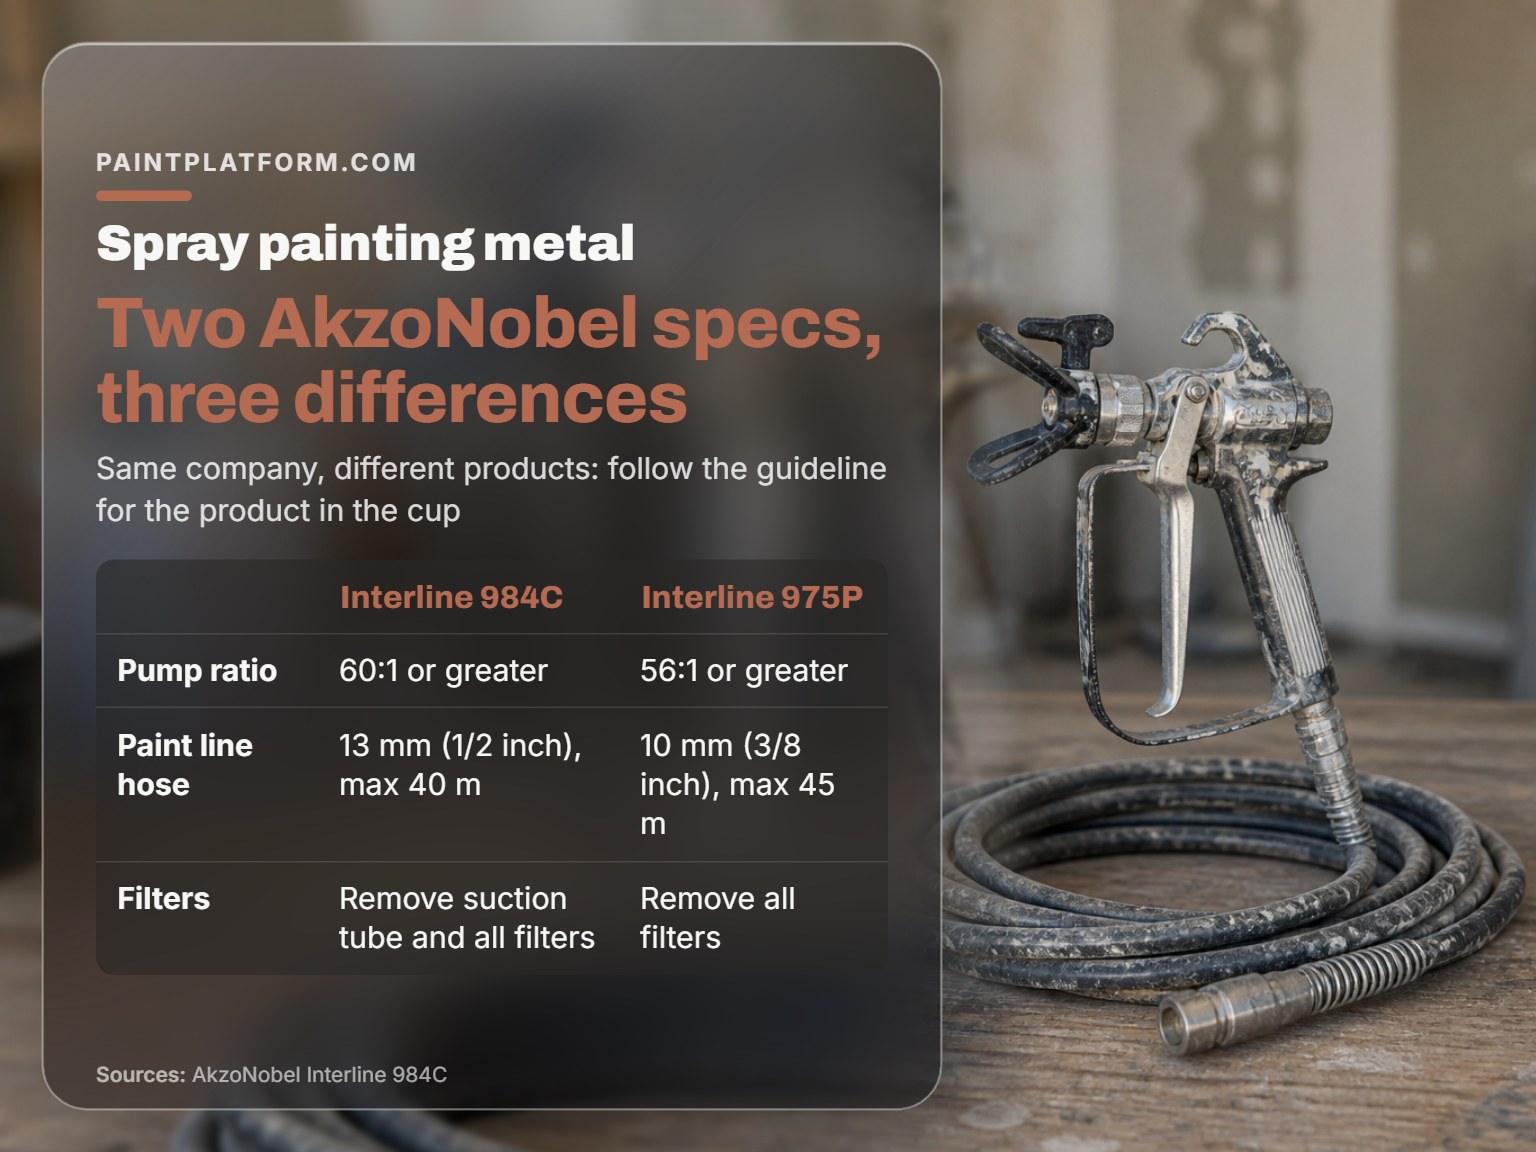
Two AkzoNobel application guidelines, published by the same company, disagree on three numbers. The reason is simple: each spec follows its own product.
Interline 984C wants a 60:1 pump ratio. Interline 975P wants 56:1. The line diameter splits the same way, 13 mm versus 10 mm. Neither document is wrong, and treating one as the universal rule gets you a starved pump or a hose too big to prime.
The filter instruction is the one that catches people. 984C says remove the suction tube and all filters. 975P says remove all filters, and never mentions the suction tube. Follow the guideline for the product in the cup, not the one you read last week.
Where this goes sideways: Spraying below 15 degrees Celsius. The GCAA puts the paint shop band at 15 to 25 degrees Celsius, and a coat applied under that range skins over before the solvent escapes. You’ll see solvent pop on the second coat, not the first.
For the safety side, the EPA isocyanate exposure profile explains why air-fed respiratory protection isn’t optional in a refinishing booth. The GCAA aircraft painting guidance material is where the distance, overlap, and temperature numbers come from.
Frequently Asked Questions
Can you spray paint straight onto bare metal?
Not if you want it to last. Bare steel needs a primer coat first, and modified zinc chromate primer needs an acid etch wash primer underneath it, per GCAA guidance. A topcoat on bare metal has nothing to grip.
How far should the gun be from the surface?
The GCAA guidance puts it at 10 to 12 inches. Closer than that and the coat piles up before it can flash. Further out and the droplets dry mid-air into grit.
Do you have to thin the paint?
Check the can. AkzoNobel Interline 975P is marked DO NOT THIN, and that instruction isn’t optional. Other products have their own reduction specs, and guessing usually costs you a coat.
What’s the minimum air hose size for a spray gun?
5/16 inch inside diameter for a DeVilbiss GFG-670 Plus. The OEM bulletin explicitly prohibits a 1/4 inch hose. For airless equipment the number depends on the product: 13 mm for Interline 984C, 10 mm for 975P.
Why does my spray pattern look split?
Split pattern usually means the spreader valve is set too high. The DeVilbiss troubleshooting chart lists that as the cause and calls for reducing the spreader adjustment. Plugged horn holes on the air cap can do it too, so clean the cap before you touch the valve.
The Bottom Line
Here’s the threshold I’d give anyone learning how to spray paint metal: if your project is very small, consider skipping the sprayer and using a brush. The setup, the masking, and the cleanup can take longer than the painting. (Setting up a gun for a single small item often isn’t worth it.)
If you’re spraying a set of chairs, a fence, or a whole room’s worth of trim, the math flips. A dedicated spray unit earns its bench space at that scale, and practicing on cardboard first is the cheapest hour you’ll spend.
Fair warning: every number below is product-specific. The 5/16 inch hose minimum applies to a DeVilbiss GFG-670 Plus. The 60:1 pump ratio applies to Interline 984C. Read the sheet for the product in your hand before you trust a number from a blog post, including this one.
