
Paint Strainer Guide: Match Mesh to Your Setup
This post contains affiliate links. As an Amazon Associate, we earn from qualifying purchases.
A paint strainer guide really needs one number: the screen’s micron or mesh rating. Conical polyester strainers at 226 microns suit latex and oil-based paint, while 190 microns suits lacquer, enamel, and 3D printer resin. Graco’s inline kits are rated to 75 psi (5 bar); the 3A1316A sheet says the 24G774 is for waterborne paints only, while 308835C says to consult the paint manufacturer for other uses.
That waterborne-only clause is the one that bites. Graco’s 3A1316A sheet states it flatly for the 24G774 kit, and the older 308835C sheet softens the same point to “consult paint manufacturer for other uses.” Two Graco documents, two levels of confidence, one part family.
What follows: how the micron and mesh scales disagree between vendors, the installation details both manuals bury, how often the screen actually needs attention, and what to do if you’re straining acrylics at the kitchen table with no sprayer in sight.
Key Takeaways
- 226 microns for latex and oil-based paint, 190 microns for lacquer, enamel, and 3D printer resin, per McMaster-Carr’s listings.
- Intervals differ by source. Airlessco’s manual says change or clean filters at least once a day, and some latex needs it after four hours, while Graco’s manuals say only to check the screen regularly with no interval given.
- Grease the bowl threads every single time you open the filter, or dried paint welds the bowl shut.
- A plugged screen shows up as pulsation and wear, not as an obvious clog.
What the Micron Number on a Paint Strainer Actually Means
McMaster-Carr lists two cutoffs for conical polyester strainers: 226 microns for latex and oil-based paint, 190 microns for lacquer, enamel, and 3D printer resin.
A conical paint strainer is rated by the largest particle it passes, expressed in microns or as a mesh count. Lower micron numbers catch finer particles. The two scales do not convert cleanly across manufacturers, and a screen sold as fine by one vendor can match the extra-fine tier of another.
That last sentence is the whole problem with shopping by a paint strainer guide label. GARDCO’s Elite line calls 190 microns “fine” in yellow mesh and 125 microns “extra fine” in blue. It also sells a 150-micron green pod labeled extra fine. So “fine” means two different things depending on which box you’re holding.
| Rating | What it’s rated for | Source |
|---|---|---|
| 226 microns | Latex and oil-based paint | McMaster-Carr |
| 190 microns | Lacquer, enamel, 3D printer resin | McMaster-Carr |
| 150 microns (green) | GARDCO’s extra-fine tier | GARDCO Elite |
| 125 microns (blue) | GARDCO’s extra-fine tier | GARDCO Elite |
| 60 mesh | EPA paint filter test cone | EPA Method 9095B |
I’ve stopped trusting the word “fine” on a strainer box entirely. The number is the only portable piece of information.
One more data point worth knowing: the EPA’s paint filter liquids test specifies a conical filter at mesh number 60, plus or minus 5 percent. That’s a lab method for detecting free liquids in waste, not a spraying spec. Still, it tells you where the middle of the road sits.
Why a Plugged Screen Starves the Pump Instead of Just Slowing It
Pump starvation looks like a pressure problem. Both Graco strainer manuals use identical wording: a plugged filter screen can cause pump starving, pump wear, and pulsation.
The order of that list matters. Starvation comes first, wear comes last, and the wear is what costs you. Graco’s quick trouble shooter lists a clogged inlet strainer as a cause of a pump that won’t prime, with “clean inlet strainer” as the fix. The same guide puts regular inlet strainer cleaning on its short list for avoiding premature wear of packings and valves.
Where this goes sideways: Running a screen until it visibly clogs. By the time the pulsation is obvious, Graco’s troubleshooting guide says the wear has already started in the packings and valves.
A starved pump sounds wrong before it looks wrong. The stroke goes hollow and slow, thumping where you’d expect a steady hum. I’ve misread that thump as a motor problem more than once, and it was a screen the whole time.
If you’re chasing that symptom, clean a paint sprayer from the inlet backward before you touch anything electrical.
| Symptom | Listed cause | Fix |
|---|---|---|
| Pump won’t prime | Clogged inlet strainer | Clean the inlet strainer |
| Pressure drops at the gun | Wrong size filter mesh | Switch to larger mesh |
| Weak pressure overall | Material too thick or unstrained | Thin, mix, strain |
| Pulsation and wear | Plugged filter screen | Check and clean the screen |
Inline Strainer Kits vs Pour-Through Cones: Which Fits Your Setup
Two families, two jobs. An inline kit bolts into the pump inlet and stays there for the life of the machine. A cone sits in the can, catches the skin and grit, and goes in the bin.
| Spec | Graco 24G774 inline kit | Conical pour-through strainer |
|---|---|---|
| Pressure rating | 75 psi (5 bar) max | None; gravity only |
| Where it mounts | Inlet side of displacement pump | Inside the can or gun cup |
| Wetted materials | Polypropylene, PTFE, fluoroelastomer | Polyester mesh |
| Best for | Airless sprayers, waterborne paint | Quart batches, touch-up, studio work |
Inline Kits: The Permanent Answer
The 24G774 kit ships with a 16G718 strainer, a 16G713 1.5-inch nipple, a 16G711 1.5-inch ball valve, a 16G712 hose barb, and 101368 clamps. The 240499 Series A is the 1-inch version: 193211 strainer, 193212 1-inch NPT nipple, 193213 O-ring, 193214 1-inch ball valve, 193215 barb, 193216 replacement screen, 116953 clamps.
Both carry the same 75 psi (5 bar, 0.5 MPa) maximum working pressure and the same wetted parts list. The full parts breakdown for the 1.5-inch kit is in the Graco 3A1316A paint strainer kit instructions.
Cones: The Disposable Answer
GARDCO’s Elite pods come in 226, 190, 150, and 125 microns, sold in cases of 500, and the starter dispenser kit holds two pods of 125 strainers. The pitch is contamination control: clean-room manufacturing, sealed storage, no-touch dispensing. The same manual points out that hand-made strainers carry shop-floor dust, hand oils, and process particulates.
That argument is real for refinish work, where a speck in clear coat means a redo. At a kitchen table with a quart of acrylic, it’s overkill.
For bottom-feed spray guns, Fuji Spray sells an inexpensive nylon strainer that fits the end of the metal fluid pick-up tube. Different problem, different part.
Where the two families meet is the decision. Airless sprayer running latex: the Graco 24G774 kit. A quart of enamel and a brush: a 190-micron cone, used once, thrown away.
How Often Should You Clean or Change a Paint Strainer?
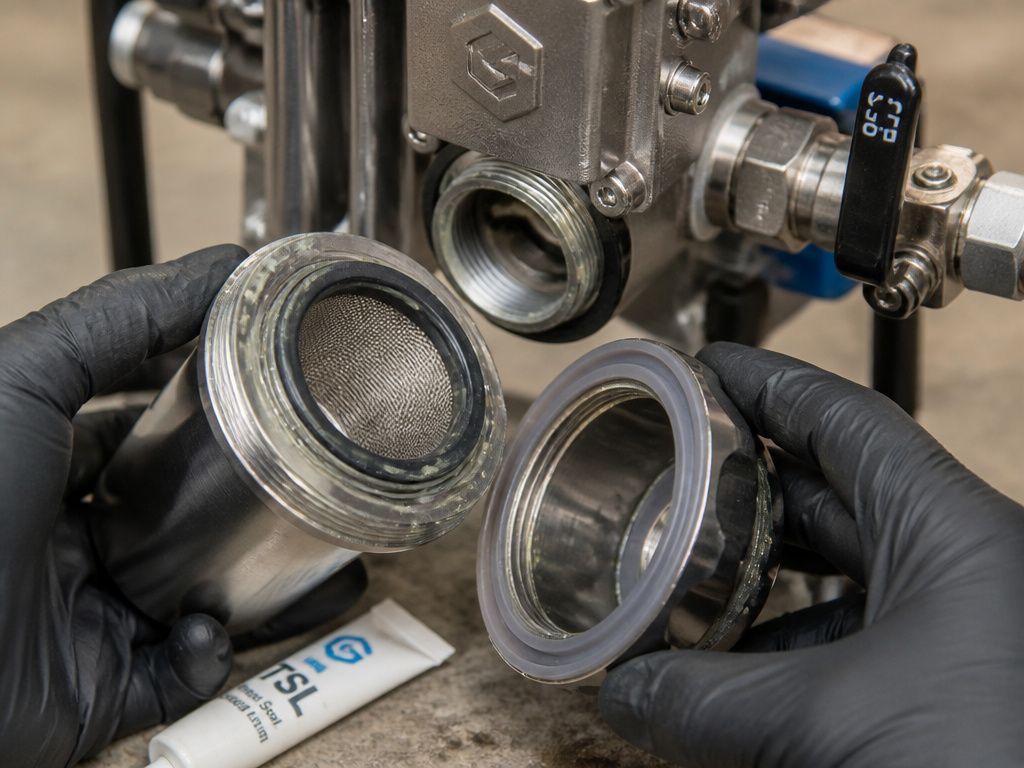
Once a day is the only specific interval anyone actually writes down, though Graco’s manuals say only to check the screen regularly. Airlessco’s manual says to change or clean filters at least once a day, and adds that some types of latex may need a filter change after four hours of operation.
Graco’s two strainer manuals say “check strainer filter screen regularly” and stop there. No number, no interval. That’s a genuine gap between two manufacturers selling into the same trade.
My read: trust the shorter interval, though Graco’s manuals give no interval at all. A screen costs less than an afternoon of rework, and the four-hour note exists because somebody got burned by a fast-skinning latex.
The cleaning sequence from Graco is short, and every step has a reason:
- Turn the ball valve to OFF before you crack the bowl, or you’ll wear the material.
- Remove the filter bowl and keep the O-ring with it.
- Flush the screen in water. Solvent on a waterborne screen is a waste of solvent.
- Grease the bowl threads before reassembly, or the next removal fights you.
- Reinstall the screen and bowl, then open the ball valve. Skipping the reopen leaves you priming a dead line.
Notice step four. Both Graco manuals call for “liberal amounts of grease to filter bowl threads to eliminate paint adhesion,” and almost no third-party guide mentions it. The grease goes on like lip balm and turns grey with paint. That grey film is the difference between a bowl that spins off by hand and one that needs a strap wrench.
The Installation Details Both Graco Manuals Bury
You’re on your knees beside the sprayer with a 1-inch ball valve in one hand and a tub of grease in the other, and the manual is face down on the driveway.
Before you start: Fluid under pressure can be injected through skin, so run the full pressure relief procedure before you loosen anything on the inlet side. Never use a needle or sharp pick to clear a clogged tip, because the tungsten carbide insert is brittle and chips. Set the gun safety latch any time the gun isn’t being triggered.
The install order, per both manuals:
- Relieve pressure first. Graco’s procedure ends with the pressure drain valve left open until you’re ready to spray.
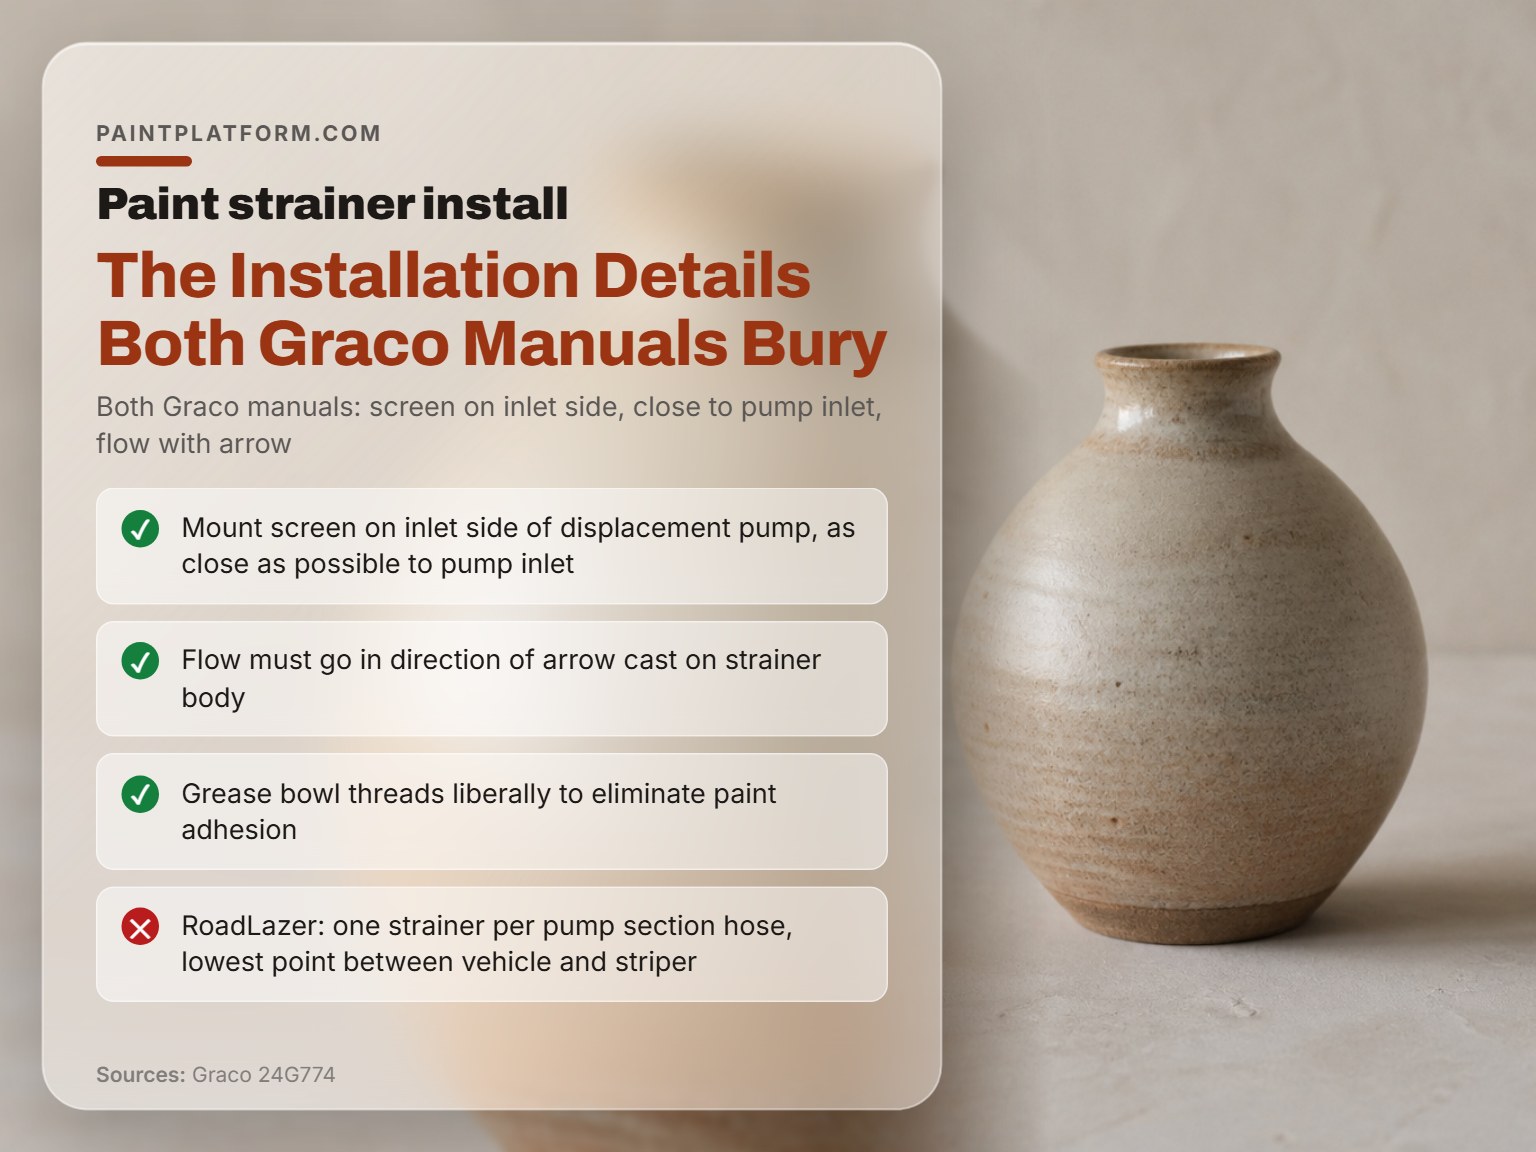
- Mount the strainer with the screen on the inlet side of the displacement pump, as close to the pump inlet as the plumbing allows.
- Clamp the hose to each end of the strainer with the supplied clamps.
- Check the arrow. Material must flow in the direction of the arrow cast on the strainer body.
- Grease the bowl threads before you close it up.
The Three Details That Cause Most Leaks
Distance from the pump inlet is the first. A strainer mounted upstream of the inlet gives grit a place to settle and gives the pump a longer suction path to fight.
Arrow direction is the second. Backward flow packs debris against the screen instead of through it, and the screen plugs faster than it should.
The third only applies to striping rigs. For RoadLazer applications, both manuals call for one paint strainer per pump section hose, located between the vehicle and the striper at the lowest point. That’s a multi-strainer rule that contradicts the single-strainer default everywhere else.
If you’re feeding the pump from a bucket, a paint pail with a liner keeps dried film out of the suction path in the first place. And if the material itself is the problem, thinning paint for a sprayer is the fix Graco lists under insufficient pressure: thin, mix, and strain.
Where Paint Strainers Fail: Alkaline Paint, Freezing, and the Wrong Mesh
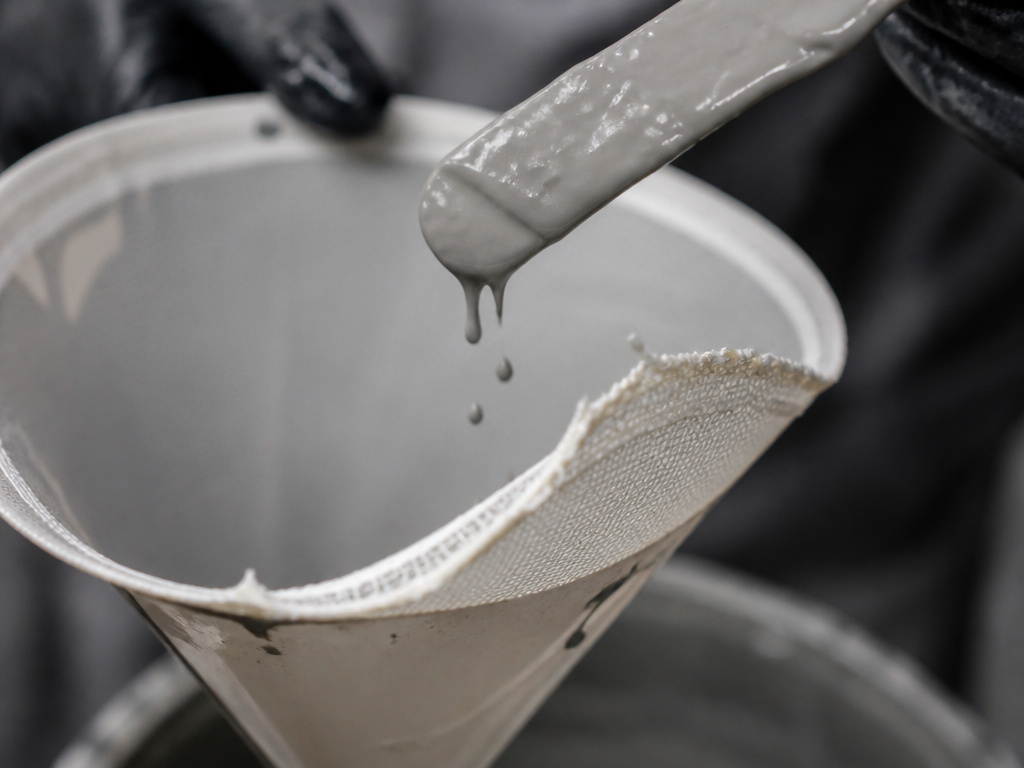
Mesh number 60, plus or minus 5 percent, is the EPA’s specification for the conical filter in its EPA paint filter liquids test method.
Buried in that method’s interference section is a failure mode nobody talks about: filter media were observed to separate from the filter cone on exposure to alkaline materials. The strainer itself comes apart. The EPA notes it causes no problem if the sample isn’t disturbed, which is a polite way of saying the mesh is floating.
The same section flags temperature. Tests run below the freezing point of any liquid in the sample give bad results, so the method has to be run above freezing.
The third failure is the boring one. Graco’s trouble shooter lists wrong size filter mesh as a cause of pressure drop-off at the gun, with the remedy being a switch to larger mesh. Larger mesh means bigger openings and fewer wires per inch. Going finer to “catch more” is how you starve a pump.
Alkaline coatings can lift the filter medium clean off the cone, and the EPA documented it in its own method. Watch the mesh, not just the flow.
Straining Paint Before You Roll It On
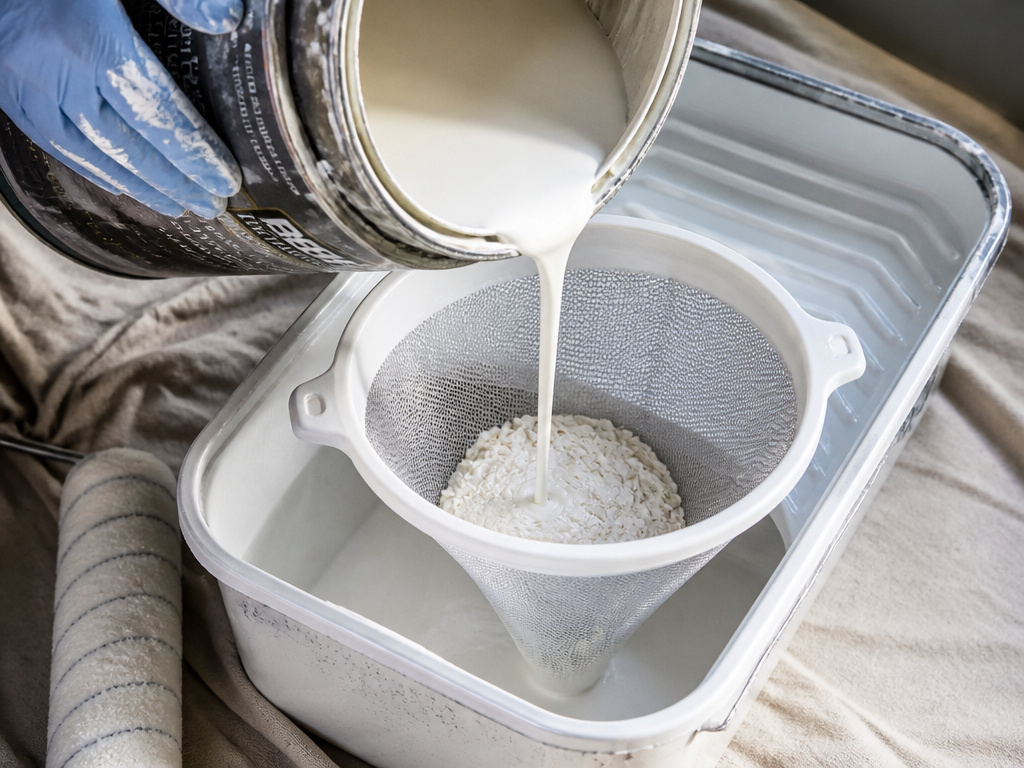
Straining house paint before you roll it sounds fussy until a skin comes through the roller cover and smears down a wall.
A half-used gallon of latex grows a skin you can lift with a stir stick. Pour through a 226-micron cone into a tray and that skin stays in the cone where it belongs. The cone shape is wide enough to sit on a quart can, which is why it works for touch-up cups too.
This is where the tray matters as much as the strainer. Deep-well paint trays hold a roller evenly, and shallow ones let grit ride up the nap. If you’re buying once, the best paint trays for wall work are the ones with a ramp and a ridge, not the flat pans. And when the session ends, clean paint trays before the residue sets, or you’ll be picking it out with a fingernail next weekend.
Here’s the part I got wrong for years. I used to squeeze out big piles of color onto a paper plate and watch half of it skin over before I touched it. Now I put out pea-sized amounts and add more as I go. Straining works on the same logic: strain a cup, not the whole can.
The part nobody mentions: Straining a full gallon when you’ll use a pint. The strained remainder still skins in the can, and you’ve spent a cone to fix a problem you just recreated.
One more thing worth doing. Tape a sample board to the wall and look at it morning and evening before you commit to a sheen. Sheen shows up at angles, not head-on, and a tiny chip never shows you that. I picked satin off a chip once because it looked soft and pretty, then watched a wall turn into a mirror for every roller mark with a window across from it.
Frequently Asked Questions
What micron paint strainer should I use for latex paint?
226 microns is the cutoff McMaster-Carr lists for latex and oil-based paint. Going finer than that on a heavy latex slows the pour without catching anything the coating won’t bury anyway.
Can I use a paint strainer with oil-based paint?
Yes, at the pour-through stage. For inline pump strainers, check the manual first. Graco’s 3A1316A sheet says the 24G774 kit is for waterborne paints, while 308835C tells you to consult the paint manufacturer for other uses.
How often should I change a paint strainer?
Airlessco’s manual says at least once a day, and notes that some types of latex may need a change after four hours of operation. Graco’s manuals say only “check regularly,” with no interval attached.
What happens if I skip straining paint before spraying?
Graco lists material that is too thick or not strained properly as a cause of insufficient pressure or pressure drop-off at the gun. The listed remedy is to thin, mix, and strain the material before spraying.
Can I reuse a paint strainer?
Conical cone is a one-use item; rinse it and the mesh deforms. Inline kits are different, because the 24G774 and 240499 use replaceable screens and a cleanable bowl, so the housing stays and the screen gets flushed.
Do I need a strainer for acrylics and sketchbook work?
Only if you’re pouring from a jar that’s been open a while. A 190-micron cone catches dried film and dust before it reaches a palette. For tube color squeezed fresh, skip it.
Before You Go
If you can’t remember the last time you looked at your screen, pull it now. That’s the threshold. Graco ties a clogged inlet strainer to a pump that won’t prime, and Airlessco’s daily interval exists because screens load faster than anyone expects.
The concession worth stating plainly: everything above assumes a sprayer with a serviceable inlet. If you’re brushing from a quart can, the whole inline-kit section doesn’t apply to you, and a single 190-micron cone will outlast a dozen projects.
That’s the short version of this paint strainer guide. Match the number to the material, grease the threads, and look at the screen before the pump tells you to.
