
How to Remove Mold From Painted Wood: Clean, Dry, Repaint
This post contains affiliate links. As an Amazon Associate, we earn from qualifying purchases.
To remove mold from painted wood, kill the moisture source first, then scrub the surface with detergent and water, rinse, dry it completely, and repaint with a mildewcide top coat. Knowing how to remove mold from painted wood matters because the EPA puts the do-it-yourself ceiling at about 10 square feet; anything larger, or soaked by sewage, needs a professional.
That 10 square feet number is the easy part. The harder question, the how to remove mold from painted wood question, is what the paint film itself will tolerate, because painted wood sits in an awkward category that federal guidance and remediation standards describe differently. Get that classification wrong and you either throw away a door you could have saved or coat a surface that regrows mold inside a month.
What follows walks the identification, the wash, the dry-out, and the repaint. Where the official sources actually disagree, I mark it out instead of picking a winner for them.
Key Takeaways
- Find the water before you scrub anything. Mold on painted wood is a moisture symptom, and cleaning alone brings it back.
- Painted wood is semi-porous in the three-category model remediation contractors use, which means most of it gets cleaned and coated rather than torn out.
- Bleach is genuinely contested. Purdue Extension and NC DPH prescribe it; ASTM D4610 warns it can strip color and gloss from the film.
- Get wood below 12 to 15 percent moisture before priming, per NC DPH’s guidance for painting.
- Hollow-core doors get replaced even when painted, because the interior void can’t be reached.
The 10-Square-Foot Rule That Decides Who Does the Work
The EPA draws the line at about 10 square feet, which works out to roughly a 3 ft by 3 ft patch. Under that size, with no major water damage behind it, the job belongs to you.
Mold growth under roughly 10 square feet on painted wood is generally a homeowner task: scrub with detergent and water, rinse, dry fully, then repaint with a mildewcide top coat. Growth over that area, or damage from sewage or other contaminated water, calls for professional remediation regardless of patch size.
Two exceptions override the square footage entirely. If the water damage came from sewage or another contaminated source, the EPA directs you to a professional no matter how small the patch is. And if you know or suspect the HVAC system is contaminated, don’t run it, because it spreads mold through the building.
The full EPA mold cleanup in your home page is worth reading before you buy anything. It also flags something people miss: mold can stain permanently, and you may not be able to restore an item’s original appearance even after a perfect cleanup.
Is That Green Film Actually Mold, or Just Mildew?
Probably mildew, and that’s good news. On a painted fence and the shady trim around my place, the green-gray film turned out to be surface growth that came off with detergent and water.
Purdue Extension draws a useful line here. Blue stain fungi cause no detrimental effects as long as wood moisture content stays below 20 percent, and wood in a properly built, well-maintained house usually runs 8 to 13 percent. Above that, the stain develops.
| What you see | Likely cause | What to do |
|---|---|---|
| Green-gray fuzz on shade-side trim | Surface mildew on the film | Wash and rinse, then repaint with mildewcide |
| Blue-black streaks following the grain | Blue stain fungus in damp wood | Dry the wood below 20 percent, treat, then coat |
| Wood soft under a screwdriver tip | Rot, not surface growth | Cut back to sound wood or replace |
| Chalky white bloom that wipes off | Paint chalking, not mold | Detergent scrub, rinse, repaint |
| Paint lifting in sheets | Moisture trapped behind the film | Fix the leak before anything else |
If the film is fuzzy but the wood is sound, this is ordinary mildew removal and nothing more dramatic. Don’t let anyone sell you a remediation job for a patch you can scrub in an afternoon.
Why Painted Wood Sits Between Porous and Non-Porous
Ask three authorities to classify painted wood and you get three answers, which is exactly why so much conflicting how to remove mold from painted wood advice floats around.
The EPA uses two buckets: hard surfaces get scrubbed, absorbent materials like ceiling tiles and carpet may have to be thrown away. Painted wood doesn’t fit cleanly into either.
Remediation contractors use three. Painted or sealed surfaces, wooden studs, doors, plaster and wood moldings, and masonry all land in a semi-porous middle category, because contamination can be cleaned off without wrecking the structure. The IICRC S520 standard goes further in section 12.2.6, treating small isolated growth on enamel-painted walls as removable by HEPA vacuuming and damp wiping as routine maintenance.
| Framework | How it treats painted wood | Practical result |
|---|---|---|
| US EPA (two categories) | Hard surface, but absorbent materials get discarded | Scrub hard, discard what’s porous |
| Field model (three categories) | Semi-porous, cleanable | Clean and coat rather than replace |
| IICRC S520 12.2.6 | Non-porous for small isolated growth | HEPA vacuum and damp wipe |
The practical upshot: most painted wood is salvageable. Solid wood doors that are varnished or painted can be cleaned and coated unless they’re warped or damaged badly enough to need replacement. Same for painted walls, ceilings, skirting boards, and window trim.
That’s the useful takeaway from removing mold from painted walls too. The coating is the thing you’re protecting, and it usually survives.
The Wash Recipe, and the Bleach Argument Nobody Settles
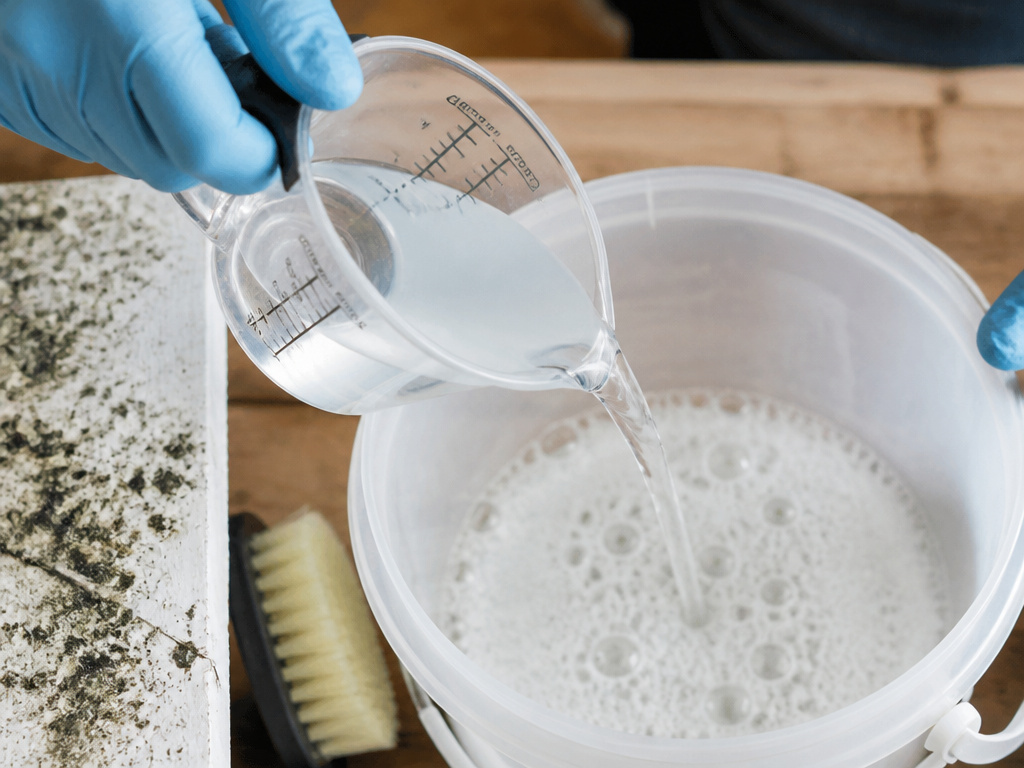
Three things go into the wash: detergent, water, and a decision about bleach that you have to make for yourself.
Before you start: Never mix bleach with ammonia, because the combination produces toxic gas. Wear gloves and eye protection, and work with a window open or a fan running, since NC DPH calls for a well-ventilated area whenever disinfectant is in use.
Mixing the Purdue Wash
Purdue Extension NCR-134, co-authored with the USDA Forest Service, gives an exact recipe for painted surfaces: 1/3 cup household detergent, 1 quart of 5% sodium hypochlorite (ordinary household bleach), and 3 quarts of warm water. Scrub it on with a bristle brush or sponge, then rinse thoroughly with clean water before repainting.
The reasoning matters. Mildew that isn’t killed grows straight through the new paint coat, and if the old surface isn’t properly cleaned first, you get intercoat peeling instead of adhesion.
Where ASTM Splits From the Health Departments
This is the disagreement worth knowing about. Purdue and the NC DPH both allow dilute bleach on painted wood. ASTM D4610 warns that bleach’s oxidative effects degrade the film itself: color loss in coatings containing organic pigments such as quinacridones, loss of gloss, and chalking.
ASTM also scopes its procedure to surfaces being recoated. Using it to clean a pigmented door you intend to keep, without repainting, is outside what the standard covers, and it says a small patch must be tested first.
So the split isn’t really about whether bleach kills mold. It’s about what you’re optimizing for. Kill the growth and accept some film damage, or preserve the finish and accept a gentler clean.
The CDC mold cleaning tips page, revised March 29, 2024, stays out of the bleach argument entirely. Its instruction is water and detergent, remove all visible mold, dry right away.
How Do You Clean Painted Wood Without Sanding Off the Paint?
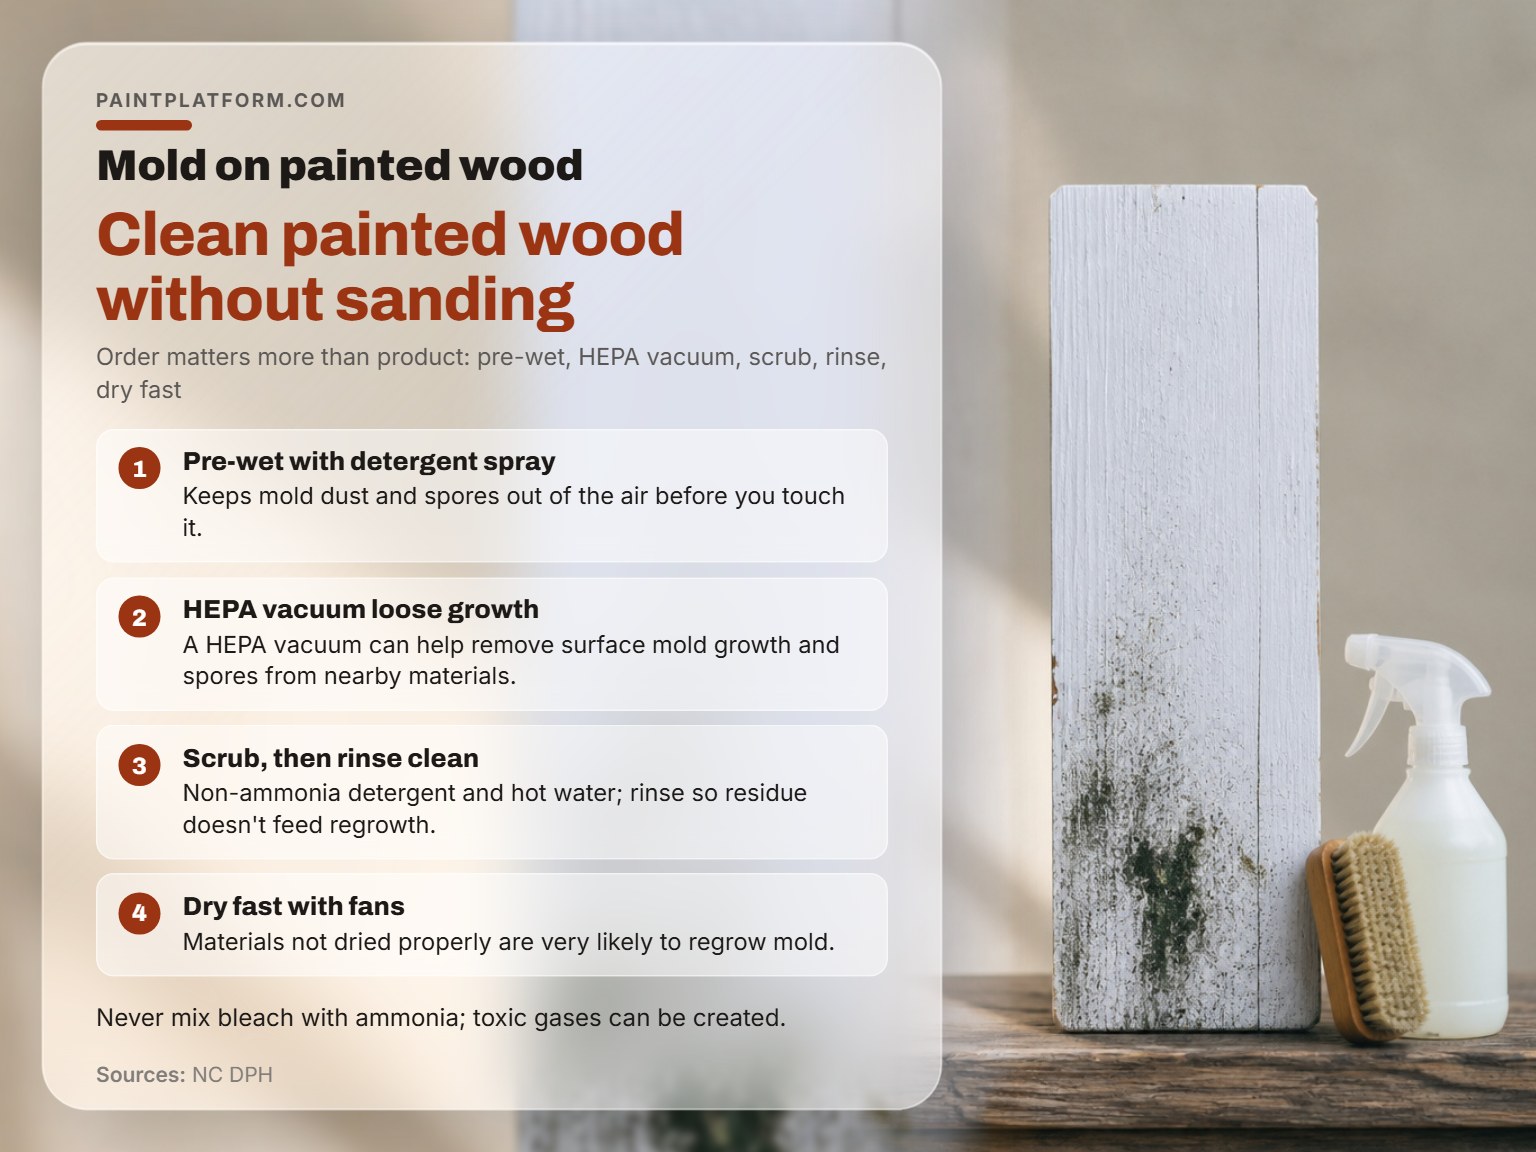
Sequence does more work than product here. Follow the order and you keep the coating. Improvise and you’ll be repainting a whole wall instead of a patch.
- Clear the area and ventilate it. Skip this and spores settle on everything nearby, including things you can’t wash.
- Pre-wet the surface with a water-and-detergent spray. NC DPH recommends this first, because dry scrubbing lifts mold dust and spores straight into the air.
- HEPA vacuum the loose growth and the surrounding surfaces. A vacuum without HEPA filtration just redistributes what you’re trying to remove.
- Scrub with a non-ammonia detergent and hot water, or a commercial cleaner. Ammonia plus any bleach residue later is the hazard you don’t want.
- Rinse with clean water. ASTM warns that residual phosphate detergents actively feed fungal regrowth, so a lazy rinse undoes the scrub.
- Disinfect if you want to. Household bleach or an EPA-registered sanitizer works, left on per the label, often just allowed to dry naturally.
- Dry it fast with fans and a dehumidifier. NC DPH is blunt about the consequence: materials that aren’t dried properly are very likely to regrow mold.
You don’t need a shelf of bottles for this. Keep it simple: a detergent, a disinfectant, a brush, and a HEPA vacuum. More products won’t clean a fence better than a few.
If you’d rather buy than mix, the best mold removers for painted wood roundup covers which formulations are safe on a painted film. And for the general care side, these cleaners for painted wood are the ones that don’t dull a finish.
Fair warning: the first pass usually looks worse.
What Wood Moisture Level Actually Stops Regrowth?
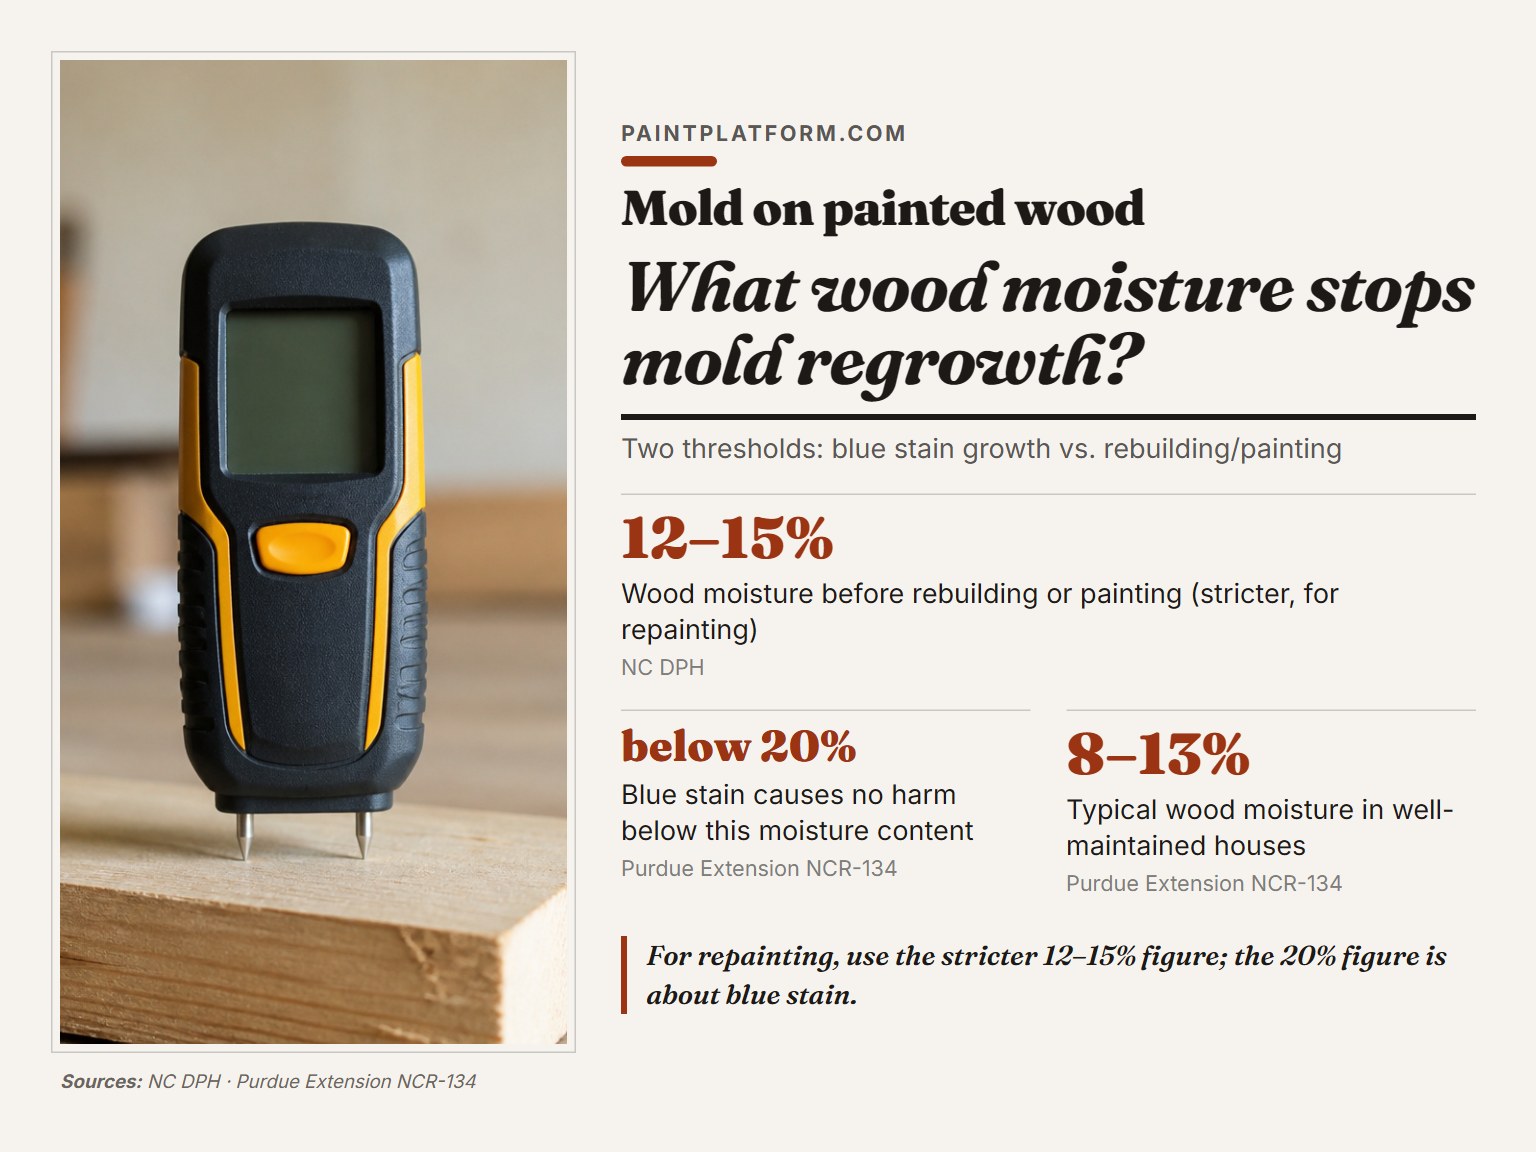
Here’s where the numbers genuinely conflict, and you should know both. NC DPH says wood moisture must be below 12 to 15 percent before rebuilding or painting. Purdue says blue stain causes no harm below 20 percent.
Both are defensible. The 20 percent figure is about whether the fungus can grow. The 12 to 15 percent figure is about whether a fresh coating will hold. For repainting, use the stricter one.
Common mistake: Priming while the wood still reads damp. Trapped moisture drives the new coat off from behind, and the paint fails at the edges first.
A moisture meter is a worthwhile investment before priming.
The other half of drying is airflow. In my experience the shady north-facing spots grew mold fastest, and cutting back a bush did more than repainting did. Wood needs to dry completely before anything goes on it.
That’s the same logic behind mold prevention generally. Sunlight and air move moisture. Paint only seals it in.
Priming and Repainting: What Actually Sticks
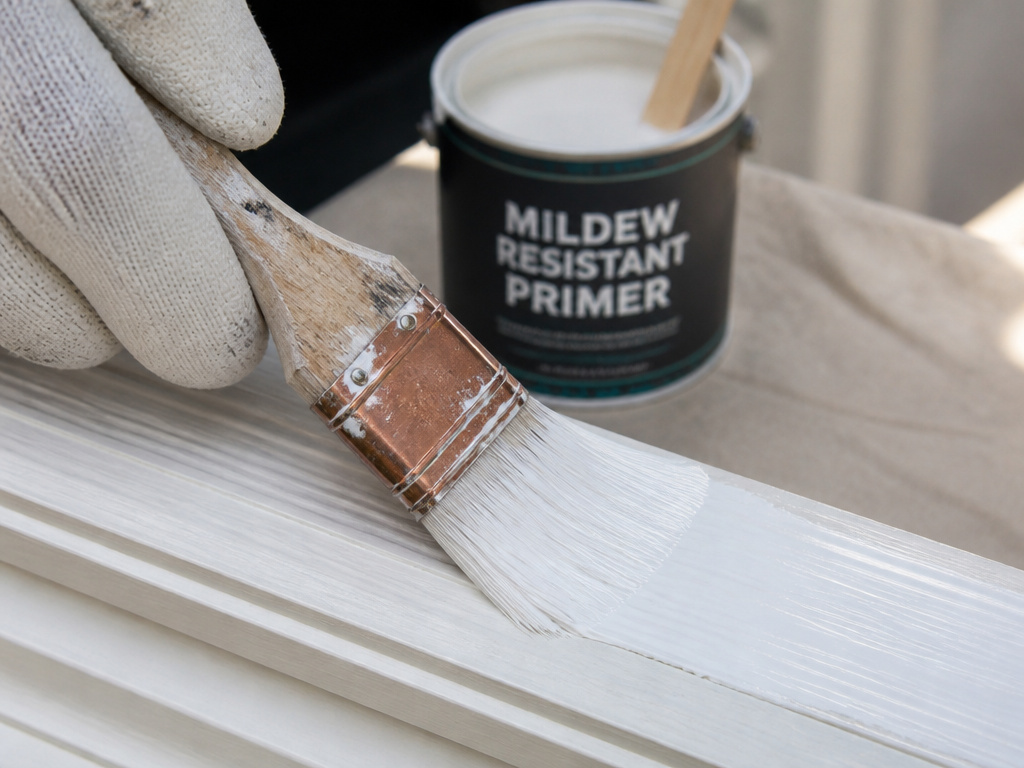
Primer is where most of these jobs quietly fail. The EPA is direct about it: don’t paint or caulk moldy surfaces, because paint applied over mold is likely to peel.
ASTM D4610 explains why repainting a contaminated surface is worse than repainting a clean one. Growth that wasn’t removed causes more rapid infestation of the new coat, plus poor adhesion and staining or bleeding through the finish.
Which Primer to Reach For
For interior and exterior painted wood that’s been cleaned and dried, use a nonporous mildew-resistant primer. It’s a stain-blocking base that goes on over a sound, dry film.
If you’re recoating a surface that had heavy growth and you want a mildewcide in the primer itself, use a mildew-resistant primer.
Purdue’s guidance on the top coat is worth repeating: use a paint containing a mildewcide. That’s the step that stops recontamination, and it’s the step people skip when they’re tired and just want the job over.
For already-painted wood that had blue stain, the sequence is longer. Remove the old paint, let the wood dry thoroughly, apply a water-repellent preservative, then a nonporous mildew-resistant primer and at least one mildewcide top coat. Purdue also warns against porous paints like flat alkyds and latex directly over staining-type woods.
If you’re weighing whether to coat at all versus strip back, this piece on painting over mold covers the decision. And if you’ve already repainted once and it came back, mold returning after a fresh coat usually means the moisture source was never fixed.
I’d skip the anti-mold paint additives sold as a standalone fix. A mildewcide in the top coat is standard practice and worth having. A jar of additive over a damp, dirty surface is a way to spend money and still have mold.
When to Stop Cleaning and Replace Instead
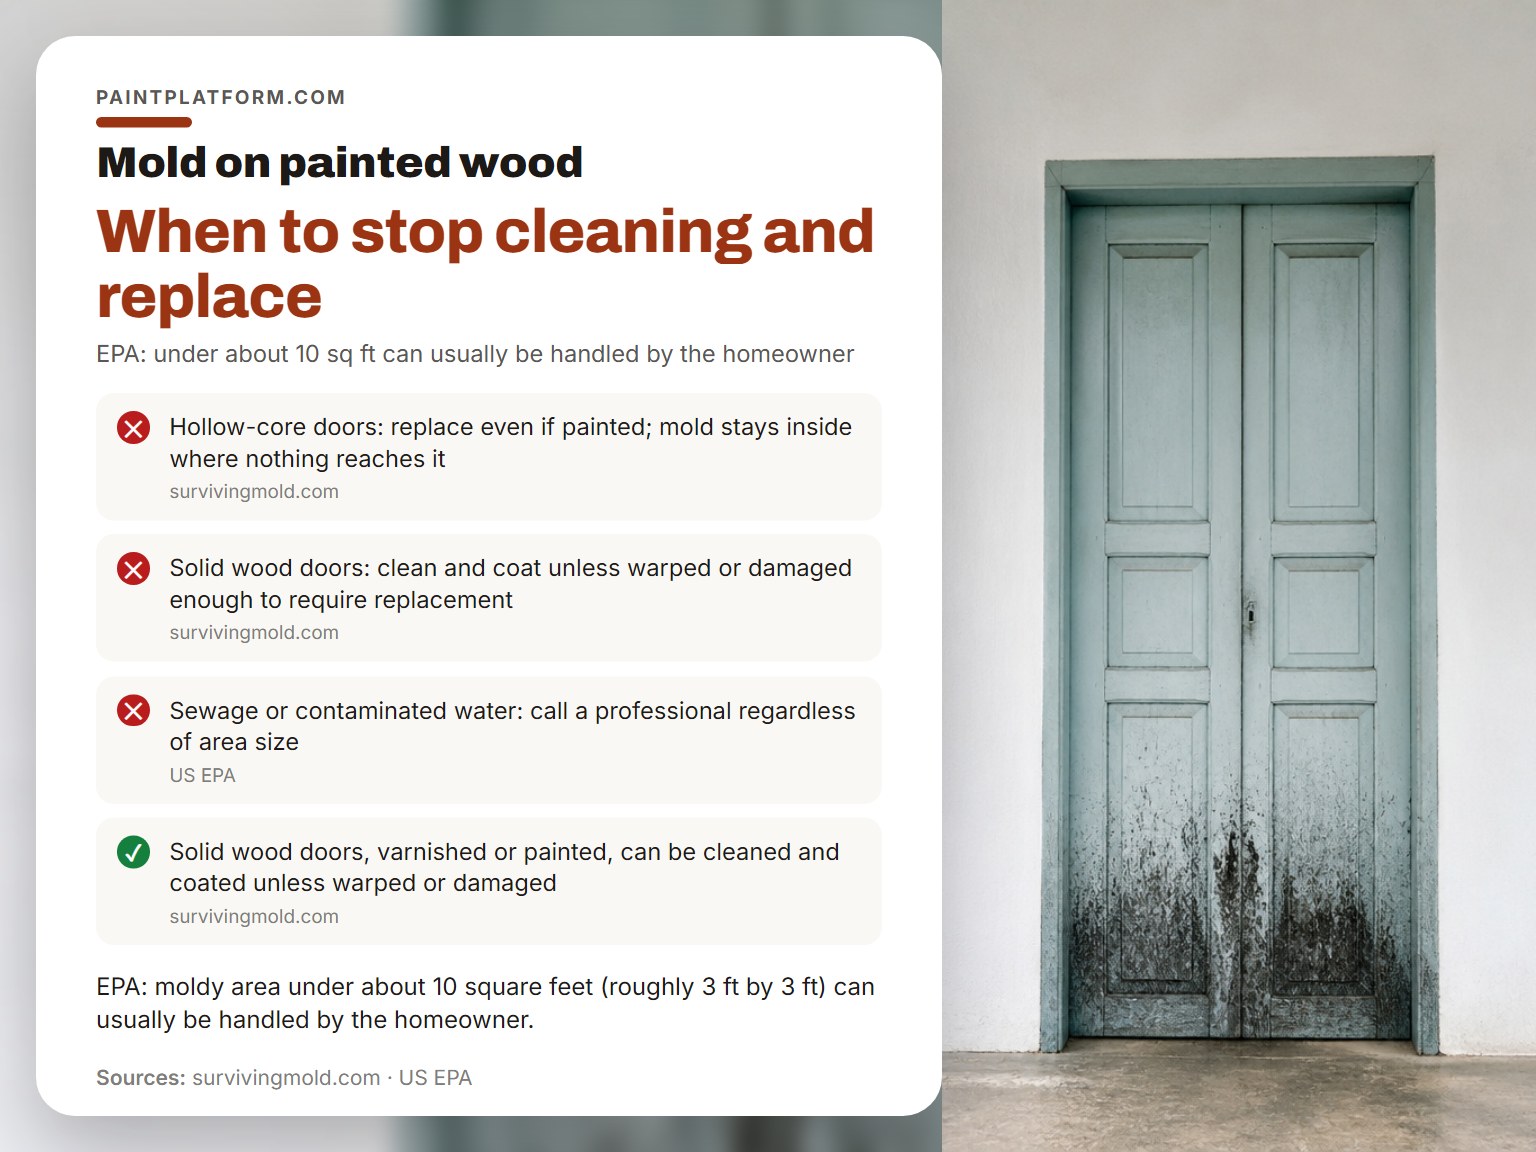
Some painted wood should never be cleaned, and knowing which saves you a weekend.
- Hollow-core doors, painted or not. The surface cleans fine and the interior void stays contaminated where nothing reaches it.
- Any wood that’s warped or structurally damaged. Coating a failing substrate just delays the replacement.
- Anything touched by sewage or contaminated water. EPA sends this to a professional regardless of size.
- Growth over 10 square feet, or anything with significant water damage behind it.
Exterior jobs add one more variable: weather. The exterior mold removal process has to account for rain and sun exposure in a way interior trim doesn’t.
Sand it, prime it, move on. Stripping sound paint is a hobby, not a repair.
The Bottom Line
Here’s the concession most guides won’t make: if you can’t find and fix the moisture source, none of the above is worth doing. Cleaning and repainting a surface that’s still getting wet means you’ll soon be back at the same patch with the same green film.
So the first step this week isn’t a product. It’s ten minutes with a flashlight, finding where the water is coming from. A leaking gutter, a downspout dumping against the siding, a bathroom fan venting into the attic, a bush holding damp against a north wall.
Once that’s handled, the rest is ordinary work. Scrub, rinse, dry below 15 percent, prime, and top coat with a mildewcide paint. Start messy, refine later. The first scrub never looks tidy, and that’s fine.
Frequently Asked Questions
Can I just paint over mold on painted wood?
No. The EPA states that paint applied over moldy surfaces is likely to peel, and ASTM D4610 notes that repainting a contaminated surface generally causes more rapid infestation of the new coat than repainting a clean one. Clean, dry, then coat.
Does bleach kill mold on painted wood?
It kills the growth, but the answer splits by source. Purdue Extension and the NC DPH both allow dilute household bleach on painted surfaces. ASTM D4610 warns that bleach’s oxidative effects can bleach out organic pigments, kill gloss, and cause chalking, and it requires a patch test first.
How dry does painted wood need to be before repainting?
NC DPH puts the threshold at less than 12 to 15 percent wood moisture before rebuilding or painting. Purdue notes blue stain fungi don’t cause damage below 20 percent moisture. For repainting, treat 12 to 15 percent as the working number.
Should I replace painted wood instead of cleaning it?
Most painted wood can be cleaned and coated, including solid wood doors, trim, and skirting boards. Replace hollow-core doors regardless, since mold can colonize the interior where you can’t reach it. Replace anything warped, rotten, or contaminated by sewage.
What if the mold keeps coming back after cleaning?
Recurring growth means the moisture was never resolved. The EPA recommends increasing ventilation and cleaning more frequently in damp spots, but that manages the symptom. Find the leak, the condensation source, or the blocked airflow first.
Is the green stuff on my painted fence actually mold?
It’s usually surface mildew, and it scrubs off with detergent and water.
