
How to Cut in a Ceiling Edge: 3 Methods That Work
This post contains affiliate links. As an Amazon Associate, we earn from qualifying purchases.
To cut in a ceiling edge, apply paint about 1/4 inch down from the corner with an angled brush, then push that same unloaded brush up into the line using just the tips of the bristles. Glidden’s own instructions say not to reload the brush for that second pass.
Painters who cut in by hand describe a slight bead of paint riding the leading edge of the brush, and that bead acts as a guiding edge. This is also how to cut in a ceiling edge.
What follows covers the three methods Glidden publishes, the cut-line depth argument that splits working painters, and the panel-edge rules that apply when your ceiling isn’t drywall at all.
Key Takeaways
- Push, don’t paint, the last quarter inch. Glidden’s angled-brush method applies paint about 1/4 inch down from the corner, then pushes that same unloaded brush up to the line.
- Thin cut-lines are how ceilings get painted by accident. One painter commenting on a cut-in tutorial runs a 5-6 inch deep line specifically to keep the brush away from the ceiling.
- Caulk gives the crispest line and takes the longest. Glidden calls it the most time consuming of the three methods and the best choice for touching up a painted room.
- Panel edges follow different rules than drywall. Armstrong requires field-cut tegular edges to be colored with SuperCoat Ceiling Panel Touch-up Paint; Rockfon Infinity specifies no coloring at all.
- Wood dust from panel cuts is an IARC-classified nasal carcinogen. Armstrong’s caution section calls for a dust collector and a NIOSH-designated dust mask.
What Does Cutting In a Ceiling Edge Actually Involve?
Two surfaces meet at that corner, and neither one is flat. Drywall tape and joint compound feather out across the wall side, so the corner is a shallow curve dressed up as a right angle.
The wall-ceiling junction is a compound corner: two planes meeting along a taped seam, with joint compound feathering outward on the wall side. Paint applied to that corner meets a surface that is rarely flat, so the visible line depends on brush angle rather than on the wall being straight.
That curve changes things. Most of what makes cutting in feel difficult is the same skill you use on any wall corner, just rotated onto a different plane, and it is the same skill behind how to cut in a ceiling edge.
Glidden lists three ways to handle the wall-ceiling line: caulk, an angled brush, and a ceiling line paint pad tool. They produce different results and take wildly different amounts of time.
The pad is the one beginners reach for. Two roller wheels on top run along the ceiling while two stops on each side hold the pad in position relative to those wheels.
Three Methods, and Only One of Them Is Fast
Glidden publishes three methods for the wall-ceiling line, and they are not equally fast. The caulk method gets the crispest result of the three.
Tape the wall about 1/8 inch down from the ceiling. Tape the ceiling about 1/8 inch out from the wall. Run a line of caulk through the gap, smooth it with a wet finger or an ice cube, and pull the tape immediately.
Glidden is upfront about the trade-off. The company calls caulk the most time consuming of the three methods, and names it the best option for touching up a room that’s already painted.
| Method | What it needs | Trade-off |
|---|---|---|
| Caulk and tape | Two tape lines at 1/8 inch, caulk, wet finger | Crispest line, slowest method |
| Angled brush | A 2-inch angled brush, no reload | No tape needed |
| Ceiling line pad | Pad tool with two guide wheels | Easiest first attempt, light coats only |
The Angled Brush Sequence
- Load an angled brush and apply paint to the wall about 1/4 inch down from the ceiling.
- Do not reload the brush. Push the paint you already applied up to the ceiling line with the tips of the bristles.
- Work left to right or right to left, whichever lets you stand comfortably. Reaching across your body tilts the brush and the tip digs in.
Why the Pad Tool Suits Beginners
The pad removes the aiming problem. Its two roller wheels roll on the ceiling to guide a straight line, and two stops on each side position the pad relative to the wheels.
Where the Caulk Method Wins
Caulk wins on a room that’s already painted. You aren’t building a new line, you’re repairing a tired one, and the tape does the masking work for you.
How Deep Should Your Cut Line Go?
Depth is where the advice splits. Glidden’s angled-brush method applies paint about 1/4 inch down from the ceiling, then pushes that unloaded brush to the line. That’s a shallow working strip.
Painters commenting on a cut-in tutorial describe something much deeper. One runs a 5-6 inch cut-line specifically so the brush never gets near the ceiling. Another notes the video demonstrates a 4-5 inch line and says that’s the minimum they’d use.
Both positions are honest. A shallow strip keeps paint off the wall you already finished. A deep line keeps the brush away from the ceiling, where a flick of the tip leaves a mark, and the how to cut in a ceiling edge question comes down to which risk you prefer.
Where this goes sideways: A thin cut-line combined with a loaded brush is how paint ends up on the ceiling. The commenters running 5-6 inch lines describe exactly that failure, and the touch-up takes longer than the deeper line ever would have.
A straight line at the corner comes from the bead of paint riding the leading edge of the brush. Commenters describe that bead as the actual guide.
That’s also why thin cut-lines backfire. Commenters on a cut-in tutorial describe thin lines as the reason they ended up with paint on ceiling in the first place.
Which Tools Actually Change the Line?
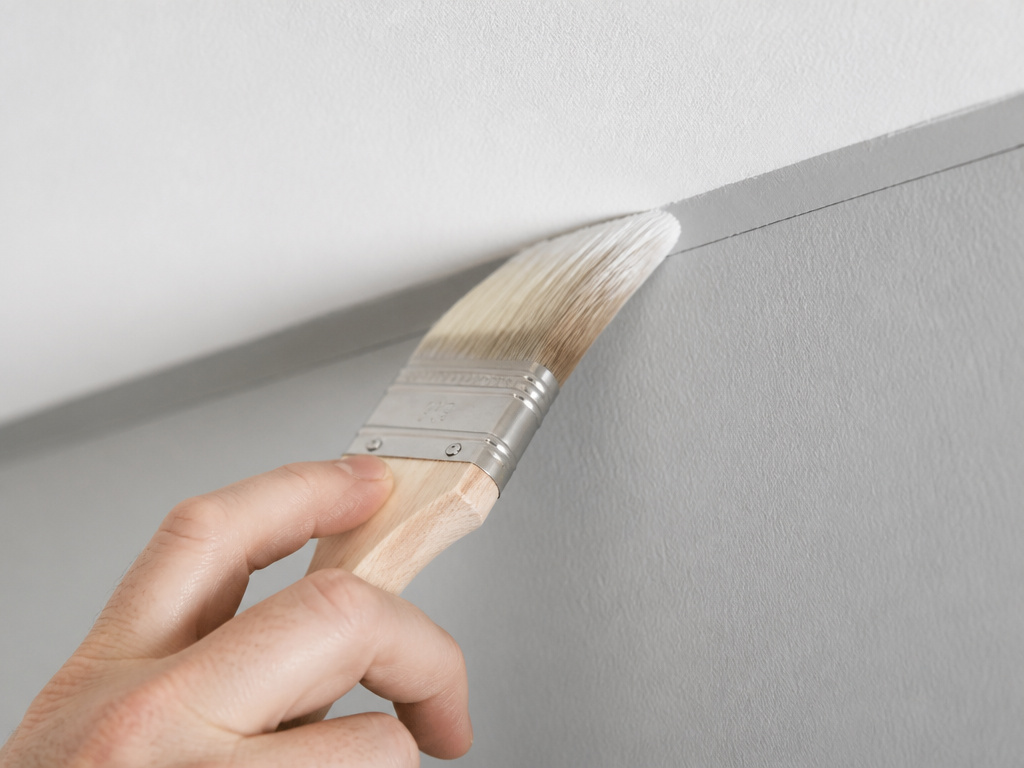
An angled sash brush does most of the work, and the angle is what lets the tips reach the corner while your knuckles stay clear of the wall.
- Angled sash brush. The tool for Glidden’s angled-brush method, and the one tool that shows up in every method except the pad.
- Ceiling line paint pad tool. Two roller wheels on top, two stops on each side. Best for a first attempt.
- Painter’s tape. Needed for the caulk method at both the 1/8 inch wall line and the 1/8 inch ceiling line.
- Caulk plus a wet finger or ice cube. The smoothing step, and the reason the caulk method runs longest.
When the Edge Is a Panel, the Rules Change Entirely
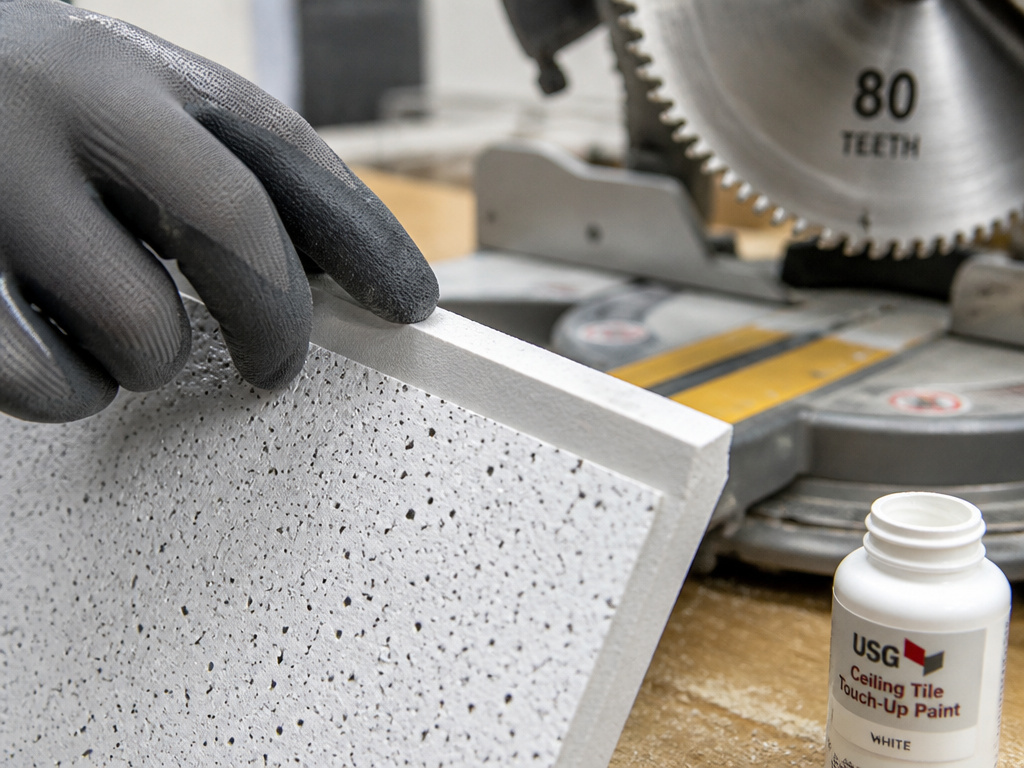
The panel drops into the grid, the cut edge shows, and the line looks wrong from the doorway.
Before you start: Wood dust from cutting ceiling panels is classified by IARC as a nasal carcinogen. Armstrong’s caution section calls for a dust collector and a NIOSH-designated dust mask, and specifies a 15-minute flush for eye or skin irritation.
Armstrong’s large-format instructions treat the cut edge as a finishing problem. Field-cut tegular edges must let the panel face drop 1/4 inch below the grid, and every exposed field-cut edge has to be colored to match the factory finish with Armstrong SuperCoat Ceiling Panel Touch-up Paint.
That’s one manufacturer’s rule, and it isn’t universal. Rockfon Infinity specifies no coloring requirement at all. Its guide covers blade choice and feed rate only, and warns that a fast cut leaves sharp edges and poor cut quality.
Tooling splits the same way. Armstrong WoodWorks Grille Forte calls for 80-tooth blades and notes that more teeth is better. Rockfon Infinity calls for a miter saw with a metal-cutting blade and a slow feed.
| Product | Cutting tool | Edge rule |
|---|---|---|
| Armstrong Large Format | Field cut to clear the grid | Color cut edges with SuperCoat touch-up paint |
| WoodWorks Grille Forte | 80-tooth blade, more teeth better | Backers within 3 inches and 12 inches of the cut |
| Tectum | Hand router, 1/4 inch bevel bit | Cut face up to limit veneer chipping |
| Tectum Create! | Same as Tectum | Cut printed image down |
| Rockfon Infinity | Miter saw, metal-cutting blade | Slow feed, no coloring required |
Run a fingernail along an edge cut with a fast feed and it catches. A slow feed leaves it smooth enough that your nail slides across without a sound.
Cutting WoodWorks Grille Forte Panels
- Cut with an 80-tooth blade. Fewer teeth tear the slat edge and the backer pulls away from the cut.
- Add field backers within 3 inches of the cut for alignment and within 12 inches for hanging, using part 7290GBL. Skip this and the panel sags along the cut.
- Drill new pilot holes at 3/32 inch. Reusing the factory holes after a cut throws the slat spacing off.
- Leave at least 3/4 inch of backer past the slat side and retain at least two slats. A panel that loses both slats has nothing holding its shape.
- Panels cut to less than 3 feet nominal length need special reinforcement. The standard sequence stops applying at that point.
Easy to miss: Removing factory-applied backers outside the cut zone voids the warranty. Trim more than you intended and you’ve traded a panel for a phone call.
Two Panel Rules That Catch People Out
When the panel face rests on perimeter molding instead of dropping through the grid, Armstrong requires Spring Border Clips (part 7870) to stop the panel shifting toward the wall until the opposite edge drops off the grid flange.
Face orientation flips depending on the product line. Armstrong’s Tectum guide says cut face up to limit veneer chipping. The Tectum Create! Printed panels get cut with the printed image down for the best visual result.
The Failures You Only See in Raking Light
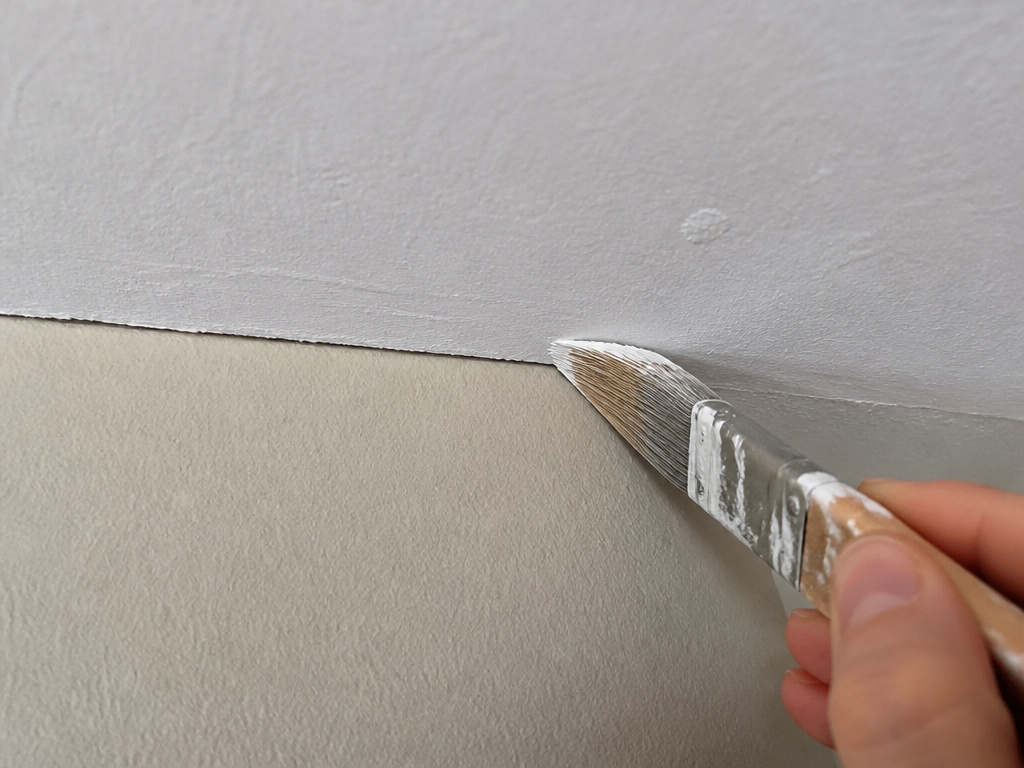
- A cut-line that’s too thin. The commenters running 5-6 inch lines aren’t being fussy.
Even a professional gets paint on the ceiling sometimes, and hand cut-ins still need touch-ups. A commenter on a cut-in tutorial says exactly that, and it matches what I’ve seen in my own rooms.
Frequently Asked Questions
Do I need to tape the ceiling before cutting in?
Glidden’s caulk method uses two tape lines: one about 1/8 inch down the wall and one about 1/8 inch out on the ceiling. The angled-brush method uses no tape at all. Pick based on whether you’re building a new line or touching up an old one.
Why does paint keep getting on my ceiling?
Usually a thin cut-line combined with a loaded brush. Painters commenting on a cut-in tutorial describe running 5-6 inch deep lines specifically to keep the bristles away from the ceiling. A shallow strip leaves nowhere for a small slip to go.
Should I cut in with a brush or a pad?
The pad tool has two roller wheels that ride the ceiling and two stops that hold the pad in position relative to them. It’s the easier first attempt. The angled brush gives more control once you’ve practiced the unloaded push.
What is the 1/4 inch rule for ceiling panels?
Armstrong’s large-format instructions require field-cut tegular edges to let the panel face drop 1/4 inch below the grid. Every exposed field-cut edge then has to be colored to match the factory finish with SuperCoat Ceiling Panel Touch-up Paint.
Which face of a ceiling panel goes up when cutting?
It depends on the product. Armstrong’s Tectum guide says cut face up to minimize veneer chipping. The Tectum Create! Printed panels are cut with the printed image down instead, for the best visual result.
Can I cut ceiling panels with a regular wood blade?
Armstrong WoodWorks Grille Forte specifies 80-tooth blades and notes that more teeth is better. Rockfon Infinity specifies a miter saw with a metal-cutting blade and a slow feed. The two specs don’t overlap, so check which product you actually have.
The Bottom Line
Start with the brush method and a 1/4 inch offset, and give yourself permission to touch up. Even a professional gets paint on the ceiling, and hand cut-ins still require touch-ups.
If you’re painting a room you already finished, the caulk method is the best choice for touching up an already-painted room.
