
Dry Brush Painting Technique: How to Get the Worn Look
This post contains affiliate links. As an Amazon Associate, we earn from qualifying purchases.
The dry brush painting technique is a two-color method: apply a full-coverage base coat, let it dry, then drag a clean, dry brush with only the very tips of its bristles charged with a contrasting color over the surface. The aim is a rough, uneven finish that reveals glimpses of the base coat underneath.
A brush loaded that lightly cannot lay down a solid film, which is exactly what the finish needs. The bristles skip the high spots and leave the low areas showing, so the dry brush painting technique makes the base coat read as age rather than as a second color.
What follows is the method as the brand teaches it, then the places where industrial coating manuals flatly disagree with that method, and the brush choices that separate worn from just messy.
Key Takeaways
- Two colors, not one. A full-coverage base coat goes on normally; the dry second coat is what creates the worn look.
- Dip only the very tips. Annie Sloan’s method keeps the bristles separated and never soaked in paint.
- Coverage is the wrong goal. The finish is meant to be rough and uneven, with the substrate showing through.
- Heat and cold both break it. ZYP gives a substrate pre-heat of 40-50 C (100-125 F) to aid drying, and NBS guidance prohibits painting on frozen masonry.
- No sandpaper required. Dry brushing ages a piece without a single sheet.
What the Dry Brush Painting Technique Actually Does
The technique runs on two coats and one deliberately under-loaded brush. Annie Sloan’s method applies a full-coverage base coat first, brushing in every direction to build texture, then lets it dry completely before the second pass.
Dry brushing charges only the tips of a clean, dry brush with a small amount of paint. The bristles stay separated rather than soaked. The brush is wiped over the surface, then scrubbed, so the second color lands unevenly and the base coat shows through in the thin areas, producing a worn, uneven finish.
The base coat goes on thick and even. The second coat goes on thin and patchy, and that patchiness is what reads as wear.
I learned the timing on a small oak side table. A barely loaded brush with a lighter color dragged over a darker base adds depth quickly, and the raised edges start to look like they have been handled for years. That is the whole payoff on a distressed finish.
The finish is meant to be rough. Annie Sloan’s own page is blunt about it: dry brushing will not give great coverage, and the aim is to reveal some of the substrate rather than bury it.
Dry Brushing Without Sandpaper
Here is the part that sells the technique to anyone who has spent an afternoon sanding a dresser. Dry brushing ages a piece without a single sheet of sandpaper. No dust in the curtains, no swirl marks to sand out, no stripping back to bare timber.
The raised edges get the paint, the flats stay closer to the base color, and the whole thing looks handled rather than manufactured. For a farmhouse or country look, that is the effect you are chasing.
How Much Paint Should Be on the Brush?
Have you ever watched a dry-brush demo and noticed the instructor’s brush looks almost clean? That near-empty brush is doing the work.
Annie Sloan’s instruction is specific: dip the tip only, keep the bristles separated, and never let the brush soak. If you overcharge it by accident, dab the excess onto newspaper or paper towel before the brush touches the piece.
The Three Positions on Brush Loading
Three credible sources give three different answers, and they are not actually arguing about the same job.
| Source | Loading Rule | What It Produces |
|---|---|---|
| Annie Sloan | Tips only; bristles separated, not soaked | Rough, uneven, substrate showing |
| Hempel guideline (Jan 2026) | Fully charged brush; deep dipping fills the heel | Even film build for protective coats |
| USACE EM 1110-2-3400 | Good brush loading required | Even, defect-free film |
Annie Sloan is teaching a decorative finish on furniture. Hempel’s guideline is written for protective marine and industrial coatings, where film build matters more than texture. USACE EM 1110-2-3400 covers structural steel and concrete, and it wants good brush loading so the film comes out even.
So the loading rule follows the goal. For a worn look, under-load. For a protective film, load properly and keep the heel of the brush working.
Where this goes sideways: Dipping past the tips fills the heel with paint. The brush then lays a solid stripe on the first pass, and that stripe skins over before you can scrub it out.
I wipe most of the paint off on a paper towel until the brush leaves only a faint scratchy trace. Too much paint and you get a stripe instead of texture. The trace is the signal; a solid line means back to the towel.
If you want the fuller version of that motion, this guide on loading a brush covers the heel, the tip, and how much paint each one actually holds.
The Two-Color Method, Step by Step
Three things happen in this order: a full base coat, a dry second coat, and a clear finish.
Before you start: Epoxy solvents attack some brushes and roller fleece, so prewash and solvent-dry any new tool before it touches the coating. Once pot life expires, the brush has to be discarded or cleaned before you carry on, or cured lumps and loose fiber end up in the film. And if the masonry is frozen, stop. NBS LC 810 prohibits painting on frozen masonry outright.
What to Have on the Table
- A clean, dry brush with springy bristles. A clean, dry brush with springy bristles covers ground quickly, which matters because the second coat rewards speed.
- Two colors of paint. One for the base, one contrasting or complementary for the dry pass.
- Newspaper or paper towel, for dabbing an overcharged brush.
-
A base coat that is fully dry. Not dry to the touch. Dry.
-
Apply the base coat. Move the brush in every direction to build texture and reach full coverage, then let it dry completely. Skip the dry time and trapped solvent blisters under the second coat.
- Charge only the tips. Dip the very end of a clean, dry brush. If the bristles look soaked, dab the excess off before the brush goes near the piece.
- Wipe over the surface first. Use the tip of the brush to lay a thin, uneven pass across the whole face. This is the pass that sets the pattern.
- Scrub, then stab. Work a scrubbing motion over the surface, and use a stabbing motion to push paint into any crevices. Work quickly and brush the paint out well.
- Stop before it looks even. Full coverage defeats the whole exercise. Leave some substrate showing and walk away.
That last step is the one people fight. If you are building texture rather than a worn finish, the texture with paint approach uses a loaded brush instead of a dry one, and it is the better fit for that job.
Why Do the Sources Argue About Overbrushing?
Annie Sloan’s method tells you to scrub the paint in, while the Army Corps of Engineers manual says the opposite for fast-drying waterborne coatings.
USACE EM 1110-2-3400 is written for fast-drying waterborne coatings, and it is direct: brush quickly and evenly, because overbrushing leaves brush marks. Annie Sloan’s method asks for the reverse, working quickly but brushing the paint out really well, with scrubbing and stabbing motions layered on top.
Both are right, because the coatings behave differently.
Chalk Paint is thick and slow. It stays open long enough that scrubbing pushes it into crevices instead of dragging a skin across the surface. A fast-dry waterborne coating skins over in seconds, so every extra stroke lifts half-set paint and leaves a ridge behind. Same wrist motion, opposite result.
I keep two brushes going for this exact reason. One gets scrubbed into the crevices, one stays dry for the wipe-over pass. Swapping mid-piece is faster than cleaning, and it stops me from overworking one area while the rest of the piece dries.
The lesson holds outside furniture. USACE warns that fast-setting coatings punish extra strokes, while Annie Sloan’s method rewards brushing the paint out well on slow, open coatings.
Where Dry Brushing Fails: Hot Substrate, Epoxy Solvents, Cold Masonry
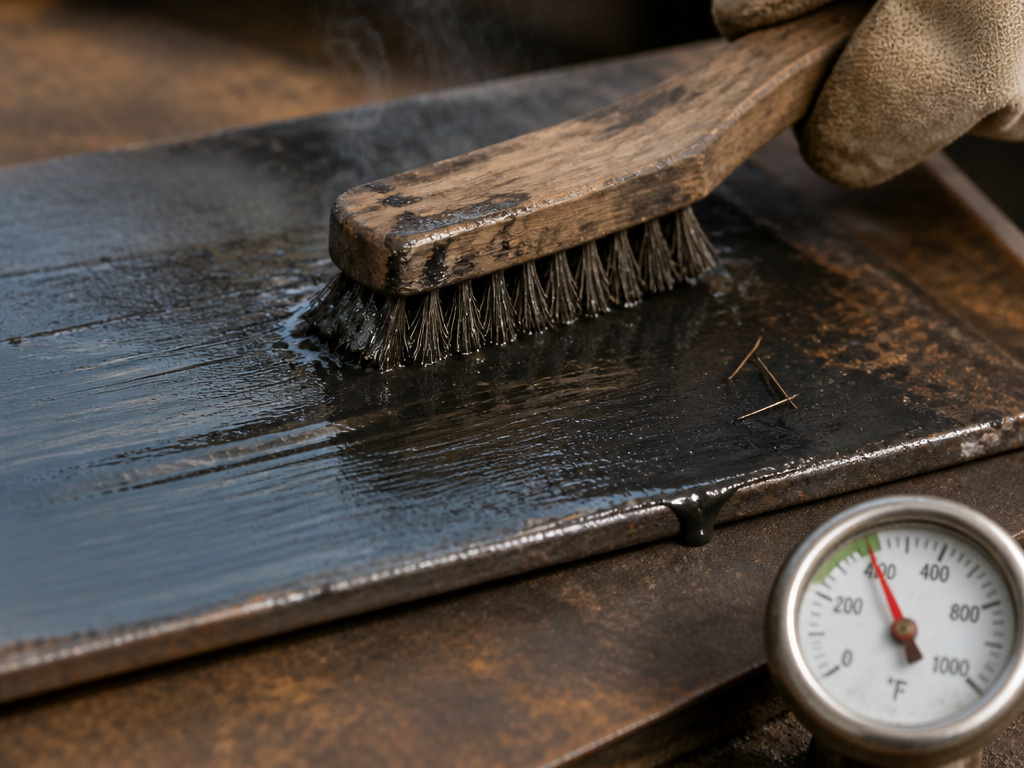
Heat kills this finish faster than bad technique.
ZYP Coatings gives a substrate pre-heat window of 40-50 C (100-125 F) to aid drying. Above that range, the brush starts to drag and glue to the substrate. Push the force-dry past 70 C (160 F) and the coating can bubble up off the surface.
You feel it before you see it. The brush stops gliding and starts to grab, and the drag comes up through the handle before any marks show on the panel.
The other failure points are less obvious:
- Epoxy solvents and new tools. Some brushes and roller fleece are damaged by epoxy solvents. Prewash and solvent-dry a new brush, or loose fiber sheds into the film and stays there.
- Expired pot life. When pot life runs out, discard or thoroughly clean the brush before continuing. A brush that still looks fine can be carrying cured lumps.
- Frozen masonry. NBS LC 810 prohibits painting on frozen masonry, and NBS LC 747 says to stop work when paint may be exposed to sub-freezing temperatures. The rustic finish gets no cold-weather exemption.
- High-solids coatings. USACE states that brush application generally is not recommended for high-solids coatings. That is a limit of the coating class, not of your wrist.
Common mistake: Carrying on past pot life because the brush still feels workable. The bristles are holding partially cured paint that breaks off into the next pass and dries as grit in the finish.
Dry Brush vs Scumbling vs Wet Brush
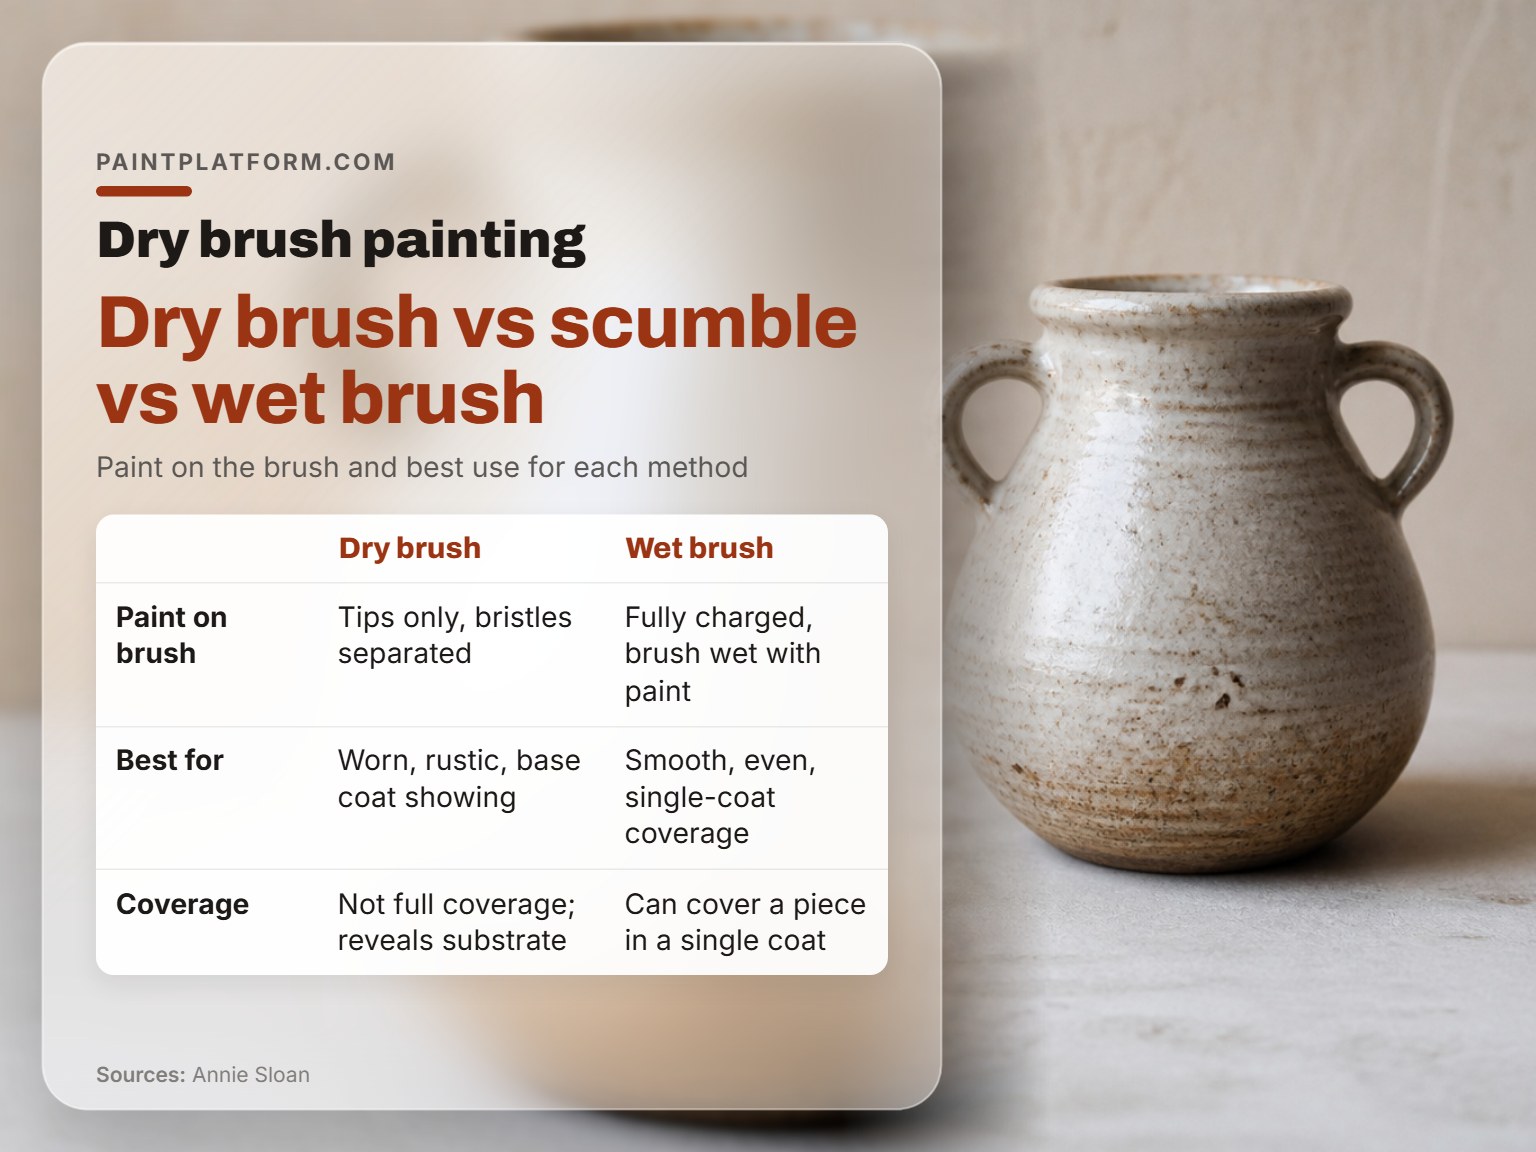
Scumbling and dry brushing look similar in photos and behave nothing alike.
| Method | Paint on the Brush | Best For |
|---|---|---|
| Dry brush | Tips only, bristles separated | Worn, rustic, base coat showing |
| Scumble | Thin translucent veil | Soft haze over a dry underlayer |
| Wet brush | Fully charged, brush wet with paint | Smooth, even, single-coat coverage |
Dry Brush vs Scumbling
Dry brush wins on furniture, frames, and trim where you want the base color reading through the top coat. The scumbling technique wins on walls and skies, where the goal is a soft veil rather than a scratch. Scumbling sits on a dry underlayer and softens it; dry brushing breaks it up.
Pick dry brush when the piece should look handled. Pick scumble when it should look atmospheric.
Dry Brush vs Wet Brush
Wet brush wins whenever the job is coverage. Annie Sloan is explicit that a fully charged brush carries paint further and can cover a piece of furniture in a single coat. Dry brushing cannot do that, and it is not supposed to.
If you find yourself fighting for even coverage with a dry brush, you have picked the wrong technique. Load the brush and stop scrubbing.
The same split shows up in other media. Dry brush watercolor uses the identical under-loaded principle on textured paper, and blending acrylic paint depends on a wet edge that a dry brush deliberately destroys.
Which Brush, and What to Skip
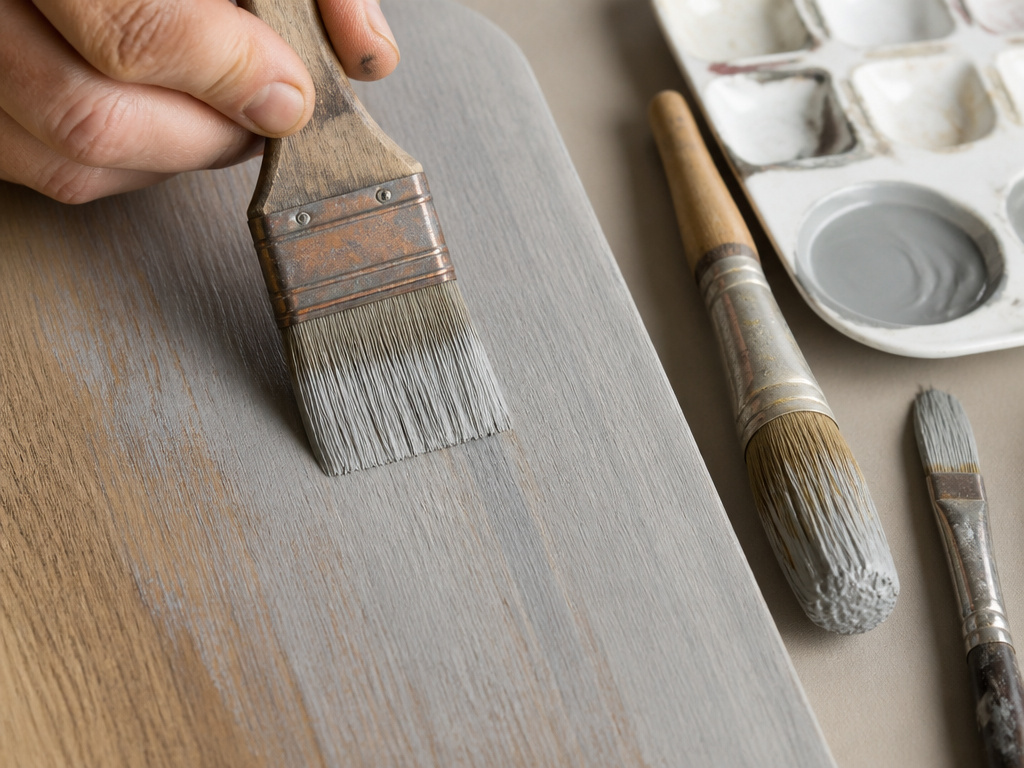
You pull out the big round brush, load it, and the second coat comes out as stripes. The brush was wrong for the job before the paint ever touched the piece.
Flat brushes and brights lay an even, controllable pass, which is what a wipe-over coat needs. Rounds and filberts concentrate paint in one line, and on a dry pass that line becomes a stripe. The full breakdown of brush shapes explains which head makes which mark.
For Chalk Paint work, a clean, dry brush with springy bristles holds the tip-only load without splaying. For acrylics, a flat brush gives you a firm edge for the scrub and a soft enough tip for the wipe-over. Student-grade paint is fine here; the technique is forgiving of student-grade pigment because you are not chasing opacity.
If you are working in oils instead, the brush for oil painting question matters more, because a stiff hog bristle brush behaves very differently on a dry pass than a soft synthetic.
Hardened bristles taught me this one the slow way. I rinse the moment I stop painting now, not at the end of the session, because five minutes at the sink then is what keeps a brush usable for years.
Skip this if: Your brush set came with twenty pieces and you have not used half of them. Two flats in different sizes will outlast the whole set. Buy those and put the rest back.
Frequently Asked Questions
Can you dry brush over varnish or wax?
Annie Sloan’s method assumes a painted base coat, and wax or varnish sits on top of that finish rather than under it. Dry brushing straight onto a sealed surface gives the paint nothing to grab, and the second coat lifts off with a fingernail. Strip or scuff back to a paintable surface first.
Does dry brushing work with acrylic paint?
Yes, with one adjustment. Acrylics set faster than Chalk Paint, so the scrubbing window is shorter. Load the tips, wipe over quickly, and scrub once rather than working an area back and forth. USACE’s warning about overbrushing fast-dry coatings applies directly here.
How long should the base coat dry before the second pass?
Until it is fully dry, not just dry to the touch. Annie Sloan’s instruction is to allow the base coat to dry before the second coat goes on. Trapped solvent under a fresh coat is what blisters a film, and the second pass seals it in.
Why does my dry brushing look like stripes?
The brush is carrying too much paint, or the head is a round rather than a flat. Dip only the very ends, dab the excess onto paper towel until the brush leaves a faint trace, and switch to a flat or bright for the wipe-over pass.
Can you dry brush on metal or masonry?
Only within the coating’s temperature limits. ZYP caps substrate pre-heat at 40-50 C (100-125 F) before the brush starts to drag and glue, and above 70 C (160 F) a force-dry can bubble the coating. NBS LC 810 prohibits painting on frozen masonry, so cold weather stops the job regardless of technique.
The Bottom Line
If the surface is above 70 C (160 F), stop and come back later. The brush will drag, the paint will grab, and you will spend longer fixing drag marks than the whole job would have taken.
The other threshold worth holding onto is coverage. Dry brushing is supposed to leave the base coat visible. The moment you start chasing an even finish, you have switched techniques without noticing.
I would rather see a first attempt that reveals too much base coat than one that buries it completely. The over-covered version is just a second color sitting on top of the first. The under-covered one is the actual technique, and it is the one that looks like the piece has been in the family for decades.
Try it on a scrap first. A scrap board costs you ten minutes and tells you more about your brush load than any tutorial can.
