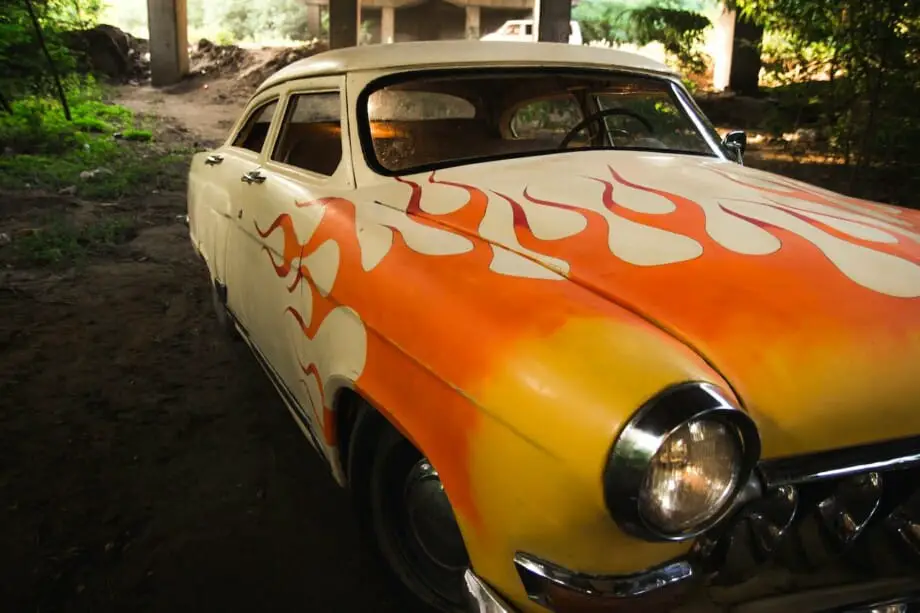
Whether your car shows too many signs of wear and tear or you want to change its look with a brand new color, spray painting your car is the perfect way to upgrade your vehicle. However, without proper planning and prep work, you can end up with a DIY disaster.
You can spray paint your car and get good results if you follow the correct process. Start by washing your car and sanding the surface to achieve a smooth base for your car paint. Next, cover the areas you don’t want to paint with painter’s tape and apply a primer. Finally, use the color coat to complete the look.
A good paint job can add a new lease on your car’s life. Just be sure to prepare your base properly for maximum paint adhesion and a flawless finish.

Can You Paint Over Existing Paint?
Yes, you can paint over existing paint, but the results will not be as good as expected. Suppose your car’s existing color is red, and you want to paint it steel gray. If you don’t sand the existing paint properly before spraying on the new color, chances are that some of the red color will peek through.
However, if you sand and prime the car’s surface correctly before spraying a new color, you will get an even coverage. This is especially helpful when changing the color from a darker to a lighter hue.
How To Paint a Car From Start To Finish
Painting a car from scratch can seem daunting, but if you know all the steps in the process, you should be able to get the job done nicely.
Step 1- Wash your Car
Starting with a clean surface always makes sense. You can wash the car by hand or take it to the car wash to make it squeaky clean.
Step 2- Dismantle Components
It would save you a lot of work if you dismantled the components you don’t want to paint. Remove parts like the lamp, antenna, washing nozzle, hubcap, side rod, wiper, door handle, etc. Another benefit of doing this is that you can identify any defective components and change them after you’ve painted the car.
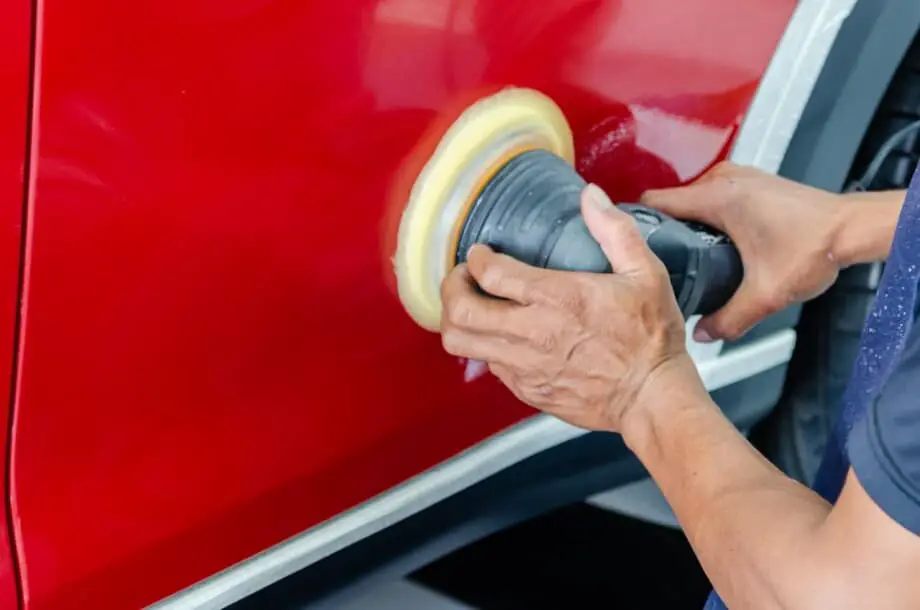
Step 3- Start Sanding
Use 600-grit sandpaper to sand away the metal surface of your car. Rub the sandpaper thoroughly over all the areas to remove the existing paint coat. When you notice that most of the paint has come off, switch to 1500-grit sandpaper and keep the momentum going. Make sure you remove any rust on the car to create a smooth and clean base for your color coat.
Step 4- Repair Holes and Dents
You may notice holes in the metal from places where you’ve removed rust. Use a putty specifically designed for metal to fill in those holes. You should also fill up any scratches on the car at this point with the putty.
Squeeze the putty directly onto the areas you want to fill. Once the hole is completely covered, smooth the surface with a putty knife and remove any excess.
Allow the filling to dry for at least an hour before sanding again with 1200- grit sandpaper.
You can also use the spray paint for car scratches: Rust-Oleum Automotive 2-in-1 Filler & Sandable Primer to fill minor surface imperfections at this step.

Step 5- Clean the Surface
Use a rag, mineral spirits, or denatured alcohol to meticulously wipe your car’s surface. It will help clean any oil residue, wax, or sanding dust and prepare the surface for the next step.
Make sure you’re working in a well-ventilated area, as the fumes from the cleaner can be toxic.
Step 6- Cover the Areas with Painters Tape
Start covering any areas you don’t want to paint accidentally with painter’s tape and paper. This step will not take too long if you’ve dismantled most components. However, if most parts are still attached to the car, carefully tape pieces of paper to cover them completely.
Step 7- Spray On the Primer
Now that you’re working with aerosols protect yourself from the paint fumes and wear proper safety gear to avoid a mishap.
Select a primer designed for automotive purposes, like the Rust-Oleum Stops Rust Automotive Primer. The primer will ensure a long-lasting and durable coating while offering a flat finish that allows the top coat to adhere to the surface.

Hold the primer can 25 centimeters away from the car’s surface and start spraying the entire area using back-and-forth strokes. Keep your hand moving steadily to achieve an even coat. Once the first layer of primer is on, wait for 15 minutes so it can dry down before applying the next one. Apply at least 3 coats of primer for a solid foundation.
After the third layer of primer has been applied, leave the vehicle for 24 hours so it can dry completely.
Step 8- Sand the Surface Again
Use 1200-grit sandpaper to rub the surface in a back-and-forth motion. The purpose of this step is to smoothen the primer and make it as even as possible. Remember to clean the surface with a cloth after sanding the area. You can even use warm, soapy water at this point to clean the car.
As you can see, prepping the surface thoroughly is key to a good DIY paint job.
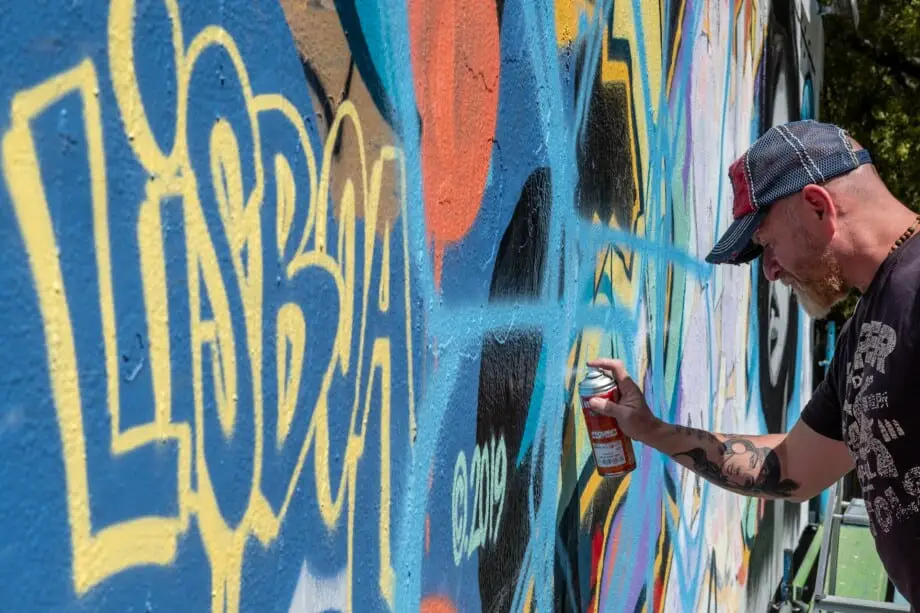
Step 9- It’s Time to Paint!
Finally, it’s time to start painting. Make sure you’ve selected a paint suitable for metal surfaces and perfect for automotive use. The Dupli-Color Black Perfect Match Automotive Paint is a good choice for this task because it seamlessly duplicates the original factory colors.

Shake the can for a good 5 minutes before you begin. This will help re-combine the pigments in the paint that separate over time. Position the can parallel to the surface and start spraying using horizontal strokes. Keep your hand moving to avoid thick layers, and spray the paint in thin overlapping coats.
Wait for 10 minutes to allow the coat to dry completely before spraying the second one. You may need multiple layers to achieve full coverage.
Allow the final layer to dry for at least 30 minutes before moving on to the next step.
Step 10- Apply Clear Coat
It’s time to seal the deal with a coat of clear paint. You can either choose a matte-finish variant like the Dupli-Color Acrylic Enamel ClearCoat or opt for a high-shine finish.

Use the same technique to apply clear paint as you did with the color coat. Allow your vehicle to dry for 24 hours before you start using it.
After the top coat has cured entirely, remove the painter’s tape from the areas, you had sectioned off previously. Also, reassemble any components that you had removed in the beginning.
Now, take a step back and appreciate the beauty in front of you!
Best Spray Paints for Cars- Urethane or Acrylic?
When choosing spray paint for your car, you will come across two popular options: urethane car paint and acrylic car paint. You should remember that there are other factors to consider other than the aesthetic appeal of the paint when making the final selection.
Durability
Urethane paints are the industry’s standard for automotive paints and are preferred by automakers around the world. It is hailed as the most durable auto paint that is also chip-resistant. Many car restorers argue that urethane paints outlast most acrylic paints if maintained properly.
Toxicity
Urethane paints are solvent-based, while acrylic paints are water-based. So, if you compare the health hazard of the two, acrylic will emerge as the winner because it’s far less toxic than urethane.
Drying Time
The paint application process also varies between the two. Acrylic paints need more time to dry (around 24 to 48 hours) before the second coat can be applied. On the other hand, urethane paint dries much faster and allows you to finish the project quickly.
Budget Friendly
Another factor you will need to consider is the cost of the paints. If you’re working on a budget, acrylic enamel auto paint is more affordable than urethane or acrylic lacquer. But if you want a professional-like finish, the urethane will offer better results.
Ultimately, the best spray paint for your car depends on your desired finish and the budget you’ve set aside for the job.
FAQs
What happens if you don’t sand your car before painting?
Failing to sand your car before the paint job will result in an uneven finish, making the paint vulnerable to chipping and peeling in the long run.
How many spray paint cans are required to paint the car exterior?
You will need around 20 aerosol cans of spray paint to cover the entire surface of your car. You may need more if you’re painting a larger vehicle like an SUV, truck, etc.
Is spray painting your car a good idea?
Spray painting your car is an excellent idea if you don’t want to spend too much money on a professional paint job. However, you should begin with realistic expectations because no matter how well you spray paint, it can’t match the perfection of a professional paint gun.
How long will spray paint on a car last?
Acrylic lacquer or acrylic enamel paint should last 5-10 years, depending on the severity of the environmental elements it’s exposed to.
Final Verdict
You can definitely spray paint your car to revamp its look but always maintain reasonable expectations from the project as it can’t compete with a professional paint job. However, if you decide to paint the car yourself, make sure to follow the process mentioned above for a solid finish.
You can also customize your car by just spray painting your car’s hood if you do not wish to paint your whole car.
If you want to refresh your car seats with spray paint, check out our article on how to spray paint leather car seats. Another way to enhance your car’s interior would be to spray paint your car’s dashboard, do give this a read and let us know your thoughts about it.