
How to Paint a Mural on a Wall: Step-by-Step
This post contains affiliate links. As an Amazon Associate, we earn from qualifying purchases.
To paint a mural on a wall, clean and repair the surface, prime it, transfer your design, block in large shapes first, then add detail and seal. Work only in dry weather above 50 °F, ideally 65-85 °F, and on masonry use a primer that is not a vapor barrier so moisture can escape.
Moisture is the enemy the conservation literature names first, and it’s the heart of how to paint a mural on a wall, working from inside the wall rather than off the surface. Water that gets behind a film of paint freezes, expands, and pushes the coating off in flakes. That’s why primer choice on masonry matters.
What follows is the order I’d actually work in: pick the wall, clean it, prime it for moisture movement, transfer the design, block in shapes, then decide about a coating. The two places where the published advice genuinely conflicts get their own section near the end.
Key Takeaways
- 50 °F is the hard floor for primer and paint. Frankfort’s guide puts the working window at 65-85 °F, and Liquitex and Chroma both land at 65-75 °F.
- On masonry, the primer must not be a vapor barrier. Trapped moisture has to escape or it lifts the paint from behind.
- Don’t dilute the primer, and keep primer, pigment, and topcoat inside one manufacturer’s system where you can.
- Test adhesion before you commit the whole wall: cure for at least 72 hours, score a crosshatch, press masking tape, pull slowly.
- Varnish is a judgment call. Liquitex says apply a final protective coat. Canada’s conservation institute says a bad coating is worse than no coating at all.
What Surface Should You Paint a Mural On?
Raw, unpainted brick, concrete, or stone is the best surface going, as long as it’s free of defects. In a historic district, unpainted masonry usually needs Architectural Review Board approval before anyone touches it, so clear that first.
Concrete block walls provide a stable, paintable support and hold a mural well when the surface is properly prepared. Metal siding performs well in service. Old red-clay brick is the weak point: moisture combined with freeze and thaw cycles lifts paint and can spall the face of the brick.
Spalling means the brick face itself flakes off in sheets, not just the paint. That’s a wall problem, and no coating fixes it.
Here’s how the common substrates shake out:
- Concrete block: stable and forgiving. A good, stable support when well prepared.
- Metal siding: many murals survive well on it, but degrease, sand for tooth, and prime with an acrylic-compatible product such as Aqualock.
- Old red-clay brick: prone to moisture and freeze/thaw damage. Treat it as a gamble and read up on painting a brick mural before you commit.
- Exterior-grade wood: fine if it’s rigid, non-compressible, sealable against moisture, and rated for long outdoor use.
- New sheetrock: seal it first with an acrylic emulsion-compatible industrial sealer.
Inspect a suspect wall and look at what comes off. A fine white powder may mean efflorescence, minerals seeping through from behind, which should be washed away before painting.
The Temperature Window That Decides Whether the Paint Bonds
50 °F is the floor. Frankfort’s guide says warmer than 50 °F, and Liquitex and Chroma both put 50 °F as the minimum, though their ideal windows differ.
| Task | Temperature window | Source |
|---|---|---|
| Primer and paint | Above 50 °F, ideally 65-85 °F | Frankfort guide |
| Acrylic paint | 65-75 °F ideal, 50 °F floor | Liquitex |
| Mural paint | 65-75 °F best, 50 °F minimum | Chroma |
| Varnish | 55-75 °F, no direct sun | Chroma |
| Humidity | Use caution above 70% RH | Chroma |
Cold conditions can affect film formation, and a weak film is exactly where a thin coat fails.
Dry weather matters just as much as temperature. Liquitex is blunt about it: never work during rain, because moisture gets trapped, adhesion suffers, and the film clouds. Chroma adds a humidity note, flagging caution once relative humidity passes 70%.
Frankfort’s guide says the same thing in fewer words: dry weather, and a wall that’s thoroughly dry.
I’ll be honest, the 65-85 °F window is an easy instruction to ignore. People schedule a community paint day around a Saturday, not around a forecast.
How to Clean and Repair a Wall Before You Prime
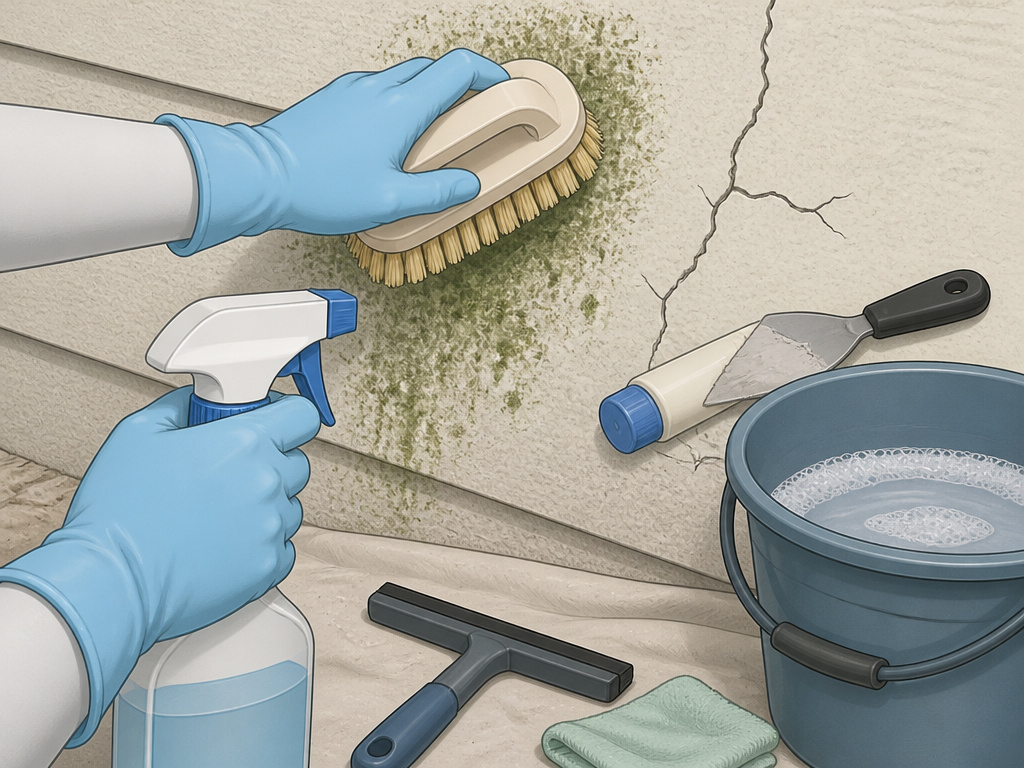
Four things happen in this order: inspect, wash, kill anything growing, then let it dry longer than feels reasonable.
Before you start: TSP and bleach both burn skin and eyes, so gloves and eye protection aren’t optional. Ladders and lifts need level ground and clearance from overhead wires. If the wall could carry lead paint, stop and bring in a licensed contractor before anything gets scraped or sanded.
- Inspect and fill cracks. Skipping this lets water track straight into the wall.
- Wash with TSP or a citrus cleaner in warm water. Trisodium phosphate cuts grease, wax, and oil. Skip it and the primer may not bond properly to the wall.
- Kill mold and mildew with a stiff brush and 1 part bleach to 3 parts water, then rinse twice with warm water and dry fully.
- Strip oil paint, sand acrylic paint. Liquitex is specific here: oil coatings come off entirely, cured acrylic gets scuffed across the whole surface.
- Remove every bit of flaking paint. CCI’s rule is absolute: never paint over an existing architectural paint that’s flaking or discontinuous.
- Fix the roof, parapets, and flashing. Minor repairs up top keep water out of the mural below, and that’s cheaper than repainting.
Power washing is one of those places where the rules split. Frankfort’s guide prohibits high-pressure washing and sandblasting on historic fabric outright. CCI permits a power washer, provided you don’t damage the wall surface. Chroma sits in the middle and says if you do power wash, give it a week or so to dry before anything else happens.
Before you touch a brush, the mural layout needs to exist on paper. Working that out on the wall is how murals drift off center.
Priming a Masonry Wall Without Trapping Moisture
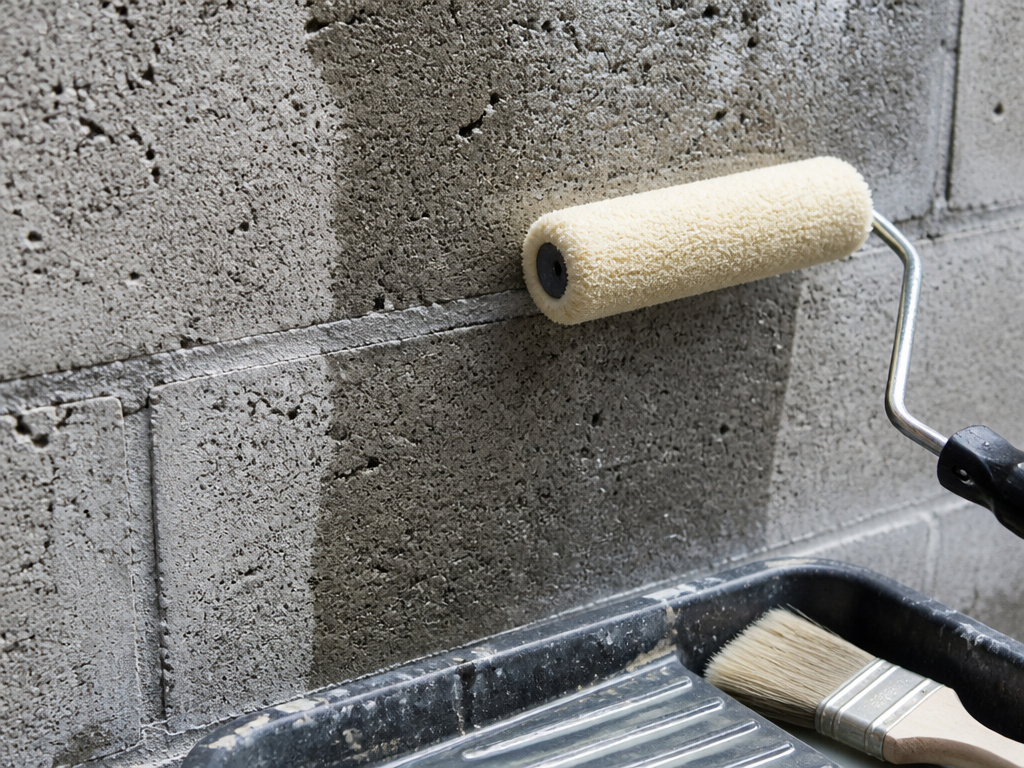
A primer that is not a vapor barrier can keep a mural from failing before the first color goes down.
On masonry or concrete, the primer should not be a vapor barrier. Moisture has to escape through the surface, and if it can’t, it causes paint loss. That single rule rules out a lot of products sold as heavy-duty sealers.
CCI adds a second rule that surprises people: don’t dilute the primer. Read the manufacturer’s directions and apply it the way they specify. Frankfort’s guide allows spray application, which usually implies thinning, so there’s an unresolved tension between those two positions. Follow whichever product you actually bought.
Matching the system matters more than matching the color. Frankfort notes that murals painted with the same product type from the same manufacturer across primer, pigment, and coating layers may be less prone to flaking, bubbling, and fading.
I’d rather see a beginner spend their prep budget on one compatible primer system than on a fancier topcoat. The primer does the structural work. The color is just the part people compliment.
Then test it. Liquitex’s procedure: apply the paint or medium, let it cure at least 72 hours depending on temperature, score a crosshatch with a sharp knife, press masking tape firmly, and pull it slowly. If paint lifts with the tape, adhesion failed and you need more prep. CCI’s version is quicker and rougher: prime a small patch, let it dry, scratch the layer with a fingernail or blade.
Product-wise, the manufacturer systems differ. Chroma recommends Fusion I.A. Series Binder to seal against moisture, then Fusion I.A. Series Gesso to prime. Resene specifies Sureseal penetrating oil primer on old unpainted porous concrete. Liquitex goes Matte Medium on smooth surfaces (one brushed coat or two sprayed) and Matte Gel on rough ones.
How Do You Transfer a Design to a Wall Without Losing Scale?
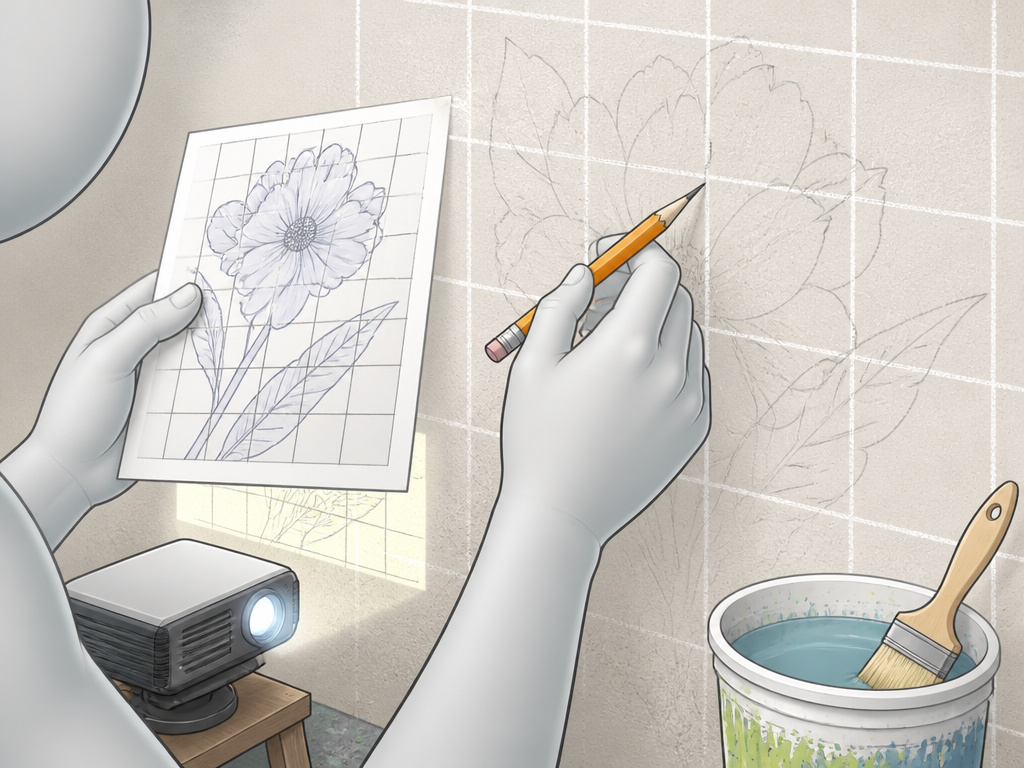
You’re three colors in, you step back, and the eye sits a foot too high. That’s a transfer problem, not a painting problem.
Projecting outlines onto the wall is probably the fastest route, especially for a complex design with small detailed areas. Frankfort’s guide says as much. Scan the concept and add a grid over the digital file so you can confirm the projection is square.
The grid method is the low-tech alternative, and it’s the one I reach for. Chroma’s version: mark the wall into 1-foot squares, so a 10 by 20 foot wall becomes 200 squares. Then make a matching paper grid in inches, 10 by 20, and copy square by square.
One tip worth stealing from Chroma: if you’re using a grid, lightly mark the mural’s outline first so you only gesso the area you’re actually painting. Nobody wants to prime the whole wall to use only part of it.
I used to draw every mural out in careful pencil before touching paint. On a loose piece I skipped the underdrawing and went straight in with a brush, and the thing finally moved. The lesson stuck: keep the transfer light. A tight drawing on a wall makes you cautious, and cautious murals look cautious.
If you want the full walkthrough, there’s a longer piece on how to transfer a design and another on how to scale a mural from a sketchbook page.
How to Paint a Mural on a Wall: Big Shapes First, Detail Last
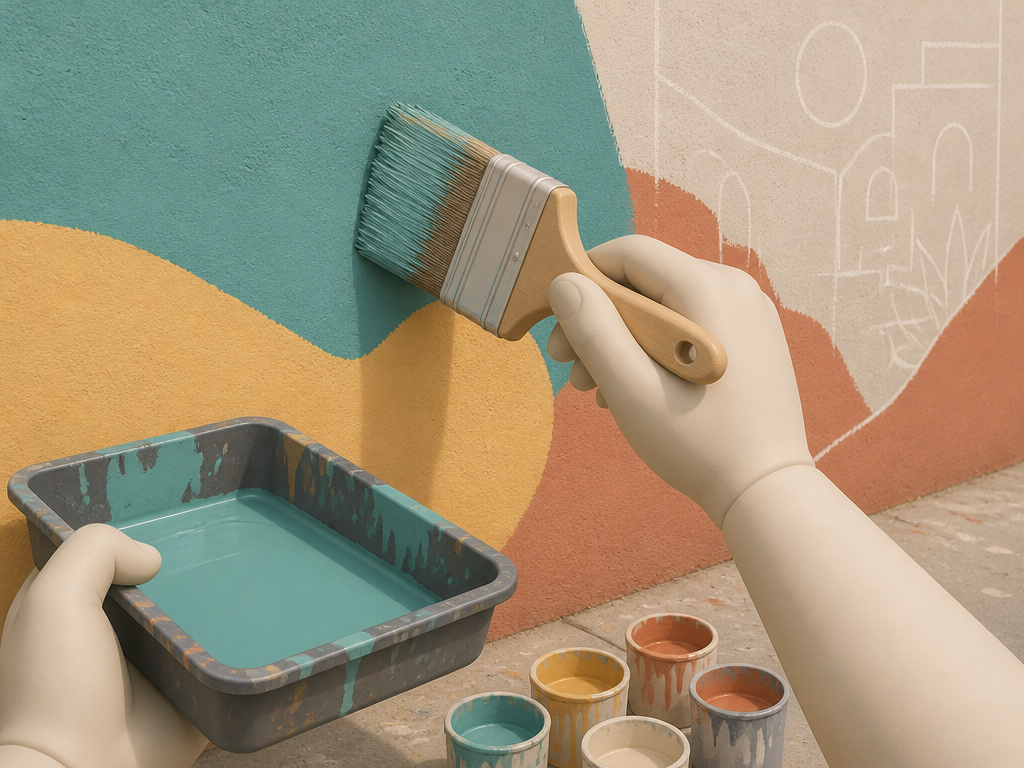
Start at the top and work down, blocking in the major lights and darks as an underpainting until the main composition is covered. Chroma’s guidance, and it’s right.
The order that works:
- Block the whole composition first, top to bottom, in flat shapes. This is where you find out the proportions are wrong, while it’s still cheap to fix.
- Step back often. Chroma says it plainly: it’s easier to fix compositional issues at this stage than later.
- Save detail for last, and use less of it than you think. Most murals are seen from across the street.
- Work a few adjacent squares at a time so nobody paints over a wet edge.
This is the mistake I see most: starting with the face, or the lettering, or the one flower that made the design worth doing. Then energy runs out and the background is still bare wall.
Keep the palette tight. A limited set of colors will carry a whole wall and keep it looking like one piece. Color mixing works best in small increments: add a little, check, add a little more. Adding too much at once can make the wall look muddy.
Two paint rules that aren’t negotiable. Don’t thin with water alone, because too much water weakens the film and you need maximum film integrity for a mural that lives outside. And choose pigments rated for lightfastness, since exterior work sits in UV all day. CCI’s warning is worth repeating: if a manufacturer rates some pigments in a line and leaves others unlabelled, treat the unlabelled ones as questionable and avoid them.
If you’re buying mural paint and the label doesn’t state lightfastness, that silence is the answer. Skip it.
On paint grade, the sources genuinely disagree. Frankfort’s guide prefers 100% artist-grade acrylic and warns against commercial “house paint,” and it rules out enamel and oil entirely because they’re moisture impermeable and stop the wall breathing. CCI takes a wider view: acrylics, silicate paints, and other industrial paints can all be suitable, with lightfastness as the real gate. Both positions agree on one thing, which is that oil and enamel have no business on an exterior wall. If you’re weighing options, this breakdown of mural paint covers the trade-offs.
Should You Seal a Finished Mural?
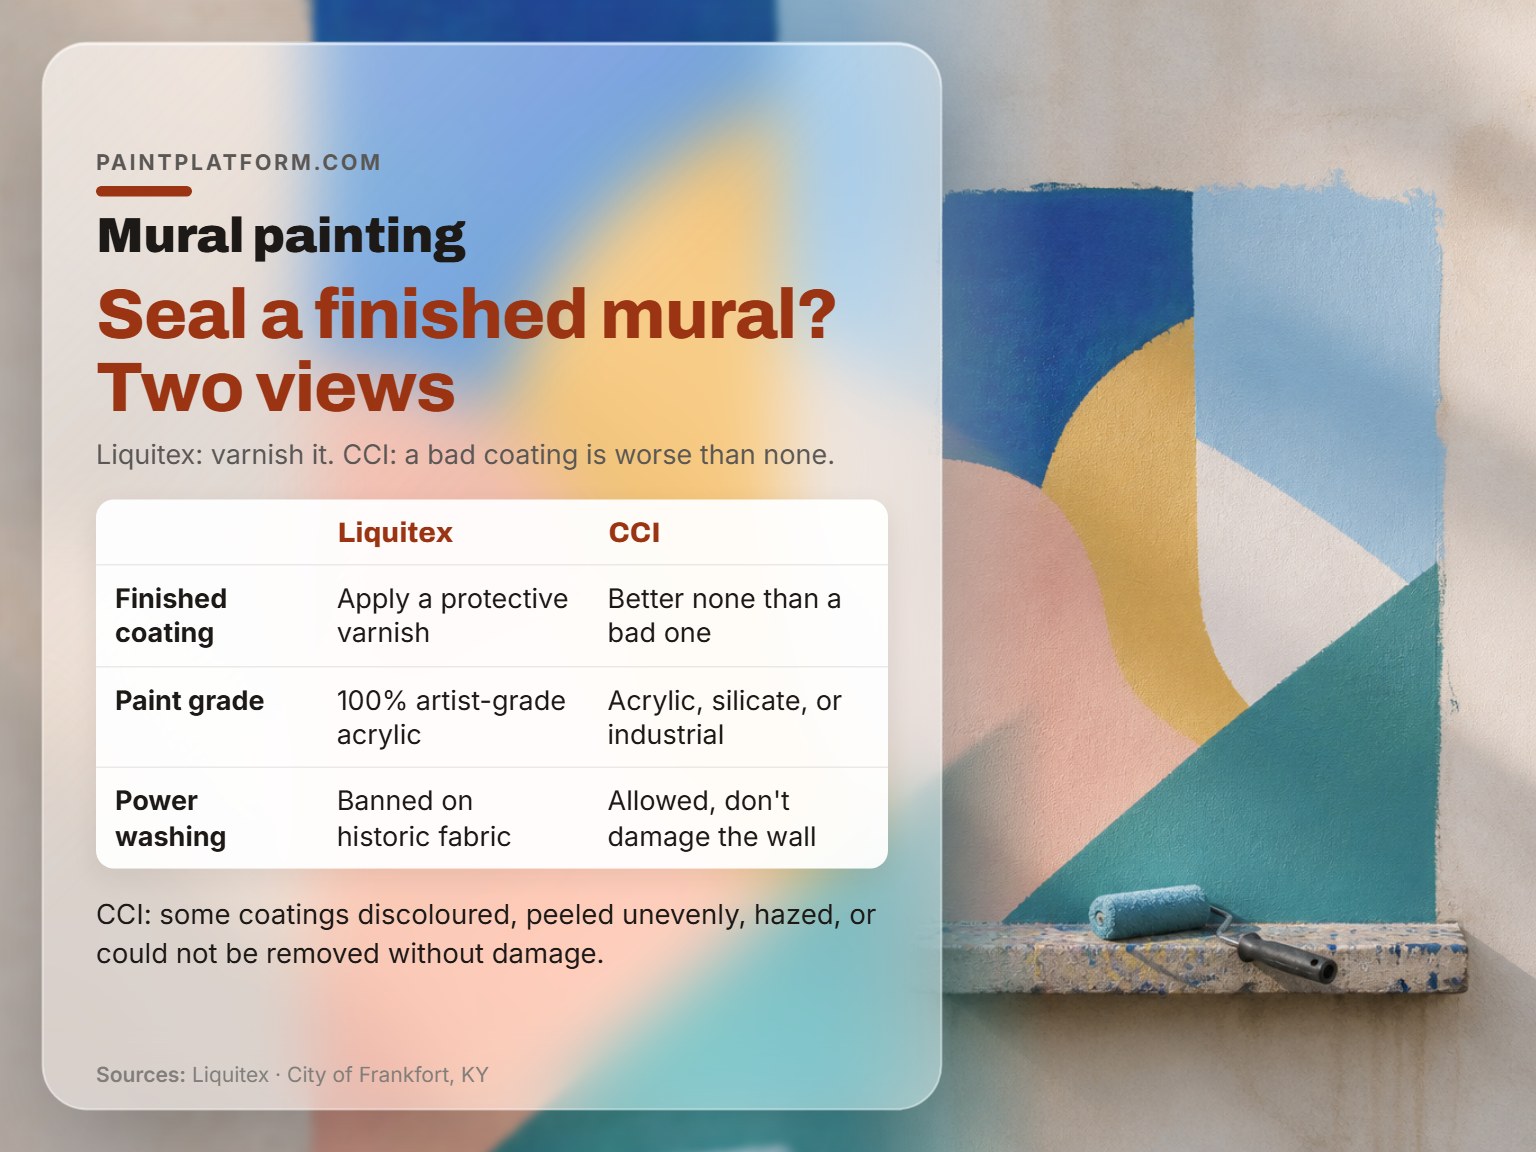
Liquitex recommends finishing a mural with varnish, while Canada’s conservation institute warns that a bad coating is worse than no coating at all.
Here’s the split, laid out plainly.
| Question | One position | The other |
|---|---|---|
| Finished coating | Liquitex: apply a protective varnish | CCI: better none than a bad one |
| Paint grade | Frankfort: 100% artist-grade acrylic | CCI: acrylic, silicate, or industrial |
| Power washing | Frankfort: banned on historic fabric | CCI: allowed, don’t damage the wall |
Liquitex’s process is the most detailed. Apply one to two layers of Liquitex Gloss Varnish or Gloss Medium as a permanent isolation barrier. Once that’s dry, wipe it with a lint-free rag dampened with mineral spirits. Then apply one to two layers of Soluvar, a removable varnish. Removable matters, because it lets someone clean the surface years later without destroying the painting. You can seal an outdoor mural this way and still have options down the road.
Chroma takes a similar line, recommending a protective varnish applied in thin coats and tested in a small area first.
CCI is the caution. Coatings have been used with varying success, and some have discoloured, peeled unevenly, developed a white haze, or proved impossible to remove without damaging the paint. Given that, CCI’s position is that it’s better not to apply a coating than to apply one with poor ageing properties.
Where this goes sideways: Varnish applied when rain or heavy dew is due within 24-48 hours can cloud as it dries. The haze sets into the film, and you’re left sanding back or living with it.
My read: if the wall is sound and the mural is meant to last, a removable varnish over an isolation barrier is worth it. If you’re unsure about the product, or the wall has any moisture history, skip the coating. A slightly duller mural beats a milky one. Indoor work is a different calculation, and there’s a separate guide on how to seal an indoor mural if that’s your project.
Frequently Asked Questions
Can you paint a mural directly onto brick?
Yes, and unpainted brick is one of the better surfaces if it’s sound. The exception is old red-clay brick, which CCI singles out as particularly prone to moisture and freeze/thaw damage. On good brick walls, leaving the bottom few rows unpainted or keeping an unpainted border gives the wall somewhere to breathe.
How long should primer dry before you start painting?
Follow the product’s own directions first. If you want to verify adhesion, Liquitex’s test calls for curing at least 72 hours before you score a crosshatch and pull masking tape. CCI’s quicker check is to prime a small patch, let it dry, and scratch it to see whether the layer holds.
Do you have to seal an outdoor mural?
Not always. Liquitex and Chroma both recommend a protective finish, while CCI argues that a coating with poor ageing properties is worse than no coating. If you do seal, use a removable varnish over an isolation barrier so the mural can be cleaned later.
What’s the minimum temperature for painting a mural?
50 °F is the agreed floor. Frankfort’s guide gives 65-85 °F as the ideal band, while Liquitex and Chroma both put the sweet spot at 65-75 °F. Below 50 °F the film doesn’t form properly, and the failure shows up later, not immediately.
Can you power wash a wall before painting a mural?
It depends who you ask. Frankfort’s guide prohibits high-pressure washing and sandblasting on historic fabric. CCI allows a power washer as long as you don’t damage the surface. If you do wash, Chroma advises letting the wall dry for about a week before priming.
How do you stop a mural from fading?
Start with lightfast pigments, because exterior murals sit in UV every day. CCI’s rule of thumb is that if a manufacturer rates some pigments and not others, the unlabelled ones are the questionable ones. A UV varnish adds protection, but it can’t rescue a pigment that was never stable.
The Bottom Line
None of this rescues a wall with a moisture problem. If water is moving through the masonry, no primer, paint, or coating saves the mural, and you should pick a different wall. That’s the one condition that overrides everything above.
The freehand purist will tell you a projector and a grid are cheating. I’d rather see the mural finished. Every source in this pile treats projection and gridding as standard practice, and the murals that fail are usually the ones where somebody ran out of steam halfway through the background.
So here’s your first step, before you buy anything: stand in front of the wall in the morning and again in the afternoon and watch where the light lands. A wall that’s in shade all afternoon will read completely differently from one that bakes, and that decides your palette more than any color chart will.
That’s the whole of how to paint a mural on a wall. Pick a sound wall, work in the right weather, prime it so moisture can leave, keep the drawing loose, block the big shapes, and only then decide about a coating. Let it be messy first.
