
How to Spray Paint Plastic: Prep That Actually Holds
This post contains affiliate links. As an Amazon Associate, we earn from qualifying purchases.
To spray paint plastic, clean the part with a dedicated plastic cleaner, scuff it with a gold pad, and lay down a bonding primer before any color. Bare plastic needs that grip layer because paint has nothing to bite into. Then build thin coats instead of one wet pass.
Grip is the whole story here, and the companies that make this stuff don’t agree on how to get it. PPG wants a bonding layer. Standox wants a dedicated cleaner and no soap. Rust-Oleum hands you an aerosol and says wipe it with thinner. All three paths can work, which is why the shelf is confusing.
What follows walks through the cleaning fight, the primer question, the two prep paths, the how to spray paint plastic numbers that keep thin coats thin. By the end you’ll know which path your part belongs on.
Key Takeaways
- Bare plastic needs a bonding layer. Skip it and a thumbnail can lift the finish the next day.
- Soap and water is contested ground. Standox forbids it on bare plastic; Spies Hecker and Rust-Oleum both allow it.
- Thin coats, always. Rust-Oleum wants 2 or more light passes, Hyundai wants 2 to 3 double coats, and nobody wants one wet coat.
- Maximum adhesion and durability arrive at 5 to 7 days, and keep the pressure washer away for 6 weeks.
- A heavy bonding coat defeats the purpose. PPG specifies light, and says a wet coat compromises the system.
Why Does Spray Paint Peel Off Plastic in the First Place?
Why does a finish that grabs metal like it grew there slide right off a bumper cover?
Bare plastic comes off the mold slick, and paint has almost nothing to grip. PPG’s procedure answers this with a cleaning step, a rinse, and a light coat of SU4903 Advanced Plastic Bond before any undercoat goes on. The bonding layer carries the adhesion, and a medium or heavy wet coat of it compromises the whole system.
Every manufacturer in this space builds the same defense. PPG’s bare plastic prep procedure cleans, rinses, then bonds. Sherwin-Williams uses Clear Adhesion Promoter UPO7228 or UPO7229 with a 10-minute flash. Standox offers two routes, and both start with a cleaner rather than a color coat.
That’s the how to spray paint plastic pattern worth internalizing. On plastic, the gripping happens in the prep layers. The color just rides on top.
It also explains why the spray paint for plastic shelf is so confusing. Some cans are built to bond directly and some expect a promoter underneath.
Two Manufacturers Tell You Opposite Things About Soap and Water
Standox says soap and water will wreck the job, while Spies Hecker and Rust-Oleum both allow it.
Both sheets are current, both come from people who know the substrate, and they point in opposite directions. The split tracks the product system, not the plastic.
| Source | Cleaning position | What it means for you |
|---|---|---|
| Standox | Dedicated plastic cleaner, no soap | 2 to 3 passes with 16010 and a gold pad |
| Spies Hecker | Soap and water, then silicone remover | Wash first, solvent clean second |
| Rust-Oleum | Soap and water on aged plastic | Dry brush loose material, then wash |
| PPG | Clean, rinse, then bond | Pull the nozzle off the hose first |
Read that table as a map of systems, not a ranking. Standox’s sheet is written for a solvent-borne refinish line sold to trained painters only, and the last page says so plainly. Rust-Oleum’s can is built for a homeowner with a planter and an open garage. Each cleaner matches the chemistry sitting on top of it.
PPG’s note is the tell I keep coming back to. Pull the spray nozzle off the water hose before you rinse. Some nozzles bead water on a part that’s genuinely clean, and beading looks exactly like the contamination you’re trying to wash off.
I washed plastic with dish soap for years and got away with it. Then I read the Standox sheet and realized I’d been lucky, not right. If you’re spraying a refinish system, use that system’s cleaner. If you’re spraying a can, follow the can.
Do You Actually Need a Primer or Adhesion Promoter?
Is a bonding layer mandatory, or is it a step the paint companies invented to sell one more can?
The first plastic planter I sprayed got no primer. I cleaned it, scuffed it, and laid color straight on. A day later my thumbnail lifted a flake, and it kept peeling from there. I haven’t skipped a bonding layer since.
PPG’s SOP is blunt about it: bare plastic gets cleaned properly and coated with adhesion promoter before an undercoat. Sherwin-Williams runs the same play. Standox offers a choice of a 1K adhesion primer (16227) with a 10-minute flash, or a 2K primer surfacer (11816/16192) mixed 1:1 with hardener 11824 and applied in 2 coats.
Rust-Oleum is the outlier, and it’s not being sloppy. Its aerosol carries a built-in primer and leans on a thinner wipe instead of a separate promoter coat. Spies Hecker sits in the middle, insisting only that the part gets primed as soon as possible after cleaning.
So the honest answer depends on your system. If you’re spraying a refinish line, the primer for plastic is part of the recipe. If you’re spraying a rattle can built for plastic, the can already contains it.
For a bare automotive panel, PPG’s SU4903/SUA4903 Advanced Plastic Bond is the one the SOP names, applied light. For a planter or a patio chair, Rust-Oleum’s plastic aerosol is what I reach for. It’s built for the aerosol path and doesn’t ask for a second promoter.
When a Flex Additive Earns Its Place
Standox mixes 2K Clear with 15% 2K Plasticiser (15260), and allows up to 30% for extremely flexible parts. PPG notes that not all undercoats or clearcoats require a flexible additive at all.
Both are right, because they’re describing different parts:
- Rigid plastic like a light housing or a trim panel: skip the plasticiser.
- Fascia and bumper covers that flex under a thumb: add it, and go toward the 30% end.
- Anything you’re unsure about: press it. If it gives, treat it as flexible.
That press test costs nothing and settles the question faster than any spec sheet.
How to Spray Paint Plastic: The Two Prep Paths
Every part you touch falls into one of two categories, and the test that sorts them takes about a minute.
Before you start: Isocyanate hardeners in 2K products can irritate the respiratory tract and sensitize your lungs, and the Spies Hecker sheet says asthma sufferers must not work with them. A NIOSH-approved respirator with particulate filters is the floor, not the ceiling. Aerosols want outdoor air or an open garage, and
Bare Plastic, Start to Finish
- Run the solvent test if the part carries a factory primer. Sherwin-Williams says insoluble means proceed to cleaning; soluble means strip it and treat the part as raw plastic.
- Clean with the cleaner your system names. Standox wants 2 to 3 passes with Standoflex Low VOC Plastic Cleaner (16010) and a clean gold pad each time. Do not let it dry on the part; rinse thoroughly until the residue is removed.
- Rinse until the water sheets. Pull the nozzle off the hose first, or a beading nozzle will fake a dirty part.
- Scuff. Spies Hecker runs P500 to P800 dry or P600 to P800 wet, with a gray or gold pad on edges and tight corners. Standox notes that a gold pad during cleaning and sanding improves adhesion.
- Prime as soon as it’s dry. Spies Hecker’s sheet is direct: prime as soon as possible after cleaning.
- Lay the bonding coat light. PPG warns that a medium or heavy wet coat compromises the prep system. One light pass, then stop.
Factory-Primed Plastic
Sand a small patch with P600 dry and watch what happens. Grit that powders and brushes away is telling you one thing. Grit that gums up under the paper is telling you another, and Sherwin-Williams uses exactly that split to decide between sand-and-clean and clean-only.
If it powders, sand the primer at P500 to P800 dry, scuff the edges, then clean. If the primer is reversible, Spies Hecker’s answer is to strip it and start over as raw plastic.
Keep the overspray off anything you’re not painting. Plastic trim grabs mist and holds it.
10 to 12 Inches, 2 or More Light Coats, and Other Numbers Worth Memorizing
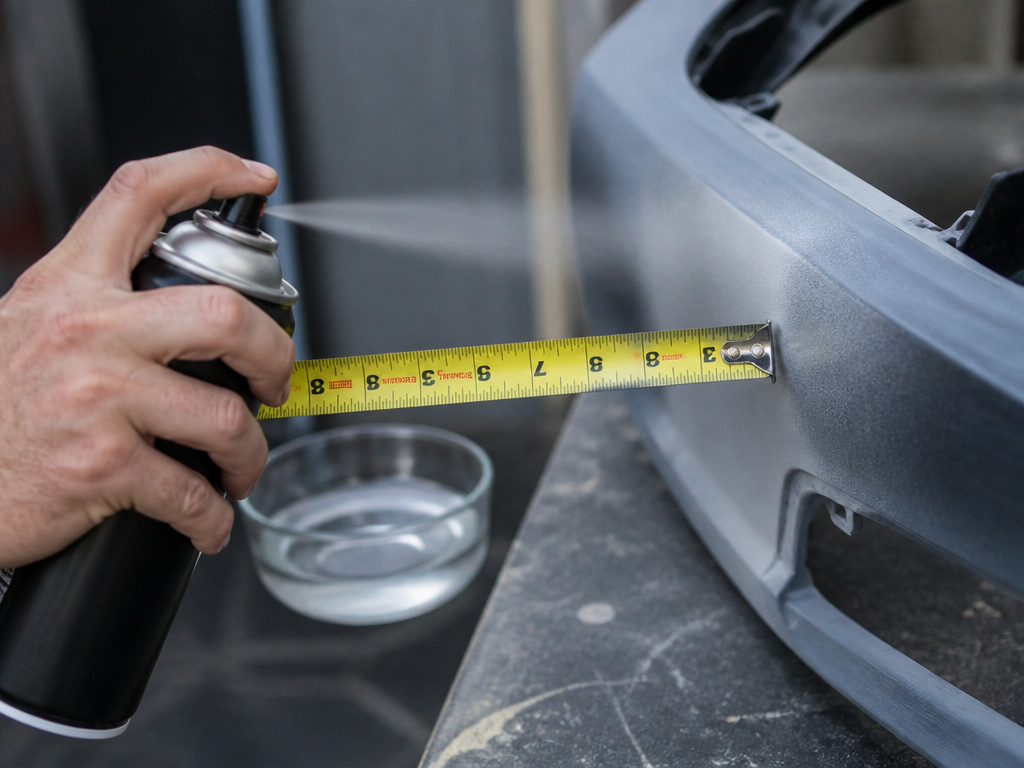
Ten to twelve inches is the can distance Rust-Oleum prints, and most of the drips I’ve seen came from someone closing that gap.
Here’s the rest of the arithmetic, straight from the sheets:
- 10 to 12 inches, can parallel to the surface, in motion the whole pass
- 50 to 90°F and humidity below 65% for the Rust-Oleum aerosol
- 2 or more light coats, a few minutes apart
- 0.5 mil dry film per coat, which means 2.5 to 3 mils wet going on
- Recoat within 1 hour or after 48 hours, and nothing in between
- 5 to 7 days to maximum adhesion
- 6 weeks before a pressure washer touches the finished part, per Standox
Hyundai’s body repair manual plastic painting section adds its own rhythm: 2 to 3 double coats until the intermediate coat is fully covered, 5 to 10 minutes of drying before the clear, then 5 to 10 more before force drying. It also warns against one heavy coat, in print, which tells you how often that mistake happens.
The Recoat Window Nobody Reads
Recoat within 1 hour or after 48 hours. That’s the whole rule, and the window between 1 hour and 48 hours is where finishes go wrong.
Inside the hour, the new coat melts into the old one. After 48 hours, the old coat is cured enough to accept a fresh layer.
Fair warning: this is the number I’ve watched the most people ignore. Then they sand.
Good spray painting technique is mostly about keeping the can moving and the distance steady. Overlap each pass slightly and you’ll do more for the finish than any product choice will. And if you want to prevent runs when spraying, the fix is thinner coats, not a faster hand.
One trick I use: stand the can in a bowl of warm tap water for a few minutes before shaking. Shake the can vigorously for one minute after the mixing ball begins to rattle.
Where This Goes Wrong, and How to Read the Failure
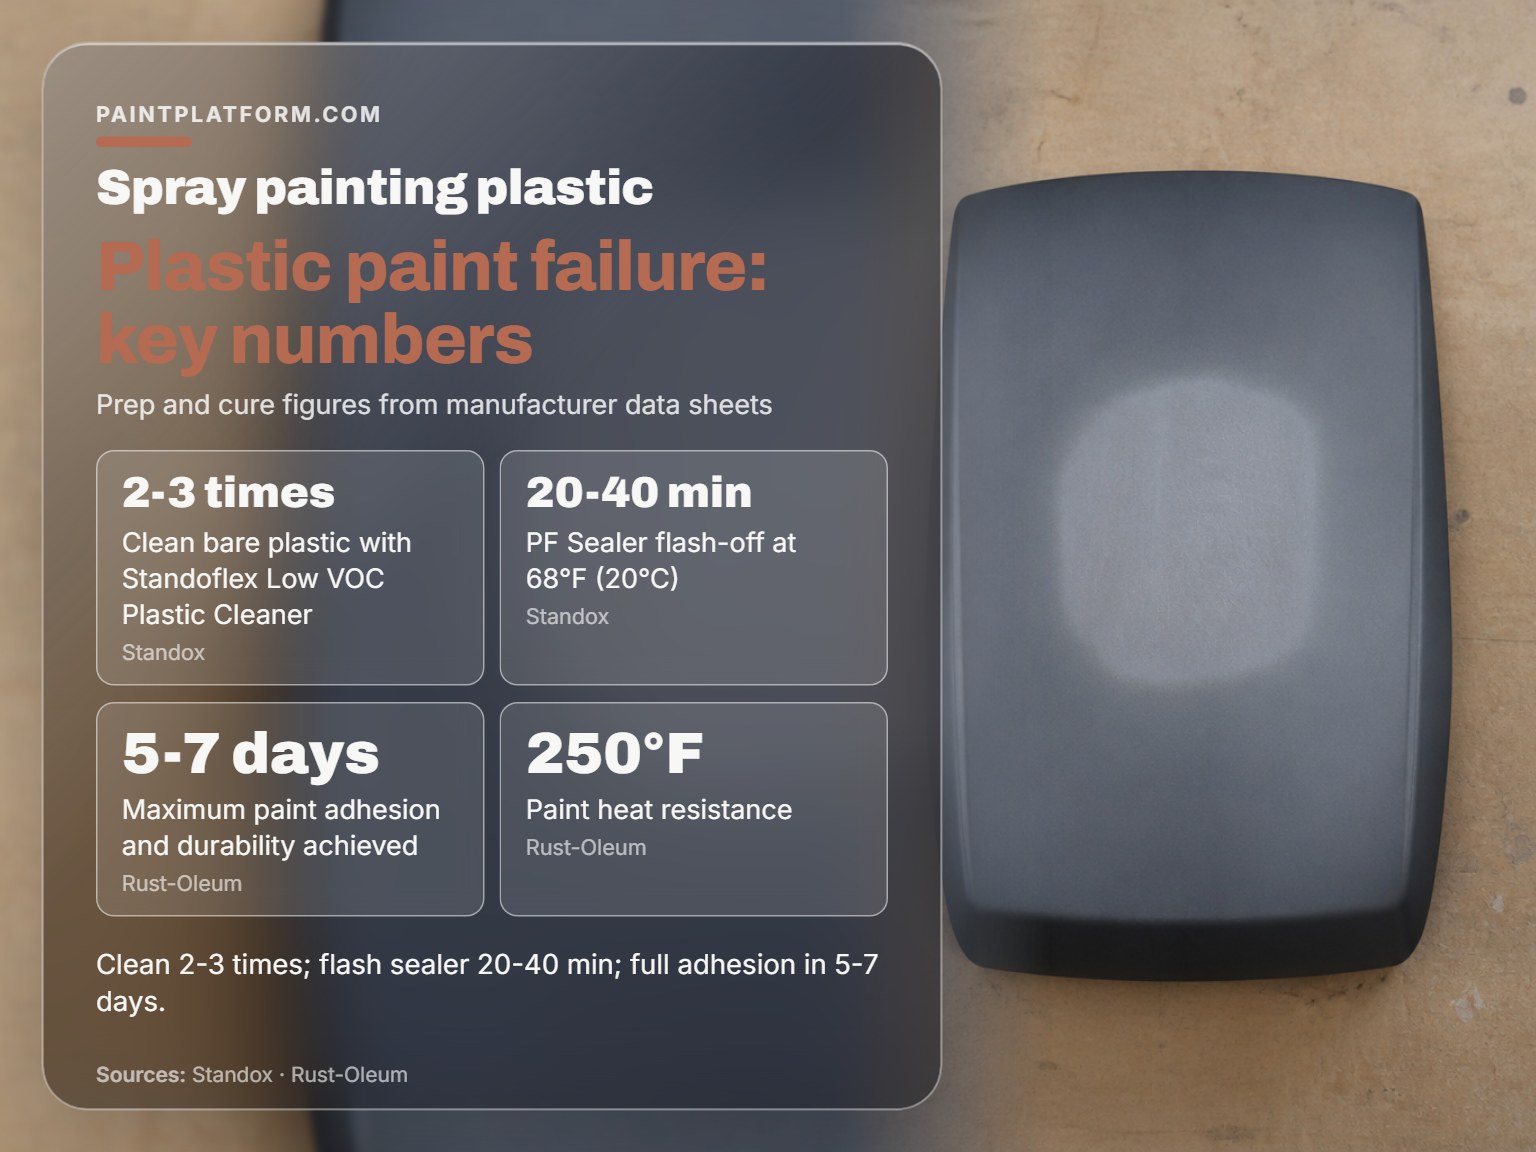
Almost every plastic paint failure I’ve seen was decided before the first coat went on.
| What you see | Likely cause | Fix |
|---|---|---|
| Paint lifts under a thumbnail | No bonding layer, or a heavy one | Strip, clean, re-bond light |
| Water beads on a “clean” part | Nozzle beading, not contamination | Pull the nozzle, rinse again |
| Finish gums instead of powders | Reversible factory primer | Strip and treat as raw plastic |
| Drips down a vertical panel | Can stopped mid-pass | Sand back, thin coats |
| Dull patch that won’t polish out | Harsh solvent on plastic | Stop; the plastic is etched |
That last row is the one I know from the inside. I once tried to save time on a plastic light cover with a harsh solvent. The dull patch it left never went away, and I’ve been careful with solvents on plastic ever since. When you need to remove paint from plastic, start gently and avoid harsh solvents that can etch the surface.
Easy to miss: Rust-Oleum’s own sheet flags polyethylene as a plastic that may hinder adhesion no matter what you do. Test in a hidden area before you commit a whole part to it.
If the piece lives outside, pick a coating rated for it. The spray paint for outdoor plastic question is mostly about UV and temperature swing, and Rust-Oleum’s plastic coating resists up to 250°F.
Frequently Asked Questions
Do I have to sand plastic before spray painting it?
Not always. Scuffing improves mechanical grip, and Spies Hecker specifies P500 to P800 dry or P600 to P800 wet on primed surfaces. On bare plastic, cleaning and a bonding layer do more work than sanding does, so don’t skip the cleaner to make time for the paper.
Can I spray paint plastic without primer?
You can, and it will look fine for about a day. My first attempt without a bonding layer scratched off under a thumbnail. PPG, Sherwin-Williams, and Standox all build a bonding step into their bare-plastic procedures, and Rust-Oleum’s aerosol carries its primer inside the can.
How long before spray paint on plastic is fully cured?
Rust-Oleum puts maximum adhesion and durability at 5 to 7 days. Touch dry runs 20 to 30 minutes and handle dry 1 hour at 70°F and 50% humidity. Standox goes further and asks for six weeks before a high-pressure washer touches the part.
Why did my spray paint crackle on a plastic bumper?
Crackling usually means the factory primer underneath was reversible, and your solvent went through it. Sherwin-Williams and Spies Hecker both start with a solvent test for exactly this reason. If the primer dissolves, strip it and treat the part as raw plastic.
Can I use regular spray paint on outdoor plastic furniture?
Use one rated for it. Rust-Oleum’s plastic coating handles up to 250°F and wants 50 to 90°F with humidity under 65% during application. Polyethylene is the wildcard, and the sheet says to test a hidden spot first.
What temperature is too cold for spray painting plastic?
Below 50°F is outside Rust-Oleum’s stated range of 50 to 90°F. Wait for conditions within Rust-Oleum’s 50 to 90°F range.
The Bottom Line
Here’s the concession. Everything above assumes you’re spraying something you care about. If it’s a plastic planter headed for the back fence, spray it with a can on a warm afternoon. The stakes don’t justify the ceremony.
What does justify it: anything that flexes, anything on a vehicle, anything that will meet a pressure washer. On those parts, the bonding layer and the six-week wait are the whole job.
Start this week with one scrap panel. Spray half with a bonding layer and half without, let both sit for 5 to 7 days, then drag a thumbnail across each. You’ll never wonder about primer again.
