
How to Remove Lead Paint Safely: What the Rules Allow
This post contains affiliate links. As an Amazon Associate, we earn from qualifying purchases.
To remove lead paint safely, stop dry sanding and dry scraping, keep any heat gun under 1,100 degrees Fahrenheit, and wet-scrape or strip instead. Federal rule 24 CFR 35.140 bans the methods that throw lead dust into the air. Test the paint first, contain the work area, and clean with a HEPA vacuum.
The 1,100-degree line is the whole argument in miniature. Above it, lead paint softens and starts to fume, and those fumes settle back out as dust on every surface in the room. Below it, the paint lifts in a skin you can catch on a scraper.
What follows is how to remove lead paint safely in practice: the federal rule, the square-footage exemptions that let you skip full containment, and the cleanup step that decides whether the job was actually finished. Plus the option that gets skipped a lot, which is leaving the paint exactly where it is.
Key Takeaways
- Dry sanding is prohibited under 24 CFR 35.140, while dry scraping is only conditionally allowed, with narrow exceptions for outlets and small defective spots.
- Heat guns must not operate above 1,100 degrees Fahrenheit and must never char the paint.
- The de minimis exemption covers up to 2 sq ft interior or 20 sq ft exterior before full safe work practices apply.
- Cleanup is part of the job: a HEPA vacuum plus a lead-specific detergent, per 24 CFR 35.1350.
- Intact paint in good condition is usually better sealed than stripped.
Which Removal Methods Are Actually Banned?
Federal rule 24 CFR 35.140 names the removal methods that are off the table for paint that is, or might be, lead-based. The list is shorter than you’d expect, and every item on it follows the same logic: it puts lead into the air as fine dust or fume.
The federal rule prohibits heat guns operating above 1,100 degrees Fahrenheit or charring the paint, dry sanding, and dry scraping except in narrow cases. Volatile paint strippers are barred in poorly ventilated spaces when the product is a hazardous substance or hazardous chemical under the referenced CPSC and OSHA rules.
| Method | Status under 24 CFR 35.140 | The exception |
|---|---|---|
| Heat gun above 1,100 F | Prohibited | None |
| Heat gun that chars paint | Prohibited | None |
| Dry sanding | Prohibited | None |
| Dry scraping | Conditional | Within 1.0 ft of outlets; defective spots up to 2 sq ft interior or 20 sq ft exterior |
| Volatile stripper, poor ventilation | Prohibited | Adequate ventilation |
Dry sanding is the one that catches people. An orbital sander on an older window casing turns a solid film into a fine airborne powder, and that powder is the exact fraction the rule exists to keep out of the air.
Dry scraping gets a conditional pass under the US rule, which allows it in conjunction with a heat gun, within 1.0 ft (0.30 m) of electrical outlets, or when you’re treating defective spots totaling no more than 2 sq ft (0.2 sq m) in any one interior room or 20 sq ft (2.0 sq m) outside, while Australia’s national guidance advises against it entirely.
The outlet carve-out is a practical one.
That’s the whole list. Everything else in the rule is about where the dust goes, not which tool you hold.
Here’s where I have to own something. A sharp carbide scraper cleared a flaking window sill for me quickly, faster than I ever managed with a gooey stripper and a plastic putty knife. I was pleased with myself. (The sill looked fine, which is exactly the trap.) Then I learned it was original to an older house and nobody had tested it. A dry scraper on lead paint is the exact move the regulation restricts, and I’d done it on a Saturday without thinking.
Now the scraper comes out after a test, with the surface misted first. Pull it toward you with the grain, too, not across it. I learned that one by leaving chatter marks all over a door frame that I then had to sand out anyway.
If you’re weighing a heat gun vs stripper for a specific surface, the rule narrows the choice fast. The heat gun has to stay at or below 1,100 F and can’t char. The stripper can’t go into a poorly ventilated room if it carries the hazardous-substance classification.
The full text sits at 24 CFR 35.140 prohibited removal methods. Read the actual sentences rather than somebody’s summary of them.
How Much Paint Can You Disturb Before the Rules Kick In?
Two square feet. That’s roughly the size of a hardback book cover, and it’s the ceiling on defective-spot scraping in any one interior room.
The de minimis levels in 24 CFR 35.1350 work the same way. Safe work practices aren’t required when the work doesn’t disturb painted surfaces beyond those thresholds: 2 sq ft (0.2 sq m) in any one interior room or space, and 20 sq ft (2.0 sq m) on exterior surfaces.
That sounds generous until you measure. A single window casing with peeling paint can use up much of the interior allowance on its own. I keep a tape measure in the toolbox for exactly this reason, and I’ve been surprised by the number more than once.
Three things push you straight out of the exemption:
- The paint is failing across a whole wall or trim run, not in isolated spots you can count on one hand.
- You can’t test it, so you can’t claim the exemption applies to lead-based paint in the first place.
- The work is exterior and close to a property line, which may pull in additional containment requirements.
Easy to miss: The exemption is about area disturbed, not area repainted. Scrape a 2 sq ft patch and then coat the whole wall, and you’ve still only disturbed 2 sq ft. Get that backwards and you’ll skip containment on a job that needed it.
This is also where the guidance genuinely splits. The US rule writes a conditional allowance for dry scraping. Australia’s national lead-paint guidance takes a harder line and lists dry scraping among the methods to avoid outright, on the reasoning that any dust-generating method is a risk. Two regulators, two philosophies: one writes carve-outs, the other writes cautions. The Australian lead paint renovation guide is worth reading if you want the stricter position in full.
My read: the cautious version costs you an afternoon of wet scraping. The permissive version costs you nothing but time, either. Take the afternoon.
Test Before You Touch Anything
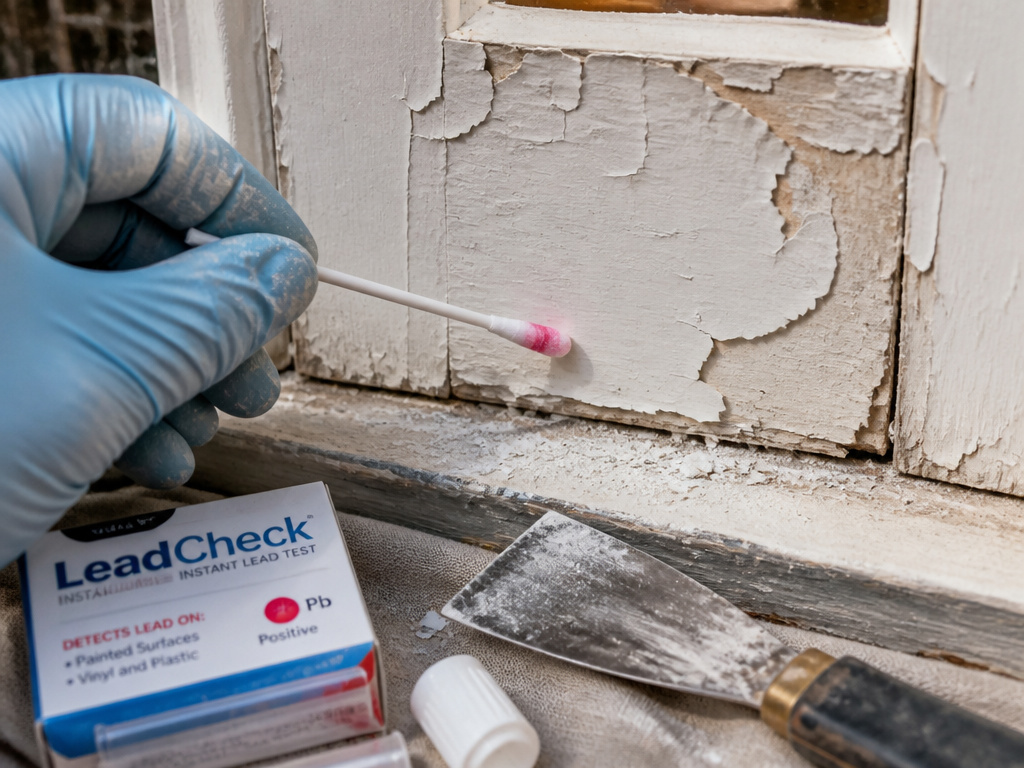
An older door frame, a dull putty knife, and a Saturday morning. That’s the setup for most of the lead paint mistakes I hear about, and the fix is a swab and a few minutes.
Testing decides everything downstream, and it’s the step that gets skipped when the how to remove lead paint safely question comes up because the paint looks fine. Chalking paint leaves a fine white powder on your fingertip when you drag it across a sill, and that powder is the tell that the film is breaking down whether or not it tests positive.
Lead-check swabs are the ones I keep in the toolbox. You crush the ampoules inside the swab, shake it, and rub it into the paint film. A color change means lead is present at a level worth treating seriously.
A lead paint test is quick per surface, and it’s worth doing on every layer you plan to touch rather than just the topcoat.
What a Home Test Kit Actually Tells You
A positive swab tells you lead is present. It doesn’t tell you how much, and it doesn’t tell you whether the paint is a hazard right now. Intact paint that tests positive is a different problem from chalky, peeling paint that tests positive, and they call for different responses.
Test the layer you’re about to cut. That’s the one that matters.
Common mistake: Testing the topcoat and calling it done. Older trim often carries several layers, and the lead is frequently in a coat underneath the one you can see. Sand through the top layer and you’re into the hazard without knowing it.
When to Call a Certified Renovator
If the paint is failing over a large area, or the surface is a friction point like a window sash or a stair tread, that’s the point to bring in an EPA-certified firm rather than work it out yourself. Friction surfaces shed paint constantly, and the dust ends up on the floor where kids play.
Wet Methods and the Cleanup That Decides the Job
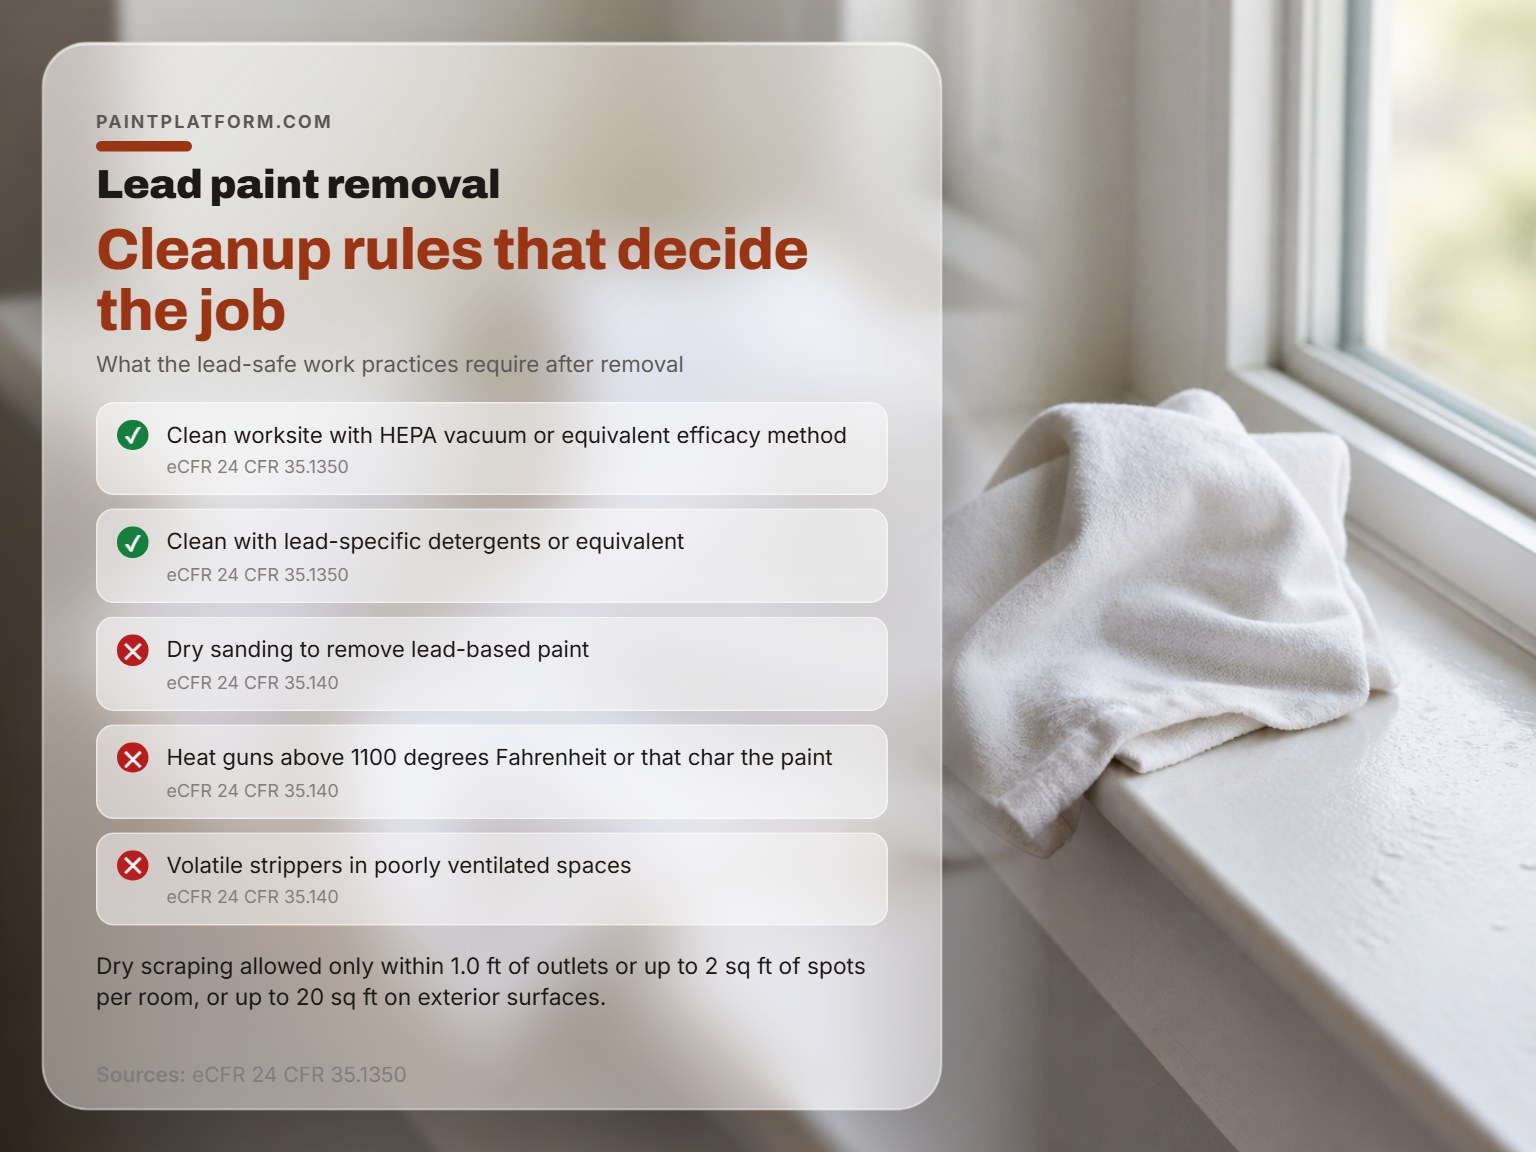
Cleanup is where a careful how to remove lead paint safely job turns into a contaminated one. The removal gets all the attention; the wiping is what actually determines how much lead stays in the house.
Before you start: Lead dust settles on every surface in the room, including the ones you didn’t touch, and a dry broom just lifts it back into the air. Seal the doorway with plastic sheeting, keep children and pregnant people out of the work area until the final wipe, and never eat, drink, or smoke in the room while the job is open.
The EPA’s RRP guidance lays out the containment and cleanup sequence in order. Those numbers are the floor, not a target. The EPA Lead Safe RRP steps guide lays out the containment and cleanup sequence in order.
Three tools cover most of this: a scraper, a spray bottle, and a HEPA vacuum. It’s the pantry principle. Salt, acid, and a couple of reliables beat forty jars you never open.
- Seal the room before you touch the paint. Plastic on the floor, taped at the edges, and a second sheet over the doorway. Skip it and every chip you drop becomes a cleanup job for the whole house.
- Mist the surface before you scrape. A spray bottle on a fine setting keeps flakes heavy enough to fall onto the plastic. Scrape dry and the fines hang in the air.
- Scrape into the sheet, not onto the floor. Work in small sections and fold the corners up as you go.
- HEPA vacuum every surface, including the walls. 24 CFR 35.1350 requires cleaning with a HEPA vacuum or a method of equivalent efficacy after hazard reduction work.
- Wipe with a lead-specific detergent, then rinse. The same section requires lead-specific detergents or an equivalent. A lead-specific detergent is the one to ask for.
- Bag the debris before the plastic comes down. Fold the sheet inward on itself and tape it shut.
A HEPA dust extractor is what I’d rent for a whole room. For a single sill, a HEPA-rated shop vacuum with a fresh filter does the job. The 24 CFR 35.1350 safe work practices rule is the one that governs all of it.
Lead dust doesn’t announce itself. It reads as a faint grey film on the sill, and it comes off on a white cloth as a thin dark smear you’d otherwise wipe right past.
Wiping down walls is a different skill from scraping them. To clean lead dust properly you change cloths often and work top to bottom, so you’re never re-contaminating a surface you already did.
Heat Gun or Chemical Stripper: Which One Fits the Job?
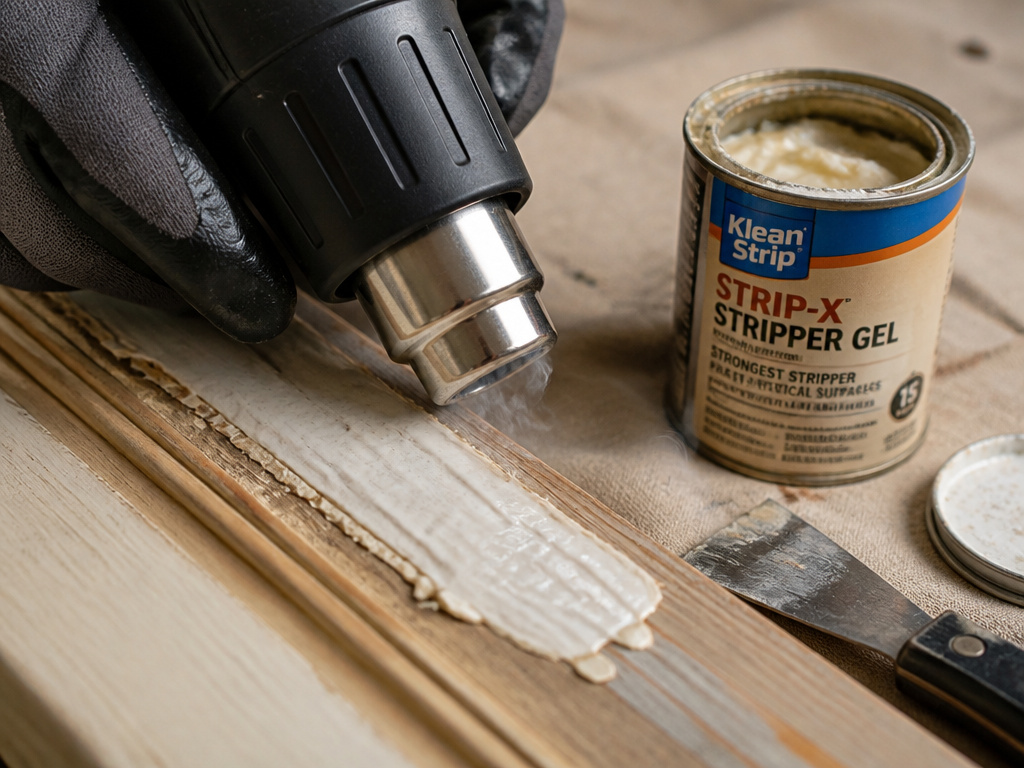
Neither one is a free pass. Both sit inside the same rule, and both can put lead where you don’t want it if you use them carelessly.
The heat gun’s limit is hard: not above 1,100 degrees Fahrenheit, and no charring. Charring is the tell that you’ve crossed into fume territory, and it’s visible before it’s smellable.
| Method | Best for | Where it fails |
|---|---|---|
| Wet scraping | Flaking paint on trim, sills, casing | Soft or checked wood that crumbles |
| Heat gun at or below 1,100 F | Thick buildup on flat stock | Any surface where you can’t keep the gun moving |
| Chemical stripper | Profiles, mouldings, detail work | Poorly ventilated rooms |
| Off-site stripping | Doors, shutters, cabinet fronts | Anything you can’t unbolt and carry out |
Chemical strippers carry their own restriction. 24 CFR 35.140(f) bars volatile strippers in poorly ventilated spaces when the product is a hazardous substance under 16 CFR 1500.3 or a hazardous chemical under OSHA’s 29 CFR 1910.1200 or 1926.59. A garage with the door shut counts as poorly ventilated.
A volatile stripper announces itself before you’ve read the label. The sharp, sweetish solvent smell hits the back of your throat the moment the lid comes off, and that’s your cue that the room needs air moving through it.
Where Chemical Stripping Wins
Profiles and mouldings. A heat gun on a curved chair rail is a lesson in frustration, and a scraper will gouge the profile in two passes. A gel stripper sits exactly where you put it and stays there.
I’d take a carbide scraper over a heat gun on a flaking sill, provided the surface is misted and the paint has been tested. The scraper gives you control at the edge. The heat gun gives you a scorch mark you’ll be sanding out later.
Off-site stripping is worth considering for doors and shutters, which is why they are worth unbolting and carrying out. The HUD Chapter 12 abatement guidance covers the tagging and wrapping steps.
Encapsulation: The Option Most Homeowners Skip
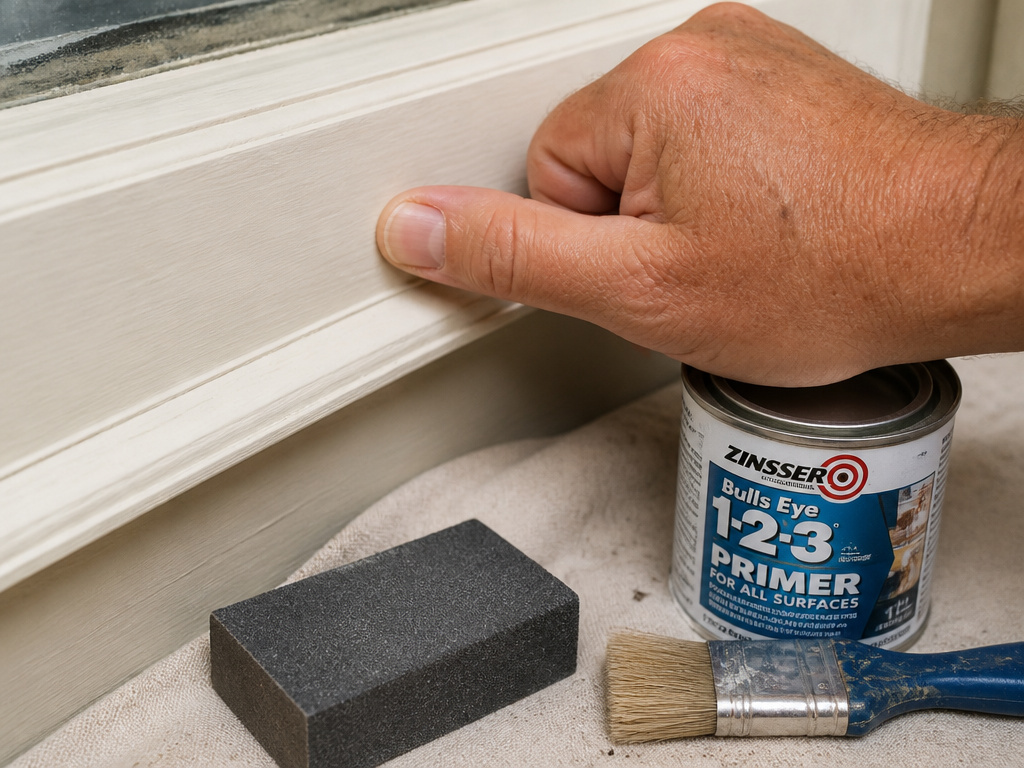
Removal gets all the attention. For paint that’s still stuck tight, sealing it in place is often the safer call, and it’s the one I’d make in my own house first.
The logic is simple. Every removal method creates dust, and every dust-control method is a chance for something to go wrong. Paint that’s intact and adhering isn’t shedding lead on its own. Sealing it keeps it that way.
I spent a long time stripping a dresser that had only a few flaky spots on it. The second one I did, I scraped the loose bits, sanded, primed, and was painting soon after. Same result, one afternoon instead of two days.
The fingernail test is what I use now. If a fingernail can’t lift the edge and the paint isn’t peeling in sheets, it’s sound. Sand it, prime it, move on.
Encapsulation and a coat of paint are different things. An encapsulant is a product made for the job. Ordinary latex over a lead surface is just paint, and it fails the moment the film underneath cracks.
To paint over lead paint you need the surface sound first, and that’s the whole test. If you want the product-level version, lead paint encapsulation covers the coatings rated for it.
When Encapsulation Is the Wrong Call
If the paint is peeling in sheets, chalking onto the floor, or sitting on a friction surface like a window sash or a stair tread, sealing it doesn’t solve anything. You’re locking a failing film under a new one, and it’ll come up together.
If a fingernail can’t lift the edge, seal it. If it comes away in a sheet, it’s a removal job.
What Do You Do With the Debris?
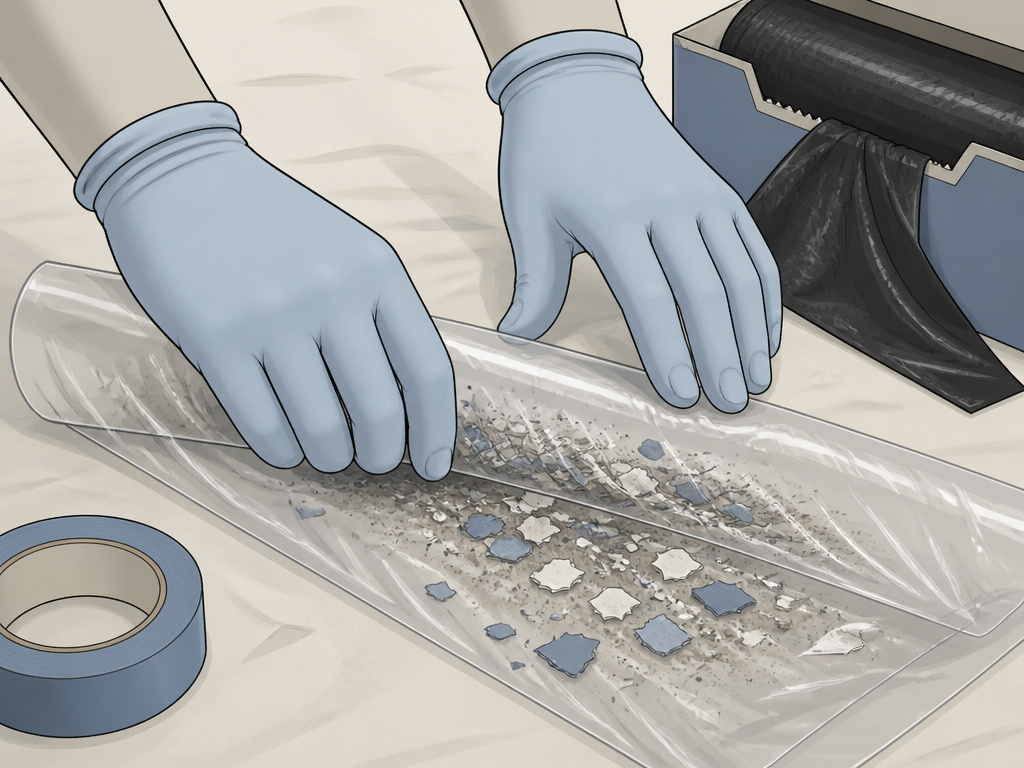
Paint chips, dust, used plastic sheeting, and the drop cloth all leave the site as waste that needs handling. This is the part people forget once the wall looks clean.
- Fold, don’t dump. Roll the plastic inward on itself so the contaminated face ends up inside, then tape it shut.
- Keep chips out of household trash until you’ve checked your local rules, because many areas treat lead paint debris separately.
- Never burn it. Lead doesn’t disappear in a fire, and the ash carries it.
- Wash up before you leave the room, and change out of the work clothes before you sit on the couch.
I keep a box of heavy contractor bags just for this and I don’t reuse them for anything else. It sounds fussy. It isn’t, once you’ve seen how far a few chips travel.
The full sequence for lead paint disposal varies by municipality, so check before you bag anything.
Frequently Asked Questions
Can I remove lead paint myself?
It depends on the size and condition of the surface. Small defective spots inside the de minimis limits are workable with wet methods and HEPA cleanup. Large areas, friction surfaces, and exterior work near a property line are a different job, and that’s when an EPA-certified firm earns its keep.
Is a heat gun ever allowed on lead paint?
Yes, not above 1,100 degrees Fahrenheit and without charring the paint. 24 CFR 35.140(d) prohibits heat guns operating above that temperature or charring the film. In practice the margin is thin, and the moment the paint darkens you’ve crossed it.
Does painting over lead paint make it safe?
It reduces the hazard if the film is intact and the coating holds. It doesn’t remove the lead. If the paint underneath is failing, a new coat traps a failing layer and both come up together later.
What’s the difference between dry scraping and wet scraping?
Wet scraping mists the surface first so flakes stay heavy and land on the drop sheet. Dry scraping sends fines into the air. Federal rule allows dry scraping only in narrow cases, and Australia’s national guidance advises against it entirely.
How do I clean up lead dust after the job?
HEPA vacuum every surface, then wipe with a lead-specific detergent and rinse. 24 CFR 35.1350 requires cleaning methods and products that are successful at picking up dust-lead hazards, with a HEPA vacuum named as the example.
The Bottom Line
Three things decide whether this job goes well: whether the paint was tested, whether the method was wet, and whether the cleanup actually happened. Everything else is detail.
If you don’t have a test result in hand, that’s your trigger. Test before you scrape a single chip, not after.
One concession worth stating plainly. This all changes if the paint is already failing over a large area. Encapsulation comes off the table, wet scraping a whole wall becomes a containment project, and at that point the honest answer is a certified firm.
Try this today: pick one window sill or door frame you’ve been meaning to deal with, and run a swab across it. Whatever the result, you’ll know which set of rules you’re working under. That’s the whole point.
