
How to Patch Drywall Before Painting: Step-by-Step
This post contains affiliate links. As an Amazon Associate, we earn from qualifying purchases.
To patch drywall before painting, fill the damage in thin coats, let each coat dry fully, sand it flush, and prime the patch before the paint goes on. Thin coats beat thick ones every time, and a patch that feels dry to the touch isn’t necessarily dry all the way through.
That drying gap is where patches fail. Joint compound loses water as it cures, and a thick fill pulls back from the wall while the surface still feels firm. Two thin passes let each layer shrink on its own before the next one lands. This is how to patch drywall before painting.
The order I actually work in when you compare a how to patch drywall before painting: conditions first, then thin coats, then sanding, then primer. Three manufacturer documents sit behind the numbers, and they don’t all agree, so I’ll show you where they split and which floor I use.
Key Takeaways
- Thin coats, always. A fat glob shrinks, pulls back from the edges, and cracks across the middle; two thin passes dry faster than one thick one.
-
Check the room before you open the tub. USG’s Plus 3 Patch and Repair Pack wants 55 °F (13 °C) until the joints are completely dry, USG’s repair-kit sheet says 45 °F, and GIB keeps water, air, and mix above 10 °C.
-
Prime the patch. USG calls for SHEETROCK First Coat or an undiluted high-solids flat latex before paint, and skipping it is why repairs flash.
What Temperature Does Joint Compound Actually Need?
Cold is the quiet reason a patch fails. Below the manufacturer’s floor, joint compound stops curing properly, and extra drying time won’t rescue it, so how to patch drywall before painting starts with the room.
Three current manufacturer documents set three different temperature floors for the same repair. USG’s Plus 3 Patch and Repair Pack requires 55 °F (13 °C) for air, compound, and surface until the joints are completely dry. USG’s drywall repair kit document states 45 °F. GIB’s site guide keeps water, air, and mix above 10 °C.
So which floor do you work to? I use 55 °F, because it’s the highest of the three and it’s printed on the product I actually buy. At 52 °F, USG’s repair-kit sheet says go, GIB’s guide says go, and the Plus 3 pack says wait.
| Document | Minimum temperature | What it covers |
|---|---|---|
| USG Plus 3 Patch and Repair Pack (J1805) | 55 °F (13 °C) | Air, compound, and surface until dry |
| USG Drywall Repair Kits (J1802) | 45 °F | Surface, water, mix, and air |
| GIB Site Guide (GIB0154) | Above 10 °C (50 °F) | Water, air, and mix |
GIB also permits a remedy the USG documents don’t describe. A fan heater on a moderate setting, no more than 20 °C, for a couple of hours, then 24 hours with the door open so air can move through the room.
Two more prep notes from USG’s Plus 3 sheet: keep the compound at room temperature for 24 hours before you open it, and use it straight from the container, stirring only if it has separated. Fix the conditions before you touch the surface.
Before you start: Joint compound dust hangs in the air long after you stop sanding, so wear a mask and close the door to the rest of the house. A utility knife and a keyhole saw both cut deeper than you expect on the first pass, so score lightly before you commit. USG’s own instructions say to read the safety data sheet before you open the container.
Why Thin Coats Beat One Fat Glob
The worst patch I ever made was one confident swipe. A dent the size of a thumbnail, a fully loaded knife, one pass. Two days later a hairline crack ran straight across the middle of it.
That’s shrinkage, and it’s the most predictable failure in the whole job. Joint compound carries a lot of water. As the water leaves, the film pulls inward, and a thick fill has more material shrinking against itself than the edges can hold. A thin pass has less to lose.
- Load the knife lightly. Enough to cover the damage and no more. Overload it and compound squeezes past the edges, which buys you ten minutes of sanding to get back where you started.
- Draw it flush in one direction and stop. Working the knife back and forth drags the set edges and leaves ridges that show under paint.
- Let it dry before you judge it. A first coat that sinks below the surface is normal. Filling that dip with a second thin pass is the method. Skip the wait and you trap moisture under a skin, which is how a patch blisters.
Run the back of your hand along the wall once the coat is dry. A dip you can’t see under flat light will catch your knuckles every time.
Two thin coats beat one fat one. Every time I’ve tried to save a step, I’ve paid it back in sanding.
Nail Holes Take Four Seconds Each
Nail holes are quick once you stop overthinking them. Lightweight spackle on a fingertip or the corner of a putty knife is plenty. Slightly overfill, let it dry, then one swipe with a sanding sponge. I’ve done a whole room’s worth in an afternoon that way.
Here’s what actually earns its place on the shelf:
- A tub of lightweight spackle. A small tub lasts a whole room.
- A putty knife. Wider than the hole, narrower than your patience.
- A medium-grit sanding sponge. It’s cheap and it doesn’t gouge the paper face.
- A damp rag, for the dust that settles on the baseboard.
Where this goes sideways: Overfilling and then sanding hard in one swipe pulls compound back out of the hole. You end up with a shallow dish that shows under raking light from a window, and you’ll be filling it again next weekend.
Filling nail holes is the one part of this job you can genuinely do in a single pass per hole. Just don’t sand like you’re angry at it.
Sanding: 150-Grit or 220-Grit?
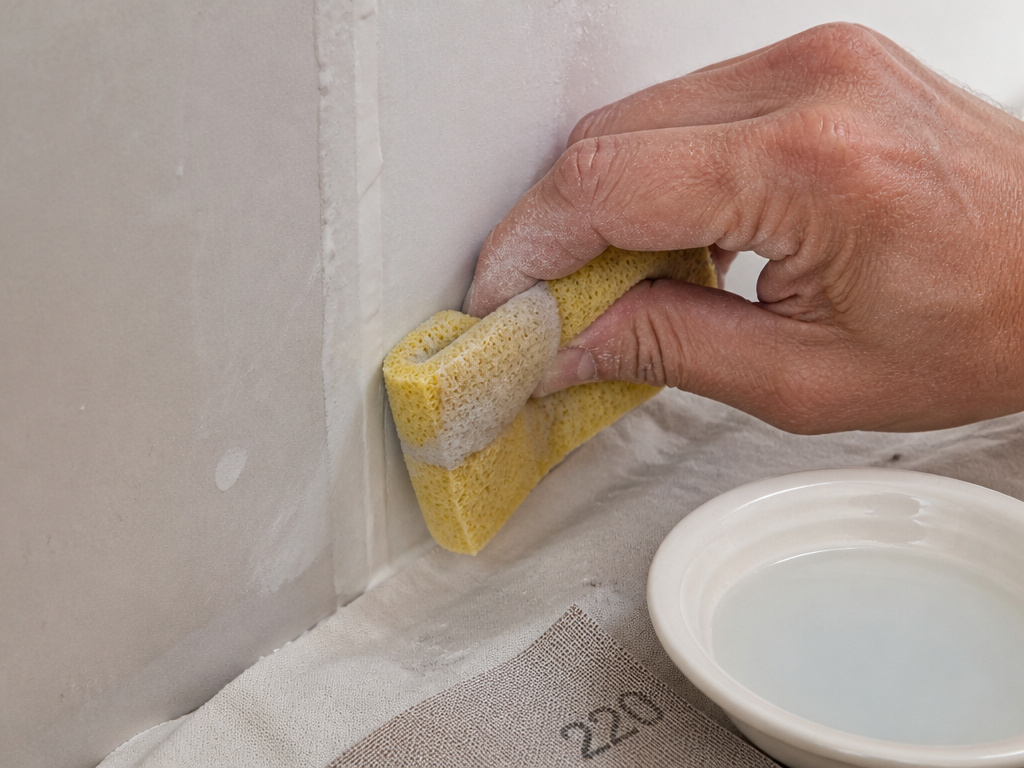
Sanding decides whether the patch disappears or announces itself under the paint. Get the grit right and the step takes minutes.
USG’s Plus 3 sheet gives two options. Dry sanding takes 150-grit sandpaper or 220-grit abrasive mesh cloth or finer. Wet-sponge sanding is the sheet’s preferred method, because it eliminates dust and stops you scuffing the paper face. Wring the sponge out until it stops dripping, then rub the joint gently with a sweeping motion and rinse the sponge often.
Sand until the patch disappears under your hand, not until it looks perfect. Paint hides a lot. Ridges it won’t hide.
A sanding sponge over a dry patch makes a papery hiss. When it turns to a dull scrape, you’ve cut through to the paper face and you should stop.
| What you see | Why it happened | Fix |
|---|---|---|
| Hairline crack across the patch | One thick fill shrank as it dried | Rake it out, refill in two thin coats |
| A shallow dish under raking light | Overfilled, then sanded too hard | Skim coat it and sand flush |
| Fuzz or scuffed paper at the edges | Dry sanding with too coarse a grit | Wet-sponge it, then reseal |
| Patch flashes through the finish | No primer over the compound | Prime and repaint |
If you want the full breakdown of grits, sandpaper for drywall is where I’d start. The same restraint applies to sanding walls anywhere in the room. Finer than you think, and lighter than you think.
Over 2 Inches, Spackle Stops Working
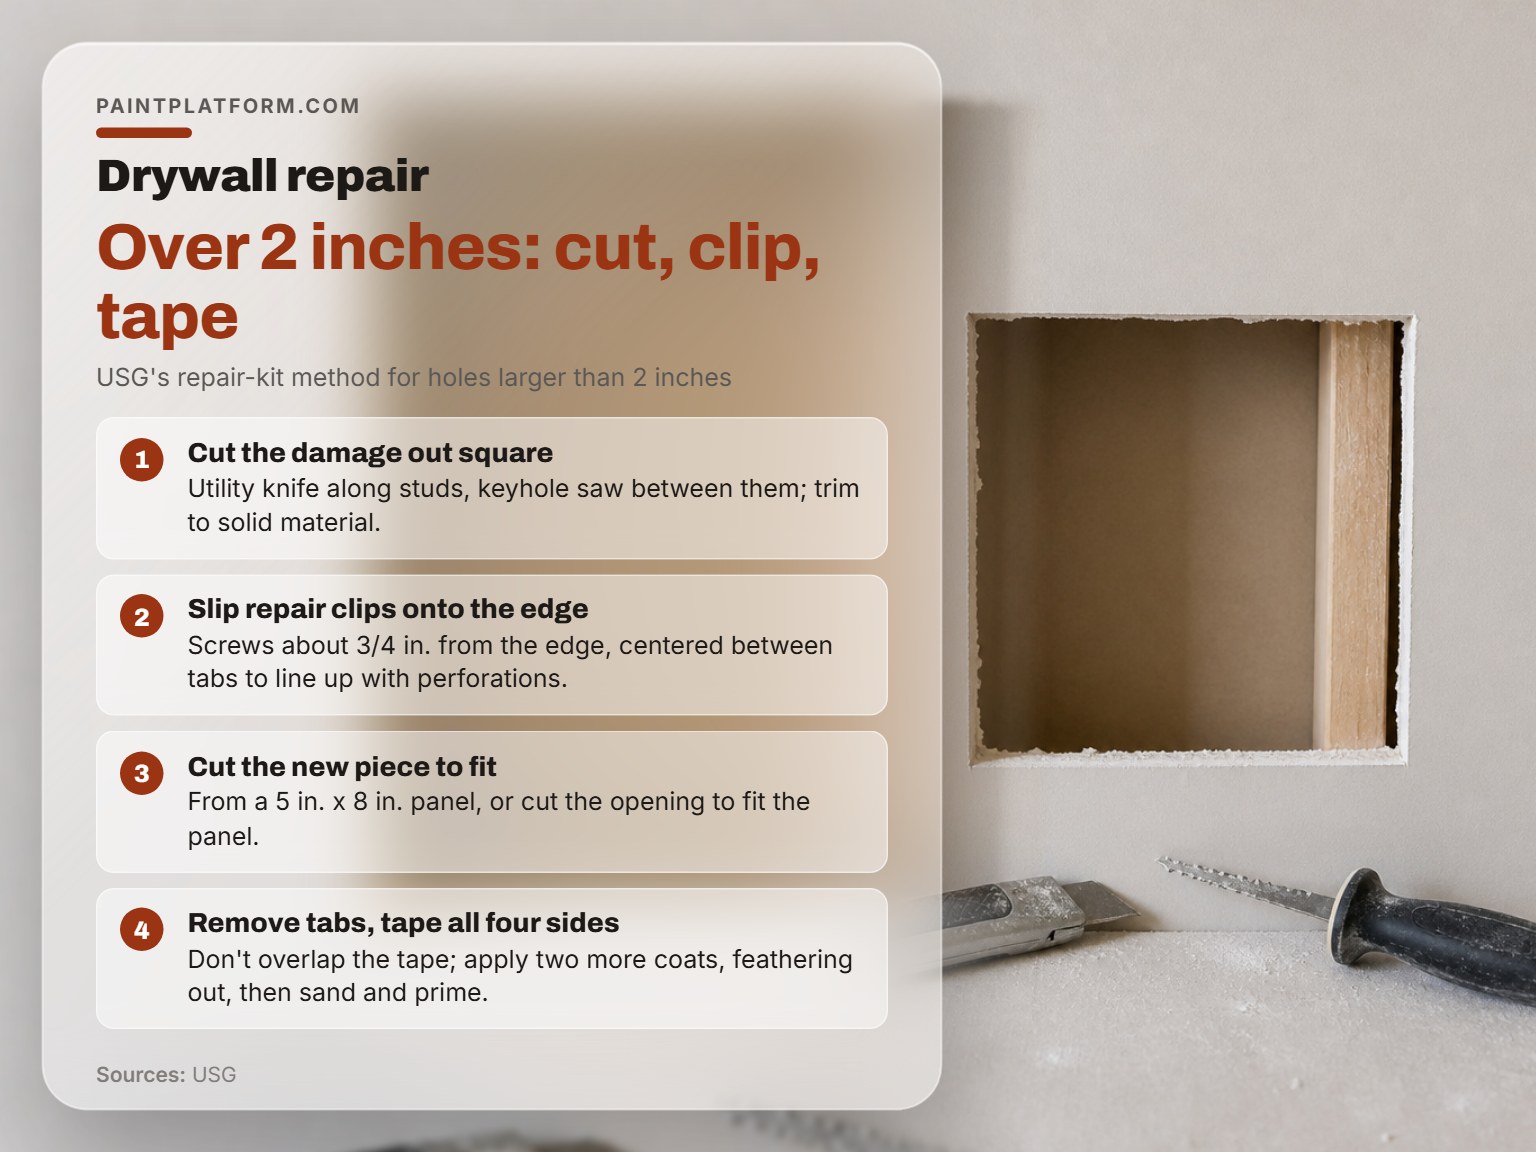
For holes over 2 inches, USG’s repair-kit instructions treat the damage as a small drywall job rather than a simple patch. USG’s repair-kit instructions treat anything larger that way, and the method is worth knowing before you buy a bigger tub of spackle.
- Cut the damage out square. A utility knife along the studs, a keyhole saw between them. Trim back to solid material, because a ragged edge won’t take tape.
- Slip repair clips onto the edge of the damaged wall. Position screws about 3/4 inch from the edge, centered between the tabs so they line up with the clip perforations. Skip this and the new piece has nothing to bear on.
- Cut the new piece from a 5 in. X 8 in. Panel to fit the opening, or cut the opening to fit the panel. Screw through the new drywall into each clip, opposite the screw holding the clip.
- Remove the tabs, then tape all four sides. Don’t overlap the tape. Overlapping tape builds a ridge you’ll chase with sandpaper for an hour.
- Two more coats, feathering out from the last one. Let each harden before the next goes on. Sand and prime when dry.
That’s the whole method. It’s more cutting than filling, which is why so many people avoid it and reach for a second tub of spackle instead.
Prime the Patch or It Will Flash
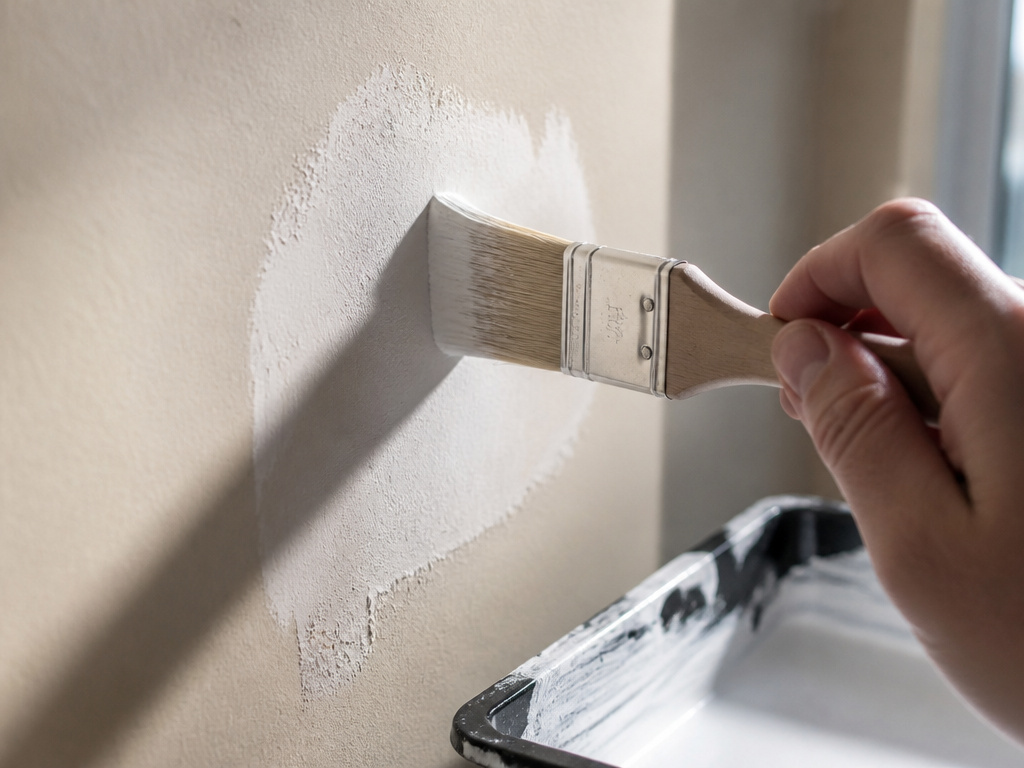
Prime the patch. Paint alone won’t do it, and you’ll see why the moment the finish coat dries.
USG’s application sheets call for a prime coat of SHEETROCK Brand First Coat or an undiluted latex flat wall paint with high solids content before painting or texturing, while QUIKRETE’s plaster guide says to put a primer coat on the patch if it’s going to be painted.
Why the Patch Flashes
Joint compound is more porous than the paper face around it, so it drinks the finish coat at a different rate. That’s what flashing is: the patch and the wall dry to slightly different sheens, and the repair shows up as a dull rectangle in any room with a window.
Before you prime, USG says all surfaces must be dry, dust-free, and not glossy. A swipe with a damp rag handles the dust, and it takes less time than sanding the same spot again.
I prime every patch, even under a paint that claims to be self-priming. The patch is a different surface than the wall around it, and one coat of primer takes ten minutes.
If you want the longer version, priming drywall patches covers the products. The same rules scale up to priming new drywall across a whole wall.
Cracks and Torn Paper Are Different Repairs
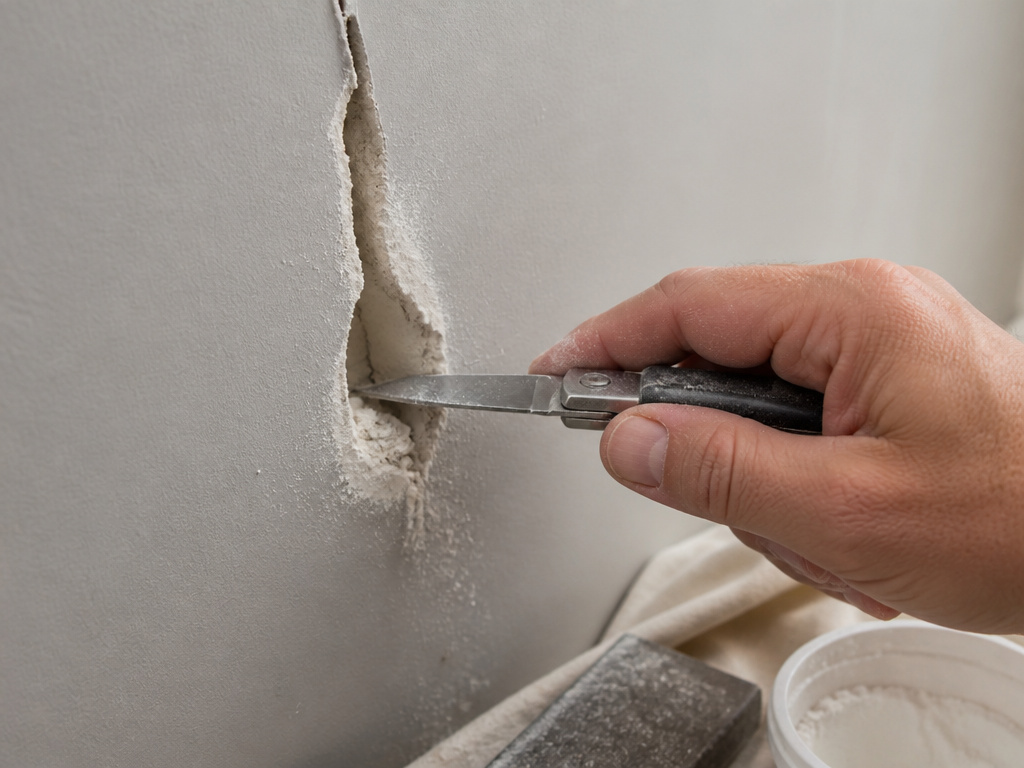
QUIKRETE’s approach to a crack starts with a pocketknife, not a tub of spackle. That’s the tell that you’re dealing with a different failure.
Cracks
Undercut the edges of the crack with the tang of a file or a pocketknife so the inside opening is wider than the face. That keyhole shape is what holds the fill in place. Brush out the loose particles and dust, then work patching plaster in with cross-hatched strokes so every void fills. Wipe the excess off the wall immediately.
For wide or deep cracks, QUIKRETE says build it in layers with several hours of drying between them. Once it’s dried for several hours, sand it smooth with fine-grade sandpaper.
USG’s method for large cracks uses tape instead: embed paper joint tape in compound, draw the knife firmly over the crack to seat the tape at about 1/8 inch, let it dry, then coat over the tape.
Torn Face Paper
Peel the loose paper off first. Both USG sheets say the same thing: remove the loose face paper, then skim coat the damaged area with patching compound and feather it smooth. Let it harden, add a second coat if it needs one, sand, and prime.
Easy to miss: Compound over a loose flap of face paper dries, lifts, and takes the flap with it. Peel first, always.
For painted-over cracks that keep coming back, cracks in walls goes deeper. And if the light in the room is harsh, hide imperfections with the right sheen before you start.
Frequently Asked Questions
Can you paint over joint compound without priming?
Not if you want the patch to disappear. USG’s application sheets call for a prime coat of SHEETROCK First Coat or an undiluted high-solids flat latex before painting or texturing. Skip it and the patch dries to a different sheen than the surrounding wall.
How long should a drywall patch dry before painting?
USG allows approximately 24 hours between applications at 75 °F and 50% relative humidity. GIB gives a minimum of 24 hours between coats, and longer in cold or damp conditions. Joint compound has to be dry before it’s painted, not just firm to the touch.
Do you have to sand drywall patches before painting?
Yes. USG specifies 150-grit sandpaper or 220-grit abrasive mesh cloth or finer for dry sanding, and recommends wet-sponge sanding to cut the dust. GIB adds that you should sand in one direction rather than a circle.
Can you use spackle instead of joint compound?
For nail holes and small dings, yes. Lightweight spackle is easier to sand and it’s what most small repairs actually need. For anything deeper than a surface dent, joint compound in thin coats holds up better, because a thick spackle fill shrinks and cracks.
What happens if you patch below the minimum temperature?
The compound stops curing reliably, and extra time doesn’t fix it. USG’s Plus 3 sheet holds 55 °F (13 °C) until the joints are completely dry, its repair-kit sheet says 45 °F, and GIB keeps water, air, and mix above 10 °C.
The Bottom Line
One threshold decides more patches than any technique: the room. If the space won’t hold 55 °F (13 °C) for a full day, the Plus 3 pack says stop and come back when it will, though USG’s repair-kit sheet and GIB allow lower floors. No amount of thin coats fixes compound that never cured.
Everything above assumes modern gypsum wallboard. If you’re patching plaster over lath, QUIKRETE’s method is the one to follow, and the drying times stretch out to several hours between layers rather than 24.
Start with the smallest repair in the room. A nail hole tells you in ten minutes whether your compound is the right consistency and your sanding sponge is the right grit. Then do the big one.
Don’t overthink it. Two thin passes, one light sand, one coat of primer.
