
How to Paint a Bathtub: Step-by-Step (And Cure Times)
This post contains affiliate links. As an Amazon Associate, we earn from qualifying purchases.
Here’s how to paint a bathtub that lasts: match the coating to your tub material, sand and degrease harder than feels reasonable, and wait out the full cure. Rust-Oleum’s Tub & Tile kit mixes 4:1, takes two coats at least 1 hour apart, and needs 3 days dry before water touches it.
That cure wait is where the four big coating systems split hardest. Rust-Oleum says 3 days, US Bath Products says 24 to 48 hours, and Jaeger Lacke holds a tub out of service for a full 5 days at 22 to 25C. Same milestone, three different answers.
What follows walks the coating choice, the prep that decides the job, the step sequence, and each maker’s cure numbers side by side so you can plan around the system you actually bought.
Key Takeaways
- Match the kit to the substrate. Rust-Oleum Tub & Tile covers ceramic, porcelain, and fiberglass, and it’s explicitly not rated for pools, hot tubs, saunas, galvanized steel, or flexible plastic.
- Prep outlasts the painting. Klass Kote asks for as much or more time on surface prep as on the coating itself.
- Pot life is the clock that matters. Rust-Oleum gives you up to 6 hours after mixing. Jaeger Lacke gives you about 50 minutes.
- Water exposure varies by maker. 3 days for Rust-Oleum, 24 to 48 hours for US Bath Products, 5 days for Jaeger Lacke.
- No abrasives after cure. Skip bleach, drain cleaners, scouring pads, muriatic acid, and suction-type bath mats.
Which Tub Coating Fits Your Tub?
Rust-Oleum’s Tub & Tile Refinishing Kit is the one to start with for a standard ceramic, porcelain, or fiberglass tub. It’s a single-stage epoxy-acrylic, which means no separate primer to buy or wait on.
Rust-Oleum Specialty Tub & Tile Refinishing Kit mixes at 4:1 base to activator and stays workable for up to 6 hours. Two coats go on at least 1 hour apart at a dry film thickness of 1.5 to 2.0 mils per coat. A quart covers 70 to 110 square feet across those two coats.
Shopping for bathtub paint starts with the substrate, not the color card. The kit ships in three colors: 7860519 White, 7861519 Almond, and 7862519 Biscuit. If your tub is fiberglass, check the specific product before you commit, since prep grits differ from porcelain.
A two-part epoxy paint like Klass Kote cures harder and gives you a longer recoat window than the one-part kits. The trade-off is that you have to topcoat within 18 hours, or sand the whole thing back down. With Primer Catalyst White Fast #420 that window shrinks to 12 hours.
If you’re coating the surrounding wall tile in the same session, tub and tile paint lets you handle both surfaces with one mix. Rust-Oleum’s Tub & Tile kit is a single-stage product, so the tub and surrounding tile walls can be coated with one mix, though the cure still runs on its own schedule.
| Coating | Recoat or pot life | Back in service |
|---|---|---|
| Rust-Oleum Tub & Tile | 1 hour between coats; up to 6-hour pot life | 3 days |
| Klass Kote epoxy | Topcoat within 18 hours (12 with #420) | Full cure 4-7 days at 70F |
| Jaeger Lacke 887 | ~50-minute pot life, ~20-minute working time | 5 days at 22 to 25C |
| US Bath Products | Coat again once dry to the touch | 24-48 hours |
Klass Kote’s “back in service” figure is a full cure, not a water-exposure rule. The sheet doesn’t state a separate water wait, so treat 4 to 7 days at 70F as the honest number. At 75 to 80F that drops to 4 days.
The Painting Takes an Afternoon. The Prep Decides the Year.
Coating a tub takes far less time than the preparation that decides whether the finish lasts. Klass Kote says it plainly: spend as much or preferably more time and energy on prep as on the actual painting.
Before you start: Sanding an old tub can throw lead dust, so wear a NIOSH-approved respirator and clean up with a HEPA vacuum and a wet mop. The coating is flammable with a flash point of 78F (26C) and carries 540 g/l of VOCs, so kill ignition sources and ventilate hard. If anyone in the house has asthma or respiratory problems, US Bath Products says do not use their product at all.
Removing Silicone, Not Just Caulk
Rust-Oleum and US Bath Products both say remove all caulk. Jaeger Lacke goes further and explains why: silicone is a separating agent, and paint cannot adhere to it. That means cutting it out completely and wiping the surface with methylated spirits.
Where this goes sideways: A rim wiped with a rag still holds a silicone film you can’t see. The coating grabs everywhere else, then lifts along the tub edge where the silicone film remained.
Sanding Grits by Tub Material
The grit question has three different answers depending on which system you bought. Rust-Oleum specifies #400/#600 wet/dry across the entire surface. US Bath Products wants 80 grit on fiberglass and only 320 grit on cultured marble, Formica, or plastics. Jaeger Lacke wet-sands with P120 first, then P320.
Run your hand over the tub after you rinse. A properly sanded surface feels chalky and slightly grippy, and water stops beading on it. If it still feels slick and glossy, keep going.
Patching Chips Before You Coat
Rust-Oleum points to a patching compound similar to Liquid Steel for chips and cracks. Fill, let it harden, then sand it flush with the surrounding surface. A ridge you can barely feel under your thumb will show up as a shadow under a gloss coat.
How to Paint a Bathtub Step by Step
Order matters more than technique here. Get the sequence wrong and you’ll be sanding back to bare porcelain.
- Strip the caulk and silicone. Use a razor blade and putty knife, then wipe with methylated spirits. Leftover silicone becomes a release layer, and the coating peels from the rim first.
- Scrub and descale. Klass Kote calls for soap, water, and an abrasive pad to lift soap scum and loose scale. Rust-Oleum pairs an abrasive pad with Lime-A-Way and repeats if needed.
- Sand to a matte profile. Follow your kit’s grit. Skipping this leaves a glossy surface with nothing for the coating to grip.
- Patch and re-sand. Fill chips, let them harden, sand flush. Miss this and the defect telegraphs through both coats.
- Pull the metal drain and tape the edges. Rust-Oleum directs you to remove the drain so you can coat the surrounding area without getting epoxy on metal.
- Mix 4:1 and stir properly. Jaeger Lacke asks for at least 2 minutes of stirring. Rust-Oleum allows thinning of no more than 10 percent, or 3 ounces per quart, with 100 percent isopropyl alcohol, acetone, or xylene.
- Two thin coats, then hands off. Rust-Oleum wants at least 1 hour between coats. A third coat the next day needs a second kit.
For application, Rust-Oleum’s blog recommends an airless sprayer or a high-quality quarter-inch nap roller, with a brush for corners and around the faucet. If you’re weighing spray paint for bathtub work against a roller, the sprayer wins on speed and loses on overspray control in a small bathroom.
One trick worth stealing from the Rust-Oleum blog: wrap painter’s tape around the roller and peel it off before you start. That pulls loose fibers so they don’t end up embedded in your finish.
The solvent smell is sharp and sweet, closer to nail polish remover than house paint, and it hangs in the room for hours. Open the window before you mix, not after.
Thin coats build a finish. Thick coats build a repair job. Two passes at 1.5 to 2.0 mils each beat one flooded pass every time.
Why Do the Makers Disagree on Temperature and Cure?
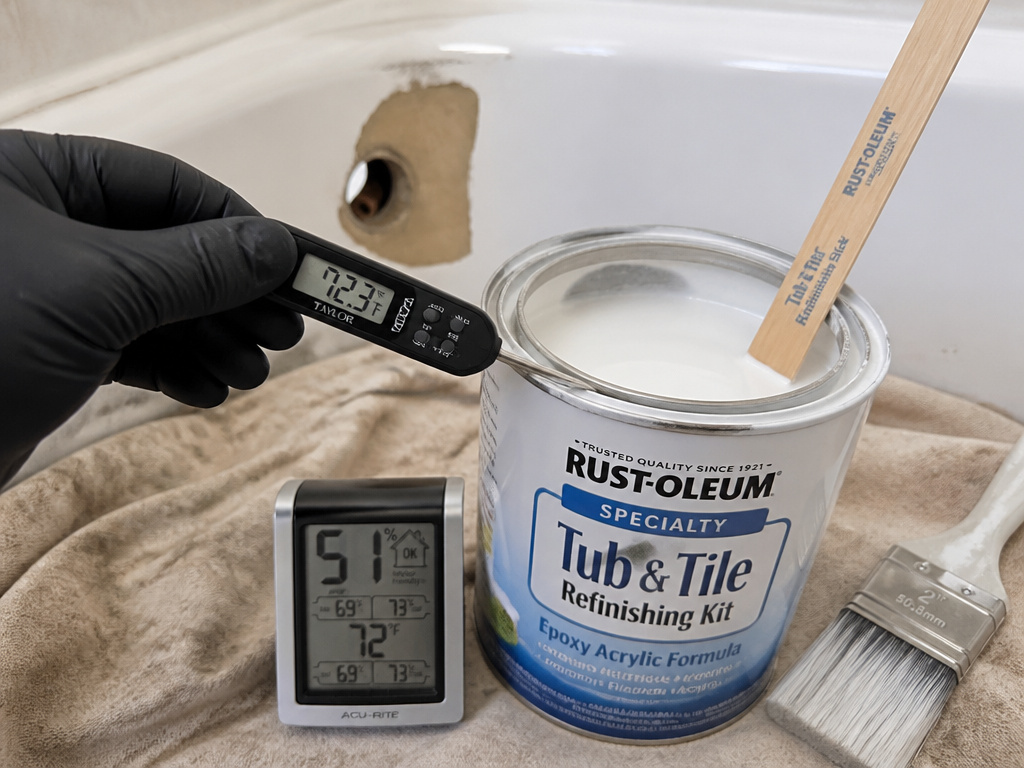
Ever wonder why one sheet says 50F and another says 22 to 25C? Because they’re formulating for different chemistry, and each one is telling you the truth about its own product.
- Rust-Oleum allows a service range of 50 to 90F (10 to 32C) with humidity below 85 percent.
- US Bath Products requires room temperature above 60F, full stop.
- Jaeger Lacke requires 22 to 25C (roughly 72 to 77F) during processing and across the entire 5-day cure, with 50 percent relative humidity as the target.
Those floors are not close to each other. If your bathroom sits at 62F in October, Rust-Oleum will cure slowly and US Bath Products is inside its range, but Jaeger Lacke’s system is out of spec.
Heat and airflow split them too: US Bath Products warns not to apply fans or heat because it actually delays drying, while Klass Kote notes that raising ambient to 75 to 80F cuts full cure from 7 days to 4 and Jaeger Lacke recommends heating to reach 50 percent humidity. Klass Kote takes the opposite view and notes that raising ambient to 75 to 80F cuts full cure from 7 days to 4. Jaeger Lacke recommends heating as the easiest way to reach 50 percent humidity.
Primer is the third disagreement. Klass Kote calls primer optional and reserves it for scores and imperfections. Rust-Oleum’s kit is single-stage with no primer step at all. US Bath Products applies a primer bonding agent across the whole fixture and lets it dry about 20 minutes. Jaeger Lacke primes acrylic surfaces only, with a 16-hour dry.
I test a patch behind the overflow plate before I mix a full kit. If the coating lifts there, it’ll lift everywhere, and you’ve lost an afternoon instead of a weekend.
How Long Before You Can Use the Tub?
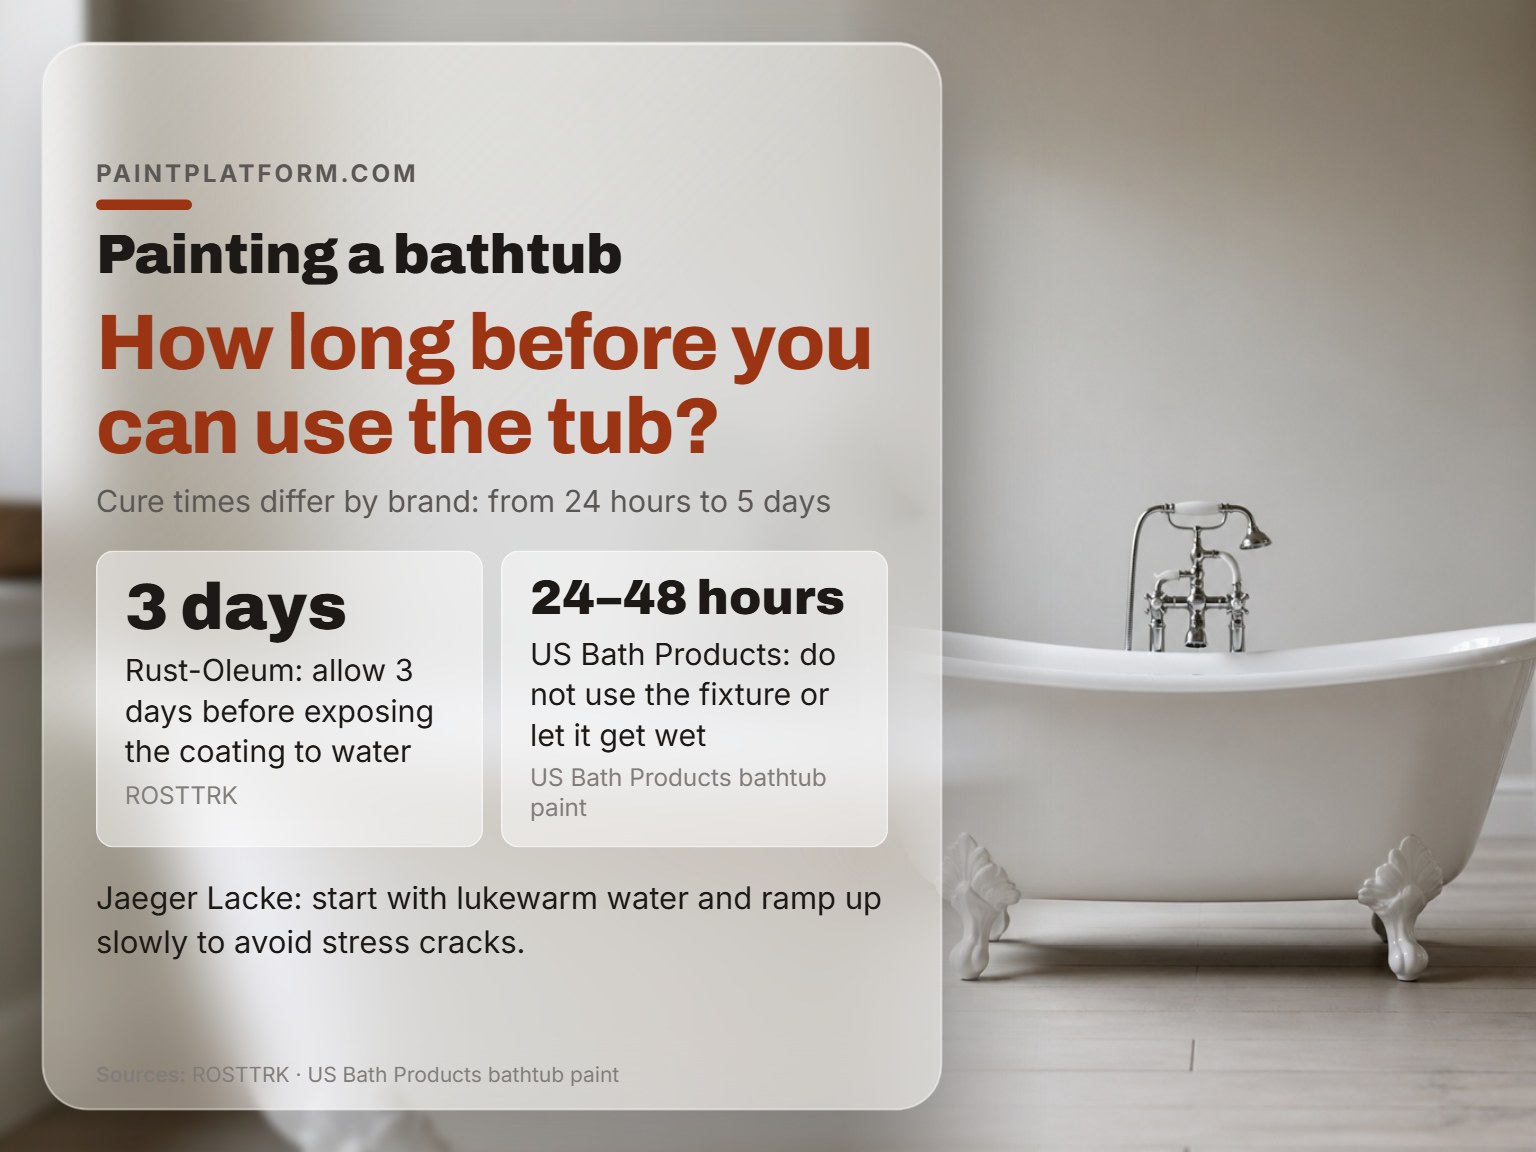
Five days is the longest wait in this group, and it belongs to Jaeger Lacke. Their sheet holds the room at 22 to 25C for the entire cure and keeps water off the surface the whole time.
Rust-Oleum’s technical data sheet says allow 3 days before exposing the coating to water.
US Bath Products is the fastest at 24 to 48 hours.
The part nobody mentions: Jaeger Lacke advises running lukewarm water first and ramping the temperature up slowly. A blast of hot water into a cold coating is how you get stress cracks.
Whichever bathtub refinishing system you picked, the number that matters is the one printed on your own sheet. Don’t borrow a cure time from a different brand.
Troubleshooting a Finish That Went Wrong
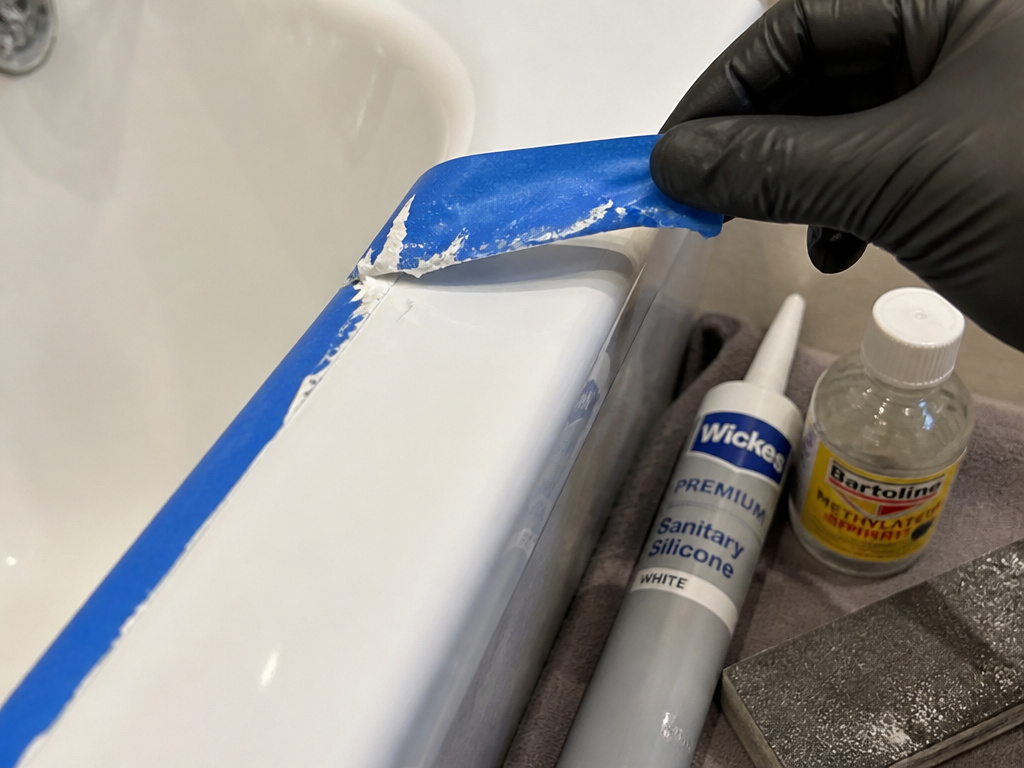
Most tub coating failures trace back to prep or timing rather than the product.
| Symptom | Likely cause | Fix |
|---|---|---|
| Coating lifts with the tape | Silicone or caulk residue on the rim | Cut out all silicone, wipe with methylated spirits, recoat |
| Finish stays tacky past cure | Room below the maker’s temperature floor | Warm the room and extend the wait |
| Visible roller texture | Coat too thick, or a shedding roller | Sand flat, tape-wrap the roller, recoat thin |
| Water spots that won’t rinse | Standing water left on the coating | Dry after use, skip suction-cup mats |
| Rough bloom near the drain | Metal drain left in during coating | Remove the drain before coating, as Rust-Oleum directs |
That last row is the one I’d flag hardest. Rust-Oleum’s blog is direct about pulling the metal drain so you can coat the surrounding area without getting epoxy on the metal, and it’s a step people skip because the drain looks like a hassle.
Cleaning Rules That Keep the Finish Alive
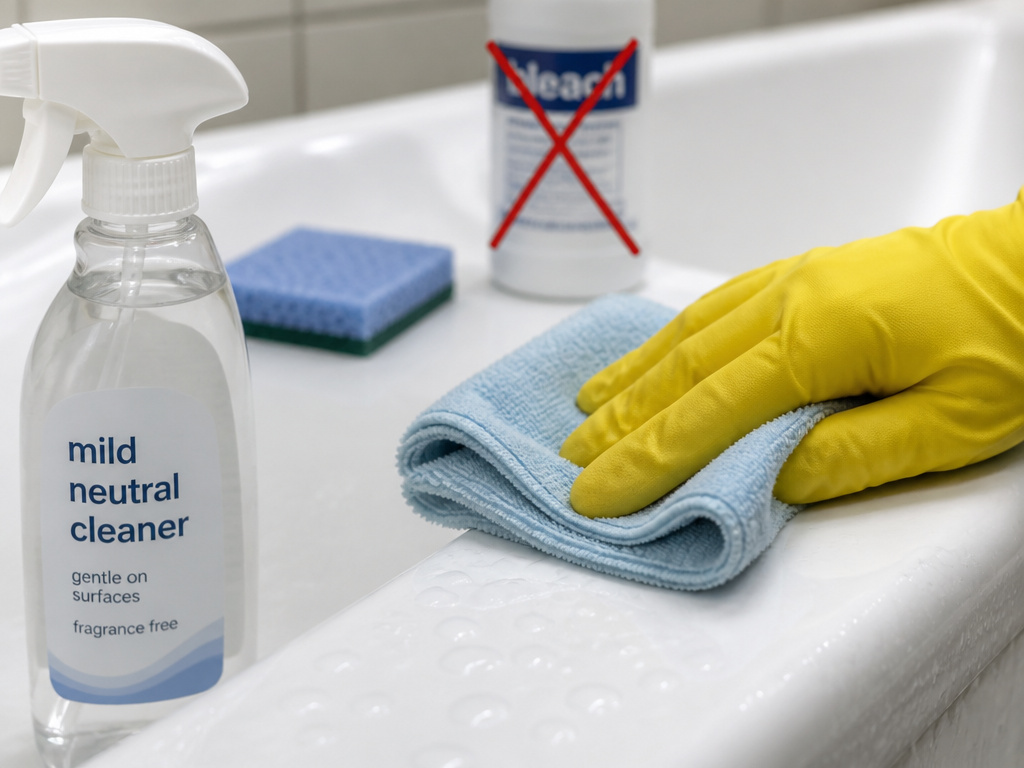
Jaeger Lacke calls for mild neutral cleaners only and no scouring agents, while US Bath Products and Rust-Oleum add their own bans on bleach, drain cleaners, muriatic acid, and abrasive pads.
US Bath Products lists the full ban: no abrasive cleansers, no scrub pads, no bleach, no drain cleaners, and no suction-type bath mats, all of which damage the finish. Rust-Oleum’s blog adds muriatic acid and abrasive sponges to the list. Jaeger Lacke warns that coloring bath additives, mud baths, and hair dyes can stain the coating permanently.
Drying matters as much as cleaning. Jaeger Lacke asks you to avoid leaving water standing on the coating and to pull bath inlays out immediately after bathing so the surface can dry completely.
If you’re extending the same coating onto the walls, the approach for a shower surround follows the same prep logic: cut out silicone, sand to a profile, and respect the cure window. The same rules apply when you paint a sink, though sinks take more impact from dropped objects and usually need a touch-up sooner.
Shelf life is worth checking before you start. Rust-Oleum lists 3 years. US Bath Products lists approximately 1 year. An old kit past its shelf life is a gamble.
If you’re still deciding between systems, the honest answer for most DIY tubs is a single-stage kit with a clear cure number on the label. Comparing best tub paint options by color card alone is how people end up with a finish that peels at the overflow.
Grab your tub’s spec sheet and circle the temperature floor and the water-exposure wait before you buy anything.
Frequently Asked Questions
Can I paint over existing bathtub paint?
Only if the old coating is sound, dull, and clean. Sand it to a matte profile first, and test a hidden patch before committing. Loose or peeling edges need to come off entirely, because a new coat will follow the old one down.
Do I need a primer for a bathtub coating?
It depends on the system. Klass Kote treats primer as optional and uses it only for scores and imperfections. Rust-Oleum’s Tub & Tile kit is single-stage with no primer step. US Bath Products applies a primer bonding agent across the whole fixture and lets it dry about 20 minutes.
Why did my tub coating peel at the edges?
Silicone residue is the usual culprit. Jaeger Lacke describes silicone as a separating agent that paint cannot adhere to, and requires cutting it out completely plus a wipe with methylated spirits. Sanding alone won’t remove it.
Can I speed up the cure with a fan or a heater?
US Bath Products says no, and warns that fans or heat actually delay drying. Klass Kote disagrees and notes that 75 to 80F cuts full cure from 7 days to 4. Follow your own product’s sheet rather than a general rule.
Can I use tub paint in a shower or a hot tub?
Rust-Oleum’s kit is rated for tubs and tile walls, and their blog says ceramic, porcelain, or fiberglass shower floors can be coated the same way. Continuous immersion is excluded: no pools, hot tubs, or saunas.
The Bottom Line
Here’s the threshold I’d give anyone asking how to paint a bathtub: if your bathroom can’t hold its temperature within the range printed on the can for the full cure, don’t start this weekend. Wait for a stretch where the room stays put, because every failure covered here traces back to a cure that got interrupted.
The one concession I’ll make: if you have a fiberglass tub with flex in the floor, a rigid epoxy system will crack along that flex line no matter how well you prep. Rust-Oleum excludes flexible plastic for exactly that reason. In that case, a liner or a replacement pan is the more honest spend.
And if you only do one thing differently from the average tutorial, do the patch test. Mix a small batch, coat a spot behind the overflow plate, and wait the full cure before you commit a whole kit. It costs you a patch test and saves you a failed finish.
Fair warning: the prep is boring, and it’s the part that shows up later.
