
How to Load a Paint Roller: Step-by-Step, No Drips
This post contains affiliate links. As an Amazon Associate, we earn from qualifying purchases.
To load a paint roller, work the cover into the paint in short passes instead of dunking it: fill the pan well about half full, roll the cover down the slope two or three times, dip once more, and roll until the pile is saturated. Stop before it drips.
The pile is the fuzzy sleeve on the cover, and the how to load a paint roller question comes down to a state you can see. The nap goes dark and glossy, evenly, from one end to the other. Half-load it and the roller skips. Overload it and gravity pulls the paint off the cover before the wall ever sees it.
What follows is the pan method step by step, the fill-tube method for Wagner’s powered rollers, and the one place where two reputable sources flatly disagree about whether a cover should be wet before it touches paint.
Key Takeaways
- Load in passes, not dunks. Roll the cover down the pan slope two or three times, dip once more, and stop when the pile looks evenly saturated.
- A dripping roller is an overfull roller. Paint that drips on the way to the wall will also slide and smear once it arrives.
- Powered rollers fill from the inside. The Wagner SMART Roller and PowerFlow EZ Roller both use paint showing through the cover as the full signal.
- The PowerFlow EZ Roller manual draws the line at half an hour for a plastic bag; the SMART Roller manual asks for a bag during extended breaks with no time threshold. Shorter pauses just need the handle laid flat.
- Match the cover to the frame, not the width. A 4-inch frame does not accept every 4-inch cover.
What a Properly Loaded Roller Looks, Feels, and Sounds Like
A loaded roller has a look. The nap lies flat and dark, evenly wet from one end of the cover to the other, with no dry band at the top edge.
Correct loading shows as an even, dark, glossy nap across the full width and length of the cover, with no dry band at either end. Paint sits inside the pile, and the surface stays slightly matte. Rolling the excess out on scrap lumber leaves the cover damp and heavy instead of dripping.
Sound is the faster check. A correctly loaded cover makes a soft, even whisper across the wall, the same note from the first pass to the last. An overloaded one slaps and spits.
I check by ear before I check by eye.
- By eye: an even, dark nap with no pale stripe at the top.
- By ear: a steady whisper instead of a wet slap.
- By hand: the cover drags a little on the first pass, then runs free once paint starts transferring.
The drag is the useful signal. A cover that keeps dragging after two passes is running dry, and a dry cover leaves texture where you wanted a level film.
How to Load a Paint Roller From a Pan: 5 Steps
Five steps, and step four is the one that decides whether the roller drips.
Before you start: Open a window or door before you pour anything. Keep an extension pole at least 10 feet from energized overhead lines outdoors, and keep the pole dry, because water running down metal makes the electrical risk worse. Never work a long pole from a ladder.
- Fill the pan well about half full and set the roller into the middle of the well. Fill it to the brim and the cover sits deeper than the slope can drain.
- Roll the cover down the slope, stopping just short of the well. Two or three passes work paint into the pile. Skip them and paint sits on the surface, so the first wall pass smears.
- Dip once more and roll the slope until the pile is saturated. That second dip separates a loaded roller from a wet one.
- Roll the excess out on scrap lumber, kraft paper, or a paper grocery bag. Newspaper is the wrong choice, because the roller picks up the ink and carries it to the wall.
- Make the first stroke up and away from you. Rolling down first can puddle paint under the cover and send it running down the wall.
Step four is where loads go wrong. A cover rolled out on scrap lumber feels tacky to the touch, and that tack is the sign the paint is sitting in the nap where you want it.
Tray design does some of this work for you. A shallow well with a long slope meters the paint on every pass, while a deep well holds more than a cover can use and tempts you to skip the roll-out. The paint tray types worth owning all share that long slope.
Once the cover is loaded, the first pass sets the pattern. Roll in a W pattern across a 2- or 3-square-foot area without lifting the cover, then fill the gaps with crosswise strokes.
The pan slope is a measuring tool. Every pass down it takes paint off the cover; every dip adds it back. Most overloads are one dip too many, not one pass too few.
The rest of the stroke mechanics, including angle and overlap, live in how to use a paint roller correctly. None of it works if the load is wrong.
Why Do Some Rollers Drip While Others Roll Clean?
Dripping is almost always a how to load a paint roller problem. The cover carries more paint than the nap can hold, so the excess leaves on the way to the wall.
You can see it coming. The bottom third of the cover looks glossy and wet while the top looks matte and dry.
Owners describe exactly that pattern under Ace Hardware’s roller video: the bottom supersaturated, the top with no paint, so the roller won’t turn and the paint runs down the wall instead of onto it. The cause is loading in one spot. Paint enters the nap where the cover meets the pan and stays there unless the cover rolls the full length of the slope.
| What You See | What It Means | The Fix |
|---|---|---|
| Paint dripping on the way to the wall | Cover overloaded | Two passes on the slope, skip the extra dip |
| Cover slides and smears instead of turning | Paint sitting on the surface of the nap | Roll it out on scrap lumber before the wall |
| Bottom soaked, top dry | Loaded in one spot | Roll the full length of the slope each pass |
| Cover keeps dragging after two passes | Running dry | Reload until paint shows evenly through the nap |
| Fine hairs in the wet paint | New cover shedding | Wash and dry the cover first, or change brands |
Common mistake: Dipping and going straight to the wall. The first pass lays a bead the cover can’t pick back up, and that bead reaches the baseboard before you finish the stroke.
Most paint drips start at the pan, long before the roller touches drywall.
Powered Rollers: Loading the Wagner SMART Roller and PowerFlow EZ
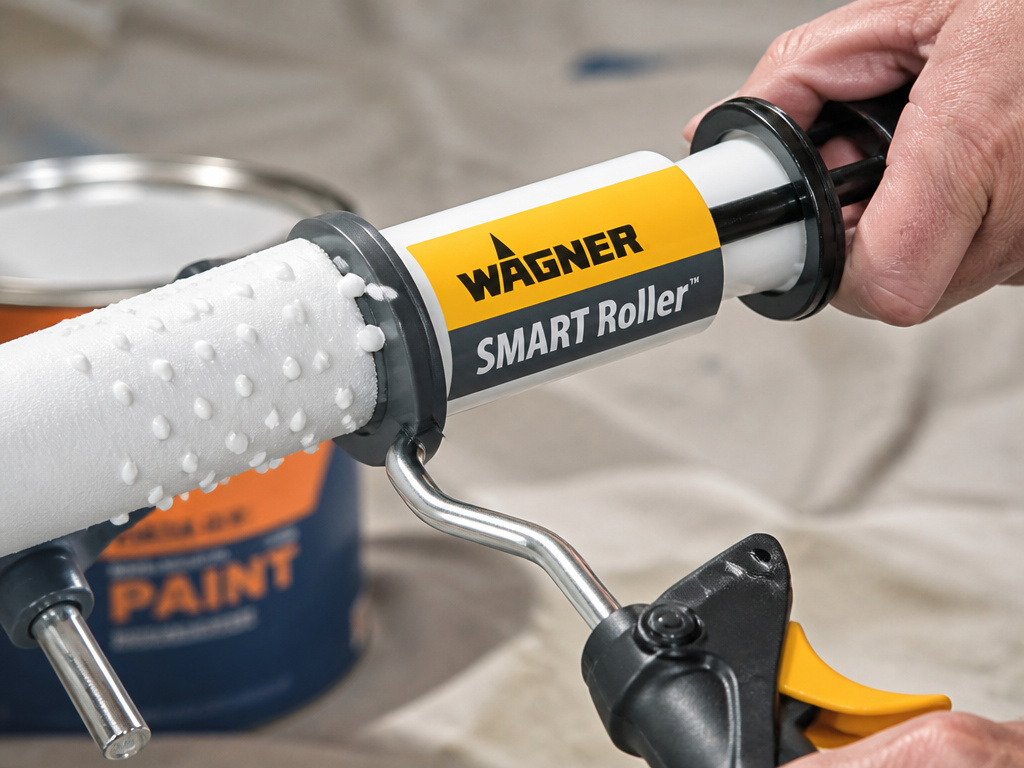
The Wagner SMART Roller loads from the inside out. A plunger pushes paint up the fill tube until it appears through the cover, and that’s the full signal.
Wagner SMART Roller: Push Until Paint Shows
Push the plunger forward until paint comes through the roller cover. Squeeze the Power Trigger when you need more, and refill the main tube as needed.
Two covers fit this tool: Part No. 0155206A in 3/8-inch nap and Part No. 0155208A in 3/4-inch nap. A 5-gallon paint adapter, Part No. 0284051B, loads straight from a 5-gallon container.
The fill tube is Part No. 0284432, and it only works with container lids 0284419 or 0284443. Order the tube with one of those lids, because it fits nothing else.
Wagner’s own warning matches what the pan method produces: over-saturate the cover and it drips, slides on the wall, or spatters. Keep a steady flow and avoid rolling it dry. The SMART Roller owner’s manual lists all the part numbers.
Wagner PowerFlow EZ Roller: Press and Release
Plug in the cord, fully press and release the flow control button to start the motor, and press it again when paint starts showing through the roller.
A partial press is the failure worth knowing. The motor starts, then shuts down the moment you release a half-pressed button, which reads as a dead tool. Practice on scrap wood or cardboard before you take it to a wall, and don’t submerge the handle in anything.
The PowerFlow EZ Roller manual also warns against spillage around the handle button, since residue there affects performance.
Wagner EZ-Roller: The One With the Petroleum Jelly
The EZ-Roller is the manual one, and its assembly steps are mostly petroleum jelly: around and between the plunger O-rings, inside the fill valve housing on the main tube, on the roller arm, and on the roller caps before the cover goes back on.
Re-insert the plunger so the O-rings don’t twist or cut, tighten the locking collar, and lock the roller arm by pushing down on the Quick-Release tab. The EZ-Roller manual covers the full sequence.
This one is also the pickiest about covers. Wagner states the EZ-Roller is compatible only with Wagner-brand roller covers, while HowStuffWorks and Ace Hardware treat cover choice as generic and open.
| Roller | How It Loads | Watch For |
|---|---|---|
| Wagner SMART Roller | Plunger pushes paint through the cover | Over-saturation; store with the fill valve pointing down |
| Wagner PowerFlow EZ Roller | Flow button pumps paint to the cover | A partial button press stalls the motor |
| Wagner EZ-Roller | Fill valve on the main tube | Wagner-brand covers only |
Cleanup splits by paint type. Latex gets hot soapy water and oil-based paint gets mineral spirits, and the full routine is in clean paint rollers.
Breaks are where the powered rollers differ, and the two manuals don’t quite agree. The PowerFlow EZ Roller wants a plastic bag over the roller for any pause longer than half an hour, while the SMART Roller manual asks for a bag during extended breaks with no time threshold given. Shorter breaks just need the handle laid flat with the roller on clean cardboard or the container top, away from sun and heat. The SMART Roller manual asks for a bag around the cover and fill valve during extended breaks, with no time threshold given. More on both in store paint rollers.
Should You Pre-Wet the Cover Before Loading?
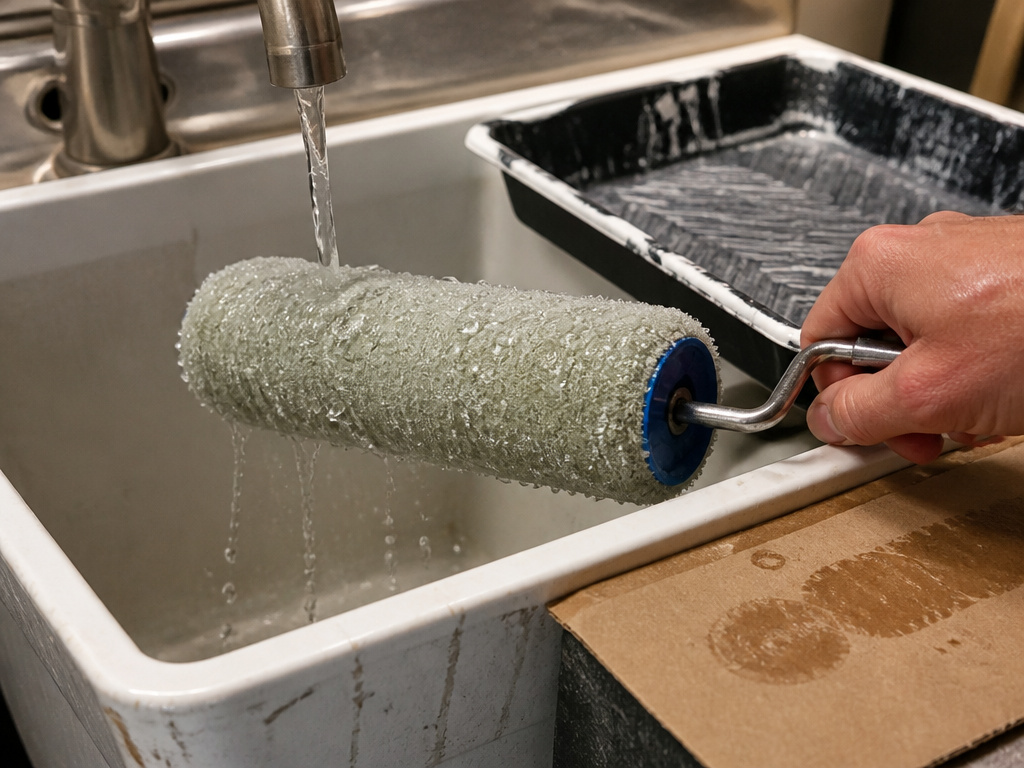
Two reputable sources answer this differently, and each one is describing its own tool.
The Fix-It Club guide on HowStuffWorks says to moisten the cover first, with water for latex paint or the appropriate thinner for other types, then roll the excess moisture out on scrap lumber or kraft paper before loading. All three Wagner manuals skip that step entirely, while the Fix-It Club guide on HowStuffWorks advises moistening the cover first. They load a dry cover and use paint showing through the fabric as the signal that the cover is full, whereas HowStuffWorks moistens the cover first.
Neither source explains the reasoning. Treat this as a procedure difference.
Where the two approaches actually part company is the first pass. A pre-wet cover starts damp and a dry cover doesn’t, and that’s the whole practical difference on the wall.
I pre-wet on pan loads and skip it on anything with a fill tube. The half minute it costs is cheaper than the first pass I’d otherwise throw away.
For oil-based paint the pre-wet liquid is thinner rather than water, which changes the cleanup more than the load. Check the can.
Loading for a Long Reach: Poles, Siding, and the 3/8-Inch Nap
A garage wall, a 3/8-inch nap cover, and a free afternoon. That’s the job where I stopped treating a roller as the fast option and started treating it as the accurate one.
On smooth fiber cement or vinyl-style panels, a 3/8-inch nap cover runs faster than brushing and leaves a more even coat than I expected. I back-brush only the edges and the grooves where the roller skips. Aluminum and steel siding behave the same way: roll the field, then brush the laps. I did a garage wall in an afternoon, and the only mess was me, the drop cloth, and one very confused sandal.
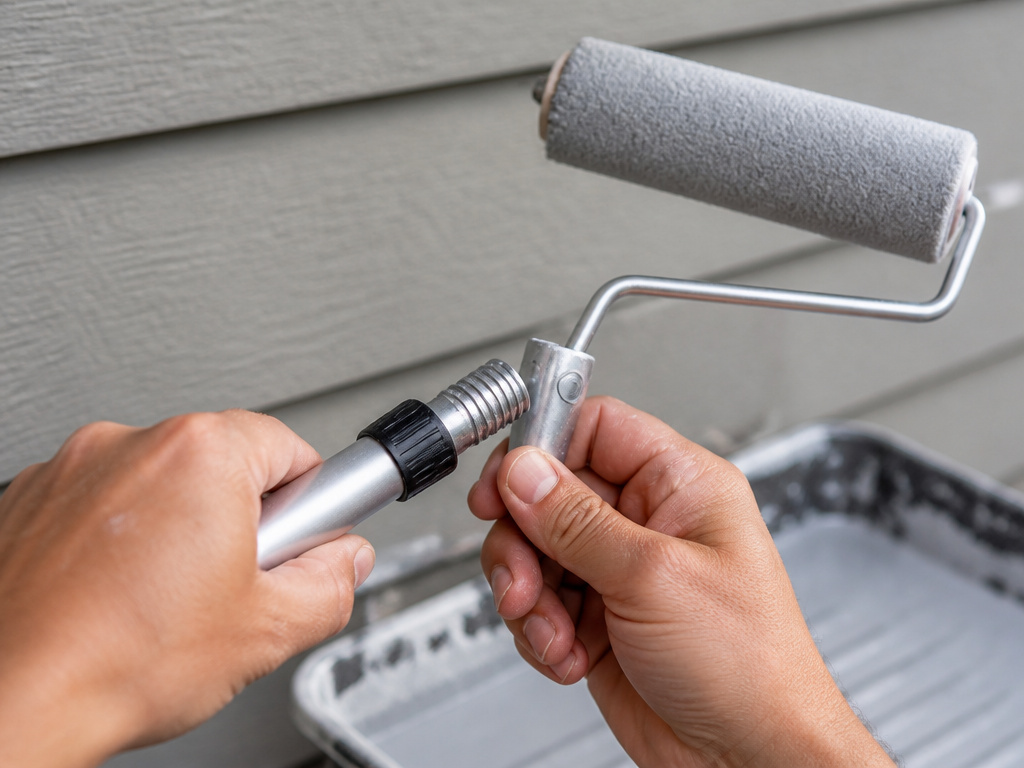
A pole changes the load, not just the reach. Set the pole to the shortest length that reaches, lock it, then press the dry roller against the wall to check it doesn’t creep.
Dry-fit the whole assembly before any paint goes on. Seat the cover fully and spin it by hand: it should turn freely, run true, and stay seated. Check that the frame socket and pole tip are clean and round, hold them on one axis, and thread the frame on by hand until it hits its stop, then snug it by hand.
Hyde advises loading lightly for overhead work and returning to the tray more often, while HowStuffWorks rolls the cover on the pan slope until the pile is well saturated before painting. Return to the tray more often instead of pressing harder, land the whole roller face on the surface slowly, and ease pressure before each reversal. Roll only the width your stance covers, and check each section from the work position and then from lower down.
Which Hyde Frame: 47400, 47401, or 47402
The 47400 is light-duty with no cage, so it wants gentle pressure. The 47401 has four spring wires and suits square, repeat work. The 47402 adds a 180-degree pivot and two adaptors for changing angles or cover cores.
Move your feet when your upper hand climbs above a comfortable height, when the cover skids, or when the roller leaves your sight. That’s the whole job.
Back-brushing the laps is a brush-loading problem more than a roller problem, since an over-wet brush leaves a ridge at every lap. The sequence still matters too. Painting a wall with a roller and brush means cutting in first, then rolling the field while the cut line is still wet.
When the Cover Is the Problem, Not Your Technique
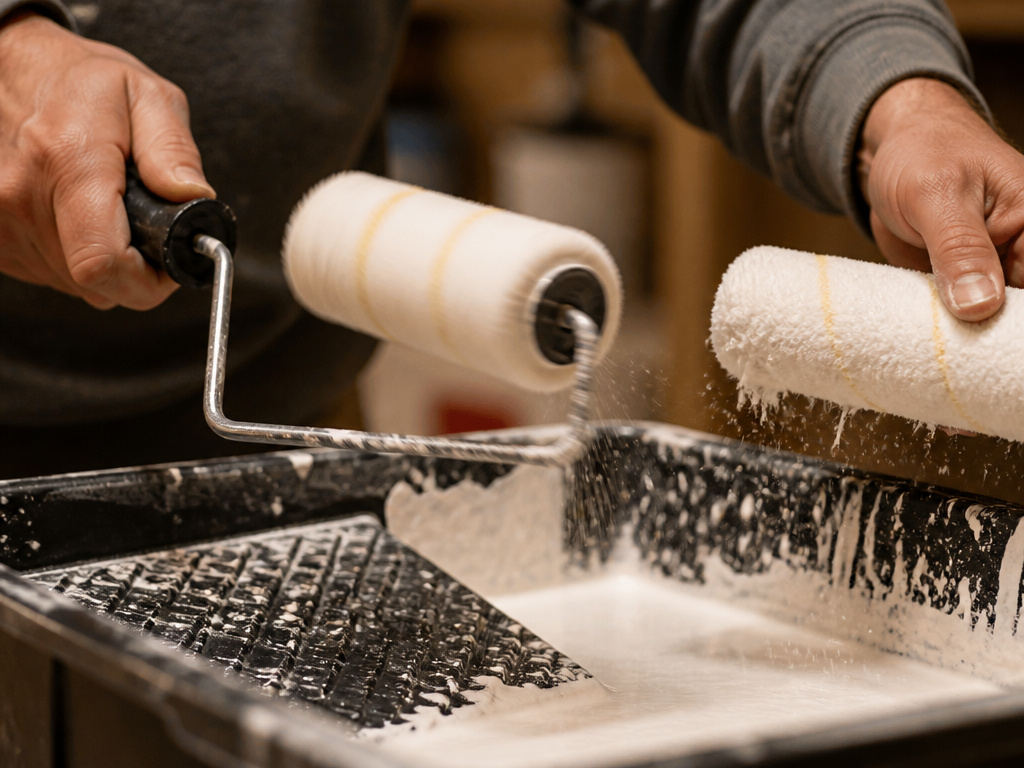
Some covers are simply bad covers.
Two failure modes show up in owner reports more than any other. The first is shedding, where tiny hairs lift off a new cover and land in the wet paint. The second is a cover that never clicks into place and drops off the frame mid-wall.
- Shedding: wash and dry the cover before the first load, which pulls most loose fiber out of the nap.
- Loose on the frame: dry-fit and spin it, because a 4-inch frame does not take every 4-inch cover.
- Wrong nap: match the nap to the surface, and let price follow.
The part nobody mentions: A cover that spins loosely on the frame will shed and skid at the same time. If it doesn’t run true when you spin it dry, it won’t run true loaded, and the streaks show up on the second coat.
Nap is the other half of the decision. A mid-priced cover in the right nap beats a premium cover in the wrong one, and the wrong nap shows up as texture you can’t sand out of a finish coat.
For smooth walls, a 3/8-inch nap cover covers most of what a house needs. For ceilings and rougher surfaces, step up to 3/4-inch and accept the extra paint the longer pile drinks.
Mini rollers are the one category I’d skip on large walls. They load fast and cover slowly, and the extra trips back to the tray cost more time than the smaller cover saves.
Replace covers that shed. They don’t improve.
Most of what gets called roller marks is a cover problem showing up late: a shed fiber, a skid, or a nap that’s too long for the finish.
Frequently Asked Questions
How much paint should a roller cover hold?
Enough that the pile looks evenly saturated and no more. Two or three passes down the pan slope, one extra dip, and a roll-out on scrap lumber gets you there. If it drips on the way to the wall, it’s overfull.
Do you have to pre-wet a roller cover?
It depends which instructions you follow. The Fix-It Club guide on HowStuffWorks says to moisten the cover with water for latex or thinner for other paints. All three Wagner manuals load a dry cover and use paint showing through the fabric as the full signal, while the Fix-It Club guide on HowStuffWorks says to moisten the cover first.
Why does my roller keep sliding instead of rolling?
The cover is carrying paint on the surface of the nap rather than inside it. Roll it out on scrap lumber or kraft paper before the first wall pass, and skip the extra dip on the next load.
Can you load a roller from a 5-gallon bucket?
Yes, with the right adapter. Wagner sells a 5-gallon paint adapter, Part No. 0284051B, for the SMART Roller. Without one, pour into a tray well first.
How long can a loaded roller sit before it dries out?
The PowerFlow EZ Roller manual draws the line at half an hour, while the SMART Roller manual gives no time threshold. Past that, wrap the roller in a plastic bag and keep it away from sun and heat. Shorter pauses only need the handle laid flat with the roller off the paint.
What nap do I need for smooth walls?
3/8-inch cover handles most smooth drywall and trim. Step up to 3/4-inch for ceilings and rougher surfaces, and expect the longer nap to hold more paint.
The Bottom Line
Here’s the trigger to remember: if the cover drips before it reaches the wall, stop and roll it out on scrap lumber. That one check catches most of the mess people blame on cheap paint.
The first thing to do this week is dry-fit. Spin the cover on the frame before any paint goes near it, and if it wobbles, don’t load it.
This all assumes a manual pan or a Wagner fill-tube roller. If you’re running another powered brand, the full signal may be a gauge or a trigger feel instead of paint showing through the fabric, and that manual wins over anything here.
Load the cover properly and a mid-priced nap will outrun a premium one that’s dunked and dragged.
