
How to Avoid Roller Marks on Walls: Step-by-Step
This post contains affiliate links. As an Amazon Associate, we earn from qualifying purchases.
To avoid roller marks on walls, match the nap to the surface, load the cover evenly, and keep the roller moving in overlapping strokes. Benjamin Moore puts 3/8 inch nap on walls and ceilings, and a loaded roller should never drip or need force against the wall.
The nap number is the variable most people skip at the store, and it decides the how to avoid roller marks on walls answer, whether paint lands smooth or stippled. A cover with too much pile for the surface leaves a texture you can feel with a fingernail. No amount of re-rolling flattens it out.
What follows covers the five causes, the nap-to-surface map, where the paint brands disagree, and the loading routine that stops most of it before the roller touches the wall.
Key Takeaways
- 3/8 inch nap covers walls and ceilings per Benjamin Moore; step up to 1/2 inch only for textured surfaces.
- A properly loaded roller doesn’t drip and doesn’t need pressure against the wall, per Behr. If you’re pushing, you’re overloading.
- Keep the W under 24-32 inches (Behr) or work a three-foot square (Dulux) and fill in with parallel strokes.
- Quality covers last up to five uses before shedding, says Benjamin Moore.
- Predampen a latex roller with water, shake it out, then condition it with paint for 5 minutes (Sherwin-Williams).
How to Avoid Roller Marks on Walls: Start With the Five Causes
Five things cause roller marks, and only two of them are about the roller. Harwood Services, a painting contractor, lists all five on its problem-solver page: incorrect rolling technique, a cover with excessive nap, overloading the cover with paint, failing to spread paint uniformly, and painting over a slick surface without priming.
Roller marks, also called stipple, are the unintentional textured pattern left in cured paint by a roller cover. The pattern comes from pile that is too long for the substrate, from paint applied unevenly, or from a cover that slides across the surface instead of rolling over it.
That last cause on Harwood’s list catches people out. Priming isn’t a nap decision or a technique decision. A slick, unprimed surface won’t grip the paint, and the cover skates no matter how carefully you roll.
The other four break down like this for how to avoid roller marks on walls:
- Technique covers speed, pressure, and stroke direction. It’s the easiest to fix and the one most people blame first.
- Excessive nap is a store problem, not a wall problem. You bought the wrong cover.
- Overloading leaves ridges at the edges of each pass where the excess pushed out.
- Uneven spreading shows up as blotches that dry at different sheens.
Dulux Trade adds two more causes that Sherwin-Williams leaves off its list entirely: low-grade paint and a low-quality roller. Sherwin-Williams names only the cover and the technique. Worth knowing before you blame yourself for a bad wall.
Common mistake: Blaming the paint when the cover is the problem. A 1/2 inch nap on a smooth primed wall will stipple even with a top-shelf paint, and the marks show up as the film starts to set.
Match the Nap to the Surface, Not the Paint
Nap is the thickness of the fibers on the cover, and it decides more than any other single choice you make at the store. The full roller nap guide goes deeper on pile types, but the numbers below cover most jobs.
| Nap Length | Surface |
|---|---|
| 1/4 in | Metal doors, trim, cabinet doors |
| 3/8 in | Walls and ceilings |
| 1/2 in | Textured ceilings, walls, decks, concrete |
| 3/4 in | Textured ceilings, stucco, masonry |
| 1-1/4 in | Brick and masonry block |
Benjamin Moore publishes that mapping, and it’s the cleanest one I’ve found from any of the majors. Notice that 3/8 inch covers both walls and ceilings. Benjamin Moore says a 3/8 inch nap is best for most ceilings, which surprises people who assume ceilings need more pile.
Roller width matters too. A standard 9 inch (230 mm) roller handles walls, ceilings, and flat doors. A medium 4 inch (100 mm) roller handles small furnishings, paneled cabinet doors, wide trim, edges, frames, and handrails. I keep both sizes on the same job and swap constantly.
Here’s the edge case that inverts the whole rule. If little dimples appear on the wall while you’re painting, think orange peel, Benjamin Moore says to switch to a thinner nap. Mid-job. The surface is telling you the pile is too long, and going thicker makes it worse.
Where Benjamin Moore and Sherwin-Williams Disagree on Nap
The two biggest names in paint don’t agree on what should drive the nap choice. Benjamin Moore ties nap to substrate texture only. Sherwin-Williams ties it to sheen: 3/8 inch for flats and satins, 1/4 inch for semi-gloss and gloss.
Both land on 1/4 inch for trim and 3/8 inch for walls, so the practical answer is the same. The reasoning isn’t. If you’re painting a semi-gloss wall, Sherwin-Williams would send you to 1/4 inch on sheen alone, while Benjamin Moore’s chart has nothing to say about that case.
The other conflicts are worth seeing side by side.
| Question | One source says | Another says |
|---|---|---|
| Stroke zone size | Behr: W no wider than 24-32 in | Dulux: three-foot squares |
| Fibre for a flawless finish | Benjamin Moore: woven, prevents lint | Purdy: knitted, cuts re-dipping |
| What causes marks | Dulux: includes low-grade paint | Sherwin-Williams: cover and technique only |
Behr caps the W at one arm-length, typically 24 to 32 inches. Dulux Trade works in three-foot (36 inch) square sections. Purdy rolls an N in a three-foot square. Behr’s maximum is smaller than the other two brands’ working zone, and I’d trust the smaller number if you’re new to this. A tighter zone keeps a wet edge more reliably.
The fibre question is a straight disagreement. Benjamin Moore says woven covers are ideal for a flawless finish because they prevent lint. Purdy recommends knitted covers for high productivity because they reduce re-dipping. Both are right about their own goal. Pick based on whether you want the smoothest possible film or the fastest possible wall.
The Loading Routine That Stops Most Marks
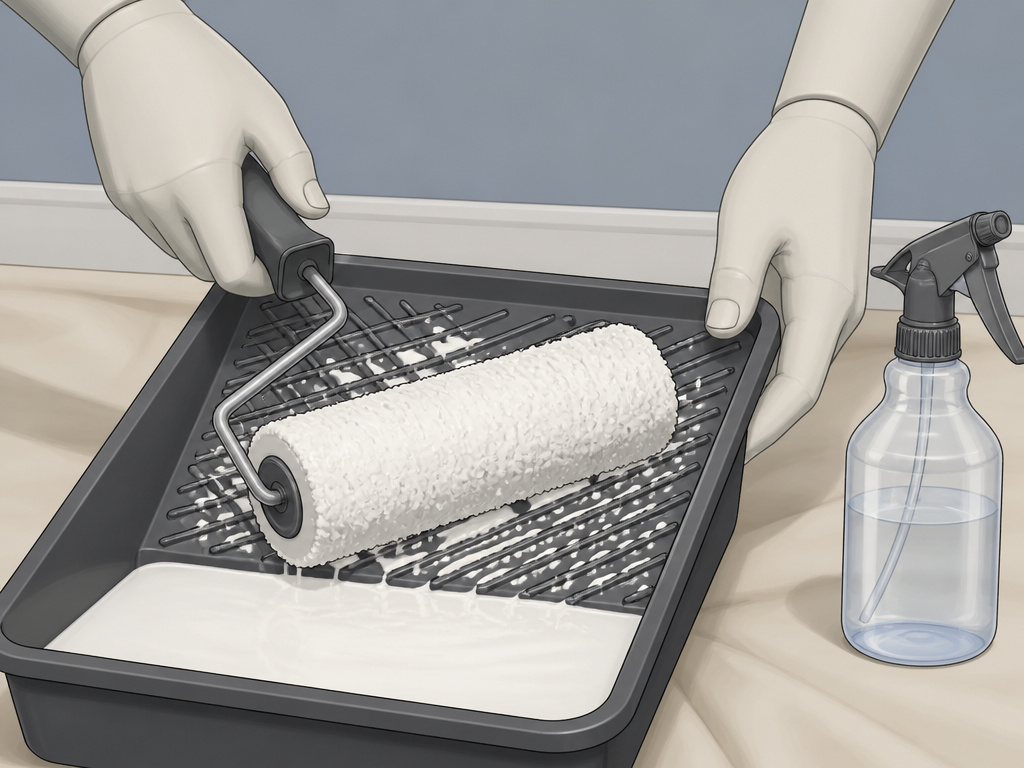
Most roller marks get made before the roller touches the wall. Learning to load a roller properly is the single biggest upgrade most people can make, and it takes about four steps.
- Fill the tray no more than one-third full. Purdy’s guidance. A full tray means the cover sits in paint and floods the core, and the flood comes out on the wall as a run.
- Saturate the cover fully, then roll off the excess on the tray grid. Behr’s instruction. Skipping the roll-off leaves a heavy cover that drips on the first upward stroke.
- Predampen with water for latex and shake it out. Sherwin-Williams and Dulux Trade both say this. A dry cover pulls moisture out of the paint and the film sets too fast to level.
- Condition the cover with paint for 5 minutes before the first wall pass. Sherwin-Williams again. The pile loads evenly and stops spitting.
If it goes wrong at step 2, you’ll know: the roller starts to skate instead of turn, and the cover leaves a wet ridge at the end of each stroke. That ridge dries into a mark.
Most of my early paint drips came from two places: loading the roller too heavy and then pushing hard at the top of the wall, and leaving a fat bead of paint along a cut-in line. Rolling off the excess on the tray grid and tapping the brush on the inside of the can instead of wiping it on the rim cut my drips a lot. The cut-in line is also where brush marks show up, and a fat bead there telegraphs through the rolled coat.
When a run does happen, leave it alone while wet. Poking at it while wet just made a bigger mess for me, and I have the sleeve-print on a wall to prove it.
Where this goes sideways: Loading a cover and going straight to the ceiling line. The first pass off a wet cover lays down the heaviest film of the job, and that’s exactly where gravity and a fresh edge combine to leave a ridge.
How Do You Fix Roller Marks You Already Have?
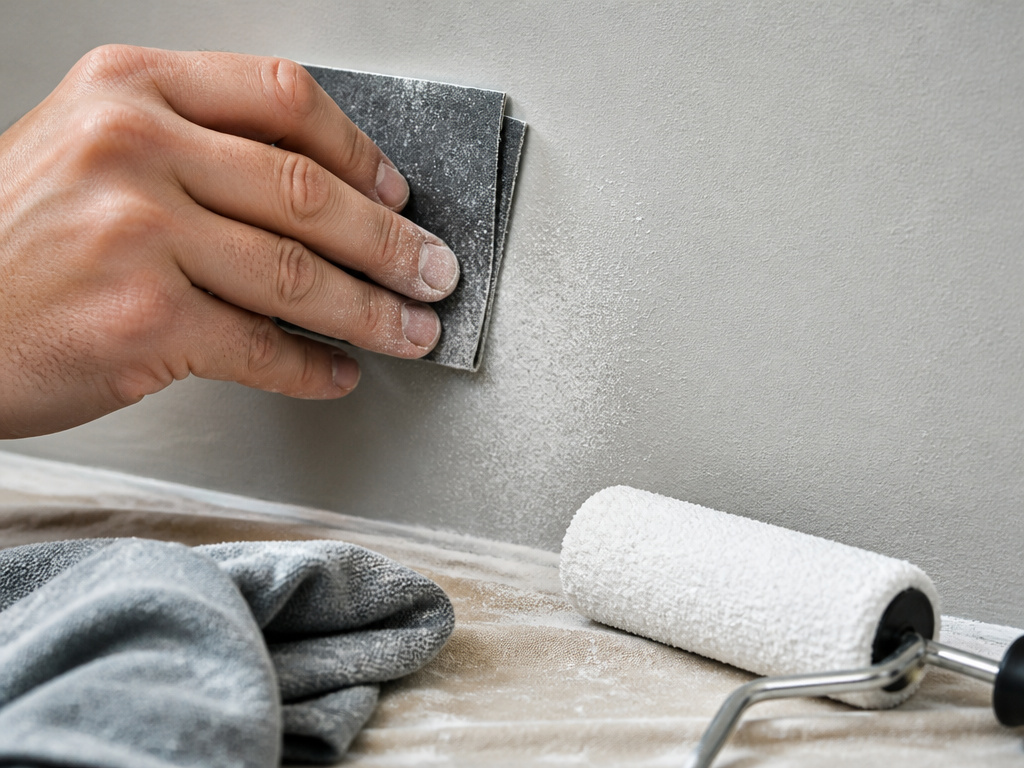
Sand them, then re-roll with a thinner nap. Stipple sits in the top of the film, so a light sanding pass knocks the peaks down without cutting through the color.
Work in this order:
- Sanding a tacky film smears it and makes the texture worse.
- Sand lightly, then wipe the dust with a damp cloth and let it dry. 3. 4.
Good roller technique comes down to three habits: keep the cover rolling rather than sliding, Don’t lift the roller mid-section.
When the Roller Itself Is the Problem
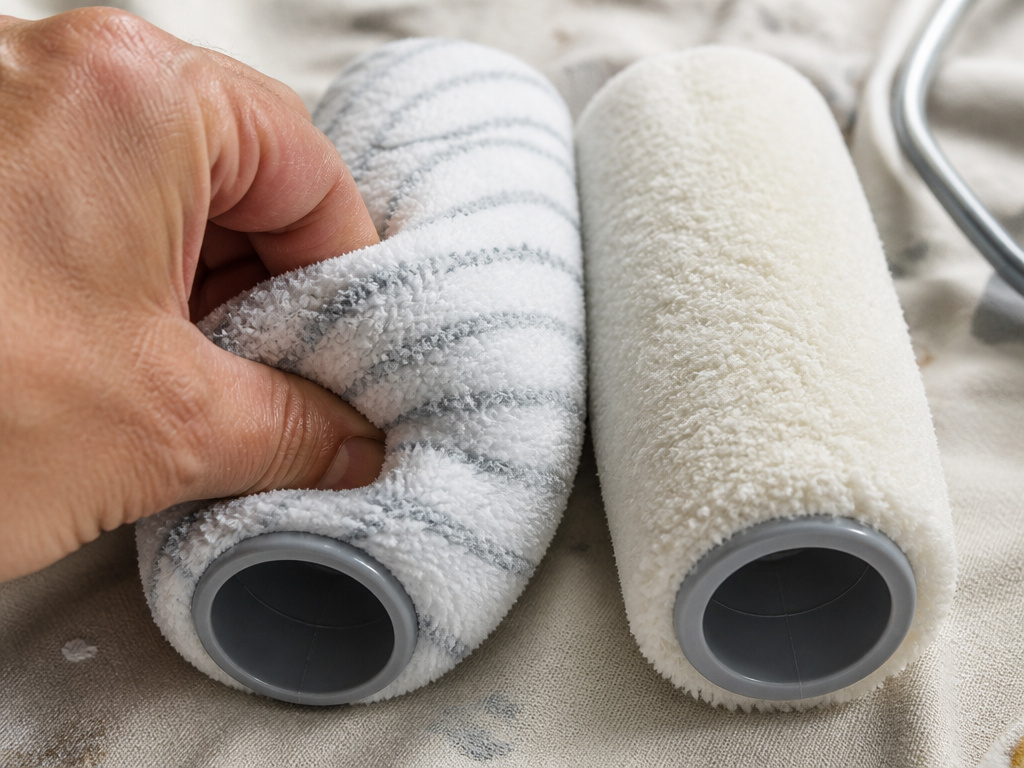
A woven cover lines up with Benjamin Moore’s advice for a flawless finish. A knitted cover holds more paint, so it suits a big flat wall where speed matters.
If you want the short list, the best paint rollers for a smooth finish all share one trait: a woven or microfiber cover with a plastic core.
Woven vs Knitted Covers
Woven covers prevent lint and deliver a smoother film. Knitted covers hold more paint and cover larger areas efficiently. Microfiber is its own category: Benjamin Moore says microfiber covers hold up to three times more paint than a standard cover, which means fewer trips to the tray.
Mini Rollers for Doors and Cabinets
A 4 inch mini roller is underrated for paneled cabinet doors and wide trim. The 9 inch standard is too wide to control inside a panel, and a brush alone leaves a texture.
Frames and Cores
Benjamin Moore’s checklist for a cover is specific: beveled edges, no visible seams, a plastic core, and visible bounce-back when you squeeze it. If the cover feels dead in your hand, it will roll dead on the wall.
Why Does My Roller Shed Fuzz Into the Paint?
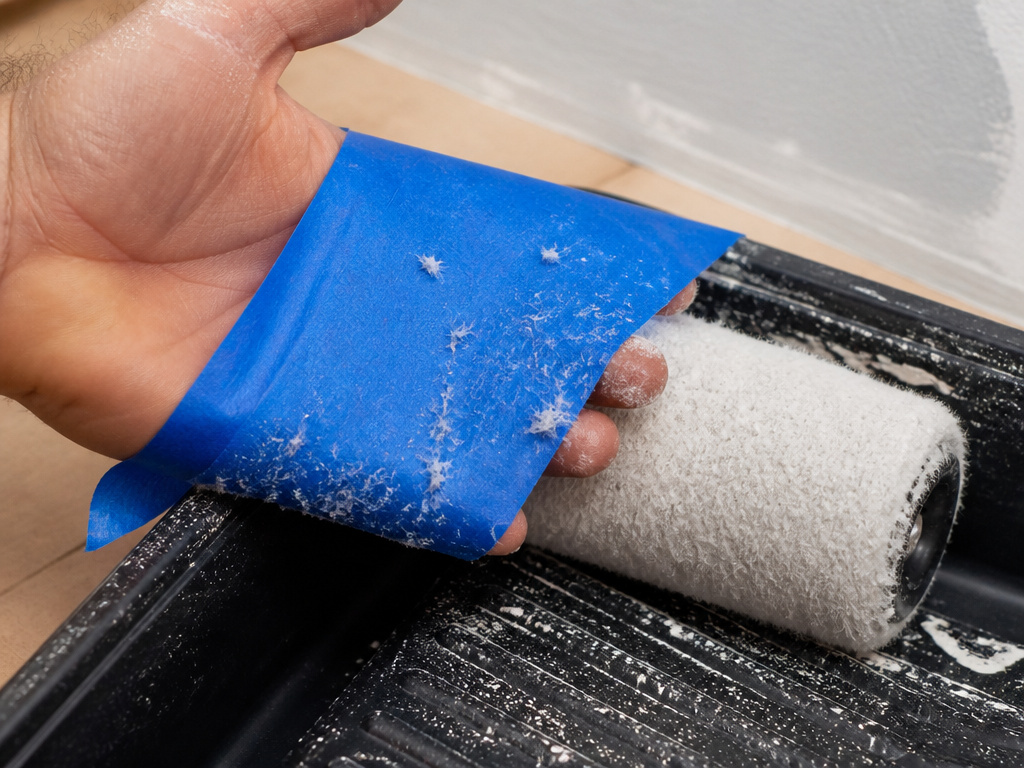
Quality covers last up to five uses before shedding, per Benjamin Moore. The fuzz looks like a fine dust layer that doesn’t wipe off, because it’s already bonded into the wet film.
The fix before the first use is simple. Wrap painter’s tape around your palm, sticky side out, and rub it along the cover. That pulls the loose lint off before it ends up on the wall. I do this every time I open a new cover.
Inexpensive rollers shed fibers and break down after repeated washing, per Benjamin Moore. That multipack of five covers for the price of one good one is the trap. You’ll spend more time picking fuzz off a wet wall than you saved at the register.
Storing a Roller Between Coats
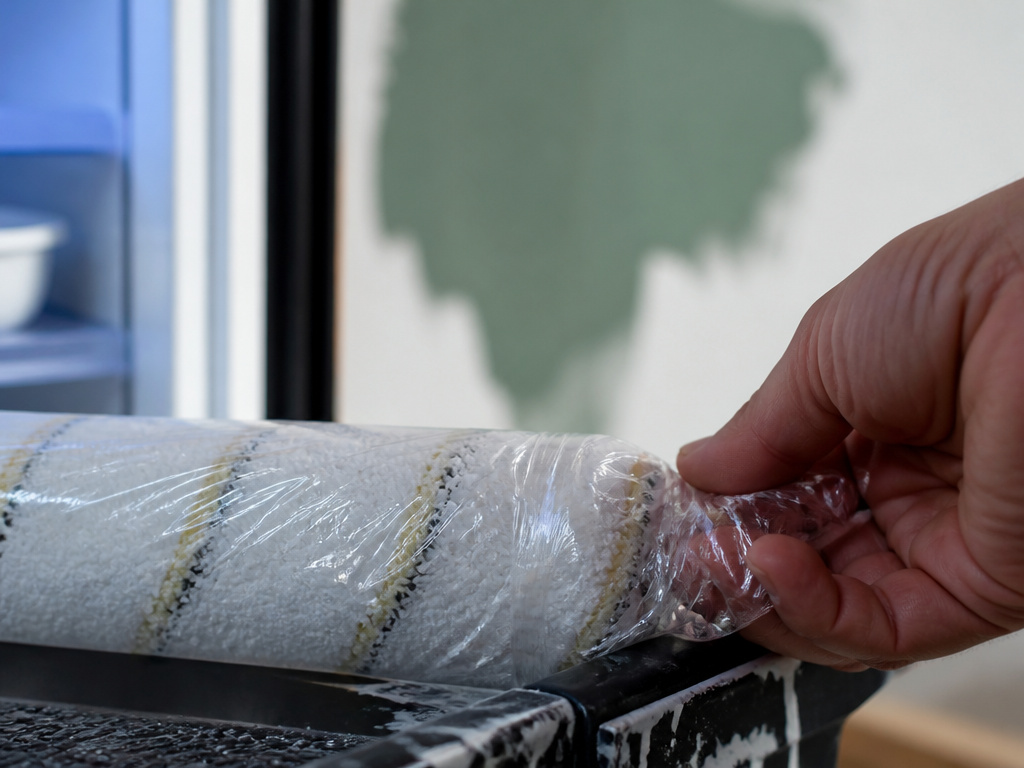
Sunday night, half a wall left, and the cover is already going stiff. Benjamin Moore’s answer is to wrap the roller and store it in the refrigerator between uses. Not the garage, not a bucket of water.
A cover left out overnight goes hard and slightly shiny, like a dried sponge, and no amount of soaking brings the pile back. Wrapped and chilled, it comes out soft enough to keep rolling the next morning.
Frequently Asked Questions
Can I use a 1/2 inch nap on smooth walls?
You can, and you’ll get stipple. Benjamin Moore reserves 1/2 inch for semi-rough surfaces like textured ceilings, walls, decks, and concrete. On a smooth primed wall, that pile leaves a texture you can feel. Drop to 3/8 inch.
Does paint quality affect roller marks?
Dulux Trade lists low-grade paint as a cause, and notes that high-quality paints roll on more evenly because of higher solids content and levelling properties. Sherwin-Williams doesn’t mention paint grade at all in its cause list. The honest answer is that both matter, and the cover is cheaper to change first.
Should I wet a roller before painting?
For latex and water-based paint, yes. Sherwin-Williams and Dulux Trade both say to predampen with water and shake out the excess. Neither source gives an alkyd equivalent, so I’d follow the label on solvent-based paint rather than assume the water step carries over.
How wide should each W be?
Behr says the W shouldn’t exceed one arm-length, typically 24 to 32 inches. Dulux Trade and Purdy both work in three-foot squares. Start with the smaller zone if you’re new, because a tighter section is easier to keep wet.
Why do my roller marks only show up when the paint dries?
Wet paint levels and hides the texture. As the film sets, the peaks and valleys left by the pile cure at slightly different rates and the pattern shows. If you see it early, switch to a thinner nap before the section tacks.
The Bottom Line
If your wall shows dimples the size of a pinhead while you’re still rolling, the nap is too long. Drop one size and re-roll that section before the paint tacks. That single move fixes more marks than any change to your stroke.
One honest gap: none of the sources I checked covers whether predampening is right or wrong for alkyd paint. Sherwin-Williams and Dulux Trade both scope the water step to latex. On oil-based paint, read the label and skip the water unless it says otherwise.
Start with the cover. Buy one good 3/8 inch woven roller, wash it, and keep it for the next several jobs. That’s a cheaper habit than repainting a stippled wall, and it’s the one change that shows up on the very first pass.
