
How to Paint Exterior Brick: Prep Beats Product
This post contains affiliate links. As an Amazon Associate, we earn from qualifying purchases.
To paint exterior brick, clean the wall, let it dry at least 24 hours, confirm dryness with a taped plastic sheet, then coat it with a masonry product matched to the brick and the weather. New mortar needs 30 days to cure first.
That plastic square is doing more work than it looks like. Brick pulls water inward and holds it, and a wall that reads bone dry at the surface can still be wet an inch back. Coat over that and the film traps the moisture, which is the failure the 1947 NBS building materials report describes as scaling and flaking rather than ordinary wear.
What follows is the order I actually work in: the dry test, the temperature call, the prep, the coating choice, and the two steps that cannot be undone.
Key Takeaways
- 30 days is the floor for new or repaired mortar before any coating, and cool weather stretches it.
- 40 F is the minimum under ASTM D6237; Sherwin-Williams won’t paint below 50 F, with an exception down to 35 F only when the specific coating is formulated for it.
- Muriatic acid is prohibited by the Brick Industry Association, and unbuffered acid damage cannot be repaired.
- One passing plastic-sheet test does not clear the wall, because brick dries unevenly across a building.
- Limewash lifts with water in the first few days if you hate the color; mineral paint carries warranties of 15 years or more.
What Actually Decides Whether Paint Sticks to Brick
A brick wall is mostly holes. The fired clay is dense, but it is porous enough that vapor crosses the brick face and the mortar joint at different rates.
Clay brick is fired dense but still porous. Water vapor moves through the unit and through the mortar joints at different rates, so a coating that seals one without the other pushes moisture toward the weakest point. The joint fails before the brick face does, and the paint lifts in a band along the mortar line.
That gap is why the how to paint exterior brick question leads the Brick Industry Association to recommend Grade SW (severe weathering) units for any wall that will be painted, with Grade MW allowed only where it is permitted. Those grades come out of ASTM C62, C216, C652, and C1088, and the logic is plain. A wall you plan to coat should not be built from worse brick than one you plan to leave bare.
The association’s 1985 painting note made the same point less politely. It warned against assuming a to-be-painted wall could use cheaper units or sloppier workmanship. Joints still have to be filled completely, because a half-filled joint lets water in and the film then holds it against the brick.
Once you commit to how to paint exterior brick, it’s committed. Stripping brick later is a miserable job, so I tape off a hidden corner, coat it, and live with the color for a week before I commit an entire elevation.
If you’re still deciding whether to coat the wall at all, the pros and cons of painting brick are worth ten minutes before you buy a can.
How Long Does Exterior Brick Need to Dry Before Painting?
Twenty-four hours after washing is the floor, and it is a floor, not a target. The Brick Industry Association sets that as the minimum drying interval between cleaning and any treatment, and the number that actually decides your job is whatever the wall tells you.
The test is a plastic sheet. Tape 4 mil plastic over bare brick, seal all four edges, and leave it at least 16 hours. Sherwin-Williams specifies an 18 inch by 18 inch square for the same procedure, and both sources are adapting ASTM D4263, which was written for concrete.
Peel the sheet back and read it. Beaded water on the underside, or brick that reads two shades darker than the ring around it, means the wall is still giving off moisture.
- Condensation on the sheet: the wall is wet, full stop. More drying, not more primer.
- A dark patch with a hard edge: moisture is arriving from somewhere specific, and a coating will trap it there.
- Sheet dry, brick unchanged: you have a pass on that spot. One spot.
- Sheet dry but the joint below is damp: the joint is the leak, and paint will not fix a leak.
That last bullet is the one that gets skipped. The association is explicit that brick masonry does not dry at a uniform rate or evenly across a building, so a clean pass on the front elevation says nothing about the shaded side.
Easy to miss: A wall can pass at eye level and fail at the base, where splash-back and grade contact keep it wet. Test the lowest course and the shaded elevation separately, or you’ll seal water in and watch the film fail along the bottom courses first.
How long the wall should sit before coating is where the sources genuinely part company. The Brick Industry Association asks for at least 30 days of cure on new or repaired mortar, longer in cool weather. The 1947 NBS building materials structures report pushed new masonry to 8 weeks before a resin-emulsion coating and 6 to 12 months before an oil-base one. Sherwin-Williams surface preparation guidance asks for a full year of weathering before any coating.
Three credible sources, three answers. My read is that 30 days is the floor for fresh mortar, the longer intervals are about brick shedding efflorescence and settling, and a manufacturer asking for a year is protecting a warranty. On an old, dry wall, none of it applies.
Three Sources, Three Minimum Temperatures
Forty, fifty, and thirty-five degrees Fahrenheit all turn up in the same decision, and grabbing one without knowing which is which is how people end up with a coating that never cures.
| Source | Minimum temperature | What it covers |
|---|---|---|
| Brick Industry Association, citing ASTM D6237 | 40 F | Air, material, and surface |
| Sherwin-Williams | 50 F | Exterior painting, general rule |
| Sherwin-Williams, low-temp products | 35 F | Only when the label says so |
The 40 F figure comes from ASTM D6237, the standard guide for painting inspectors, which the Brick Industry Association’s painting note cites directly. It applies to air, material, and surface together, so a warm afternoon with a cold wall doesn’t qualify.
Sherwin-Williams sets a higher bar at 50 F for exterior work, with an exception down to 35 F when the specific coating is formulated for it. That exception is doing a lot of work in that sentence. It applies to the can in your hand, not to masonry in general.
There’s a second temperature rule that gets ignored more often than the first. ASTM D6237 also says to avoid painting surfaces less than 5 F above the dew point. A spring morning at 52 F with fog burning off is a bad time to start, even though the thermometer clears 50.
Worth knowing before you start: The dew point rule matters more than the air temperature rule on masonry, because brick holds the night’s cold long after the air warms. A wall in shade at 9 a.m. Can sit several degrees below the reading on your phone.
Cold walls don’t care what your phone says.
How to Paint Exterior Brick: Prep Beats Product Every Time
Scraping and washing do more for a brick wall than the coating does. I’ll go further. A cheap coating on a properly prepped wall outlasts an expensive one on a dirty wall, and I’ve watched both happen on the same house.
I’m not a mason. I’m someone who took a wire brush to a test patch of painted brick, saw what it did, and stopped before doing that to a whole elevation.
I test a wire brush on a hidden patch before I let one near a brick face. Mine left scratches and a shine that no amount of paint covered, and I’ve been a nylon-brush person ever since.
Here’s the sequence, with what each step costs you if you skip it.
- Wash with a stiff non-metallic brush and soapy water. The Brick Industry Association’s recommended methods are a stiff non-metallic brush, soapy water, or low pressure. Skip the wash and the coating bonds to dust.
- Rinse and let it dry at least 24 hours. Rushing this is how you trap water under a fresh film.
- Scrape loose and checked paint back to a sound edge. Sherwin-Williams is direct about it: scrape and sand to a sound surface. Paint over a curling edge and the new coat lifts with the old one.
- Spot-prime bare brick and any repaired patch. A primer for exterior brick does the job a finish coat can’t, which is to even out suction so the topcoat cures at one rate. A primer for exterior brick does the job a finish coat can’t, which is to even out suction so the topcoat cures at one rate.
- Repoint open joints with mortar, and caulk only where brick meets trim. The association’s guidance is that joints must be filled with mortar. Caulk belongs at the window frame and the sill line, not in a mortar joint.
- Re-run the plastic sheet test. Cleaning and scraping change how fast the wall dries, so the earlier pass no longer counts.
The wire brush question is a real split. Sherwin-Williams recommends wire brushing to remove efflorescence after weathering, and the older NBS Letter Circular 747 says to remove dust, loose mortar, and flaking paint by vigorously brushing with a wire brush. The Brick Industry Association’s current note doesn’t list wire brushing among its recommended cleaning methods at all.
Good wall preparation is most of the job, and brick punishes shortcuts harder than siding does. Brick dust is fine and slightly abrasive, and it settles into every window sill and door track within a few feet. A leaf blower before you rinse saves a lot of wiping.
Latex, Mineral Paint, or Limewash: Which Wins Where
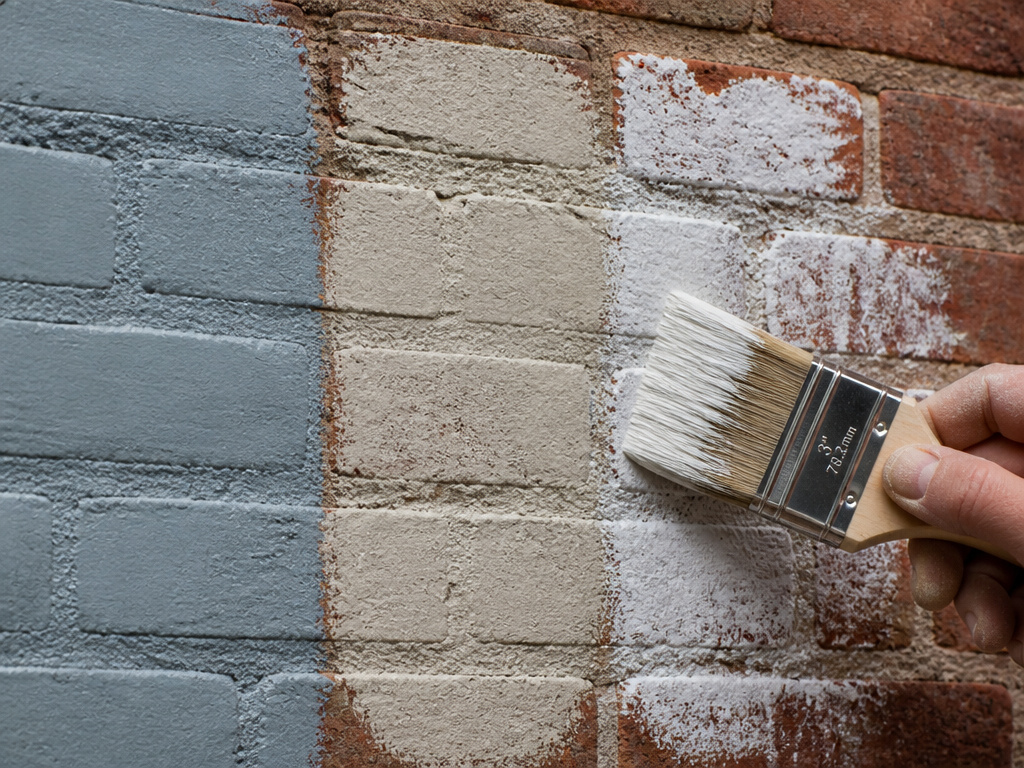
Mineral paint bonds chemically into the brick. Acrylic and latex coatings sit on top of it and form a film. That single difference decides most of the arguments.
Acrylic and latex masonry coatings
This is the default, and it’s the right answer for most repaints. An exterior acrylic made for masonry goes on over a primed wall and stays flexible enough to move with normal thermal cycling.
For a straight repaint where the wall is sound and dry, this is my pick. The best exterior paint for brick in that category is a 100 percent acrylic labeled for masonry, not a general exterior trim paint.
Mineral paint
Mineral paint is pigment bound in potassium silicate, and it bonds to the brick through a chemical reaction rather than sitting on the surface.
The constraints are strict. The association’s current note says mineral paint can be applied only to brickwork that is clean and unsealed, so the pore structure stays accessible, and any existing coating must be removed first. Neutralizing the surface after a stripper or an acid-based cleaner is strongly recommended, because mineral paint is sensitive to acid.
The payoff is durability. Mineral paints typically carry warranties of 15 years or more, and the association notes projects where recoating wasn’t needed for 30 years or more. They’re also zero-VOC and UV-resistant.
Limewash
Limewash is slaked lime diluted with water and brushed on. It gives a matte, uneven finish that varies with how much water you use and how many coats you apply, and it’s naturally mold-resistant because of its high pH.
Lifespan runs five to 10 years or more depending on the environment and the coat count. The feature I like most is the escape hatch. Some limewashes can be removed with water within the first few days if the look isn’t what you wanted.
Don’t seal limewash where you need the wall to keep breathing.
Which one wins: acrylic for a repaint on a sound wall, mineral paint where you want the longest interval between recoats and the brick is bare, limewash where you want the color to weather and you might change your mind.
There’s one live disagreement worth knowing about. The 1985 edition of the association’s painting note required exterior paint to be porous, so the wall could breathe and free moisture wouldn’t be trapped behind the film, while the 2024 edition does not restate that requirement and modern elastomeric and acrylic systems are sold as waterproofing. The 2024 edition doesn’t restate that requirement, and modern elastomeric and acrylic systems are sold as waterproofing. The current document is silent rather than contradictory, but on an old solid-wall house the older logic still holds.
For the full spread of options, types of masonry paint covers the chemistry in more detail, and how to choose masonry paint walks the decision by wall type.
Why Muriatic Acid Is the One Step You Can’t Undo
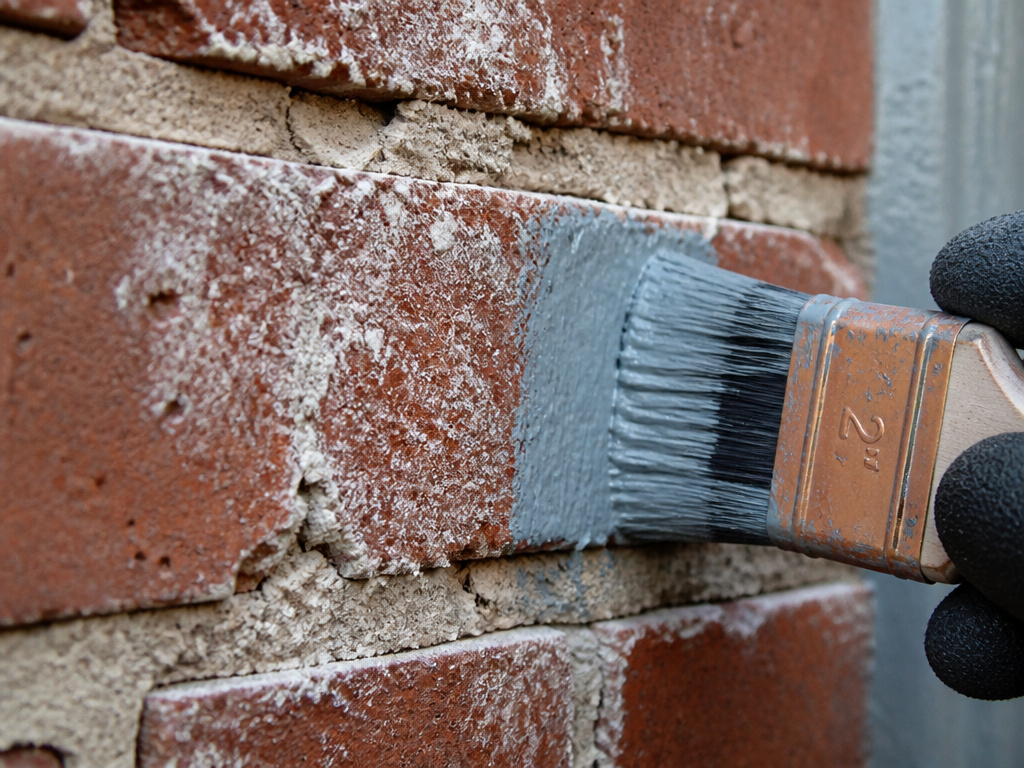
Acid washing is the part of this job with no recovery path. The Brick Industry Association prohibits diluted and undiluted muriatic (hydrochloric) acid outright, and its current note states that unbuffered acid cleaning can cause damage and staining that cannot be removed or repaired.
Acid washing is still common field practice on new brick. That’s worth saying plainly. The standards body’s position and what happens on a lot of job sites are not the same thing, and the association’s own document notes the practice without endorsing it.
The failure isn’t cosmetic. Irreversible means the brick face is scarred, and repainting follows the scar rather than hiding it.
If a cleaning product has to be neutralized before you can coat over it, that’s a sign it didn’t belong on the wall in the first place.
Some walls shouldn’t be painted at all, and this is the point to say so.
- A wall with a moisture source you haven’t found. Sherwin-Williams is blunt that if moisture is present, the source must be located and corrected before painting. Coat over it and you’ve moved the problem behind a film.
- A wall with recurring efflorescence. White bloom that keeps coming back is salt being carried out by water. The salt is a symptom.
- A wall with spalling faces or crumbling mortar. Paint needs something sound to hold onto, and a failing face takes the coating with it.
None of those are paint problems.
Why Does Paint Blister and Lift on Exterior Brick?
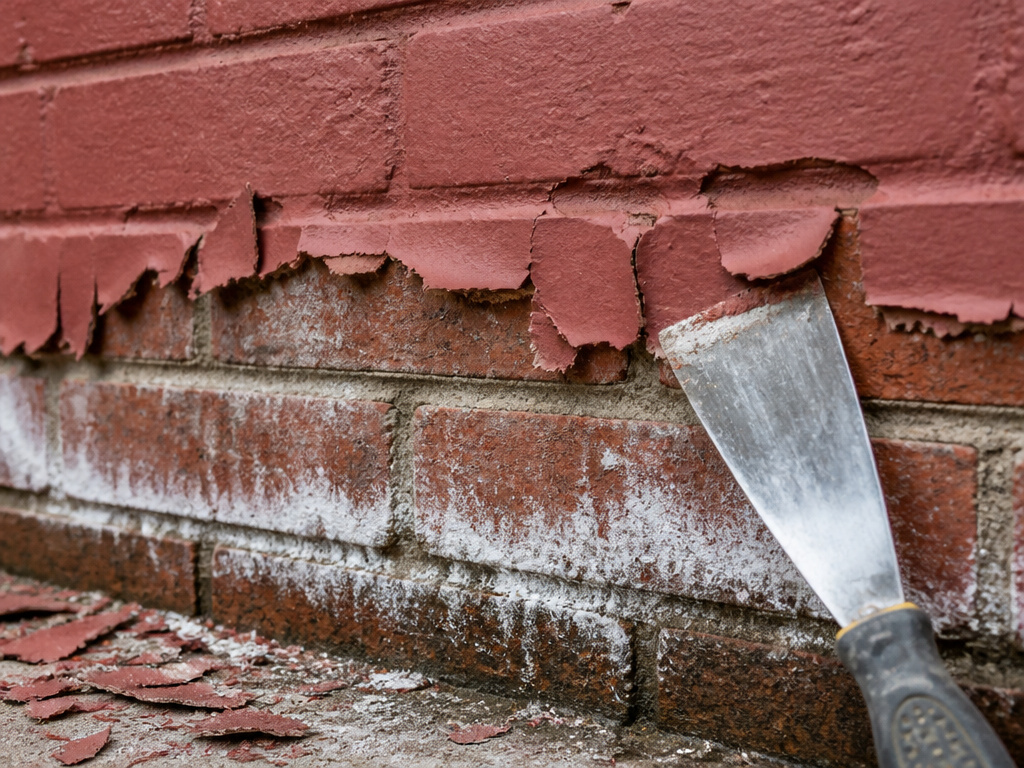
A wall that looked uniform in dry weather shows a white bloom along the lower courses after a wet week, and the paint above it starts lifting in a band that follows the mortar lines exactly.
That pattern is diagnostic. Read the symptom before you buy another gallon.
| What you see | What it usually means | What to do |
|---|---|---|
| White bloom along the lower courses | Efflorescence, salts carried out by moisture | Brush it off dry and find the water source |
| Paint lifting in a band along the joints | Moisture moving through the joint, not the face | Repoint the joint, then recoat |
| Scaling and flaking within weeks | Wall was wet at application, or got wet later | Strip back, dry, retest before recoating |
| A damp patch that never dries | A source, not a slow cure | Locate and fix the source first |
The 1947 NBS report describes the third row precisely. Coatings applied to a wet wall, or a wall that later becomes wet through a structural defect, fail by scaling and flaking. That’s early failure rather than gradual wear, which is why it looks like a bad batch of paint and isn’t.
Open-textured brick and cracked joints need special handling. NIST found that these need a grout or sharp-sand cement-water base coat before a resin-emulsion paint, or the coating bridges the opening and fails there.
Shaded elevations grow a green film fastest. I’ve trimmed a shrub back off a north wall rather than repaint it, and the film stopped coming back.
The general sequence for how to paint masonry walls holds for brick, block, and stucco, with brick being the least forgiving of the three.
Painting in Sections Without Lap Marks
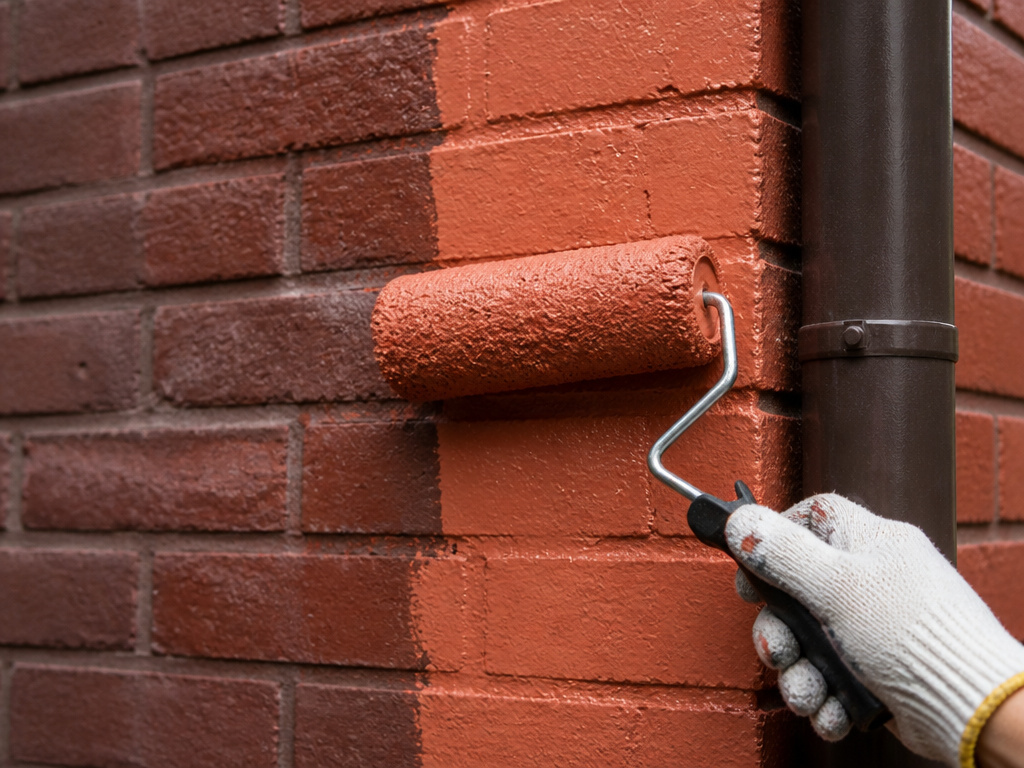
Three things go wrong on a big elevation: the lap line, the sun, and the hose.
Lap marks come from laying a wet edge onto a dry one. Plan the sections at natural breaks, meaning corners, downspouts, and joint lines, so any visible seam lands where the eye already stops.
Work out of direct sun. The NIST publication on painting exterior walls of porous masonry recommends working in the shade as far as practicable when weather is drying paint fast, and that advice hasn’t aged.
Cement-based coatings carry their own rule. NIST’s circular recommends fog-spraying between coats and for 2 days after the final coat, starting once the paint has set, which is usually 6 to 12 hours after application. Damp curing improves hardness, and in some cases it’s the difference between a satisfactory job and a poor one.
Thinning is where the cooking analogy actually holds. Resin-emulsion paste thins with water at roughly 2 parts paste to 1 part water, and you add a little, stir, check, add more. Dumping in the whole jug gets you a runny coat that covers nothing.
One more distinction that matters. Those paints go on damp walls but not wet walls, and on very dry or very porous brick it helps to dampen the surface slightly to cut suction. Damp and wet are different words for a reason.
A chimney is the same job with worse access and a worse place to fall from, so if you’re doing one, read how to paint a brick chimney before you climb anything.
For color, best colors to paint exterior brick is the other half of the decision, and it’s the half you have to live with.
One small stroke at a time. That’s the whole method on a big wall.
Frequently Asked Questions
Can you paint exterior brick without priming it?
Priming isn’t always required, but bare or patched brick benefits from it because suction varies across the wall. The Brick Industry Association’s older painting note says a primer coat may be of particular importance where unusual or severe conditions exist. Spot-priming the bare patches is the low-effort version of the same idea.
What happens if you paint brick while it’s still damp?
The 1947 NBS building materials report documents the outcome. Coatings applied to a wet wall, or one that later becomes wet through a structural defect, fail by scaling and flaking. That’s early failure rather than wear, and it usually means stripping back to bare brick. Test with a taped plastic sheet before you open a can.
Does painting brick trap moisture?
It can, and that’s the central risk. The 1985 edition of the Brick Industry Association’s painting note required exterior paint to be porous so the wall could breathe, while the 2024 edition does not restate that requirement and modern elastomeric and acrylic systems are sold as waterproofing. The current edition doesn’t restate the requirement, so the choice of coating matters more than it used to.
How long does painted exterior brick last?
It depends on the coating. The association’s older note observed that once exterior masonry is painted, it typically needs repainting every three to five years. Mineral paints are a different category, with warranties of 15 years or more and projects that went 30 years or more without recoating. Limewash runs five to 10 years or more.
Can you paint brick in direct sun?
Better not to. NIST recommends working in the shade as far as practicable when weather is drying paint fast, and a sun-heated wall can sit well above the air temperature your coating was rated for. Follow the shadow around the house.
The Bottom Line
If you take one thing from this, take the order: water first, temperature second, product last. Nearly every failure I’ve seen on a painted brick wall traced back to one of the first two, and almost none traced back to the coating.
Here’s the concession. If the wall has a moisture source you can’t find or can’t fix, no coating on the market solves it. Paint is a finish, not a repair.
And here’s the ten-minute version. Go tape a square of 4 mil plastic on a hidden corner and another on the lowest course near the ground. Sealing the edges is quick. Come back tomorrow and look at the underside.
That’s the whole test. The rest of the job is patience and a stiff brush.
