
How to Clean Exterior Walls Before Painting: 6 Steps
This post contains affiliate links. As an Amazon Associate, we earn from qualifying purchases.
To clean exterior walls before painting, wash off dirt and chalk with potable water, then remove mildew, efflorescence, and loose paint, and let the wall dry; GSA caps water washing at 300 psi, while Rust-Oleum permits pressure washing with no numeric cap and Sherwin-Williams requires a clean, dry surface with no moisture per ASTM D4263. GSA caps water washing at 300 psi, and most commercial pressure washers run well above that, while Rust-Oleum permits pressure washing with no numeric cap and Sherwin-Williams states no pressure figure.
Three hundred psi is gentler than the machine in your garage suggests. The GSA notes that most commercial pressure washing systems operate well above that ceiling, and a nozzle held too close to mortar joints drives water behind the surface you are trying to protect, which is why the how to clean exterior walls before painting question starts with pressure control.
What follows is the order that has worked for me: dust dry, wash wet, treat the stains, rinse hard, repair what is loose, then run the tests that decide whether the wall is actually ready.
Key Takeaways
- Wash before you scrape. A grease or chalk film is what kills adhesion, and sanding pushes that film around instead of lifting it.
- GSA caps washing pressure at 300 psi and requires potable water; Rust-Oleum permits pressure washing with no numeric cap and Sherwin-Williams states no pressure figure.
- Cure time depends on the coating you bought. Sherwin-Williams wants 30 days at 75°F or above; Zinsser WaterTite LX Ultra wants 7 days.
- Rinse until the water runs clear. Un-rinsed acid salts may cause premature coating failure, per Zinsser’s own data sheet.
- Test a patch before committing. Two to three square feet, one week of drying, then an adhesion check per ASTM D3359.
Why Washing Beats Sanding on a Grimy Wall
The paint goes on smooth, then draws back into little craters before it sets. Later it lifts in sheets.
That is a grease film, and sanding spreads it around instead of removing it. I painted a kitchen wall next to a stove once without washing it first. The coating beaded up and peeled in sheets. Warm water, a clean rinse, and the repaint stuck fine. Same wall, same paint.
Water washing for masonry cleaning is capped at 300 pounds per square inch in GSA federal guidance, and potable water is specified, while Rust-Oleum permits pressure washing with no numeric cap and Sherwin-Williams states no pressure figure. Most commercial pressure washing equipment operates well above that ceiling, so the nozzle rating governs what actually reaches the wall. Test patches for cleaning are usually smaller than 6 inches by 6 inches.
Here is the mechanism, because it explains every other step below. Grease and chalk lower the surface energy of the wall, so a waterborne coating cannot wet the surface evenly. Where it cannot wet, it cannot bond. The paint pulls into droplets on the contaminated spots and cures into a shell that is only sitting there.
Sherwin-Williams calls for removing oil, grease, dirt, and oxide by solvent cleaning per SSPC-SP1 before any coating goes down, and that is the core of how to clean exterior walls before painting. On painted siding, the same logic applies at a bigger scale, and cleaning painted siding is mostly a question of how much pressure and how much rinse.
Rinse is where people quit early. I left soap film on a wall once and got fisheyes across the whole section, tiny circular craters where the paint refused to sit. A second bucket of clean water would have saved me a lot of trouble.
Run a dry hand over the wall before you wet it. Chalky white powder on your palm means the old coating is breaking down, and that dust has to come off before water touches it.
What the Sources Actually Disagree About
Sherwin-Williams and Rust-Oleum publish different cure windows for the same poured concrete, and that gap changes your schedule.
| Question | Sherwin-Williams | Rust-Oleum / Zinsser |
|---|---|---|
| New concrete cure | 30 days at 75°F or above | 7 days minimum |
| Moisture at application | Clean and dry; no moisture per ASTM D4263 | Damp but not glistening |
| Pressure washing | Permitted per referenced ASTM methods, no psi figure | Permitted; allow 3 days to dry |
| Old paint | Remove all contamination; full removal if a test patch fails | Performance depends on the prior coating |
Neither number is wrong. They describe different products. A waterproofing coating like Zinsser WaterTite LX Ultra is formulated to go on a younger wall and to tolerate a damp surface. A general exterior latex system following Sherwin-Williams’ specification wants a drier, older substrate.
So the rule I use is simple. Read the data sheet for the exact can in your hand and follow that number, not the number from a blog post. If you are coating a basement wall with WaterTite LX Ultra, the 7-day figure applies. If you are painting a garage slab with a standard acrylic, plan on 30 days at 75°F or warmer.
Old paint is the third disagreement. NIST Letter Circular 747 says old coatings left after wire brushing need not be removed. NPS Preservation Brief 1 says buildup can reach a point where removal is necessary for the new paint to adhere. Sherwin-Williams lands in the middle: maintenance painting often does not require full removal, but everything loose and contaminated must go, and an incompatible test patch means complete removal per ASTM D4259.
How to Clean Exterior Walls Before Painting in the Right Order
Six steps, and the order matters more than the products: dust, wash, treat, rinse, repair, test.
- Dust everything dry first. A microfiber cloth on a long handle clears trim ledges and the top of the wall. Skip it and your first wet pass turns that dust into gray mud you push around in circles.
- Wash bottom-up, then rinse top-down. Starting low stops dirty runoff from streaking a section you already cleaned. A wall washed top-first shows clean lanes under dirty ones.
- Treat stains by type. Mildew, efflorescence, and grease each need a different agent. One cleaner for all three smears the mildew and drives salts deeper into the pores. If you need a starting point, mildew removal covers the chemistry that actually works on painted surfaces.
- Rinse until the water runs clear. Zinsser’s data sheet for WaterTite LX Ultra states plainly that un-rinsed acid salts may cause premature coating failure. That failure shows up later as blisters, not immediately.
- Scrape to a sound edge and spot-prime. Paint bridged over a loose edge will lift, taking a ring of good coating with it. Bare spots get primed the same day they are exposed.
- Run the readiness tests. Moisture, soundness, and absorption. More on all three below.
Common mistake: Painting over a damp wall because the surface felt dry to the touch. Concrete moisture seldom drops below 15 percent, per Sherwin-Williams, and trapped moisture blisters the film from behind.
Good exterior wall prep is mostly patience, and the cleaning walls before painting sequence is the same one you would use indoors, scaled up.
Which Test Tells You the Wall Is Ready?
Sixteen hours is the number that decides whether you paint this weekend.
The plastic sheet test
Tape an 18 inch by 18 inch sheet of 4 mil plastic on all four edges and leave it at least 16 hours. Condensation on the underside or a dark patch on the concrete means moisture is moving through, and the source needs fixing before any coating goes on. Sherwin-Williams references this as ASTM D4263.
The screwdriver gouge test
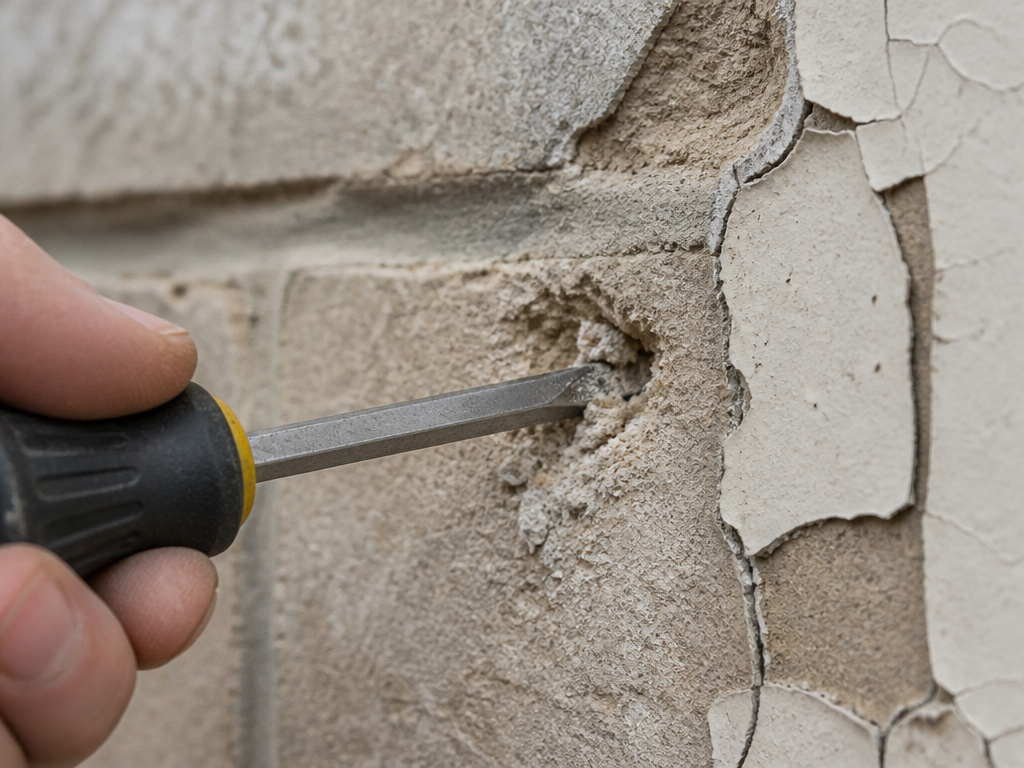
Press a flat screwdriver into the surface with moderate pressure. If it scrapes or gouges, the surface is unsound, and Zinsser’s instruction is to remove and repair the deteriorated material before coating. Unsound mortar under a fresh coat fails fast.
The water sprinkle test
Sprinkle water on bare cast concrete and watch. If the surface turns dark, water is absorbing and the coating can go on. If the water beads and the wall stays light, a form release agent or sealer is present, and you need chemical cleaning or mechanical abrasion first.
If a wall fails the plastic sheet test, no coating on the market fixes it. Water has to go somewhere, and it will pick your paint as the exit.
How Do You Get Mildew and Efflorescence Off Without Gouging the Wall?
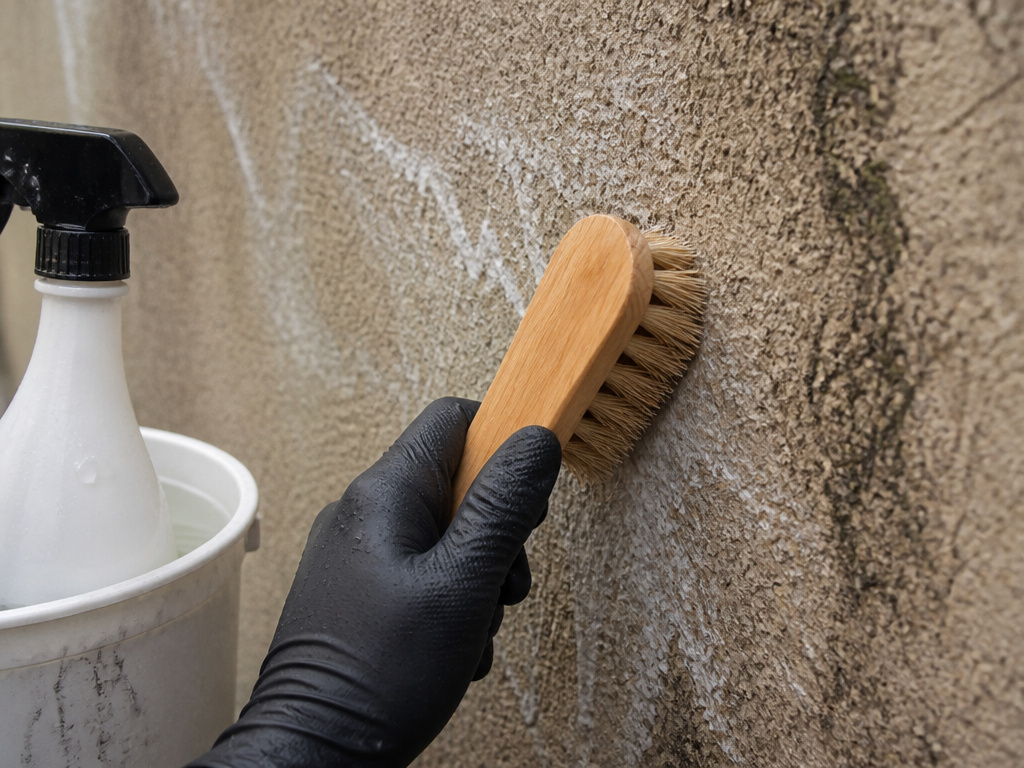
Ever scrubbed a mildew patch, rinsed it, and watched the same shadow come back by the next wet season?
NPS Preservation Brief 1 starts with a step almost everyone skips: identify the soil before choosing the cleaner. Soot, oil, metallic stains, and biological growth each respond to different chemistry. Mildew is the one that comes back if you only kill the surface growth and leave the food source.
For exterior mildew, Zinsser points to Jomax House Cleaner & Mildew Killer or an equivalent product. The Park Service approach is gentler: a low-pressure water wash, possibly with a non-ionic detergent, plus scrubbing with a natural or synthetic bristle brush. I dab and wipe lightly rather than leaning in, because hard scrubbing on flat paint leaves a shiny patch that looks worse than the stain did.
Efflorescence is a different problem and needs a different chemical. The Letter Circular 747 exterior walls guidance specifies a 20-percent muriatic acid solution with about 5 minutes of dwell time, scrubbed with stiff bristle brushes, then thoroughly rinsed with clean water. Zinsser specifies WaterTite Etch or an equivalent for the same job.
Before you start: Scraping or sanding old paint can release lead dust, so wear a NIOSH-approved respirator and clean up with a HEPA vacuum and a wet mop. Muriatic acid is hazardous, so work upwind with gloves and eye protection. A pressure washer at close range can damage mortar joints and skin, so keep the nozzle moving and never point it at anyone.
Rinse is not optional here. Rinse the surface thoroughly after chemical cleaning, then check pH to confirm the acid is neutralized. GSA lists a pH test as part of the procedure for exactly this reason. Mildew on exterior walls is stubborn enough without adding a coating failure on top of it, and mildew on exterior walls is worth reading before you mix anything stronger.
Where the Standard Wash Fails: Concrete, Brick, and Textured Walls
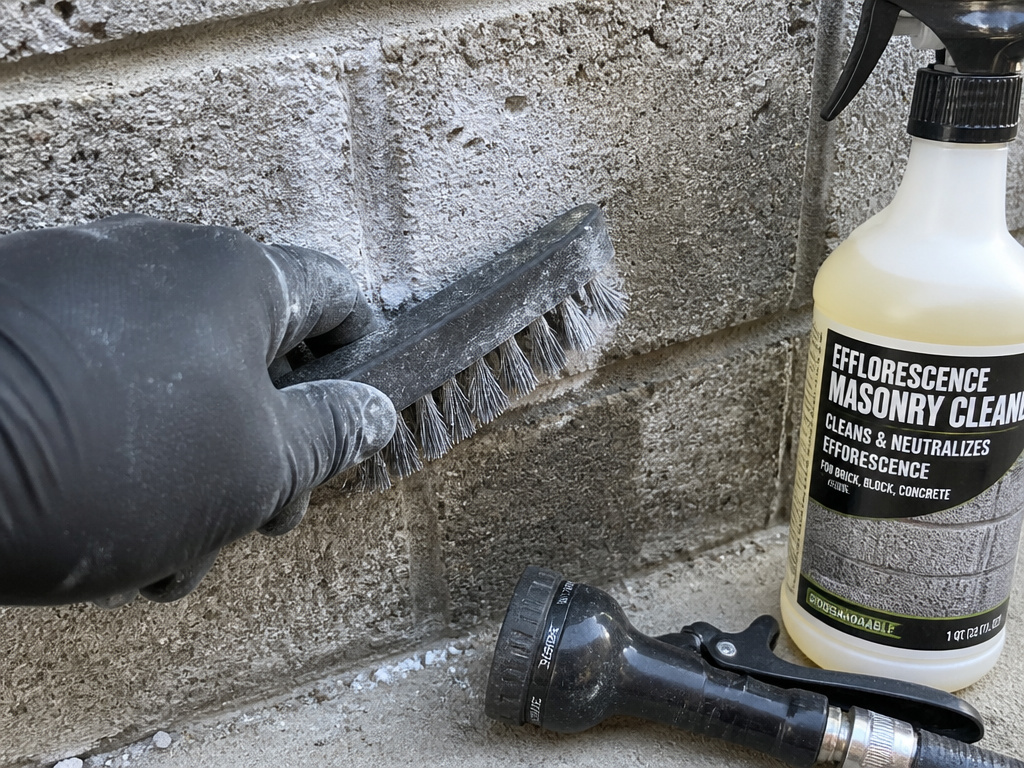
The first is a release agent. Curing compounds and form release agents may not be compatible with the coating and may require full removal, per Sherwin-Williams. The sprinkle test above is how you find out. The second is salt. Efflorescence comes from inside the masonry, and washing the face of the wall does nothing about the source.
| What You See | Likely Cause | What to Do |
|---|---|---|
| Water beads, wall stays light | Form release agent or sealer | Chemical clean or abrade |
| White powdery bloom | Efflorescence salts | Etch, rinse, let dry |
| Black or green speckling | Mildew | Mildew cleaner, low pressure |
| Chalky film on your hand | Chalked old paint | Wash and dull before recoating |
Porous surfaces need a different touch. Clean uncoated concrete block by sweeping or blowing down with oil-free compressed air, and reserve washing, scraping, and wire brushing for dense concrete. On textured exterior walls, the profile holds dirt in the valleys, so a flat pass with a brush misses half of it.
If you are working with paint concrete walls as the next step, plan for two or three coats to build a continuous pin-hole free film, with a third on very rough surfaces. Zinsser rates WaterTite LX Ultra at 100 square feet per gallon and 20 psi of water pressure resistance, which tells you how thick that film is meant to be.
Brick behaves differently again, because mortar joints absorb water faster than the brick face does. Details on exterior brick painting matter more than the cleaning pass in that case.
When You Should Not Paint At All
Some walls should stay unpainted this season, and forcing it costs more than waiting.
Sherwin-Williams is blunt about weather: no exterior painting immediately after rain, during fog, when rain is predicted, or below 50°F unless the coating is rated down to 35°F. Zinsser’s window is 50 to 90°F with relative humidity at 85 percent or less. Paint applied below those floors cures slowly and poorly.
The Park Service adds a harder question. If cleaning could remove some of the stone surface, it may be preferable not to clean at all. That is worth sitting with. On soft historic masonry, the gentlest option sometimes means leaving the wall alone, and the NPS Preservation Brief 1 masonry cleaning guidance is where that argument is made in full.
Skip this if: The wall gouges with a screwdriver or the paint is cracked and lifting in plates. Coating over a moving, unsound surface will not last, and cracked paint repair has to happen first.
For the full sequence from prep to final coat, the exterior house painting walkthrough covers what happens after the wall is clean and dry.
Frequently Asked Questions
Do I have to pressure wash exterior walls before painting?
No. A hose, a soft brush, and potable water handle most painted surfaces. If you do use a pressure washer, keep it at or below 300 psi, which is the GSA limit for masonry, though Rust-Oleum permits pressure washing with no numeric cap and Sherwin-Williams states no pressure figure, and let the wall dry afterward. Zinsser asks for three days of drying after pressure washing before coating.
How long should new concrete cure before painting?
It depends on the coating. Sherwin-Williams specifies 30 days at a material temperature of at least 75°F. Zinsser WaterTite LX Ultra specifies 7 days. Check the data sheet for the product you actually bought and use that number.
Can I paint over mildew?
You can, and it will come back through the film. Remove the growth first with a mildew cleaner such as Jomax or an equivalent, or with a low-pressure wash and a non-ionic detergent per NPS guidance. Rinse thoroughly and let the surface dry before coating.
How do I know if my wall is too damp to paint?
Tape an 18 inch by 18 inch sheet of 4 mil plastic on all four edges and check it after at least 16 hours. Condensation or a dark patch underneath means moisture is present. Sherwin-Williams notes that concrete moisture seldom drops below 15 percent, so this test matters more than a hand check.
Does old paint have to be completely removed?
Not always. NIST guidance says old coatings remaining after wire brushing need not be removed, while NPS notes that heavy buildup can require removal for the new paint to adhere. Sherwin-Williams recommends a 2 to 3 square foot test patch, dried one week, then checked per ASTM D3359. If the patch fails, full removal per ASTM D4259 is the answer.
The Bottom Line
Here is the threshold I would give a friend: if the wall gouges under a screwdriver or fails the plastic sheet test, stop. Cleaning and painting a wall that is still moving water is a waste of a weekend, and the blisters show up later when you have moved on to another project.
The good news is that the diagnosis takes no shopping. Go outside with a plastic cup of water and sprinkle a patch of bare concrete near the foundation. If the surface darkens and drinks it in, you are clear to keep going. If the water sits there in beads and the wall stays pale, you have a sealer or a release agent to deal with first, and everything else waits.
Fair warning: once you start noticing chalky film and beaded water, you will see it on every wall you walk past. That is the useful part.
