
How to Clean Exterior Painted Siding: Step-by-Step
This post contains affiliate links. As an Amazon Associate, we earn from qualifying purchases.
To clean exterior painted siding, wash one small section at a time with a soft nonmetal brush and mild detergent, rinse with a low-pressure hose, and never let the solution dry on the wall. James Hardie permits a pressure washer only under 1500 psi, with wide fan tips held at least 6 feet from the siding.
That drying rule is the how to clean exterior painted siding point that catches first-time washers. A soap film left to bake in afternoon sun leaves pale ghost streaks that look exactly like the dirt you started with, so keep the rinse hose moving. So the rinse hose stays in your hand the whole time.
What follows: the pressure numbers each manufacturer actually publishes, the mildew test that separates fungus from dirt, the wash order that keeps streaks off what you already cleaned, and the edge cases where the standard routine quietly stops working.
Key Takeaways
- Stay under 1500 psi and keep the tip 6 feet off the wall if you use a pressure washer at all. James Hardie’s technical bulletin allows it; James Hardie’s own blog tells homeowners to skip it.
- Rinse before the soap dries. Dried detergent leaves a chalky film that reads as dirt.
- Test before you scrub. A drop of 5% bleach lifts a mildew stain in one or two minutes. If nothing changes, you’re looking at dirt or failing paint.
- Work small sections and rinse as you go. Missed patches only show up once the wall dries.
- Skip sandblasting and acid washing. Both damage fiber cement, and James Hardie states that damage from improper cleaning may not be covered by warranty.
What Pressure Is Actually Safe on Painted Siding?
Under 1500 psi, with a wide fan tip held a minimum of 6 feet from the wall, is the published ceiling for James Hardie fiber cement, though LP SmartSide says no high-pressure washer at all and the Composite Panel Association caps a rinse at under 100 psi.
James Hardie permits pressure washing on fiber cement siding only with wide fan tips held a minimum of 6 feet from the wall and pressures under 1500 psi. The Composite Panel Association sets a far lower ceiling for engineered wood siding and trim: a low-pressure hose rinse under 100 psi.
Put those two numbers side by side and the how to clean exterior painted siding spread is large for the same task.
| Source | Pressure limit | Distance and method |
|---|---|---|
| James Hardie TB #20 | Under 1500 psi | Wide fan tip, min 6 ft from wall |
| Composite Panel Association | Under 100 psi | Low-pressure hose rinse |
| LP SmartSide ExpertFinish | No high-pressure washer | Garden hose, low-pressure spray |
The Composite Panel Association maintenance tips are written for engineered wood, and the 100 psi figure is a rinse limit rather than a cleaning limit. Different substrate, different tolerance.
James Hardie’s consumer blog goes further than its own technical bulletin on cleaning fiber cement, telling homeowners to skip the high-pressure power washer and use a low-pressure hose with a soft medium-bristle nonmetal brush. LP SmartSide lands in the same place: garden hose, low-pressure spray, nothing more aggressive.
You can hear the difference before you see damage. A fan tip held correctly makes a soft, even hiss across the plank, while held too close it turns into a hard flat slap.
Top-Down or Bottom-Up: The Siding Makers Disagree
Pick a direction and commit, because the two biggest siding makers publish opposite instructions.
James Hardie says clean a small section at a time, starting at the top and working down, so drips don’t streak the area you just cleaned. LP SmartSide says work a small section at a time starting at the bottom and working up, to prevent streaking. Both are trying to solve the same problem, and both are describing their own coating.
I’ve done it both ways on the same wall and the top-down order wins for me, but only because I rinse constantly. If you’re the type to let a section sit while you mix the next bucket, bottom-up will save you.
What both manufacturers agree on is more useful than where they split:
- Small sections only. A whole wall in one pass guarantees dried soap somewhere.
- Never let the solution dry. LP and James Hardie both name streaking as the consequence.
- Rinse immediately after washing, with clear water, until the runoff stops foaming.
- Soft tools only. No metal brushes, no abrasive sponges, no hard pressure on the surface.
If you’re already planning a repaint, the wash is only the first half of the job, and surface preparation covers what has to happen between the rinse and the first coat.
How to Clean Exterior Painted Siding Without Streaks
A warm bucket of soapy water, a soft brush, and a garden hose did the job on a dirty stretch of siding I’d been avoiding for two seasons. I skipped the pressure washer, because I’ve watched one gouge a painted edge and lift the film in a curl. Working top to bottom kept drips off the sections I’d already finished.
Before you start: Bleach-based washes burn skin and eyes, so wear rubber gloves and goggles, and keep the spray off shrubs and grass. Ladder work near gutters means checking for overhead lines first.
- Rinse the wall before you touch it. Loose grit dragged under a brush dulls the finish in a way no rinse afterward will fix.
-
Mix the wash to the published dilution. The Composite Panel Association ratio is 1/3 cup detergent per 3 liters of water. A stronger mix doesn’t clean better; it just dries into a film faster. 3.
-
Scrub side to side along the plank direction, or up and down on panels, with light pressure, and do not press hard against the surface.
- Rinse immediately and keep rinsing until all the cleaner is washed off. Soap left to dry leaves a chalky ghost line that looks like the dirt you started with.
- Let it dry fully, then walk the wall in daylight. Missed spots only appear once the surface is dry, and they’re easier to spot-clean than to explain.
The same order works indoors, and the general routine for clean exterior walls is the one to copy. The dab-and-wipe instinct you’d use to clean painted walls inside applies here too: light passes, then stop.
Does Bleach Belong on Painted Siding?
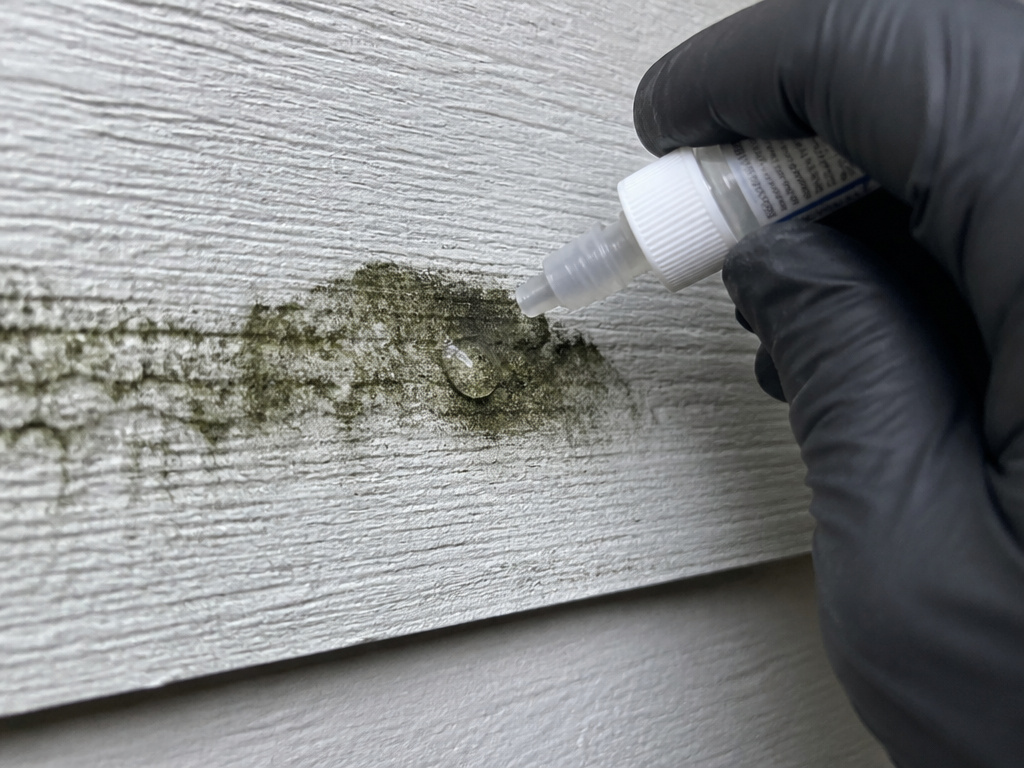
Depends who you ask, and the split is real rather than a matter of technique.
The Composite Panel Association prescribes it. If mildew survives a detergent wash, the bulletin says to apply a drop of 5% sodium hypochlorite solution (ordinary household bleach) to the stain, and notes that mildew usually bleaches in one or two minutes. It also publishes a full recipe: 2/3 cup TSP, 1/3 cup non-ammonia detergent, 1 quart of 5% sodium hypochlorite, and 3 quarts of warm water to make a gallon.
James Hardie’s blog says the opposite for its own siding: do not use harsh chemicals such as bleach or acid. Its technical bulletin singles out acid washing as damaging to fiber cement and not recommended. Read carefully and the two documents aren’t quite fighting. The bulletin bans acid. The blog extends that to bleach.
Where this goes sideways: Mixing a bleach wash and then walking away. The solution needs to stay wet, get scrubbed, and get rinsed, or it dries on the siding.
The spot test is the part worth keeping regardless of which camp you land in. One drop, one or two minutes, and you know whether you’re dealing with fungus or dirt. That test costs nothing and settles the question before you commit a whole wall to a chemical. More on the chemistry side sits in this piece on mildew on siding.
Match the Remedy to the Stain
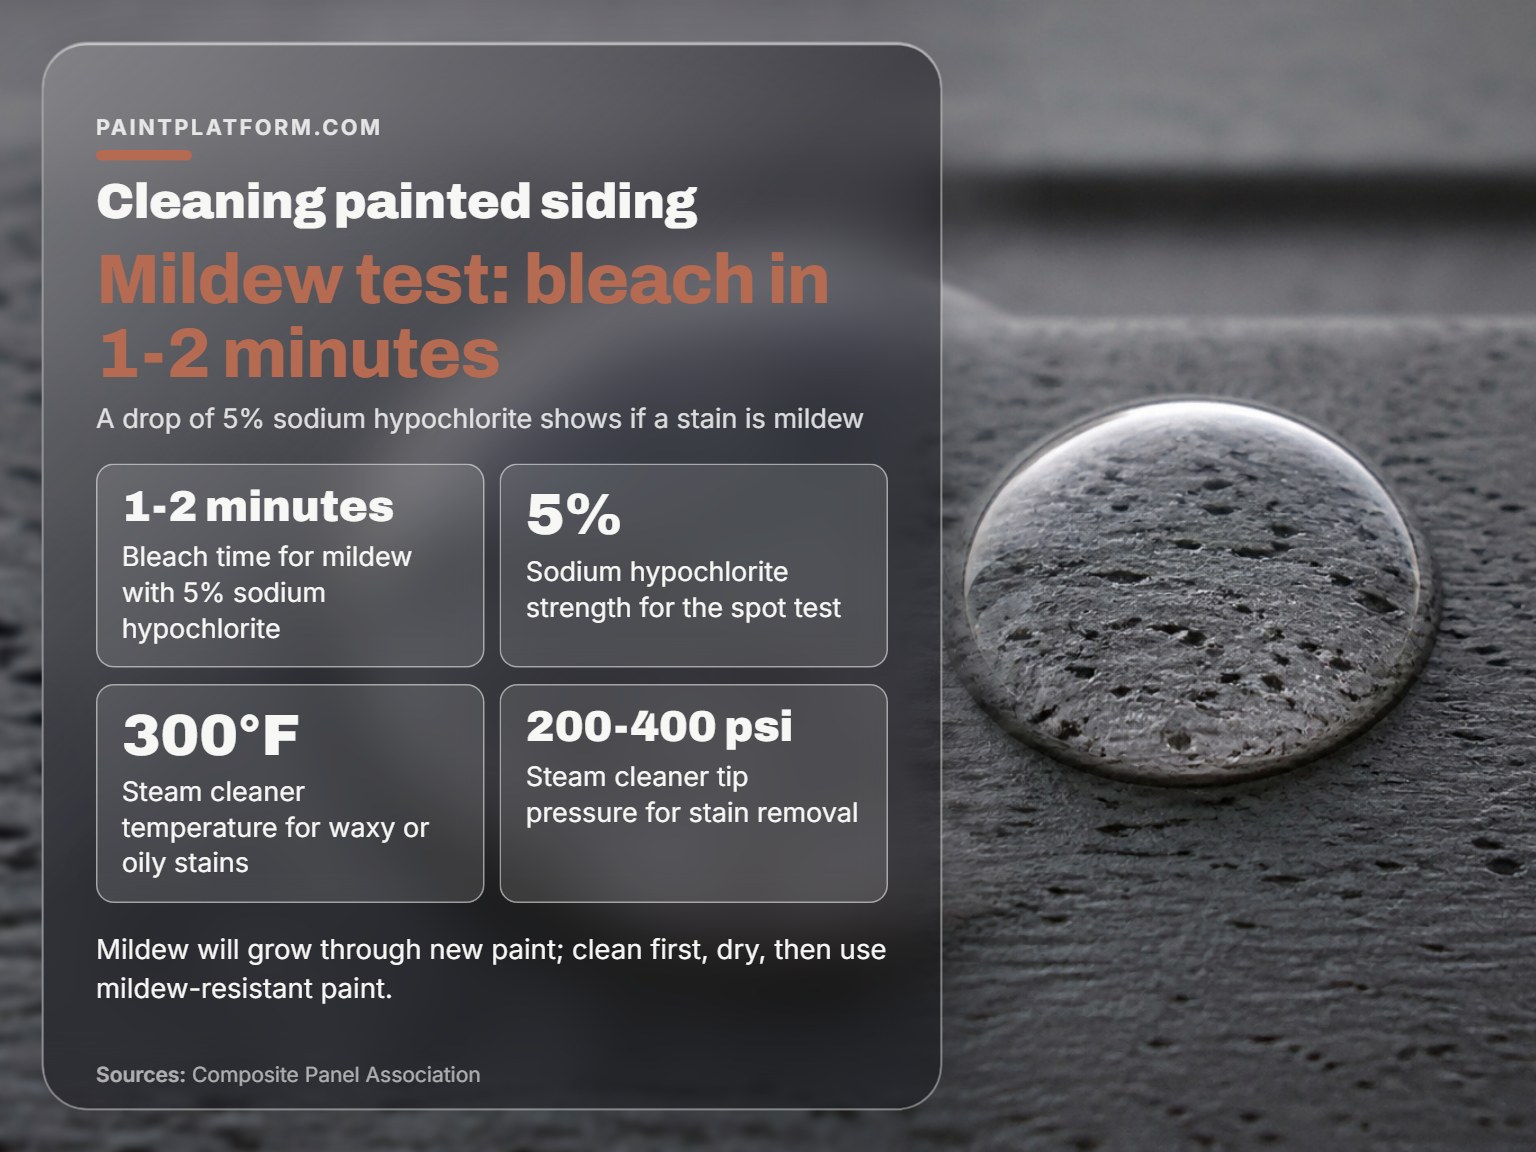
One or two minutes. That’s how long a drop of 5% sodium hypochlorite takes to bleach a mildew stain, according to the Composite Panel Association, and it’s the fastest diagnostic you have.
| What you see | First move | If it persists |
|---|---|---|
| Grey-black speckling in shade | Bleach spot test | Labeled mildew cleaner |
| Even brown-grey film | Soft brush and detergent | Recheck for dormant mildew |
| White powder on your hand | Rinse only, no scrubbing | Paint film needs attention |
| Waxy or oily patch | Hot soapy water | Steam cleaner, 300F, 200-400 psi |
Mildew That Comes Back
James Hardie warns that mildew discoloration can resemble dirt, and that mildew can lie dormant for years. Moisture is the single most important factor in its growth, which is why the film shows up in damp, dark areas and during long humid stretches.
That matters because painting over it doesn’t work. The Composite Panel Association is blunt about it: mildew will grow through the new paint. Clean first, let the surface dry, then use a paint the manufacturer labels mildew-resistant. For the full sequence, this piece on mildew removal walks through the wash and rinse order.
Chalk and Other Non-Mildew Residues
White powder that wipes off on your palm isn’t mildew, and scrubbing harder won’t shift it. That’s a paint-film problem, and chalk removal is a different job from washing.
Oily and waxy patches are their own category. The Composite Panel Association recommends hot soapy water applied by brush, then clear water rinsing until all detergent traces are gone.
How Often Should You Wash Painted Siding?
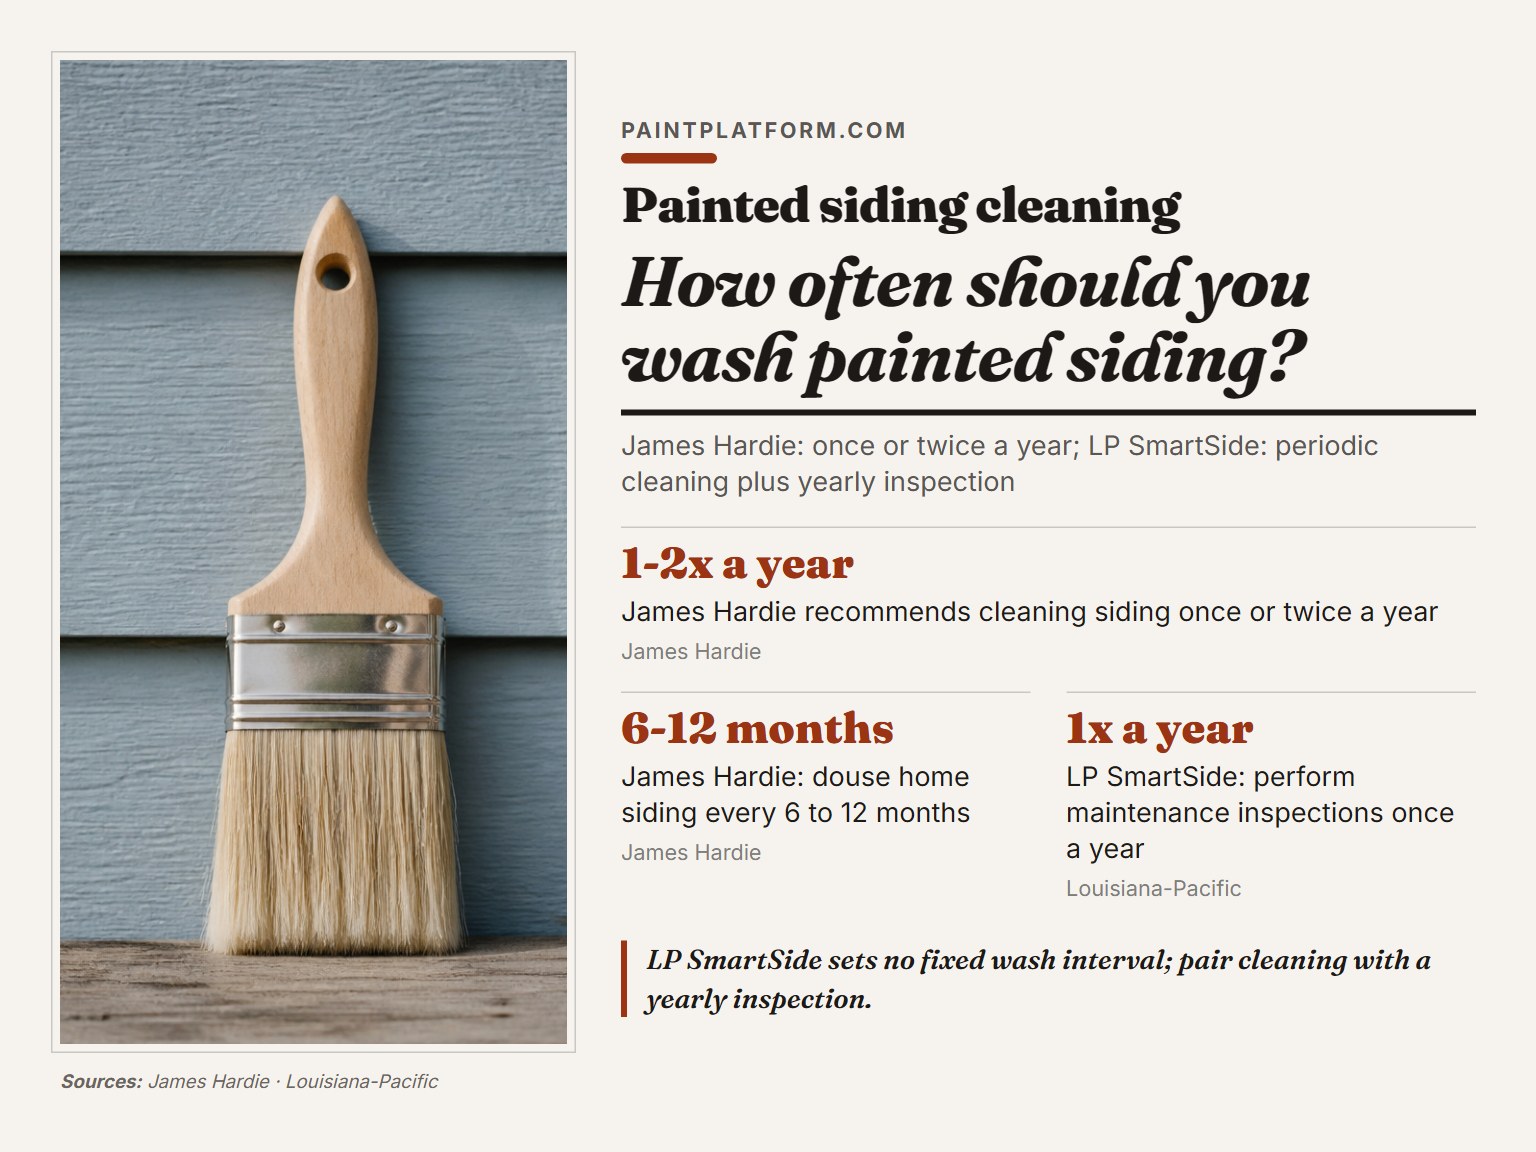
Once or twice a year, with a full douse every 6 to 12 months, is what James Hardie’s blog recommends for its own siding. LP SmartSide recommends periodic cleaning to remove built-up dirt and debris but sets no fixed wash interval, pairing it instead with a yearly inspection.
Frequency is a location question more than a calendar question. James Hardie notes that the extent and nature of maintenance depends on geographical location and building exposure, so a shaded north wall under trees needs more attention than a sun-blasted south face.
The annual inspection is the part that actually protects the paint. LP’s checklist covers four things:
- Paint damage, especially the bottom row of siding, under windows, and any uncaulked gaps.
- Joints and caulk, checking for cracking or missing sealant.
- Signs of mildew, referred to their Technical Bulletin No. 053 for removal.
- Flashing and gutters, cleared so water drains away freely.
The Edge Cases That Break the Standard Routine
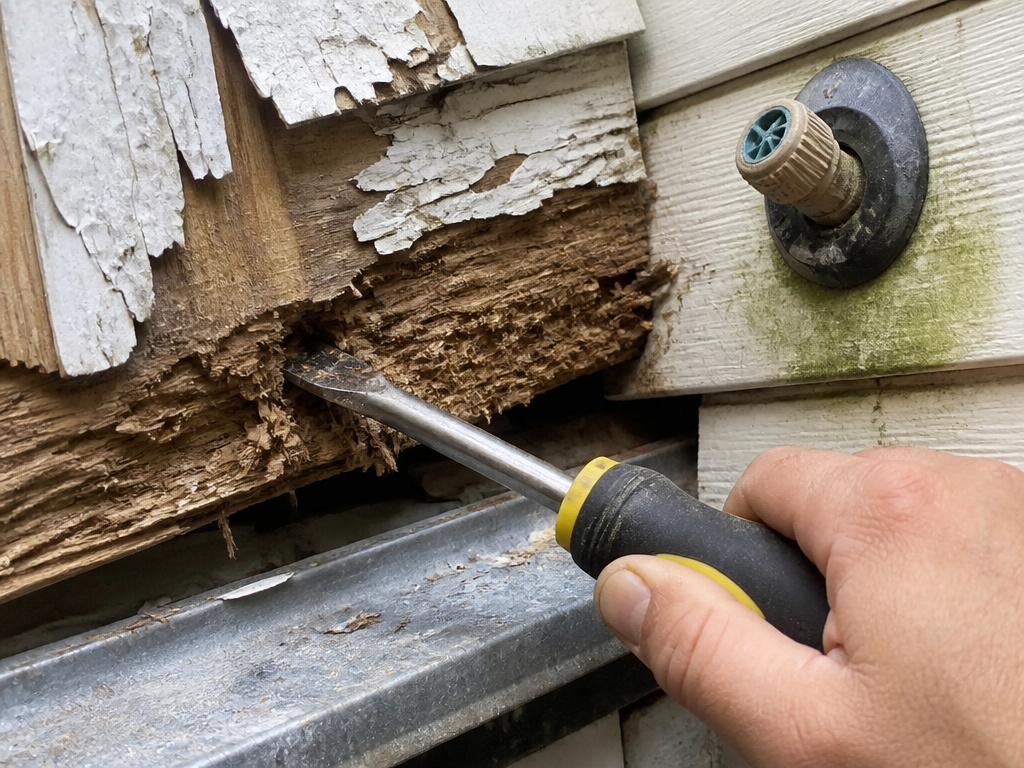
The wash is the easy part. Siding that keeps going green usually has a water problem feeding it.
Start with shade. A north-facing wall that stays damp, sits under a shrub, or catches a sprinkler head will grow mildew faster than any other face of the house, and washing it more often treats the symptom. LP SmartSide is direct about the sprinkler issue: lawn sprinklers should not spray water directly onto trim and siding.
Ground clearance is the second one. LP specifies a minimum 6 inches (152 mm) between siding and finish grade, rising to 200 mm (8 inch) in Canada under NBC Section 9.27.2.4.(1) or local code. Mulch piled against the wall quietly cancels that clearance out.
Then drainage. Adjoining surfaces should slope 1/2 inch per foot (13 mm per 305 mm) away from the house, and there should be a 3/8 inch (10 mm) gap above any drip cap flashing that stays uncaulked. Caulking that gap traps water instead of shedding it.
Damp Wood Before Primer
Soft, crumbly wood under the paint is a different problem from a dirty surface. I poke suspect trim with a screwdriver before deciding anything, because a screwdriver tells you in two seconds what a brush won’t. If the wood is sound and just damp, it needs to dry completely before any primer goes near it.
That’s the point where washing turns into painting wood siding, and the prep rules change. LP’s spec for that stage calls for a 100% acrylic exterior paint formulated for wood and engineered wood, and a non-hardening paintable sealant meeting ASTM C920 minimum Class 25 for any recaulking.
Vinyl and Aluminum Behave Differently
Fiber cement and engineered wood tolerate a scrub brush and a mild detergent. Vinyl and aluminum have their own coating quirks, and the same bucket of soap isn’t automatically the right answer. If your wall is vinyl, the sequence for painting vinyl siding covers what the surface will and won’t take.
Easy to miss: Washing a wall and then painting it the same afternoon. Paint over a surface that’s still damp from cleaning and the coating can fail to bond.
Frequently Asked Questions
Can you pressure wash painted siding?
James Hardie permits it on fiber cement under 1500 psi, with wide fan tips held at least 6 feet from the wall. The Composite Panel Association caps a rinse at under 100 psi, and LP SmartSide says no high-pressure washer at all. If you can’t hold both the pressure and the distance, use a hose.
What should you wash siding with?
Mild detergent and water, applied with a soft nonmetal brush, cloth, or sponge. The Composite Panel Association dilution is 1/3 cup detergent per 3 liters of water. Note that the CPA excludes dish detergents because they produce suds, while James Hardie’s blog recommends mild liquid dish soap for oil and grease.
How do you tell mildew from dirt on siding?
Clean the dirt off first with a soft brush and detergent, then apply a drop of 5% sodium hypochlorite to anything that remains. The Composite Panel Association says mildew usually bleaches within one or two minutes. If the stain doesn’t change, it isn’t mildew.
Is bleach safe on painted siding?
The sources split. The Composite Panel Association prescribes 5% sodium hypochlorite for mildew, including a full TSP and detergent recipe. James Hardie’s blog advises against harsh chemicals such as bleach or acid on its siding. Follow the coating manufacturer’s guidance for your specific product.
Should you wash siding before repainting?
Yes, and it needs to dry fully afterward. Painting over mildew won’t stop it, per the Composite Panel Association, because it grows through the new coat. LP SmartSide also calls for repainting before the existing paint fails, not after.
The Bottom Line
If you own a pressure washer and can’t reliably hold under 1500 psi while keeping the tip 6 feet off the wall, leave it in the garage. That’s the whole decision. The hose and a soft brush handle everything a painted wall actually needs, and they can’t gouge a plank.
Here’s the concession, though: none of this settles the bleach question for you. Two credible sources point in opposite directions, and which one applies depends on what’s on your wall. So start with the spot test on a hidden corner, one drop, two minutes, and let the stain tell you what it is before you mix a gallon of anything.
Go wash one small section. Badly, if that’s what it takes to start.
