
How to Create a Plaster Texture: Step-by-Step
This post contains affiliate links. As an Amazon Associate, we earn from qualifying purchases.
Knowing how to create a plaster texture starts with the substrate: match the base, keep each layer thin, and work the surface while it is still soft enough to move. A stainless steel float pulls swirls, a wide bristle brush leaves stipple, and a trowel held flat burnishes patches smooth.
That soft-enough-to-move window is where the how to create a plaster texture question actually lives. Wet plaster is plastic and takes any mark you give it. Once it stiffens, the float skates across the top and stops shaping anything underneath.
What follows covers three routes: a two-layer trowel finish for walls, a thin hardcoat for patches and panels, and joint compound on canvas for anyone who wants texture without mixing cement. The thickness numbers differ by product, and the manufacturers genuinely disagree with each other, so I show both sides rather than picking one and pretending it’s universal.
Key Takeaways
- Keep each layer thin. Ceresit CT 760 caps layers at 2 mm each, while QUIKRETE wants a single 1/16 to 1/8 inch hardcoat with no layering at all.
- Timing beats technique. NIST’s plaster circular says the finish coat has to be troweled just as it begins to set, not before, while QUIKRETE advises texturing or finishing the plaster as soon as it is applied.
- Wet or dry depends on the product. QUIKRETE says never wet the surface down; the CMHA says moisten the base coat right before the finish coat.
- Test panel first. QUIKRETE tells you to practice on scrap before touching the wall.
- Joint compound is a cheap route for canvas and panels, as long as you build it in passes.
What Substrate You’re Texturing Decides Everything
Ceresit CT 760 will not go onto a wet wall, and the limits are strict. Cement and cement-lime plaster bases need 28 days of cure and moisture at or below 4 percent. Concrete needs 3 months at that same 4 percent ceiling. Gypsum bases are indoor-only, must read below 1 percent, and take Ceresit CT 17 first, then CT 16.
Portland cement and cement-lime plaster bases require 28 days of cure and moisture at or below 4 percent before coating. Concrete requires 3 months at the same ceiling. Gypsum bases, indoor only, must read below 1 percent and be primed with CT 17 then CT 16. Each limit exists because trapped moisture migrates outward through the new plaster.
Priming is its own step with its own clock. Ceresit CT 19 goes on the substrate, then you wait 12 hours before plaster touches it. Shorten that and the primer film is still soft when the first coat lands, so the base grabs unevenly and you get patches that dry at different rates.
Masonry is a different conversation. Open-textured concrete masonry units laid with flush, nontooled joints give plaster a mechanical key to bite into. Tooled joints compress the face of the block and the plaster has less to hold.
Drywall has to be taped and spackled properly first. QUIKRETE is blunt about this: the wall needs accepted drywall technique underneath before any patching plaster goes on.
Three checks before you open a bucket:
- Run a moisture meter. Above 4 percent on cement or concrete means waiting, no matter how good the weather is.
- Look at the joints. Flush and open beats tooled and slick.
- Scrape off old coatings that aren’t portland cement paint.
Damp plaster dust smells faintly of chalk and lime. Mix indoors without a mask and you’ll taste it at the back of your throat.
How Thick Should Each Plaster Layer Be?
Ceresit, QUIKRETE, and the CMHA give three different answers, and each one is correct for its own product.
| Source | Layer thickness | Coats | Second coat timing |
|---|---|---|---|
| Ceresit CT 760 | 2 mm maximum per layer | Two, sometimes three | 12 to 24 hours later |
| QUIKRETE Patching Plaster | 1/16 to 1/8 inch | One thin hardcoat only | Not applicable |
| CMHA TEK 09-03A | About 1/8 inch (3.2 mm) finish coat | Two or three, two typical | As soon as the first resists pressure |
Read the QUIKRETE column twice, because it runs against everything else here. The manufacturer says outright to avoid multiple layers and thick textured patterns, and describes the product as a thin hardcoat finish. Ceresit wants two layers minimum. The CMHA allows two or three coats and notes both can go on in a single day if the first is rigid enough.
That’s not a contradiction anyone needs to resolve. Cement-based plaster builds structure in coats. A patching plaster is formulated to sit thin and set fast, and stacking it fights the chemistry.
Wetting is the other split. QUIKRETE says do not wet the plaster after it’s applied to soften it for finishing. The CMHA says the finish coat goes onto a predamped but still absorptive base, and that the base should be moistened immediately before. Both are describing their own material. A dry, thirsty masonry base pulls water out of a finish coat fast enough to ruin the cure, which is why the CMHA wants it damp. A patching compound that’s already creamy doesn’t need help.
If you’re working with acrylic instead of cement, applying texture paint to walls is a related route.
How to Create a Plaster Texture on a Wall, Step by Step
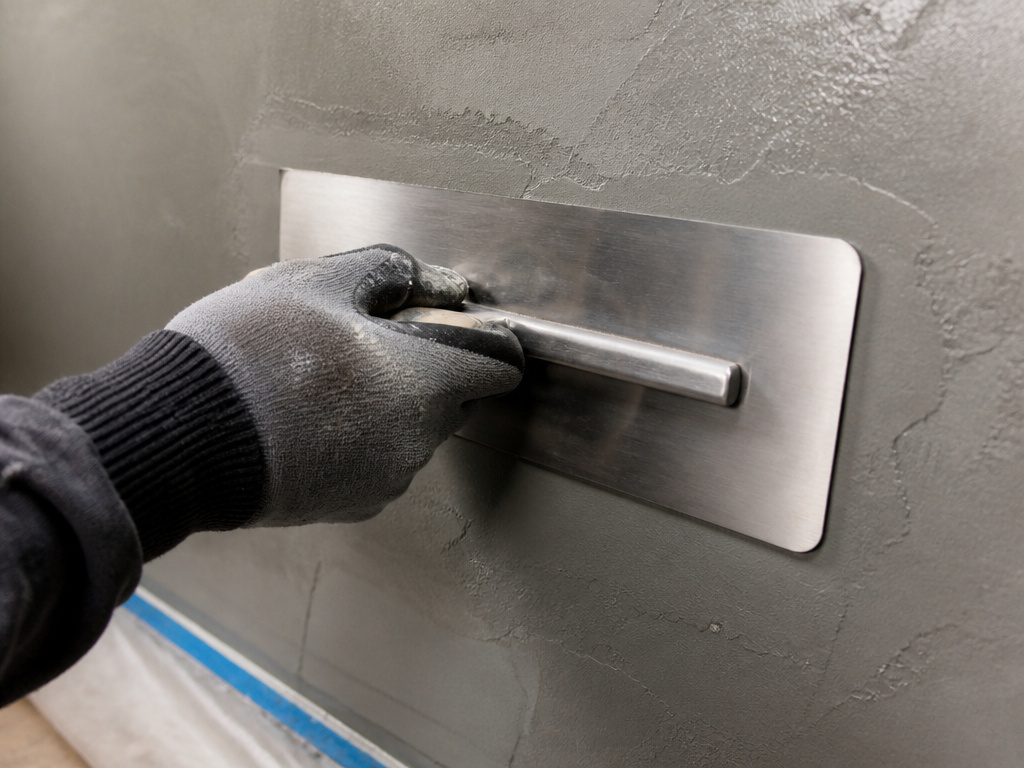
Ceresit CT 760 comes ready to use, but it still needs a mixing paddle run through the whole package before you start. Settled pigment and binder don’t redistribute themselves.
Before you start: Wet portland cement is alkaline and will dry out and crack skin with prolonged contact, so gloves and long sleeves are not optional. Silica dust from dry mixing is a respiratory irritant, which means mixing outdoors or with extraction. And wet plaster on a finished floor sets hard enough to take a chisel, so mask the floor before the first trowelful.
- Prime with CT 19 and wait 12 hours. Rushing this gives you a base coat that grabs in some spots and slides in others.
- Lay the base coat at 2 mm maximum with a stainless steel trowel. Go thicker and the coat shrinks against itself as it cures.
- Wait 12 to 24 hours, then level any rough areas with a metal float before the textural layer.
- Apply the textural layer with a high-quality stainless steel float with rounded corners. Square corners catch the surface and leave comet tails.
- Work the texture immediately with short, irregular, circular, vertical, horizontal or diagonal movements.
Step five is where most people freeze up. Ceresit’s own guidance is that irregular movement produces the best effect, which means there’s no correct pattern to copy. A float with rounded corners glides across the surface; a square one digs in and drags.
The “burning effect” is the same motion pushed harder. You float selected areas firmly and intensively with the float held flat against the wall, which burnishes those patches to a dull sheen and leaves the rest matte. It reads like worn concrete rather than applied decoration. It’s close cousins with Venetian plaster, where the same flat-float pressure builds up a polish.
Some textures need a third coat. That’s in the manufacturer’s own instructions, so don’t treat two as a rule.
Irregular beats regular every time. A pattern that repeats reads as wallpaper. A pattern that wanders reads as stone.
Some painting trades treat this as a formal, taught competency rather than a knack, which is why there’s a dedicated unit for apply trowelled texture coat finishes.
Why Did My Plaster Texture Crack?
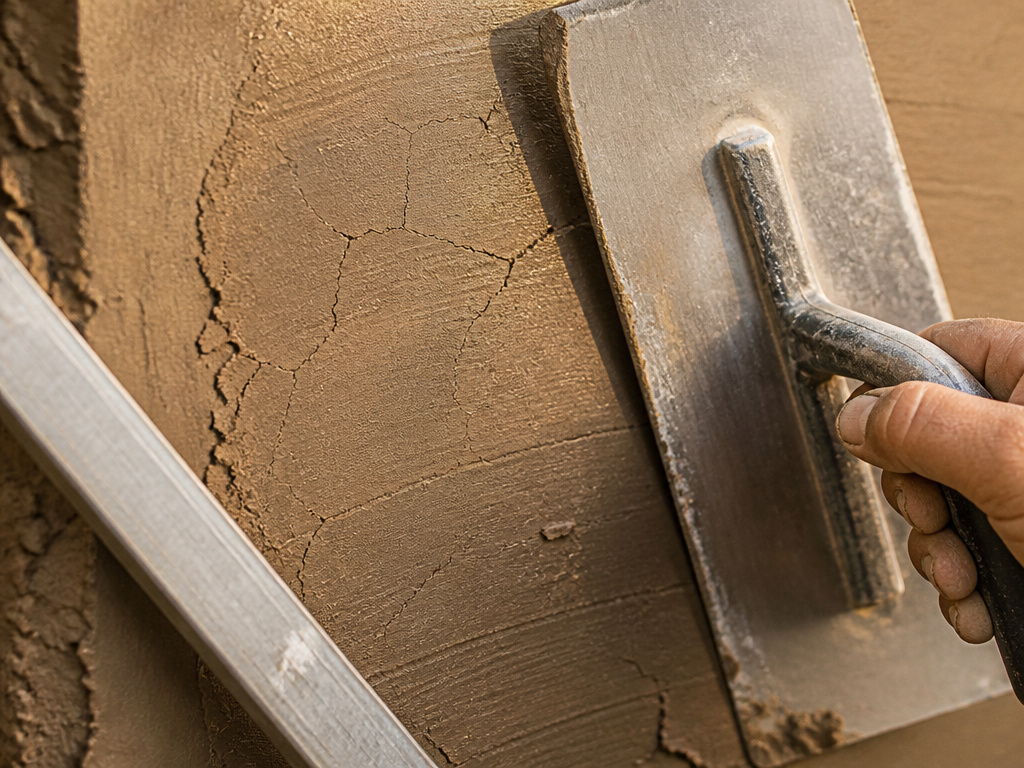
It’s usually thickness or timing, and thickness is the easier one to check with a straightedge.
| What you see | Likely cause | Fix |
|---|---|---|
| Fine map cracking across a panel | Coat laid too thick, or troweled before set | Strip it and go thinner |
| Cracks running along every ridge | Texture built up in one pass | Build in passes, not one |
| Cracks at wall edges and corners | Control joints not aligned with the base | Align plaster joints over base joints |
| Chalky, weak, dusty surface | Scratch coat over-troweled and bond broken | Score shallow and horizontal |
NIST’s plaster circular is precise about the trowel window. The finish coat must be troweled just as it begins to set. Trowel it before set and it keeps shrinking afterward, and the cracks follow. Trowel it after set and the particles are too rigid to move at all.
The CMHA flags floating as the most important part of the whole job, with a window that closes fast. Float the brown coat only after the surface sheen has disappeared but before the plaster is too rigid to move under the float. That interval controls how much the plaster consolidates, and consolidation controls shrinkage cracking.
Over-working the scratch coat breaks the bond with the masonry. Score it shallow and score it horizontally. Too much action and the plaster lets go of the block.
Where this goes sideways: Floating the brown coat while the surface still has sheen. The float just pushes water around the top, the plaster keeps shrinking after you leave, and the cracks show up along your float lines a day or two later.
The same thickness trap shows up in texture with paint, where thick material laid on heavy cracks along its own ridges.
The Thin Hardcoat Method for Patches and Panels
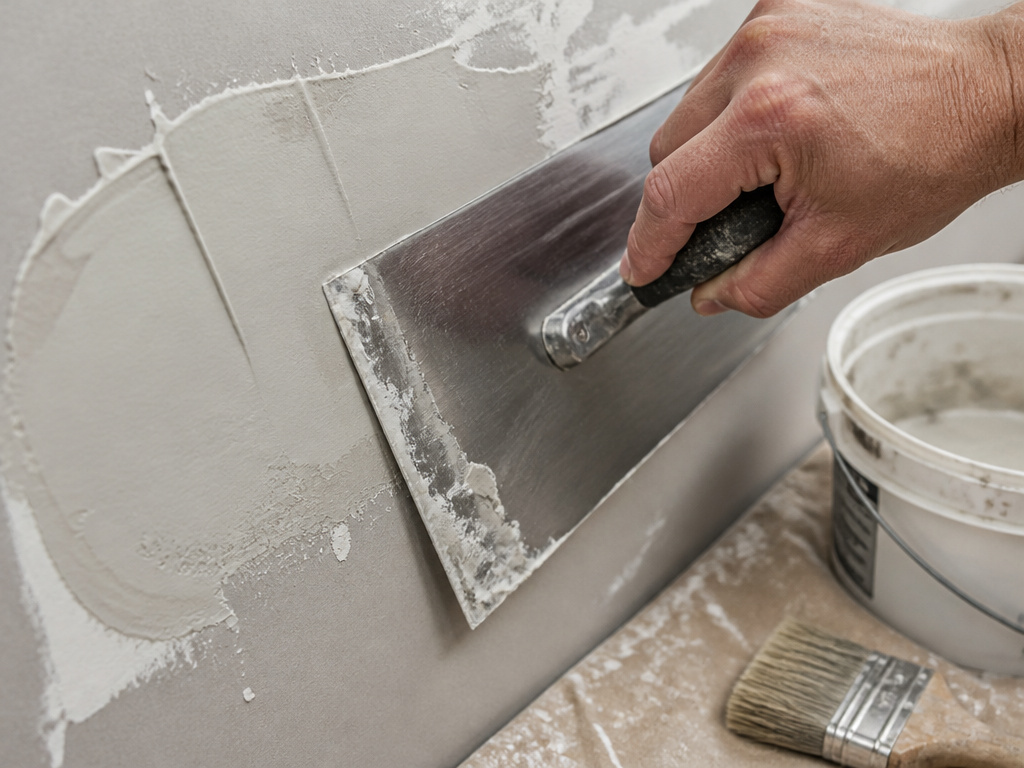
QUIKRETE Patching Plaster is a different animal: a 30-minute set, one thin coat, and no layering.
The working window is the whole game. Mix only what you can comfortably apply in 20 to 25 minutes. That’s less than the set time on purpose, because you need margin to load the trowel, get to the wall, and finish the surface.
Consistency matters as much as timing. Add water until the mix is creamy and butter-like. A stiff mix won’t spread smoothly; it balls up on the trowel and tears at the edge of each pass.
Thickness runs 1/16 to 1/8 inch. Texture or finish it as soon as it’s applied, using a plaster trowel for a smooth or slightly ridged surface, or a wide bristle brush for swirled patterns. Then leave it alone. No wetting down to soften it for a second pass.
Common mistake: Mixing the full bag because it looks small. The set is 30 minutes and the useful window is 20 to 25, so the last third of that bucket is already stiffening while you’re still on the first wall.
Discard the mix the moment it shows signs of setting. Plaster that has started to go is difficult to lay thin and will lump or stick to the trowel or brush.
And practice first. QUIKRETE recommends a test panel of drywall or an inconspicuous area before the main work, which is the single most useful sentence in the whole datasheet.
Joint Compound on Canvas: The Cheap Route
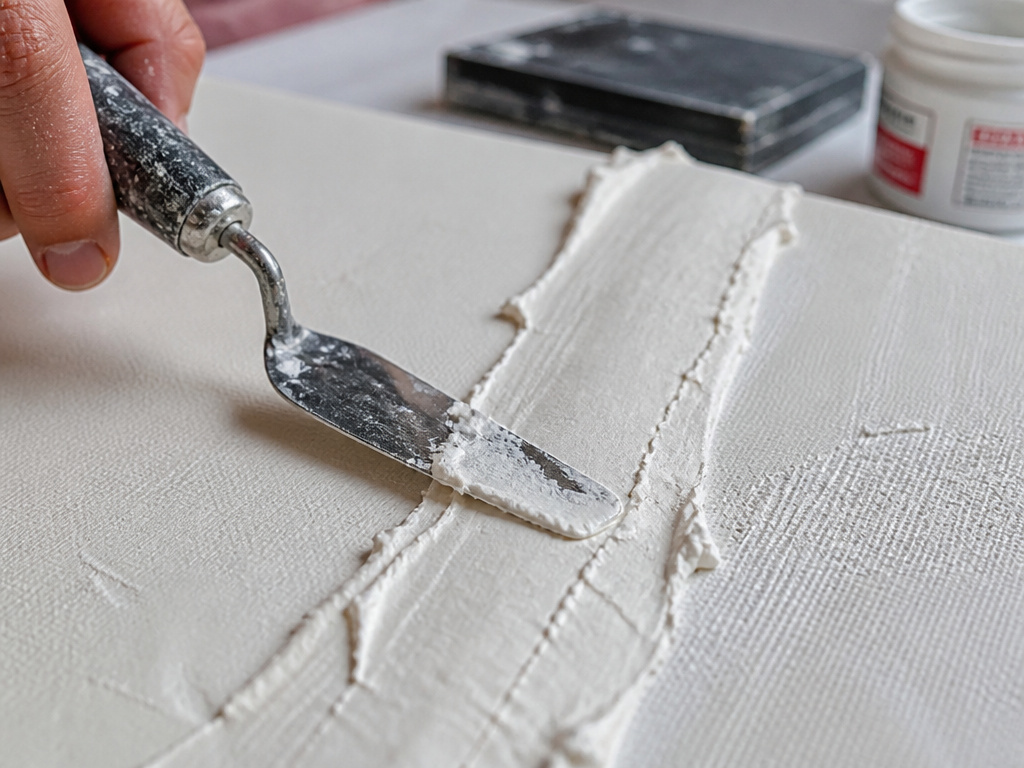
I textured a canvas with joint compound and laid it on thick enough to hold a ridge you could feel with a fingertip. It looked fantastic while wet. Two days later every ridge had a crack running down its spine, and no amount of gesso covered them.
What changed for me was patience, not product. Several thin passes, dried between, sanded lightly, and the texture holds. One heroic thick pass and you get a cracked crust that sheds.
What Joint Compound Does Well
It’s cheap and it takes paint and gesso. For a sketchbook-adjacent experiment, that’s exactly the right level of risk. You can ruin a panel and not care.
Where It Fails
Thick application. Joint compound shrinks as it dries, so any ridge with real height cracks along its peak. If you want a ridge that survives handling, you need a product designed for it.
That’s where plaster for canvas and acrylic modeling pastes earn their place. Acrylic modeling pastes hold a knife mark and stay flexible enough to move with the canvas, and some dry more absorbent, which suits washes and dry-brush work over the top.
If you want the wall-scale version of this, texture with joint compound is the same material at a bigger scale with thinner passes.
I’d rather see several thin passes of joint compound than one heroic thick one. Thin passes dry flat and take paint. Thick passes look incredible for a short while.
Which Tool Leaves Which Mark?
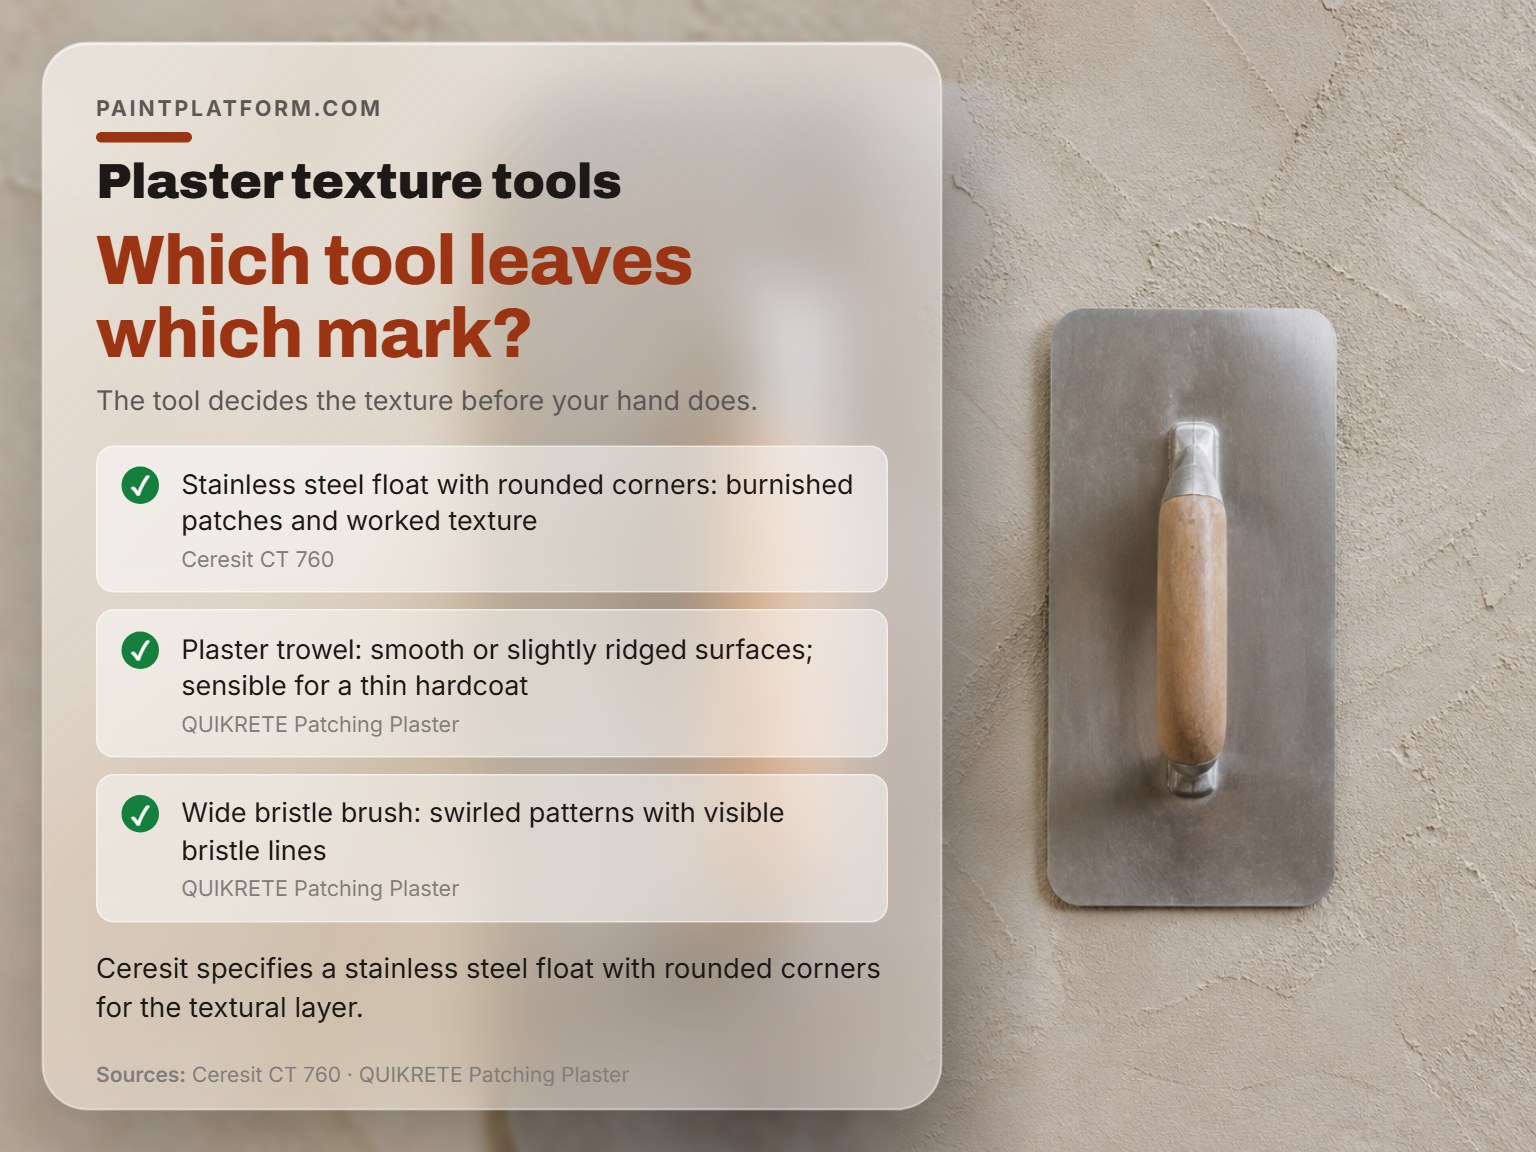
The tool decides the texture before your hand does. Pick the mark you want, then pick the thing that makes it.
- Stainless steel float with rounded corners. Burnished patches and worked texture; the rounded corners are specified by Ceresit.
- Plaster trowel. Smooth or slightly ridged surfaces, and a sensible choice for a thin hardcoat.
- Wide bristle brush. Swirled patterns with visible bristle lines.
- Sponge. Pulls fine grain up out of the surface and knocks down trowel lines.
- Knife. Sharp ridges and hard edges, which is exactly where thick material cracks.
The plaster textures and acrylic finishes booklet is one place to look for texture vocabulary. Worth a look if you want words for what you’re making.
There’s a wider family of finishes beyond plaster, and the texture paint types breakdown covers the acrylic and elastomeric side.
Frequently Asked Questions
Can I create a plaster texture over painted drywall?
Only if the paint is sound and well bonded. Only apply over paint that is sound and well bonded, and patch holes and cracks first. Loose or flaking paint has to come off.
How long before I can paint over a plaster texture?
Wait until the moisture has dropped to the level the coating system expects. Ceresit puts the ceiling at 4 percent for cement and concrete substrates. A wall that still feels cool and damp to the back of your hand isn’t ready.
What’s the difference between plaster and joint compound for texture?
Plaster is cement or gypsum based and builds structure in coats. Joint compound is a drying-type filler designed to sit thin and sand easily. Plaster holds a deep ridge; joint compound cracks along one.
Can I add texture without a trowel?
Yes. QUIKRETE lists a wide bristle brush as a legitimate tool for swirled patterns, and a damp sponge knocks down lines and pulls up grain. You get less control over depth, which is fine on a small panel and risky on a whole wall.
Why does my plaster texture look flat?
Usually because it was worked too late. NIST’s circular is specific that the finish coat has to be troweled just as it begins to set. Work it after the plaster has stiffened and the float polishes the surface instead of moving it.
The Bottom Line
If your substrate reads above 4 percent moisture, stop. No amount of float technique rescues a coat applied over a wet wall, and you’ll find out weeks later when the cracks open along your nicest swirls.
Here’s the concession: everything above assumes cement-based plaster on a wall. On canvas or a panel, the arithmetic changes completely, because a thin hardcoat that would be wrong on masonry is exactly right on board.
And one stance I’ll defend. Skip the pre-mixed textured paints sold at a premium. A tub of joint compound and a taping knife will get a beginner further in an afternoon than any specialty kit, because the cheap stuff lets you make ugly pages on purpose. Grab a scrap of board this week and pull three passes: float, trowel, sponge. You’ll know which one is yours by the second pass.
