
How to Paint Over Textured Walls: Step-by-Step
This post contains affiliate links. As an Amazon Associate, we earn from qualifying purchases.
Learning how to paint over textured walls starts with matching the roller nap to the depth of the texture, prepping the surface until it’s clean and solid, and planning on two coats. Sherwin-Williams calls for a 3/4-inch nap or greater on textured surfaces. The Spruce recommends 1/2-inch for most textures and saves 3/4-inch for heavy orange peel.
That nap number is where the how to paint over textured walls sources split, and it’s the first thing to settle before you buy a cover. Valspar doesn’t publish a nap figure at all. It lists a 9-inch by 1/2-inch knit cover for textured walls, concrete and decks, and says knit covers carry paint into gaps and indentations.
What follows: the nap argument in full, the prep steps that decide whether the paint holds, the primer question, and the exterior rules that change everything.
Key Takeaways
- 3/4-inch nap or greater on textured surfaces per Sherwin-Williams; The Spruce says 1/2-inch covers most textures and reserves 3/4-inch for heavy orange peel.
- Two coats, minimum. NIST’s masonry guidance requires it, and Valspar notes a second coat fills the little gaps the first pass missed.
- Powdery plaster gets a vinegar wash first: 1 pint of household vinegar per 1 gallon of water, repeated until the surface hardens, then rinsed.
- Skip the caulk on hairline stucco cracks and they can come back through.
- Damp is fine, wet is not. NIST allows resin emulsion paint on damp walls and rules out wet ones.
What Roller Nap Actually Works on Textured Walls?
Sherwin-Williams and The Spruce give different numbers for the same job, and neither one is a misprint. Sherwin-Williams specifies a 3/4-inch nap or greater on textured surfaces, with a mohair, 1/4-inch or 3/8-inch nap for smooth ones. The Spruce recommends 1/2-inch for most textures and saves 3/4-inch for heavy orange peel.
Roller nap is the length of the fibers on the cover, measured in inches. Sherwin-Williams specifies a 3/4-inch nap or greater for textured surfaces and 1/4-inch or 3/8-inch for smooth ones. The Spruce recommends 1/2-inch for most textures, reserving 3/4-inch for heavy orange peel. The gap between the two figures is the weight of the texture, not a contradiction.
The how to paint over textured walls gap comes down to how deep the dips run. Orange peel is the most popular style of wall texturing and the easiest to paint, per The Spruce, because its valleys are shallow. A coarse knockdown or a heavy stucco swallows a thin nap whole.
| Source | Recommended nap | Notes |
|---|---|---|
| Sherwin-Williams | 3/4-inch or greater | Textured surfaces; 1/4-inch to 3/8-inch on smooth |
| The Spruce | 1/2-inch for most textures | 3/4-inch only for heavy textures like orange peel |
| Valspar | No nap figure published | Lists a 9-inch by 1/2-inch knit cover |
One thing all three sources leave on the table is foam. The Spruce flags foam and all-purpose covers as a failure mode on texture, because they lay paint on the peaks and leave the valleys dry. The rollers for textured walls that actually work are knit or woven, with a nap matched to the depth.
Over-pressing won’t fix a thin cover either. Pressure flattens the nap and pushes paint off the high spots. Let the nap do the work.
The Prep Steps That Decide Whether the Paint Holds
Prep decides whether the paint holds, and the standard sequence covers most of it. Sherwin-Williams states the goal plainly: a properly prepared surface is clean, solid and dry, without cracks and imperfections. Everything below serves that one sentence.
Before you start: Sanding or scraping old paint can throw lead dust into the air, so a NIOSH-approved respirator and plastic containment are not optional on older walls. Never mix bleach with ammonia or an ammonia detergent, because the fumes can be deadly. Keep solvent cleanup rags away from any open flame.
- Wash the wall with a lightly damp cloth and mild soapy water. Guidance on how to clean walls before painting says the same thing, and skipping it lets paint clump around hairs and grime instead of bonding. Use a dry cloth only on delicate wallpaper.
- Fill cracks and holes with filler and a putty knife, then sand the filler flush with the wall. Paint pools in an unfilled crack and dries as a visible dip.
- Take off the outlet and switch covers. Splatter on a cover is the one mess you can’t wipe away once the film cures.
- Tape the edges, corners, base and trim. A painter’s tape that releases cleanly matters more on texture than on a flat wall, because cheap tape lifts peaks along with itself.
- Test a spot. Sherwin-Williams recommends prepping, priming and painting an inconspicuous patch, then waiting the label drying time before committing to the full wall.
That last step takes as long as your paint does. Latex dries to the touch in one hour and cleans up with water. Alkyd goes overnight and needs solvent. Fair warning: the alkyd test patch will still be tacky when you want to start rolling.
Common mistake: Taping over a dusty wall. Tape sticks to chalk dust, not to the wall, and the line bleeds within the first few feet of rolling.
Powdery Plaster and Vinyl Wallcovering Break the Standard Advice
Valspar’s tutorial walks readers straight over textured wallpaper. Sherwin-Williams says take it off first. Both are manufacturer guidance, and they don’t line up.
Vinyl Wallcovering: Remove It, With One Exception
Sherwin-Williams’ contractor FAQ is specific. It’s best to remove vinyl wallcovering before painting, and the exception is textured wallcoverings on the market that are designed to be painted. Its prep page goes further and says to always remove wallpaper before painting.
So the deciding question is what’s on the wall, not what’s easier. A paintable textured wallcovering is fine. Standard vinyl is a failure path.
Powdery Plaster Needs a Hardening Wash
Soft, porous or powdery plaster won’t hold paint no matter how good the topcoat is. Sherwin-Williams calls for a solution of 1 pint of household vinegar in 1 gallon of water, repeated until the surface hardens, then rinsed.
The wash strips the loose chalky layer that sits between the plaster and the paint. Without it, the topcoat bonds to dust that was never attached to anything.
Two more edge cases worth knowing before you commit:
- Glossy sheen amplifies texture. The Spruce notes that glossier paint accentuates the look of a textured surface, while flat or matte paint softens it. Pick the sheen for the look you want, not just for scrubbing.
- Deep texture eats paint volume. More surface area means more paint. Budget for the second coat before you start.
If the texture itself is the problem rather than the color, the better move may be to smooth a textured wall with a skim coat instead of painting over it.
Does a Textured Wall Need Primer?
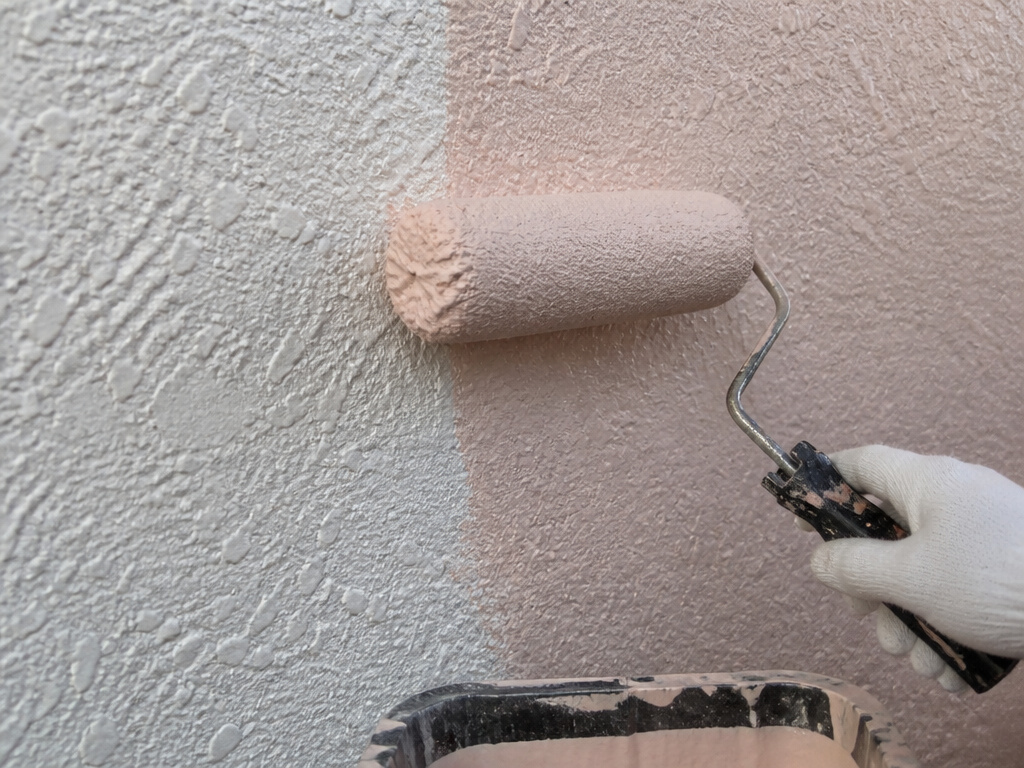
Primer is where the sources split hardest. Valspar says priming is only necessary in certain situations and names color change and stains. Sherwin-Williams treats priming porous surfaces as a fix for film failure, which makes it close to mandatory on chalky or porous texture. The Spruce goes further still: drywall must be painted with primer before texture is applied, to limit water absorption.
My read is that the disagreement is about which wall you’re standing in front of. On a sealed, previously painted wall in good shape, Valspar’s conditional answer holds. On bare drywall, powdery plaster, or a wall that’s been patched, prime.
What a Tinted Primer Actually Buys You
Going from a dark navy to a pale color took several coats the first time. With a tinted primer, the number of topcoats needed dropped. Ask the paint counter to tint the primer toward the topcoat color.
The mechanism is contrast. Sherwin-Williams lists a topcoat much lighter or darker than the previous coat as a direct cause of poor hiding. A tinted primer shrinks that gap before the topcoat ever goes on, so each topcoat has less work to do.
If hiding is the real goal, there’s a longer discussion of how to hide wall imperfections worth reading before you pick a product.
How Many Coats Does a Textured Wall Actually Need?
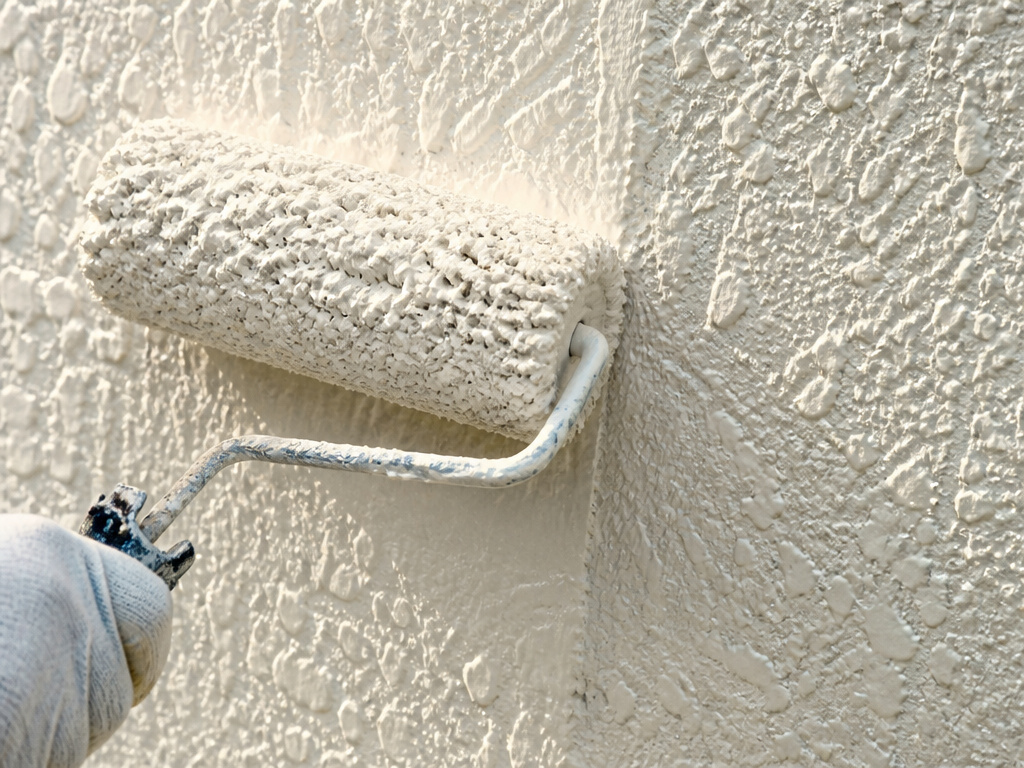
Two coats, minimum, and the second one is not a suggestion. NIST’s masonry guidance requires two coats. Valspar is softer, noting that you may need a second coat to fill in little gaps and missed areas.
On texture, that second coat does real work. A roller passes over the peaks and skips the dips. The first coat wets the high spots; the second fills the valleys.
I stopped judging coverage by looking at the wall from standing height. Get down low and sight along the surface at a shallow angle. The dry patches in the dips show up immediately, and they’re the ones a straight-on look hides.
Sherwin-Williams also warns against painting too large an area at one time. Overlapping happens when a freshly painted section begins to dry before you reach the adjoining area, and on texture those overlaps read as darker bands.
For the finish itself, the best paint for textured walls depends on the sheen decision above more than on brand. Matte softens the texture. Gloss puts a spotlight on every ridge.
Exterior Texture, Damp Masonry, and the Rules That Change
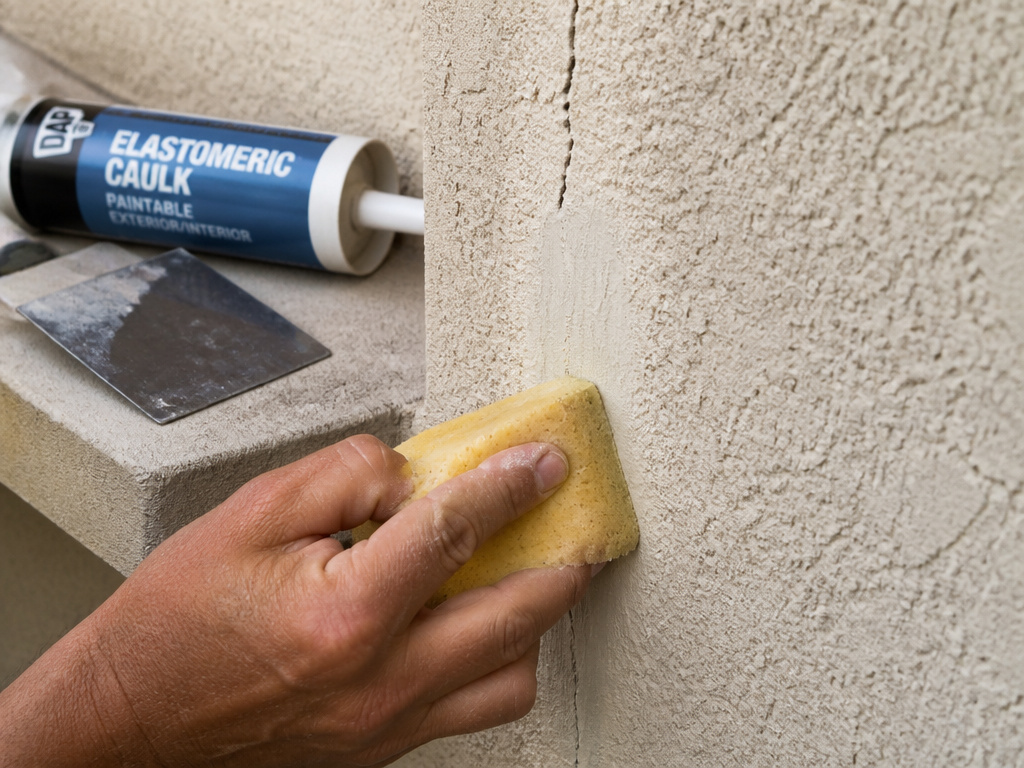
Hairline stucco cracks I fill with a paintable elastomeric caulk, then top with an elastomeric coat. The first time I skipped the caulk and just painted over, the cracks came back through in a single winter. Wider cracks get patch compound first, then the same treatment.
Matching the patch texture is the fiddly part. I’ve tried a sponge, a stiff brush, and a crumpled paper bag. The sponge won. The paper bag was a mess I won’t repeat.
Outside, the rules tighten fast. Sherwin-Williams says don’t paint immediately after rain or when rain is predicted, not in fog, and not below 50 degrees Fahrenheit unless the product is designed for those conditions. At the other end, temperatures over 100 degrees Fahrenheit can dry the film before it adheres, which leads to peeling later.
Damp Is Fine. Wet Is Not.
The NIST Letter Circular 747 draws a line the consumer tutorials skip entirely. Resin emulsion paints may be applied satisfactorily to damp walls but should not be applied to wet walls. In very dry weather, or on quite porous material, it’s often worth dampening the wall slightly with water to reduce suction.
That last point surprises people. A bone-dry porous wall pulls water out of the paint fast enough to hurt the film. A light mist slows the suction down.
New Masonry Under Six Months
NIST requires cement-water paint for walls that are damp at the time of painting, or for new structures under six months old, because of water-soluble alkaline salts still moving through the masonry. Standard latex over fresh masonry is a known failure path.
For a full walkthrough of the outdoor version of this job, the guide to textured exterior walls covers stucco, block and siding separately.
Mistakes That Show Up Six Months Later
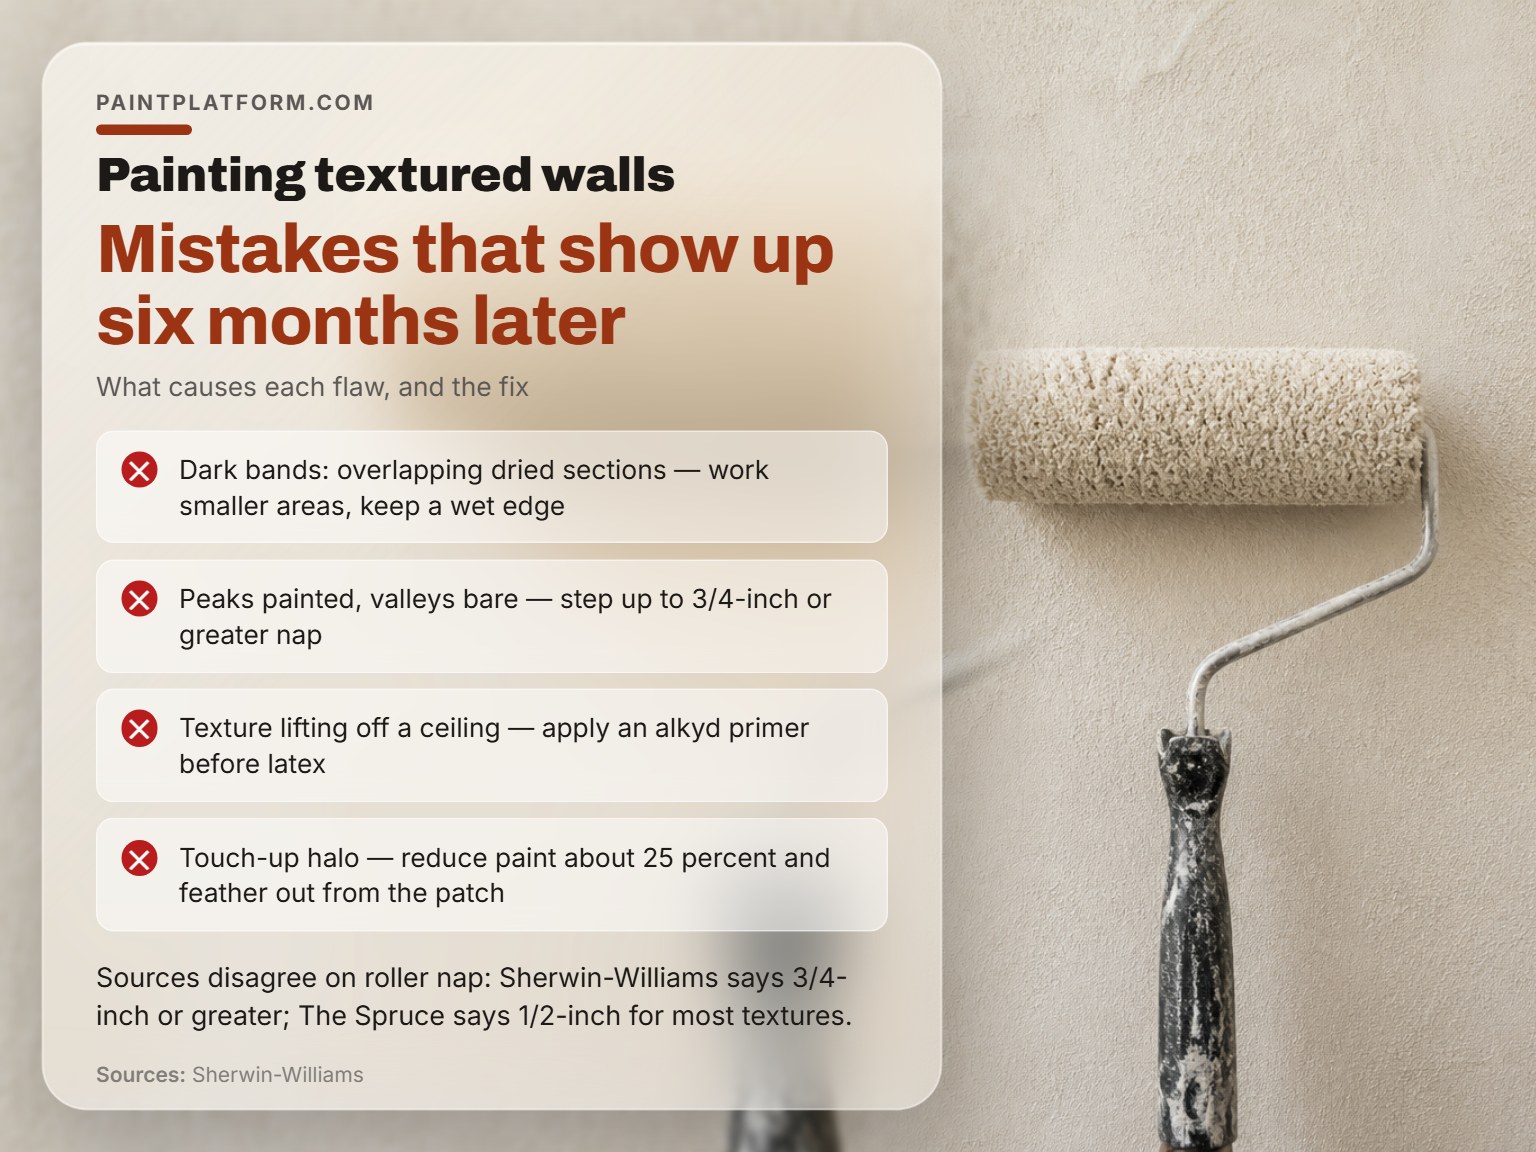
Overlap marks come from painting too large an area at once. Sherwin-Williams explains it cleanly: overlapping occurs when a freshly painted section starts to dry before the adjoining area gets painted.
| Symptom | Likely cause | Fix |
|---|---|---|
| Dark bands across the wall | Overlapping dried sections | Work smaller areas, keep a wet edge |
| Peaks painted, valleys bare | Nap too short for the texture | Step up to 3/4-inch or greater |
| Texture lifting off a ceiling | Latex water breaking the adhesive bond | Apply an alkyd primer first |
| Patch reads as a smooth island | Filler not textured to match | Dab with a damp sponge while wet |
| Touch-up shows as a halo | Full-strength paint on a patched spot | Reduce the paint about 25 percent and feather |
That popcorn ceiling row is worth its own note. Sherwin-Williams explains that when latex goes over a popcorn ceiling, the water in the paint can break down the adhesive bond and the weight of the texture pulls the material off. An alkyd primer before the latex usually solves it. The full method is in the guide to how to paint a textured ceiling.
Touch-ups have their own rule. On latex semi-gloss, Sherwin-Williams recommends reducing some of the original paint about 25 percent, then feathering the touch-up out from the patch so the film build blends into the surrounding wall.
The Spruce says to remove tape while the paint is still wet, while Valspar just says to remove it after painting; the choice depends on which guidance you follow.
The Bottom Line
If your texture is heavy, Sherwin-Williams calls for a 3/4-inch nap or greater, while The Spruce reserves 3/4-inch for heavy textures like orange peel. If it’s light orange peel, The Spruce says a 1/2-inch nap is enough, while Sherwin-Williams calls for 3/4-inch or greater on textured surfaces; the 9-inch by 1/2-inch knit cover Valspar lists is a reasonable starting point.
Here’s the one thing I’d do this week: before you buy paint, wet a rag and wipe a small square of the wall. If the rag comes back chalky, you’re on powdery plaster and the vinegar wash comes first. If it comes back clean, you’re on a sealed surface and you can go straight to the test patch.
One concession worth stating. Everything above assumes an interior wall in reasonable shape. Fresh masonry under six months old, or a wall that’s damp to the touch, is a different job with a different coating, and no amount of nap shopping will save it.
Let it be messy first. The wall gets better.
Frequently Asked Questions
Can you paint textured walls without sanding?
Usually yes, if the existing coating is sound and clean. Sanding matters when the old paint is flaking, glossy, or failing to adhere. Sherwin-Williams’ prep standard is a surface that’s clean, solid and dry, without cracks and imperfections, and sanding is one way to get there, not the only one.
How long should paint dry between coats on textured walls?
Latex dries to the touch in one hour and cleans up with water, per Sherwin-Williams. Alkyd dries to the touch overnight and needs solvent cleanup. Follow the recoat window printed on the label rather than the touch-dry time, since the two aren’t the same number.
Why does my textured wall show roller marks?
Two causes. Overlapping happens when a freshly painted section dries before you reach the adjoining area, so you work smaller sections and keep a wet edge. The other is a nap that’s too short, which lays paint on the peaks and leaves the valleys dry.
Do you cut in first or roll first on textured walls?
Cut in first. Valspar recommends starting at the edges and cutting inwards, which gives you a straight line along the edge when the tape comes off. Then switch from brush to roller and work up and down in sections.
Can you paint over a popcorn ceiling?
Yes, with one precaution. The water in latex paint can break down the adhesive bond between the texture and the ceiling, and the weight of the texture can pull it loose. An alkyd primer applied before the latex usually prevents that.
