
How to Paint a Table: Step-by-Step for a Smooth Finish
This post contains affiliate links. As an Amazon Associate, we earn from qualifying purchases.
To paint a table, clean it, scuff the surface with 180- to 220-grit paper, roll on a bonding primer, then apply two thin coats, waiting up to 16 hours between coats with Benjamin Moore ADVANCE. Cure 3 to 5 days before the table goes back into daily use.
Sixteen hours sounds excessive until you’ve watched a rushed second coat drag a half-set first coat into ridges. Benjamin Moore puts that ceiling on ADVANCE Interior specifically. This Old House puts the first-to-second gap at about four hours, and Sherwin-Williams says one hour minimum. The number you follow depends on the product you’re using.
What follows: the six steps in order, the prep argument two manufacturers can’t settle, and a timing table that covers all three recoat numbers.
Key Takeaways
- Scuff, don’t strip. Benjamin Moore says dulling the surface with 180- to 220-grit is enough. Wagner says remove the old finish first. Both are right, for different starting points.
- Thin coats or nothing. Heavy paint on a horizontal wood surface cracks and shows marks.
- Follow your own can’s recoat time. The spread across three manufacturers runs from at least one hour to up to sixteen hours.
- Cure 3 to 5 days on ADVANCE before everyday use, up to a week on other systems.
- Light hand on leaf edges. Heavy primer there glues the leaves together permanently.
How to Paint a Table in Six Steps
Six steps, one of them optional, and a cure window most people cut short.
Benjamin Moore specifies 180- to 220-grit paper for dulling a table surface, a 4- to 6-inch fine-finish roller for the top, and a brush for detailed legs. Primer goes on first, followed by two thin paint coats, then a cure period before the table returns to daily use, which ADVANCE puts at three to five days.
Before you start: Water-based primer and paint both off-gas while wet, so open a window and keep air moving through the room. Sanding throws fine dust that a shop vacuum with a HEPA filter catches and a household broom just spreads. Wear a mask for the sanding pass, not the painting pass.
- Clean with detergent and damp rags. Tables collect oil and grease faster than any other piece of furniture, and primer won’t grip either one. Skip this and the topcoat can lift in patches.
- Scuff with 180- to 220-grit. Benjamin Moore only calls for sanding when the table was previously painted or carries a high-sheen finish. Skip it on gloss and the paint may not adhere well.
- Vacuum, then wipe. Dust left in the grain shows up as grit locked under the primer.
- Prime. INSL-X STIX Waterborne Bonding Primer for bare wood and laminate, INSL-X Prime Lock Plus when you need to block a stain. Skip primer on laminate and you risk scratch-through.
- Two thin coats. Thin layers are the whole game here. Heavy paint on a horizontal surface cracks and marks.
- Cure. Three to five days for ADVANCE. Sit on it sooner and the film stays soft under the weight.
A fine-finish roller on a tabletop makes a soft tack-tack as it lifts. If you hear a wet rip instead, you loaded too much paint.
The how to paint a table order stays the same whether you’re doing a dining table or something smaller. The full walkthrough for beginner furniture painting covers the same sequence on smaller pieces, where a mistake costs you less.
Scuff Sand or Full Strip? Two Manufacturers Disagree
Benjamin Moore and Wagner tell you opposite things about the old finish, and neither one is being careless.
Benjamin Moore’s line is blunt: you don’t have to completely remove the existing coating, and simply dulling the surface is sufficient. Wagner’s guide says the reverse, instructing that the old paint, varnish or wax comes off first. This Old House lands in the middle with a light 220-grit pass worked in the direction of the grain.
| Source | Prep instruction | Where it holds up |
|---|---|---|
| Benjamin Moore | Dull with 180- to 220-grit, leave the old coating | Sound, well-bonded finish |
| Wagner Group | Remove old paint, varnish or wax first | Wax, oil, or flaking finish |
| This Old House | Light 220-grit pass with the grain | Bare or lightly finished wood |
The disagreement resolves once you name the finish. A factory finish that’s still stuck tight is a foundation. A waxed, oiled, or chalking surface is a release layer, and paint over it may peel.
When you compare a how to paint a table approach, sanding a glossy top can throw dust, so tape off anything nearby before you start.
If your table is bare or already matte, you can skip the abrasive entirely. The painting a table without sanding it approach works on those surfaces, and it saves you the dust.
When Stripping Is the Right Call
Wax, oil, silicone polish, and any finish that flakes under a fingernail all need to come off. So does a surface that’s been touched up with a different product in patches. On those, a chemical stripper and a scraper beat sanding, because sanding drives wax into the grain instead of lifting it out.
High-gloss lacquer and factory-cured polyurethane sit in a grey zone. Dulling them is enough for bonding, but you need a real mechanical tooth. That’s a job for a prepping glossy surfaces routine rather than a quick wipe with a sanding sponge.
If the finish powders when you drag a fingernail across it, strip it. If it only shines, scuff it. That one test settles most of the arguments you’ll read online.
How Long Do You Wait Between Coats?
One hour. Four hours. Sixteen hours. All three numbers come from a real manufacturer or a real painter, and the gap between them is the single biggest source of ruined table paint jobs.
| Source | Recoat wait | Cure before use |
|---|---|---|
| Benjamin Moore ADVANCE | Up to 16 hours | 3 to 5 days |
| This Old House | About 4 hours | Up to a week |
| Sherwin-Williams | At least 1 hour | Let paint set first |
The spread isn’t a contradiction so much as three different products being described. ADVANCE is a premium furniture-like finish. Sherwin-Williams’ one-hour figure applies to its chalky finish line.
Benjamin Moore’s guidance is the one to hold onto if you’re using a premium enamel: check the back of the can for the maximum recoat time and follow it. Their official table painting guide repeats that instruction twice, which tells you how often people ignore it.
Why the Second Coat Can’t Be Rushed
Applying the second coat too early extends the table’s cure time and likely hurts the final result. That’s Benjamin Moore’s wording, and it matches what happens physically: the solvent in the fresh coat has to travel out through the half-set film above it, so the whole stack stays soft longer.
This Old House’s painter Mauro Henrique puts the first-coat-to-second gap at about four hours on the system he demonstrates, and notes the time shifts with temperature and humidity. Their wood table refinishing walkthrough also recommends a light fine-grit sanding between coats if the first one feels rough.
Sherwin-Williams keeps it simple: wait at least one hour before recoating or retouching, per their wood table and chairs project page. Sherwin-Williams’ one-hour figure applies to its chalky finish line.
Primer: Which One, and When You Can Skip It
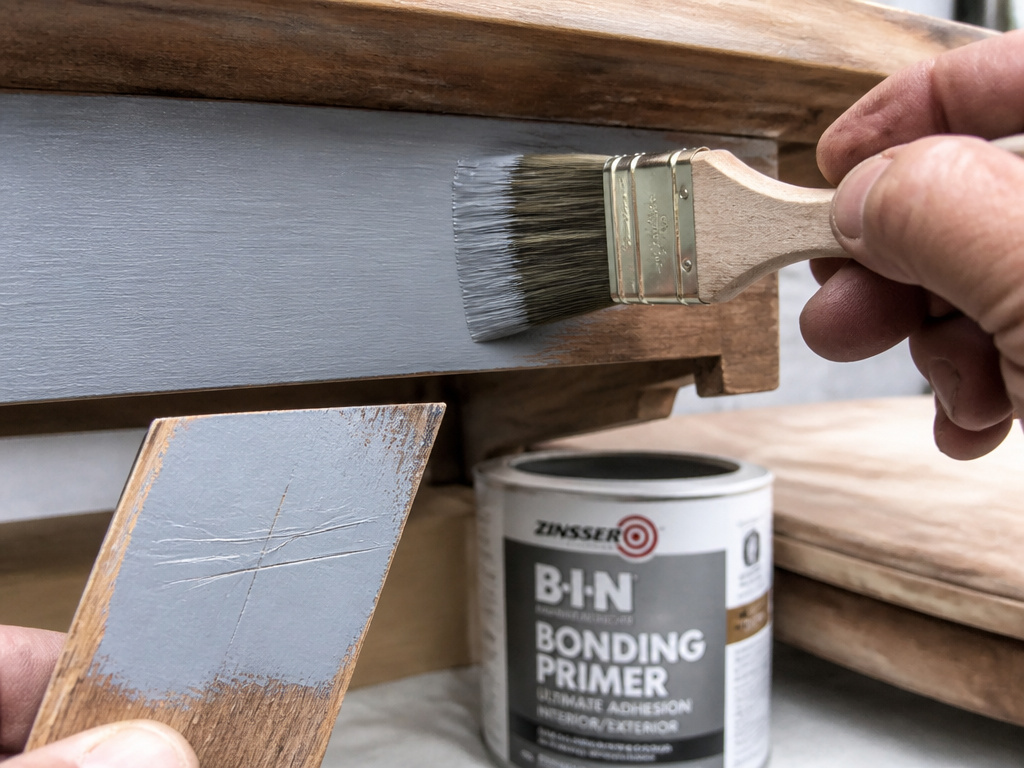
Two matching thrift chairs sat in my garage, one wearing a branded chalk paint and one wearing basic latex over a bonding primer. After normal use I couldn’t tell them apart without squinting.
That test cost me a quart of paint I didn’t need. Chalk paint costs more per quart than wall paint, and I’d rather spend the difference on more thrift pieces to mess up. Primer is where the durability actually comes from.
Benjamin Moore names INSL-X STIX Waterborne Bonding Primer for wood and laminate tables, specifically because it bonds over existing finishes and lays down an extremely hard film. That bonding is what a hardworking table needs.
Bleed-Through and Dark Colors
If the table is cedar or redwood, or anything with a history of tannin bleed, step up to a stain-blocking primer. Benjamin Moore points to INSL-X Prime Lock Plus for that job. This Old House’s painter used Zinsser BullsEye 1-2-3, a water-based primer from Rust-Oleum, on the table he refinished.
For a dark topcoat, a grey-tinted primer gets you there in fewer coats. This Old House used exactly that trick before applying PPG Timeless Acrylic Interior Paint in Naval Blue, semi-gloss.
Common mistake: Priming one small patch and calling it tested. Paint a scrap offcut or the underside of an apron instead, let it dry fully, then try to scratch it off with a fingernail. A failed bond shows up there rather than on your tabletop.
The Tools That Change the Finish
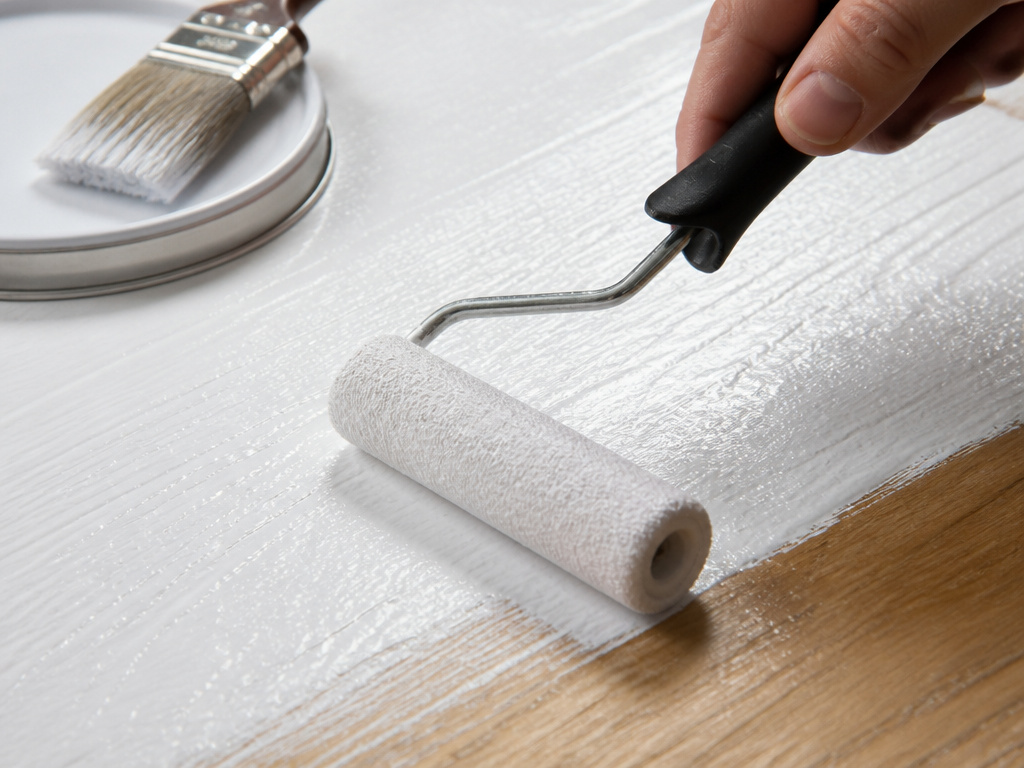
A 4.5-inch mini roller with a 3/8-inch nap is the spec This Old House’s painter works with, and the nap leaves a stipple you can feel with a fingertip until the paint levels out.
Benjamin Moore’s range is a 4- to 6-inch fine-finish roller for the top and a brush for legs with detail. Roll in the direction of the grain to keep roller marks from showing, and use the brush only where the roller can’t reach.
If you’re spraying instead, the Wagner Group’s guidance is specific: remove the old paint, varnish or wax first before spraying. That trigger release is what stops the heavy blob at the end of every pass. Alternate your spray direction on each coat so the coverage crosses itself.
Brush technique matters more than brush price. Overloading a brush is what causes the ridges people blame on cheap tools. The brush marks problem is almost always a loading problem.
I reach for the mini roller before the brush on every flat top. It’s faster, and it leaves a more even film than I can lay down by hand.
Table Leaves, Humidity, and Other Edge Cases
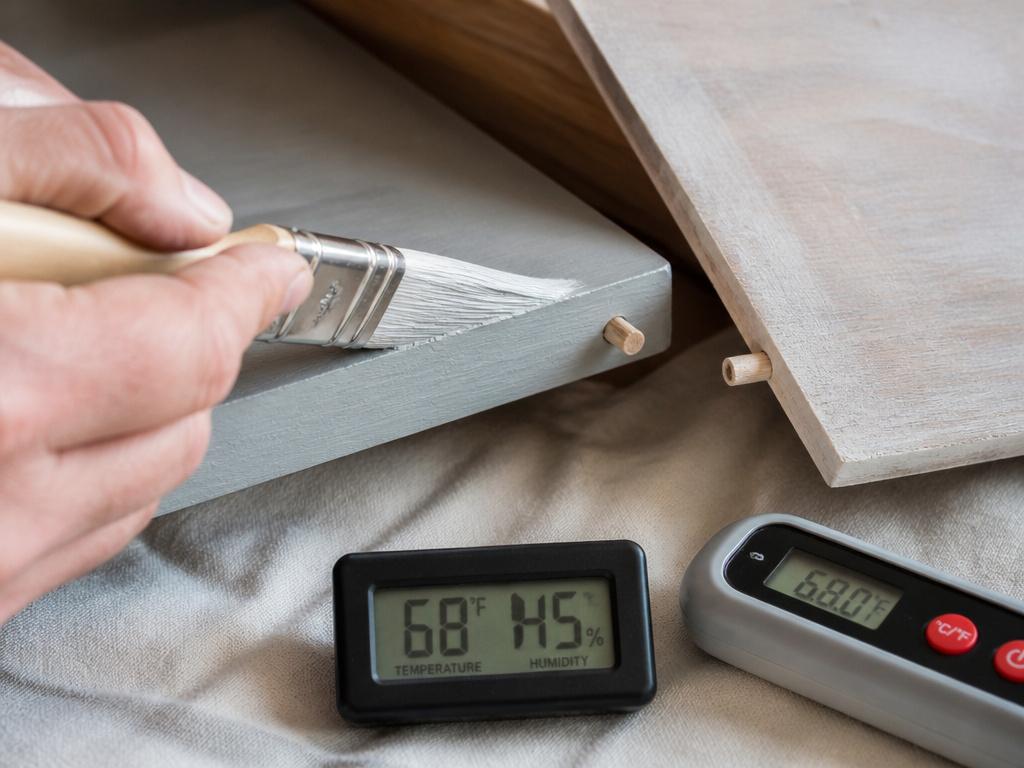
Table leaves are where good paint jobs go bad.
Benjamin Moore warns against heavy coats of primer or paint on the inside edges of table leaves, because those edges press together and will stick. Use a lighter hand there. A leaf that bonds shut is a table you can’t extend.
Humidity is the second quiet killer. Benjamin Moore advises painting in a climate-controlled or low-humidity environment to speed dry and cure times. A cold garage in October will stretch a four-hour recoat considerably.
Temperature is where the sources go quiet. The only hard number in the set comes from a 1945 National Bureau of Standards circular on exterior wood surfaces, which puts the floor at 50°F, drops to 40°F only in urgent cases, and warns against painting at all if the temperature is heading to 40°F. That same government wood painting circular names moisture behind the film as the most common cause of blistering. No modern manufacturer in this set states a temperature threshold at all, so treat 50°F as the conservative floor and 40°F as the point where you stop.
Where this goes sideways: Painting a table in an unheated garage in cool weather. The film skins over while the solvent is still trapped underneath, and the topcoat wrinkles along the grain.
Once the paint is fully cured, a topcoat is optional on a hard enamel and close to mandatory on a chalk finish, which is soft by design. That’s a separate job from painting, covered under sealing painted furniture.
Cure Time and the First Week of Use
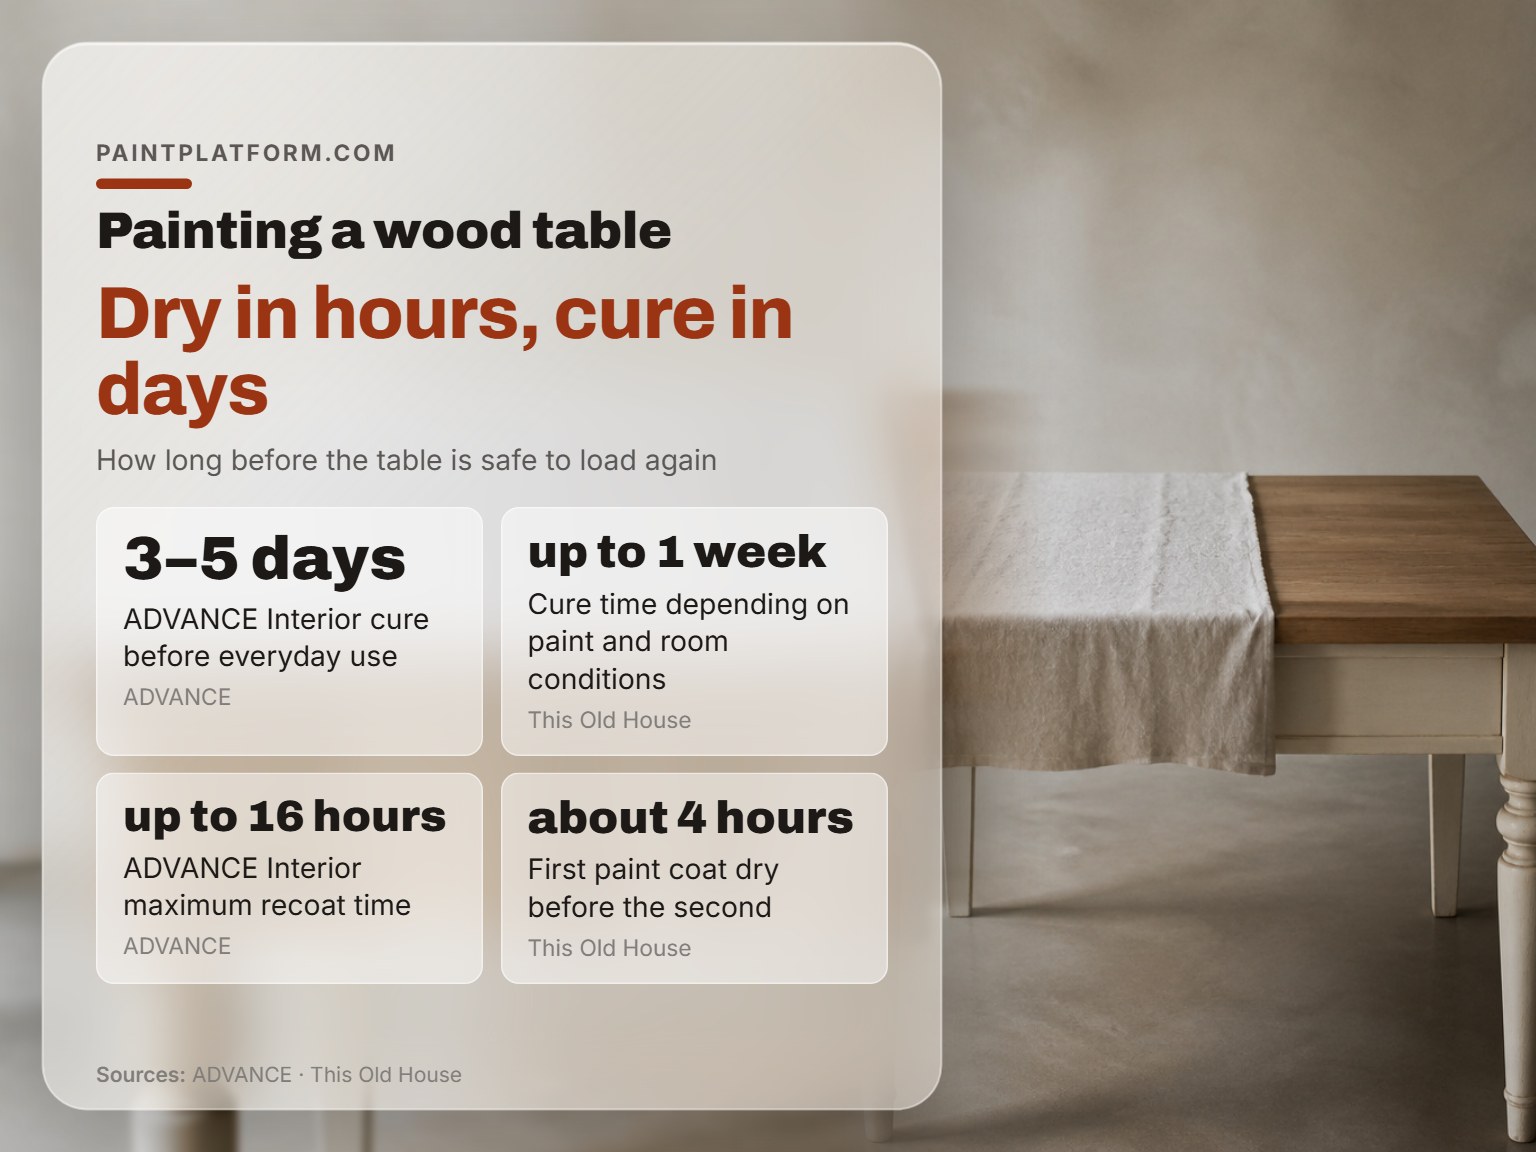
Cure is the gap between dry to the touch and safe to load.
Benjamin Moore puts ADVANCE Interior at three to five days before the table returns to everyday use. This Old House allows up to a week depending on the paint and the conditions in the room. Sherwin-Williams says to let the paint set before sitting on it or putting decor back on the surface.
Those three statements agree more than they look. Dry-to-touch happens in hours. Cure takes days. A table that feels dry but hasn’t cured will print a hot plate into the film.
Two things shorten the wait: thin coats and a warm, dry room. Two things stretch it: heavy coats and humidity. If you’re choosing between a paint that dries in an hour and one that takes sixteen, the sixteen-hour product is usually the harder film, and the harder film is what a table needs. That trade-off is the whole argument in the wood table paint comparison.
The same cure window applies to painting chairs to match a table, and chairs get more contact than the tabletop does. Give them the full window.
If the table takes real heat and daily spills, a dedicated dining table paint system is worth the extra research before you open a can.
Frequently Asked Questions
Do I have to sand a table before painting it?
Only if it was previously painted or has a high-sheen finish. Benjamin Moore says a few passes with 180- to 220-grit to dull the surface is enough, and you don’t need to strip the old coating. Bare or matte wood can go straight to cleaning and priming.
Can I skip the primer?
Not on laminate or glossy wood. Benjamin Moore names INSL-X STIX Waterborne Bonding Primer for bonding over existing finishes, and INSL-X Prime Lock Plus when you need stain blocking. Test compatibility on a hidden section before committing to the whole piece.
How long before I can use the table again?
Benjamin Moore puts ADVANCE Interior at three to five days. This Old House allows up to a week depending on the paint and the room. Dry to the touch is not the same thing as cured.
Will paint stick to a laminate table?
Yes, with the right primer. ADVANCE Interior works on laminate, and STIX is built to bond over hard, non-porous surfaces. Clean with detergent first, because laminate holds a film of kitchen grease that blocks adhesion.
What grit sandpaper should I use on a table?
180- to 220-grit per Benjamin Moore, or 220-grit per This Old House. Sand with the grain. Anything coarser cuts scratches that show through the paint.
The Bottom Line
One test settles most of this. Drag a fingernail across the finish. If it powders or flakes, strip it and stop reading scuff-sand advice. If it only shines, a 220-grit pass and a bonding primer will hold.
That threshold matters because the standard prep advice assumes a sound coating underneath. Benjamin Moore’s “dulling is sufficient” line is written for a finish that’s still stuck tight. Wagner’s strip-first instruction exists for the waxed, oiled, and flaking surfaces that never bonded properly in the first place. Read your table before you read the instructions.
The first thing worth buying is a bonding primer, not a premium paint. Two thrift chairs taught me that, and it’s the cheapest lesson in this whole project.
