
How to Seal Painted Furniture: Wax vs Polyurethane
This post contains affiliate links. As an Amazon Associate, we earn from qualifying purchases.
To seal painted furniture, apply a topcoat suited to how the piece gets used, then seal every surface including edges and undersides. Wipe on thin coats rather than brushing one thick one, and let each coat dry fully. Wax works as a barrier on smaller pieces; polyurethane holds up better on tables that see daily use.
Edges are where the job usually fails first. A coating flows away from a sharp corner as it cures, so the film sits thinner there than it does across the face, and that thin spot is where a crack opens. Undersides get skipped for the same reason: nobody photographs them. The same principle applies when you learn how to seal painted furniture.
What follows is the order that holds up in practice: picking a topcoat by how the piece gets used, building thin coats, sealing the parts nobody sees, and knowing when a painted surface shouldn’t be sealed at all.
Key Takeaways
- Thin coats beat thick ones. Two thin passes level out better than one heavy pass that sags and traps bubbles.
- Seal edges and undersides, not just the top. Panels left unsealed on all faces are prone to bow or cup.
- Don’t mix coating systems from different manufacturers on the same piece.
- Paste wax suits smaller objects. On a big flat top it’s hard to buff to an even sheen.
- A finish buys time. Wood still moves with the room.
What Sealing Painted Furniture Actually Does
A coat of finish slows how fast moisture moves in and out of the wood. That’s the whole job. The USDA Forest Service’s Wood Handbook chapter 15 states it directly: finishes change the rate at which water and water vapor are absorbed, while the equilibrium moisture content stays where it was.
Finishes work by slowing moisture movement, not by sealing wood shut. The USDA Forest Service’s Wood Handbook states that a finish changes the rate at which water and water vapor are absorbed while equilibrium moisture content stays the same. Ultraviolet light still breaks down the polymer film, and pigments left loose turn the surface chalky.
So a sealed piece still swells and shrinks with the seasons. What you get is a slower cycle and a film that takes the wear instead of the paint underneath it.
That film has a second job: it absorbs light. The same chapter explains that the polymer holding a finish together breaks down under ultraviolet radiation, and once the binder erodes, the pigments sit loose and the surface goes chalky. Acrylic paints and stains resist that better than oil and oil-alkyds.
Which is why the topcoat you pick matters more than the color you pick.
The Topcoat Choice Comes Before the Paint Color
The first tabletop I finished got one thick brushed coat of polyurethane. It looked glassy for about an hour. Then the drips set along the front edge and the brush marks dried in place, and sanding them out took longer than the finish did.
Now I rag on a wipe-on polyurethane in three thin coats. It survives coffee mugs and sweaty glasses far better than wax ever did for me, and thin wipes with a lint-free rag forgive sloppy hands. A rag also tells you when a coat is starting to tack: the drag goes from slick to grippy in a few passes, which is your cue to stop and let it cure.
The Timber Veneer Association of Australia (TVAA) makes the same point from the other direction. Its finishing bulletin says the coating should be chosen for the end environment, the veneer colour, and the species, because those three decide how long the surface lasts. A tabletop wants a harder-wearing species under a higher-quality coating. A bookshelf in a dim hallway doesn’t.
| Topcoat | Best for | Main risk |
|---|---|---|
| Wipe-on polyurethane | Tabletops and daily-use pieces | Thin coats only; heavy coats drip and bubble |
| Water-based polyurethane | Bright rooms and pale paint | Can raise grain on bare wood |
| Paste wax | Small objects and carved detail | Hard to buff evenly on large flat tops |
| Shellac | Sealing knots and small repairs | Sensitive to water and alcohol |
When you compare a how to seal painted furniture, a sealant for painted furniture has to match the abuse the piece takes, and the table above is the short version of that decision. If you’re still deciding on sheen, choosing a furniture paint finish is a separate call from choosing the sealer, and both are worth settling before you open a can.
Why Mixing Brands Bites You
Different finishing systems, especially from different manufacturers, shouldn’t be mixed. That’s the TVAA’s rule, and the practical version is simple: once you’ve started with one system, finish with it.
The U.S. National Park Service (NPS) guidance sits differently. It recommends paste wax over existing clear finishes like shellac, lacquer, and varnish as a barrier layer, with no warning about mixing systems at all. Both positions can hold. Wax over a cured film is a barrier sitting on top, while a fresh solvent-borne coat over an unknown film is a chemical gamble.
I won’t brush polyurethane onto a tabletop anymore. A rag and three thin passes beat a brush and one thick one every time, and I stopped sanding out drips I created myself.
For a table that actually gets used, painting a table is only half the job. The topcoat is the half that decides whether you repaint at all.
How Many Coats Does a Painted Piece Really Need?
Enough to wet out the surface evenly, and no more than the can allows.
The TVAA is explicit on this: follow the manufacturer’s recommendations on the number and thickness of sealing and top coats. The TVAA’s guidance is to follow the manufacturer’s stated number and thickness of coats.
Before you start: Oil-based finishes and mineral spirits give off strong solvent fumes, so work with a window open and a fan pulling air away from you. Sanding dust from painted furniture is the fine, airborne kind, so wear a mask rather than a bandana. Rags soaked with oil-based finish can self-heat and catch fire; lay them flat outside to dry or soak them in water before they go in the bin.
- Scuff sand first. The Wood Handbook notes that even unweathered wood benefits from scuff sanding, because it gives the film something to grab and it extends the paint’s service life. Skip it and the coat sits on a slick surface instead of bonding to it.
- Wipe the dust off and let the wood dry. Dust under a coat shows up as grit in the film, and you’ll feel it every time a hand crosses the top.
- Lay the first coat thin. A heavy first coat sags on vertical faces and traps solvent underneath, which leaves soft spots that stay soft.
- Wait the full recoat interval on the label. Recoating early drags the first coat and leaves a wrinkled film.
- Scuff between coats with fine paper, then tack off the dust. The second coat grips a scuffed first coat instead of sliding across it.
I’d rather see two thin coats than one thick one, every time.
If you’re working on cabinets rather than a table, sealing painted cabinets adds a wrinkle: the doors come off, and the edges of the door faces need the same treatment as the front. If this is your first piece, the painting furniture for beginners guide covers the prep that comes before any of this.
Where Wax Fits, and Where It Doesn’t
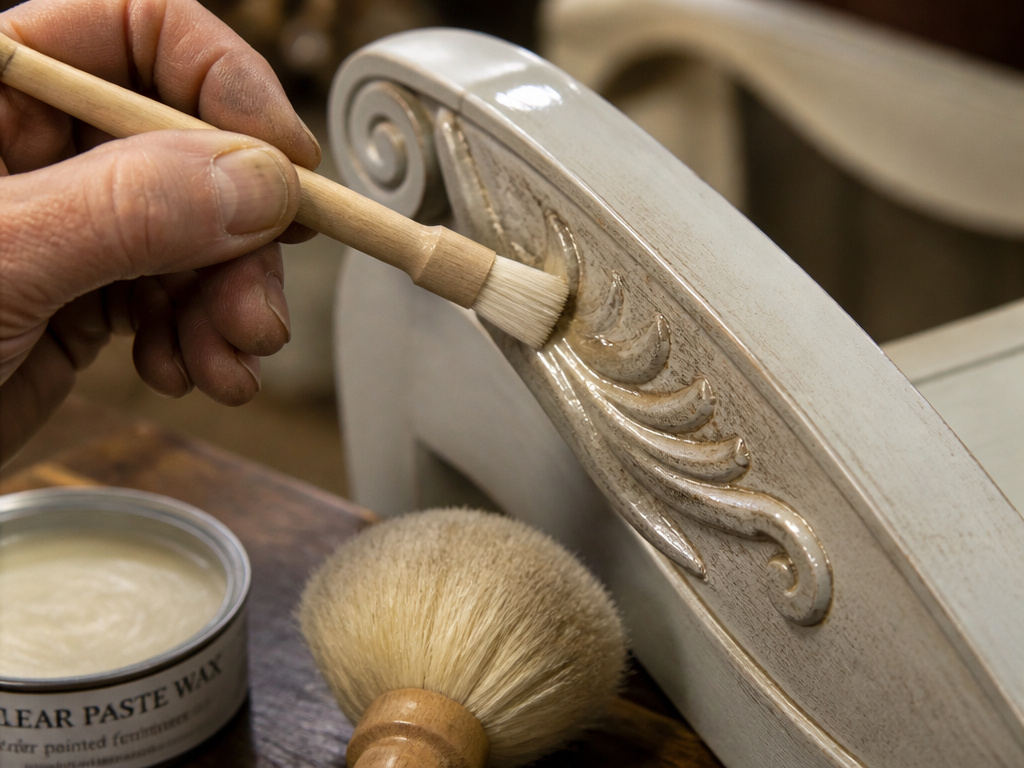
Wax belongs on small pieces and carved detail. It’s the wrong tool for a dining table.
Paste wax over a clear finish gives you a barrier that takes dust abrasion and the odd water splash, which is exactly what the NPS waxing furniture guidance recommends it for. It also changes how the piece looks, because wax levels the surface and raises the sheen. That’s a feature on a small box and a problem on a big flat top.
Two thin coats, then buff with a soft fiber brush. On carved detail, the NPS suggests applying with a small soft brush like a toothbrush and buffing with something like a shoe brush. Tape foam weather stripping to the wooden ends of the buffing brush so you don’t ding the piece while you work.
- Don’t wax bare wood. Wax sinks into open pores and is nearly impossible to get back out.
- Test a hidden spot first, because the solvent in the wax can soften some finishes.
- Skip liquid and aerosol polishes. The NPS warns that most contain silicones, which could be harmful.
- Rewax when buffing stops bringing up a sheen, not on a calendar.
If the wax clouds up, that’s usually heat or high humidity rather than a bad batch. It shows as a milky bloom over the surface, it wipes off with mineral spirits, and you can rewax once the room is sorted.
Paste Wax vs Liquid Polish
The NPS is firm: use paste waxes only, because most liquid and aerosol polishes contain silicones that could be harmful, while consumer refinishing guidance often recommends a thin penetrating resin seal built up over several coats instead. Consumer refinishing guidance often goes the other way and recommends a thin penetrating resin seal built up over several coats, which is a different product class entirely. I tried to pull the original copy of that second recommendation and couldn’t retrieve it, so treat it as something to test on scrap rather than a rule.
Wax over paint is where the sources genuinely split. The NPS recommends paste wax over clear finishes like shellac, lacquer, and varnish. Other conservation guidance treats painted surfaces separately and warns that many paints are sensitive to water and other solvents, with cleaning left to a conservation professional. If your piece is painted rather than clear-finished, test a hidden corner and decide from what happens.
For chalk-painted pieces, a clear paste wax gives that soft, low-sheen look. For smaller wood objects under a clear film, a paste wax does the same job with less fuss.
Wax changes appearance, and so does glaze. I wiped a brown glaze back too early on a bookshelf once and got blotchy streaks instead of the soft, dirty-in-a-good-way look I wanted. Waiting a few minutes before wiping fixed it on the next try. Both are covered in more detail under waxing painted furniture.
Edges, Undersides, and the Sealing Nobody Does
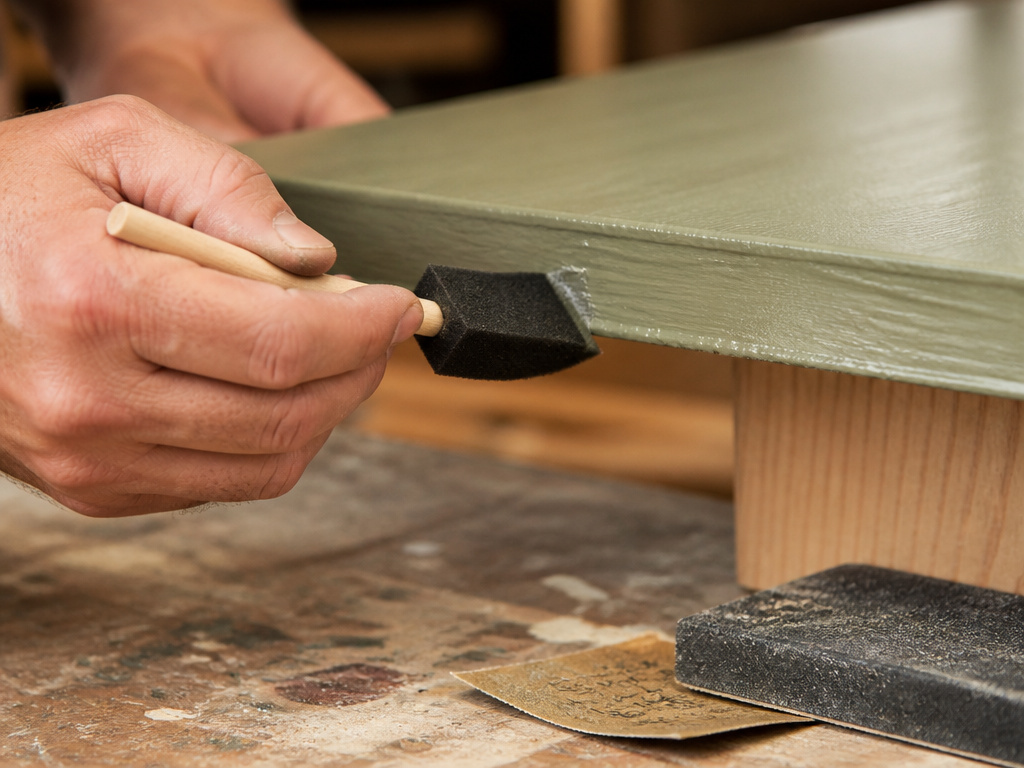
The parts you can’t see decide how long the piece lasts.
The TVAA’s care bulletin is blunt about how to seal painted furniture: all surfaces, including edges, need sealing to slow moisture ingress, and panels that aren’t sealed that way are prone to bow or cup. Sharp edges are worse. Coating flows away from a sharp corner during finishing, so the film there is thinner, and a thin film is where a crack starts.
- The underside of the top, which sees the biggest humidity swing of any face.
- The inside faces of legs and stretchers.
- Drawer box edges and the back panel, especially on a piece pushed against an outside wall.
- Every edge you sanded.
Distressing makes this worse. I rub corners and edges with fine paper once the paint has dried, and the spots where I went too hard end up looking like real age. They also end up bare. Those edges need a coat before the piece goes back into service.
If a surface can’t be reached with a brush, it still needs a coat. Undersides and edges are where moisture gets in first.
If a sharp edge is the problem, the TVAA’s fix is design or sanding during manufacture. On a finished piece, a light pass with fine paper to break the corner does the same job before you coat it.
What Actually Shortens a Finish’s Life?
Light, water, and heat, roughly in that order.
Ultraviolet radiation breaks down the polymer that holds a film together. The pigments usually survive it, which is why a weathered surface goes chalky rather than clear: the binder erodes and leaves the pigment sitting loose. Run a finger across a chalky film and it comes away pale.
Acrylic-based paints and stains resist that better than oil and oil-alkyds, which is worth knowing before you pick a topcoat for a piece that sits in a bright room.
Water does its damage from underneath. The TVAA notes that high humidity, steam, or water getting under a coating can crack it, and water that gets under the film can leave a white mark in the veneer. Standing liquid is worse: dark fruit juice and wine left sitting on a veneered surface are called out specifically.
Heat cycling counts too. Expansion and contraction in air-conditioned or heated rooms can damage the surface coating over time.
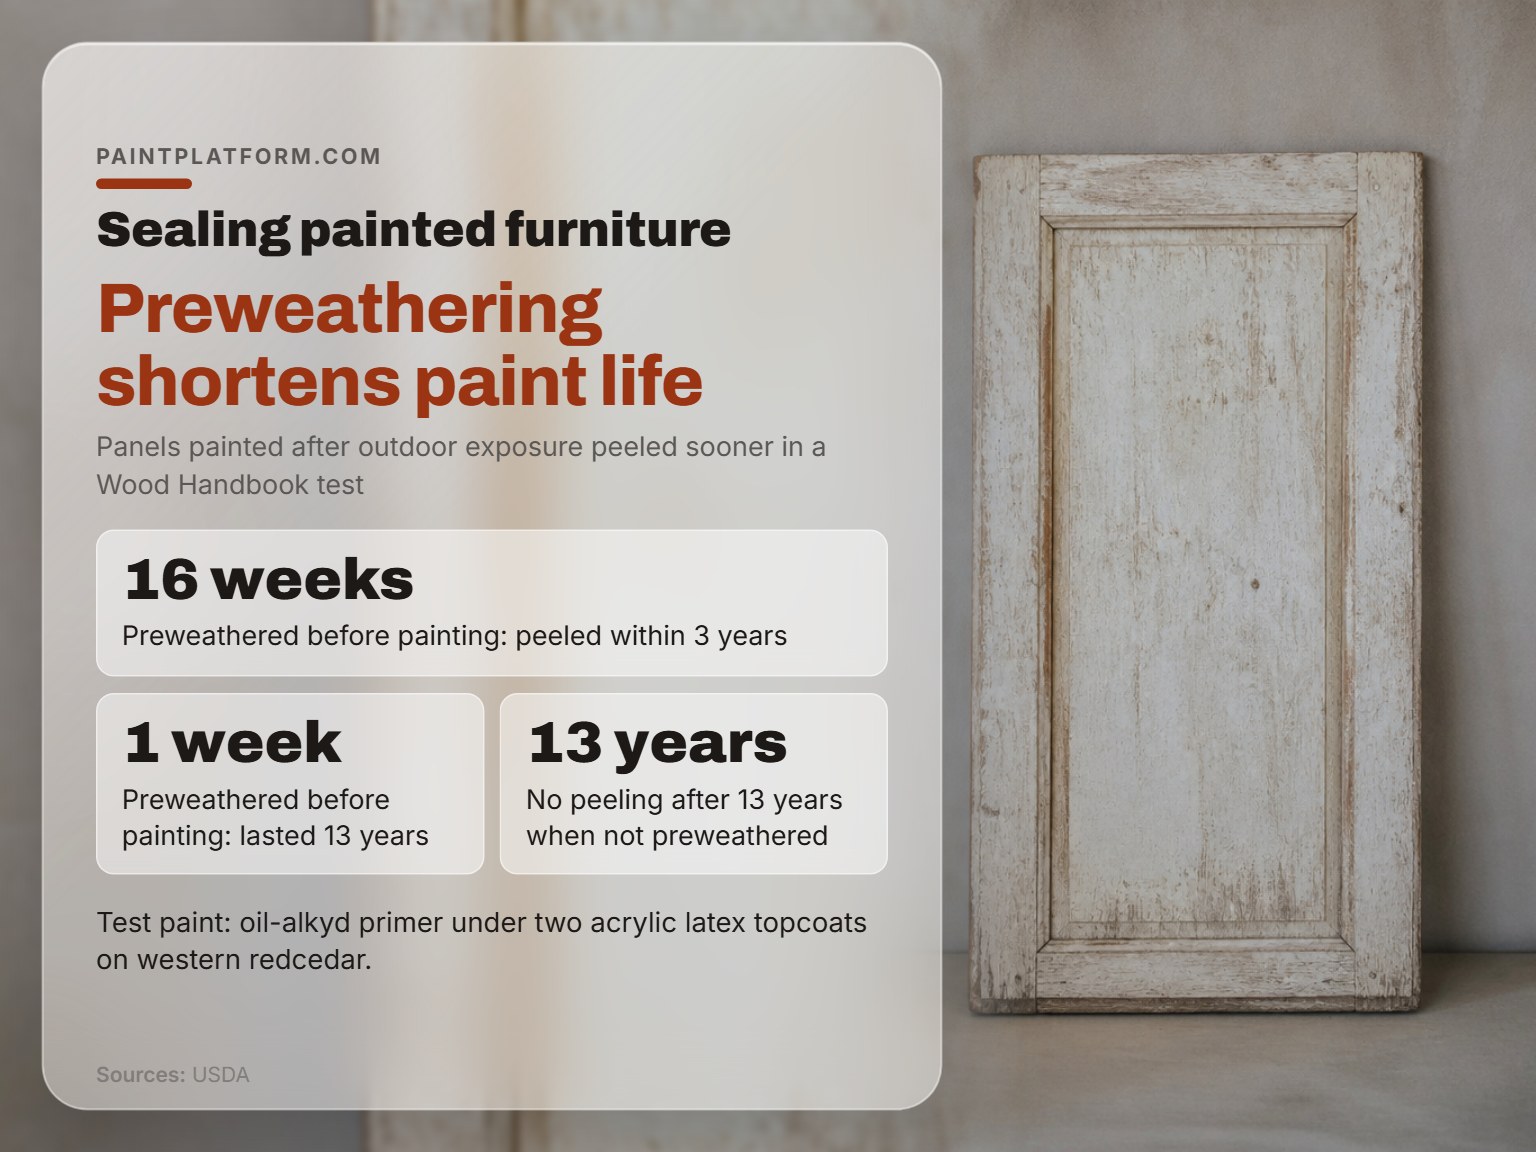
Delay is its own risk. The Wood Handbook reports a test where panels preweathered 16 weeks before painting peeled within 3 years, panels preweathered only 1 week lasted 13 years, and panels that weren’t preweathered showed no peeling after 13 years. The paint system in that test was an oil-alkyd primer under two acrylic latex topcoats on western redcedar. The lesson carries over to furniture: the longer a surface sits exposed, the less the finish has to hold onto.
| Symptom | Likely cause | What to do |
|---|---|---|
| Milky white patch | Water trapped under the coating | Let it dry out; wax bloom wipes off with mineral spirits |
| Fine cracks in the film | Humidity, steam, or heat cycling | Sand back to sound film and recoat |
| Chalky, pale surface | UV broke down the binder | Sand with 50 to 80 grit and refinish |
| Blotchy sheen | Uneven wax or too much product | Buff back and reapply thin |
| Lifting at an edge | Thin film on a sharp corner | Break the edge and recoat |
Where this goes sideways: Sealing over paint that’s already lifting. The new coat bonds to the failing film instead of the wood, and both let go together.
Mildew is the other one. The Wood Handbook treats mildew on a painted surface as normal weathering rather than a defect, which is why a piece stored in a damp basement comes back with speckles no topcoat prevents.
Cleaning a Sealed Piece Without Wrecking It
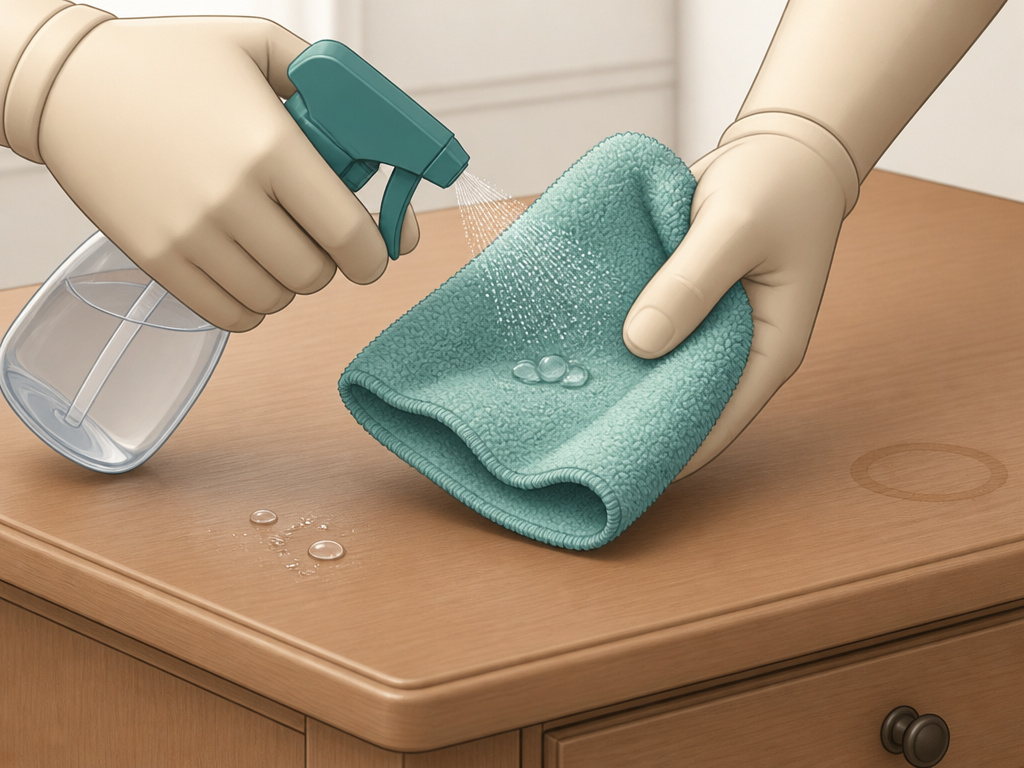
Water and a soft cloth handle almost everything. The rest is knowing what not to reach for.
The TVAA’s care list is short. No harsh cleaners or chemicals that affect the finish. No abrasive cleaning of clear finishes, because it scratches the surface and dulls the clarity. And no standing water or wet staining materials left sitting on the surface.
- Skip the abrasive pad, even the gentle one. It leaves a haze you can’t buff out.
- Wipe spills instead of letting them sit, particularly wine and dark juice.
- Don’t spray cleaner onto the surface. Put it on the cloth so it doesn’t pool at the edges.
- Dry the top after wiping. A wet film left to evaporate is how you end up with a ring.
Honestly, plain water and a soft cloth handle most of it. If the finish is already marked, fixing scratches on painted furniture covers the touch-up side, and it’s worth reading before you attack a mark with anything abrasive.
When Sealing Won’t Save the Piece
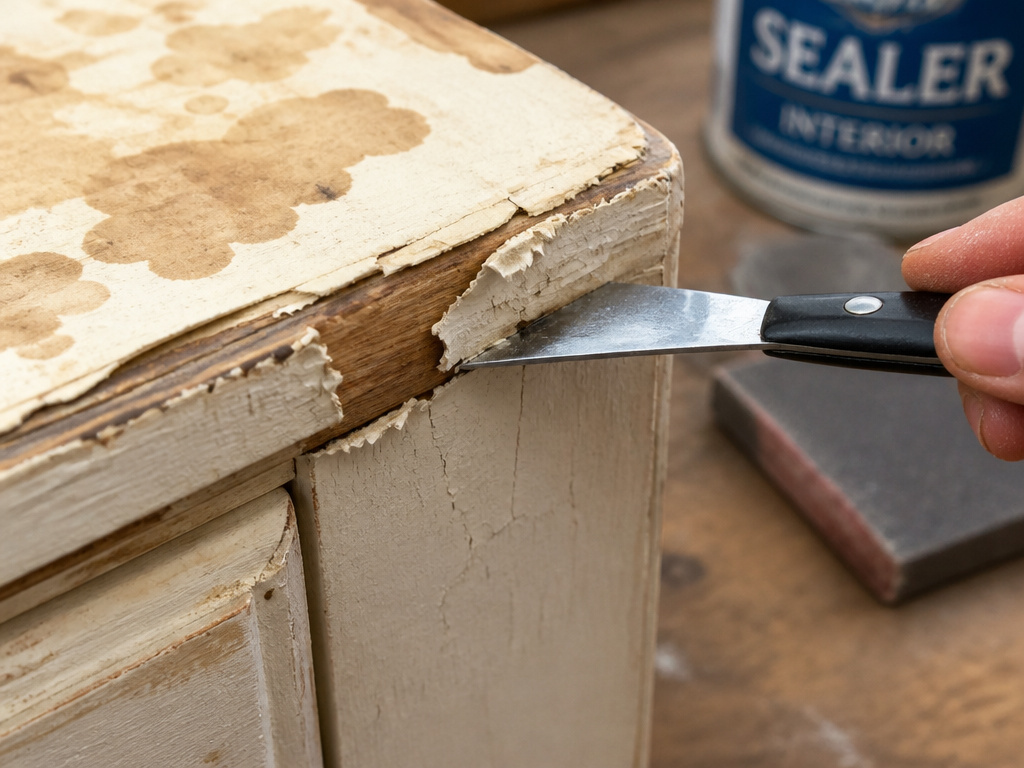
Some pieces need a different plan before a topcoat makes sense.
The TVAA says veneered products aren’t suitable for high-wear and wet horizontal surfaces like kitchen counter tops unless the veneer is completely encased in a resin system. A veneered top that lives next to a sink is a maintenance problem no topcoat solves.
Flaking paint is the other one. Sealing over a film that’s already lifting traps the failure under a new coat, and the new coat lets go with the old one. Repairing damaged paint on furniture comes first, and the sealer goes on after.
- A veneered kitchen worktop that sees water daily.
- A piece with paint already lifting at the edges.
- Anything that lives outdoors, where the UV load and moisture cycling are a different scale entirely.
And if the piece is getting repainted anyway, seal the new coat and skip the wax. Wax under fresh paint is exactly the mixing problem the TVAA warns about.
Frequently Asked Questions
Can you seal painted furniture with polyurethane?
Yes, and for anything that gets daily handling it’s the better choice. Wipe-on polyurethane goes on in thin coats that level out without brush marks, and it stands up to mugs and wet glasses better than wax does. Follow the recoat window on the label rather than guessing at it.
Do you have to sand between coats of sealer?
Not always, but it helps. A light scuff gives the next coat something to grip, and the Wood Handbook notes that scuff sanding improves both paint bond and service life on wood. Wipe the dust off before the next coat or you’ll lock grit into the film.
Is wax or polyurethane better for painted furniture?
Wax for small pieces, carved detail, and anything you want to keep a soft low sheen. Polyurethane for tables, dressers, and anything that holds a drink. Wax is easier to apply and easier to damage.
How long should a sealer cure before the piece goes back into use?
Follow the label. The TVAA’s guidance is to follow the manufacturer’s stated number and thickness of coats, and cure times vary by product class. Paste wax is the fast one: the NPS works on 30 to 60 minutes of drying before buffing.
Can you seal chalk paint?
You can, and you should if the piece gets touched. Chalk paint is porous and marks easily, so it wants a wax or a thin film coat over it. Test on a hidden spot first, because some waxes and topcoats shift the colour.
The Bottom Line
Here’s the trigger I use: if a piece is going to hold a drink, a plate, or a wet glass, it gets a film finish. Wax stays for the small stuff.
None of this rescues a veneered top that lives beside a sink. The TVAA is clear that veneered surfaces aren’t suitable for high-wear, wet horizontal surfaces unless the veneer is fully encased in resin, and no topcoat changes that.
I’d rather see a beginner put three thin coats of wipe-on poly on a thrifted dresser than one careful coat of something expensive. Thin coats forgive a sloppy hand. Thick ones record every mistake.
Grab the underside of whatever you’re about to seal and run a hand across it. If it’s bare, that’s your first coat, and it’s the one almost nobody bothers with.
