
How to Sponge Paint a Wall: Step-by-Step
This post contains affiliate links. As an Amazon Associate, we earn from qualifying purchases.
To sponge paint a wall, roll on a base coat and let it dry fully, then dab a paint-and-glaze mix over it with a damp natural sea sponge in a random pattern. Armaly Brands’ data sheet calls for 1 part paint to 4 parts glaze; This Old House uses equal parts.
The gap between those two mixes decides how fast the layer builds. A 1:4 glaze goes on thin and translucent, so you can add multiple passes before the wall looks committed. A 1:1 mix covers quickly and leaves you almost no room to correct a heavy hand. This is similar to how to sponge paint a wall, where thin layers build gradually.
What follows is the gear that matters, the ratio argument laid out side by side, both named methods, and the seven-step sequence I’d hand a first-timer. Plus the two failure modes that turn a wall splotchy.
Key Takeaways
- Two named methods exist: sponging on (positive) and sponging off (negative), and the off method wants a second pair of hands.
- Armaly Brands and Home Depot say keep the glaze moving while it’s wet, while This Old House says let each layer dry completely before you start the next color.
- A natural sea sponge beats a manufactured one for a random pattern, and latex washes out of it easily; This Old House suggests 4 to 6 inches across, while Lowe’s says anything larger than your hand is harder to control.
- Budget a full weekend for a medium bedroom. This isn’t a nap-time project.
The Gear That Actually Matters
The gear list for this job is short, and only one item on it is worth spending on.
Sponge painting applies a translucent glaze over a fully cured base coat. A damp natural sea sponge transfers glaze in irregular patches, and the base color reads through the gaps. Pattern comes from pore size and hand pressure, not from a repeating stamp, which is why no two walls match.
Here’s the whole kit:
- A 9-inch roller cover with 3/8-inch nap for the base coat, which is the spec Home Depot publishes for this job.
- A natural sea sponge, roughly 4 to 6 inches across, with a mix of pore sizes.
- Clear glaze plus a satin latex in your top color.
- A glaze extender or gel retarder, because you will need it.
- Blue painter’s tape and a 2-inch brush for corners and edges.
- A wet rag. Keep it in your hand the whole time.
Sponge size is the one place the how to sponge paint a wall guides drift apart. Lowe’s says anything bigger than your hand gets hard to control. This Old House says 4 to 6 inches in diameter. Pick a sponge that fits your palm comfortably and has visibly different hole sizes across its face.
A sponge wrung to the right dampness feels like a squeezed dishcloth: cool, springy, and not dripping when you turn it over. Armaly’s data sheet is specific about this. Wet it, squeeze it, and keep that dampness consistent from the first dab to the last, because a wetter sponge lays down a wetter patch and you get a wall that reads uneven under a lamp.
1:4 or 1:1? The Glaze Ratio Nobody Agrees On
Two published ratios, both from people who paint for a living, and they don’t match.
| Source | Mix | What It Does |
|---|---|---|
| Armaly Brands TDS | 1 part paint : 4 parts glaze | Thin and translucent, builds in layers |
| This Old House | 1:1 glaze to top-coat color | Covers in one pass, less working time |
| Lowe’s | No number published | More glaze means a lighter top coat |
Lowe’s doesn’t give a figure, but it does give the direction: the more glaze you add, the lighter the top coat becomes. That supports dilution in principle without settling the number.
Start at 1 part paint to 4 parts glaze. You can always add a second pass. You can’t take one off.
The how to sponge paint a wall mechanism is straightforward. Glaze is a translucent medium, so a higher glaze load means less pigment per square inch and a softer, more see-through layer. A 1:4 mix is mostly medium, which is why it takes multiple passes to build visible depth. A 1:1 mix carries far more pigment and lands closer to a thinned topcoat.
For a first wall, mix a small batch at 1:4, dab a scrap of drywall, and look at it under the room’s actual light. Sherwin-Williams makes the point that a color you loved in the store can look different at home, and that goes double for a translucent layer sitting over another color.
Sponging On vs Sponging Off: Pick Your Method
Sponging off is the better-looking method and the harder one to run alone.
Both are established faux finish techniques, and Armaly Brands’ data sheet names them: the positive method is “Sponging On,” the negative method is “Sponging Off.” The timing around it is what separates a soft wall from a blotchy one.
Sponging On (the Positive Method)
You load the sponge with the glaze mix and dab it onto the base coat. Glaze goes on, nothing comes off. This is the version This Old House walks through, and it’s the one a single person can run without help.
This Old House says the layer should go on thick and textured without dripping, and the base coat color should still read through the gaps. If the glaze is running, you loaded too much. Squeeze the sponge out and start again on a scrap.
Sponging Off (the Negative Method)
You apply the glaze, then remove some of it with a clean damp sponge before it sets. The result is softer and more layered because the base coat does more of the talking.
Armaly’s data sheet is blunt about the constraint here: this method is best done with two people, one applying the paint and glaze and one removing it, specifically because the glaze must not dry during the process. That’s a real logistical wall, and no top-ten guide mentions it.
Which One to Use
If you’re working alone, sponging on. If you have a second person and a wall big enough to justify the setup, sponging off gives you a finish that looks less like a pattern and more like the wall was always that color.
I’d skip sponging off for a first wall. It looks softer and more layered, but it needs a second person and a glaze that never sets up. Do the positive method first, get a feel for the pressure, then come back to it.
The 7-Step Sequence, Start to Finish
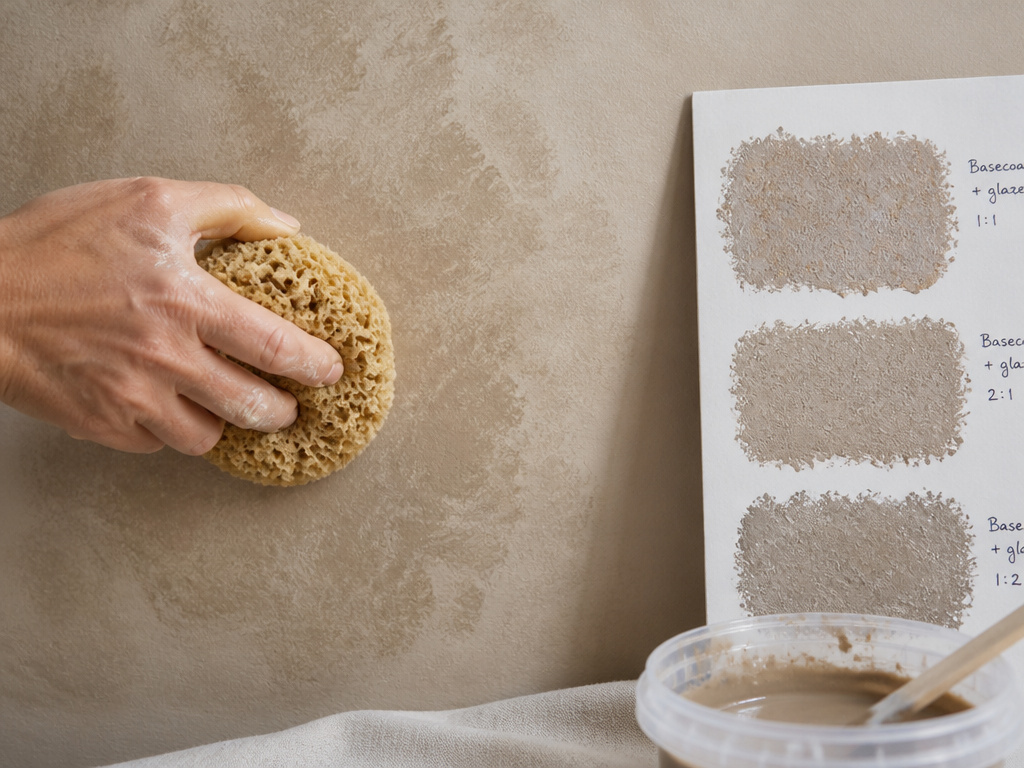
Here’s the order: prep, base coat, cure, mix, test, dab, layer.
Before you start: If your walls carry old paint, scraping or sanding can release lead dust. Lead is toxic, and exposure can cause serious illness including brain damage, especially in children, and pregnant women should avoid exposure too. Wear a NIOSH-approved respirator, clean up with a HEPA vacuum and a wet mop, and call the National Lead Information Hotline at 1-800-424-LEAD before you pick up a scraper.
- Clean and repair the wall. Fill holes, sand smooth, wipe down with a damp cloth, and use a degreaser in kitchens and baths. Skip it and the glaze grabs dust instead of paint. Learning to clean walls before painting properly is half this job.
- Roll the base coat. Tape the trim, drop the cloths, and roll an even coat in a color that won’t dominate. A base that’s too dark fights every layer above it.
- Wait a full 24 hours. Home Depot’s figure, and it’s not padding. Sponge a tacky base and the sponge lifts the coat.
- Mix the glaze. Start at 1:4 paint to glaze and add a gel retarder or glaze extender so the mix stays open longer.
- Test on a board. Drywall, hardboard, anything smooth. Family Handyman is right that this step saves the wall, and it’s the one people skip.
- Dab in a random pattern. Start in a spot that furniture will hide. Press down and lift straight up.
- Layer, and let each layer dry completely. This Old House is explicit here: the first layer dries fully before the second color goes on.
The pressure question splits the sources. Sherwin-Williams says vary the pressure and angle to build different textures. Family Handyman says keep the same paint load, the same pressure, and the same side of the sponge for a consistent look. Decide which one you want before you start dabbing.
Why Does My Glaze Keep Drying Out Mid-Wall?
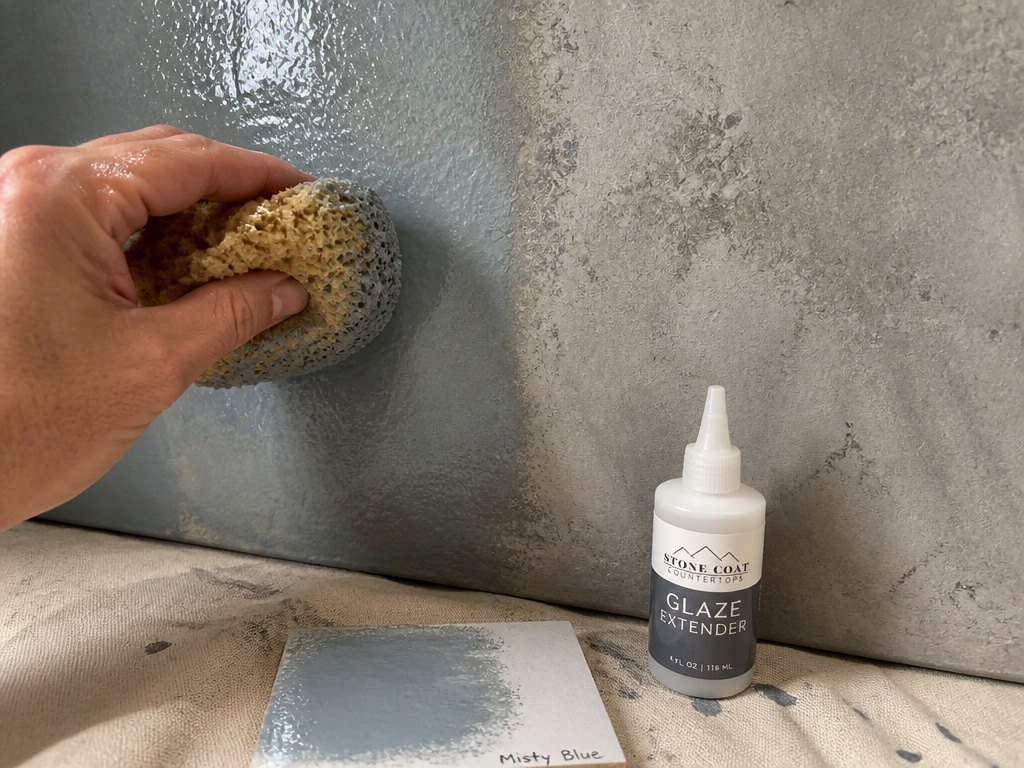
Ever watched a glaze go from glossy to dull halfway across a wall? That flat edge is where the trouble starts.
A glaze that’s still workable looks wet and slightly shiny. The moment the sheen goes flat at the edges, you’re already behind, and the next dab sits on top instead of blending into it.
Home Depot’s guidance is to maintain a wet edge and start the next section before the previous one dries. That’s the same instruction Lowe’s gives, and both point at the same fix: slow the dry time down. Home Depot names a gel retarder. Lowe’s and Family Handyman both name a glaze extender, which Family Handyman describes as a liquid additive that thins the mix slightly and slows drying. Neither gives a dose, so add it a little at a time and test the working time on your scrap board.
Where this goes sideways: Chasing a wet edge across an entire wall in a dry room. Once the previous section flashes off, the new glaze sits on top instead of blending, and you get a visible seam that no amount of extra dabbing hides.
Here’s the reconciliation that took me a while to accept. Armaly Brands and Home Depot say keep a wet edge, while This Old House says let each layer dry completely. The wet edge applies within a single pass, while you’re moving across the wall. The full dry applies between passes, before you switch colors. Family Handyman puts the whole project at a minimum of one full weekend for a medium living room or bedroom, and most of that time is drying, not dabbing.
When It Goes Splotchy: Three Causes and Their Fixes
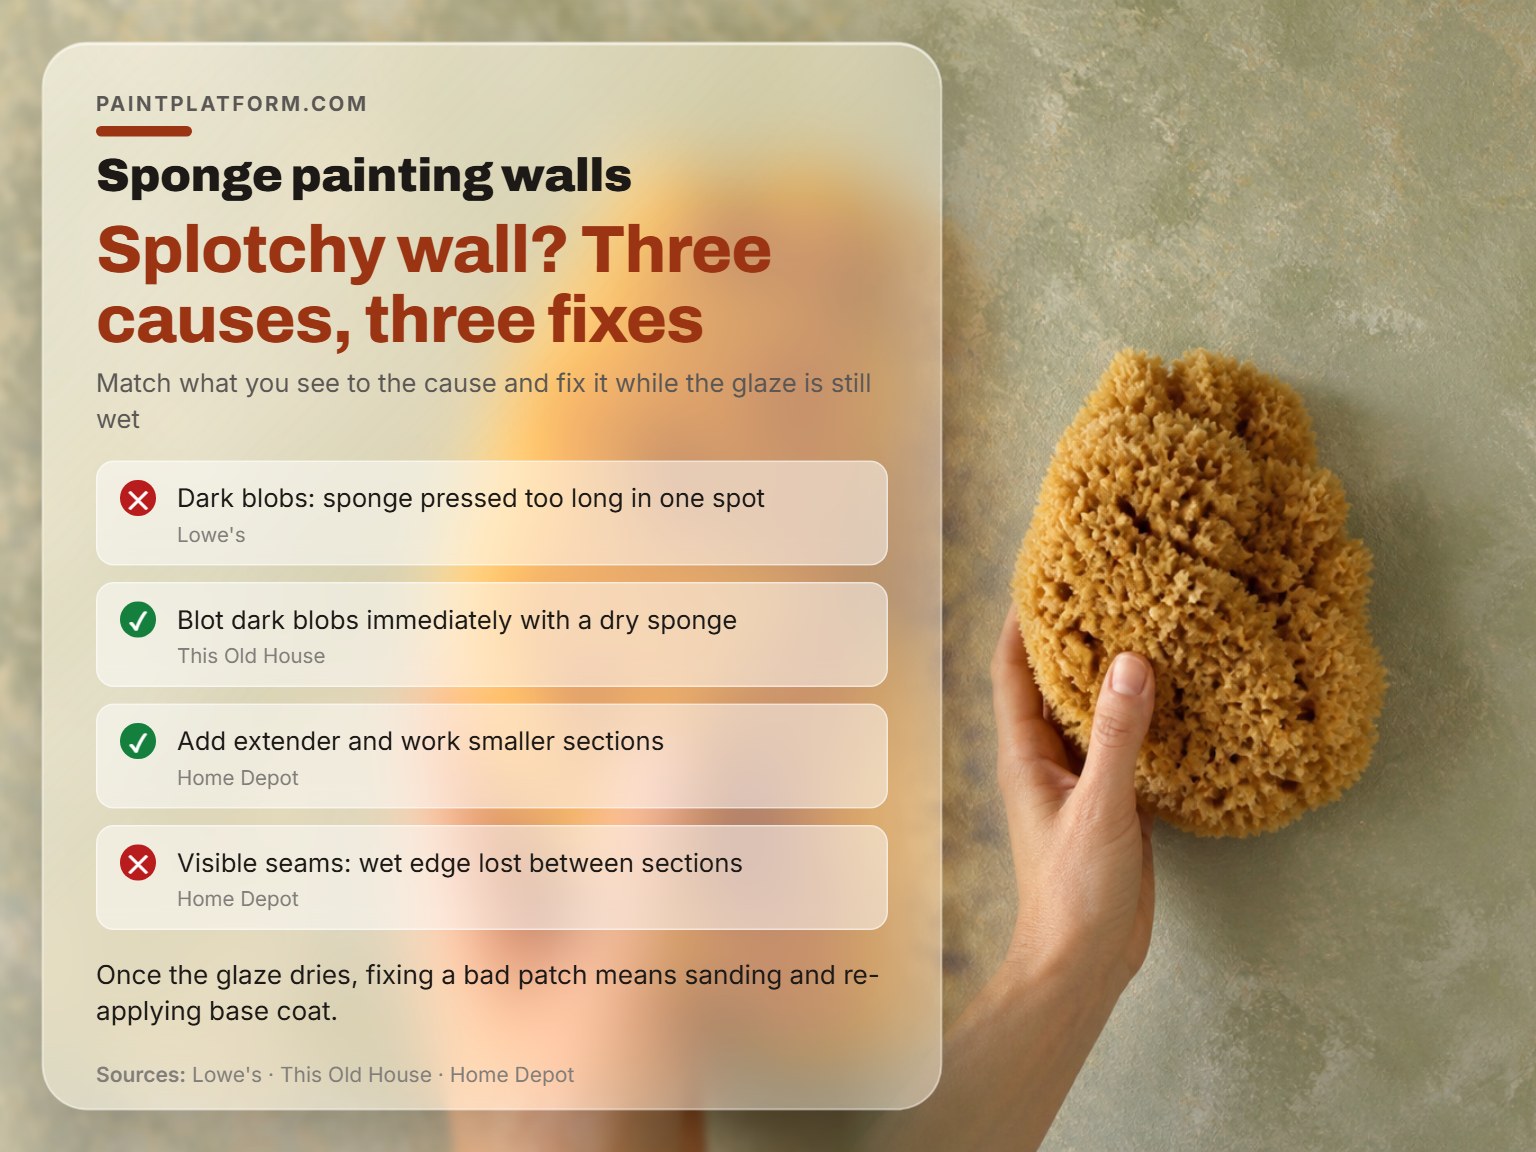
You step back from the wall and there it is: dark blobs where your hand slowed down, pale streaks where it sped up.
| What You See | Likely Cause | Fix While Wet |
|---|---|---|
| Dark blobs | Sponge pressed too long in one spot | Blot immediately with a dry sponge |
| Pale streaks | Glaze drying unevenly | Add extender, work smaller sections |
| Visible seams | Wet edge lost between sections | Overlap the next section into the wet one |
Lowe’s names the first one directly: pressing the sponge too long results in a splotchy wall. The fix is speed. This Old House’s painter Mauro blots drips and streaks with a dry sponge or cloth the moment they appear, and warns that once the glaze dries you’re into sanding and re-applying base coat territory. He keeps a wet rag in hand the entire time for exactly this reason.
Building depth this way is closer to texture paint on walls than to flat painting. The surface is doing the work, so a small error reads much bigger than it would in a solid color.
Common mistake: Waiting to see how a bad patch dries before fixing it. A wet blot takes two seconds. A dry one means sanding, re-priming, re-basing, and a visible repair patch under raking light.
I learned the dab-versus-swirl lesson the hard way on a leaf motif. I used a cheap makeup sponge, which is genuinely great for soft mottled color, and then swirled it instead of pressing straight down. The leaf became a blob with ambitions. Straight down, lift straight up. That’s the whole motion.
How Do You Keep It From Looking Like 1998?
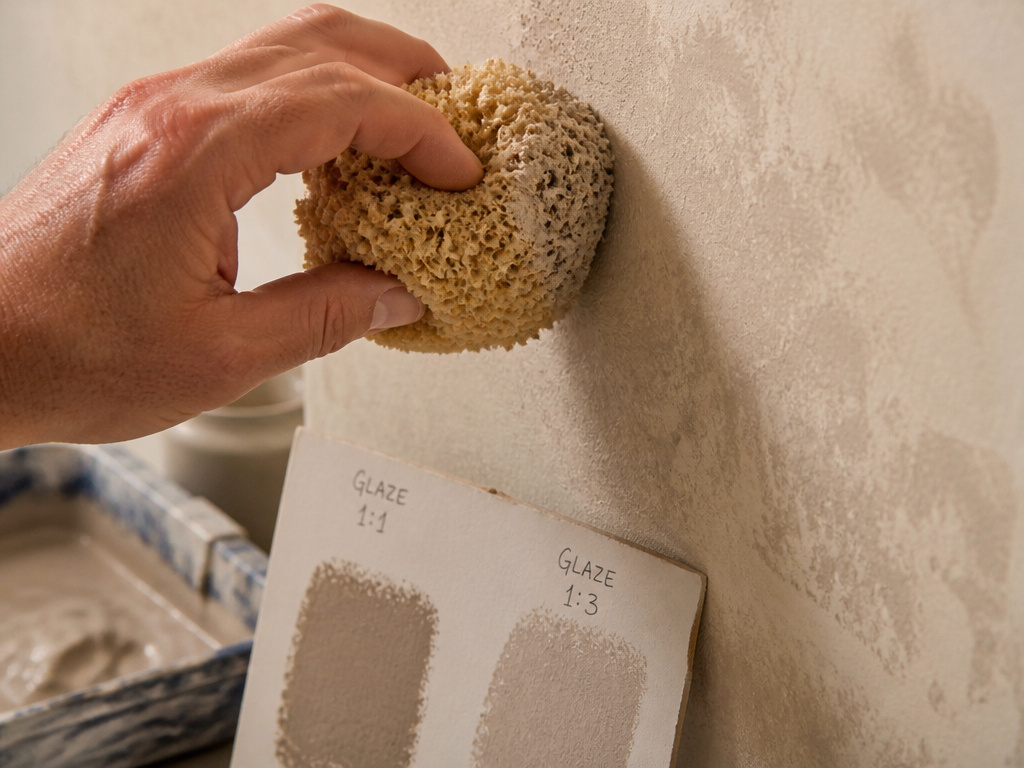
Everyone blames the sponge. The dated look usually comes from too many colors, not from the technique.
Sponge painting is one of the oldest decorative tricks in the book, and it’s the one that dates fastest when it’s overdone. Two tones over a base reads as depth. Four tones reads as a theme restaurant.
A few ways to keep it restrained:
- Two glaze colors, maximum, over one base coat. Family Handyman’s multi-color version is a showcase project, not a living room.
- Apply the third color almost dry, with the sponge barely loaded, if you use one at all.
- Keep the fourth color sparse and spotty, leaving most of the wall untouched.
- Test the whole palette on a board before it touches drywall.
If you want depth without the dapple, color washing gets you there with less risk, and the same wet-edge discipline shows up in a strie finish, where dragging a dry brush through wet glaze leaves fine vertical lines.
One last note on materials. Family Handyman doesn’t recommend oil-based glazes for this project, and This Old House’s method uses clear glaze mixed with satin latex. Stick with the water-based route. It cleans up with soap and water and it doesn’t leave the room smelling like a garage.
Grab a scrap of drywall and mix two batches, one at 1:4 and one at 1:1. Dab both. You’ll know which one you want almost immediately.
Frequently Asked Questions
How long does sponge painting a wall actually take?
Family Handyman puts a medium-sized living room or bedroom at a minimum of one full weekend. Most of that is drying time between layers, not active work. A single accent wall is a much shorter job, but plan around the cure times rather than the dabbing.
Do I need a natural sea sponge, or will a synthetic work?
Natural sea sponge leaves a more varied, random pattern than a manufactured one, which is why both This Old House and Family Handyman recommend it. Latex paint also washes out of natural sponges easily, so one sponge covers the whole project.
Can I sponge over satin or semi-gloss paint?
You can, but expect it to behave differently. Home Depot notes that satin and semi-gloss base coats take longer for the glaze to work than flat or eggshell, and Lowe’s says the same about drying. Give yourself more open time and consider a retarder.
Can one person do the sponging-off method?
Armaly Brands’ data sheet says the negative method is best done with two people, one applying and one removing, so the glaze never dries mid-process. Solo, you’re better off with the positive method. This Old House’s walkthrough is a single-person process for exactly that reason.
How do you clean a sponge-painted wall?
Gently, with a soft damp cloth. This Old House warns that harsh scrubbing can remove the textured finish. For scuffs and scratches, spot-sponge with the original color mixture rather than reaching for an abrasive pad.
The Bottom Line
Here’s the trigger that matters more than any ratio: if your glaze starts flashing off before you finish a section, stop and add extender. That single adjustment fixes more splotchy walls than any change to your sponge or your pressure. A glaze that stays open gives you time to correct, and time to correct is the whole game.
The concession is real, though. Sponging off looks better and I’d still tell a solo first-timer to skip it. Two people, one applying and one lifting glaze before it sets, produces a softer wall than one person can manage alone. If you don’t have a second pair of hands, the positive method gets you most of the way there.
Start on a board. Ugly board, good wall.
