
How to Paint Over Damp Walls: Fix the Leak First
This post contains affiliate links. As an Amazon Associate, we earn from qualifying purchases.
To paint over damp walls, work in three steps: find and stop the water source, get the surface damp rather than wet, then coat it with a product rated for that moisture level. Skip the first step and no coating holds for long, because damp-tolerant paints do not fix active leaks.
That damp-versus-wet line is the whole argument in miniature. Dulux Pre-Paint Dampshield spells out a simple test: press your palm flat against the wall, and if your hand comes away wet, the wall is not ready. NIST’s guidance on porous masonry draws the same line for resin emulsion paints, and Zinsser draws it again for Perma-White over damp masonry. Knowing how to paint over damp walls starts with that same distinction.
What follows is the order that holds up in practice: diagnosis, repair, product choice, prep, then application. The section on where the manufacturers and the standards bodies disagree is the one worth reading twice, because those gaps are where damp-wall jobs actually fail.
Key Takeaways
- Stop the water first. Dulux states that Pre-Paint Dampshield will not rectify waterproofing problems, and a constant flow through a wall calls for a specialist.
- Damp, not wet. Press a palm to the surface. If it comes away wet, you wait.
- Two coats to 100 microns total with Dampshield, and the first coat thinned 10% by volume with water.
- 10 degrees C is Dulux’s floor, while NIST only bars painting below 4 to 5 degrees C; the two sources disagree, so follow the stricter one.
How Damp Is Too Damp to Paint?
Dulux sets the ceiling at 50% moisture in the plaster and concrete sitting under the coating.
A damp-tolerant primer is rated for a moisture content, not for a water flow. Dulux Pre-Paint Dampshield permits up to 50% moisture in cement plaster and concrete, requires two coats to a minimum continuous total dry film thickness of 100 microns, and specifies a surface temperature between 10 and 35 degrees C.
That 50% figure is an application limit. It tells you the coating will bond and cure at that moisture level, and nothing beyond that. It says nothing about how much water will keep moving through the wall afterward.
A simple field test costs nothing. Rub the palm of your hand across the surface. If your palm comes away wet, the wall cannot be painted yet. Damp is fine. Wet is a stop sign.
NIST Letter Circular 747 reaches the same place by a different road. It permits resin emulsion paints on damp walls and rules out wet ones, and for cement-water paint it recommends wetting the wall no more than an hour before painting, sprayed three or four times for about ten seconds each.
Where this goes sideways: Painting a wall that fails the palm test. The film skins over, the moisture underneath has nowhere to go, and the coating blisters from the bottom up once the weather turns.
Fix the Water Before You Buy a Tin
I taped a square of clear plastic to a basement slab and left it there for a day. When I peeled it back, the underside had fogged and the concrete beneath had gone dark. That square of plastic saved me a weekend.
The test is crude and it works. Tape clear plastic down, leave it for a day, and look underneath. Fog or dark patches mean moisture is still moving through the slab.
Basements are the sneakiest version. The slab can look bone dry in the morning and bead water later in the season, so a test run in pleasant weather tells you nothing. Run it in the worst week of the year.
Once you know moisture is present, trace where it comes from:
- A roof or flashing failure, which usually leaves a stain high on the wall
- A leaking pipe or joint sitting behind the plaster
- A failed damp course, which shows as a horizontal band low down
- Condensation, which shows as an even film and often mold in cold corners
That changes the how to paint over damp walls prep list, not just the paint.
Dulux and Zinsser agree on the hard limit, in different words. Dulux states plainly that Dampshield will not rectify waterproofing problems, and that a constant efflux of water through a wall means a waterproofing specialist needs to be consulted. Zinsser allows Perma-White over damp masonry but says outright that it is not designed to stop active water leaks, and points users to Water-Tite Hydraulic Cement for patching, followed by Water-Tite waterproofing paint on masonry prone to water intrusion.
That is the fork in the road. A wall that got damp once is a painting job. A wall that keeps getting damp is a building job, and bubbling and peeling paint is the receipt you get for confusing the two.
Three Coatings That Tolerate Damp, and What Each One Can’t Do
Buy the wrong tin for how to paint over damp walls and you have burned a weekend.
Three products cover most damp-wall work, and they do genuinely different jobs. One is a barrier primer. One is a finish coat with a mold inhibitor built into the film. One is a patch for water that is still arriving.
| Product | Best for | What it cannot do |
|---|---|---|
| Dulux Pre-Paint Dampshield | Cement plaster and concrete up to 50% moisture | Fix a wall with constant water through it |
| Zinsser Perma-White | Interior masonry that is damp but not leaking | Stop an active leak |
| Water-Tite Hydraulic Cement | Patching active and non-active leaks | Serve as a finish coat |
| Zinsser B-I-N | Blocking water, rust and tannin stains | Cover mold that has not been removed |
Dampshield is the one I reach for on bare cement render. Two coats, worked well into the surface, to a minimum continuous total dry film thickness of 100 microns. The first coat gets thinned 10% by volume with water, which is not optional and not a suggestion.
Thick textured paint sold as a cover-up for a damaged wall is the most expensive way to postpone a repair. It hides the crack until the next wet season, then the crack returns through a surface that is now much harder to skim flat.
Zinsser Perma-White is a finish coat, so the numbers are different. Recommended dry film thickness is 37.5 to 50 microns per coat, coverage lands around 7.4 to 9.8 square metres per litre at that thickness, and it touch-dries in 30 minutes with a 2-hour recoat. Full cure takes 7 to 10 days and you must not scrub it for the first seven.
Fair warning: Perma-White is not intended for floors, or for anything under immersion or prolonged water contact. That rules out shower enclosures, saunas, steam rooms and HVAC duct work.
For stains that keep bleeding through, Zinsser specifies a stain-killing primer-sealer such as B-I-N or Bulls-Eye Odorless before the topcoat goes on. Shellac-based blockers will not wash out with water or white spirit, so keep a cheap brush for them and accept that it belongs to that one product.
Where Dulux, Zinsser and NIST Disagree on the Numbers
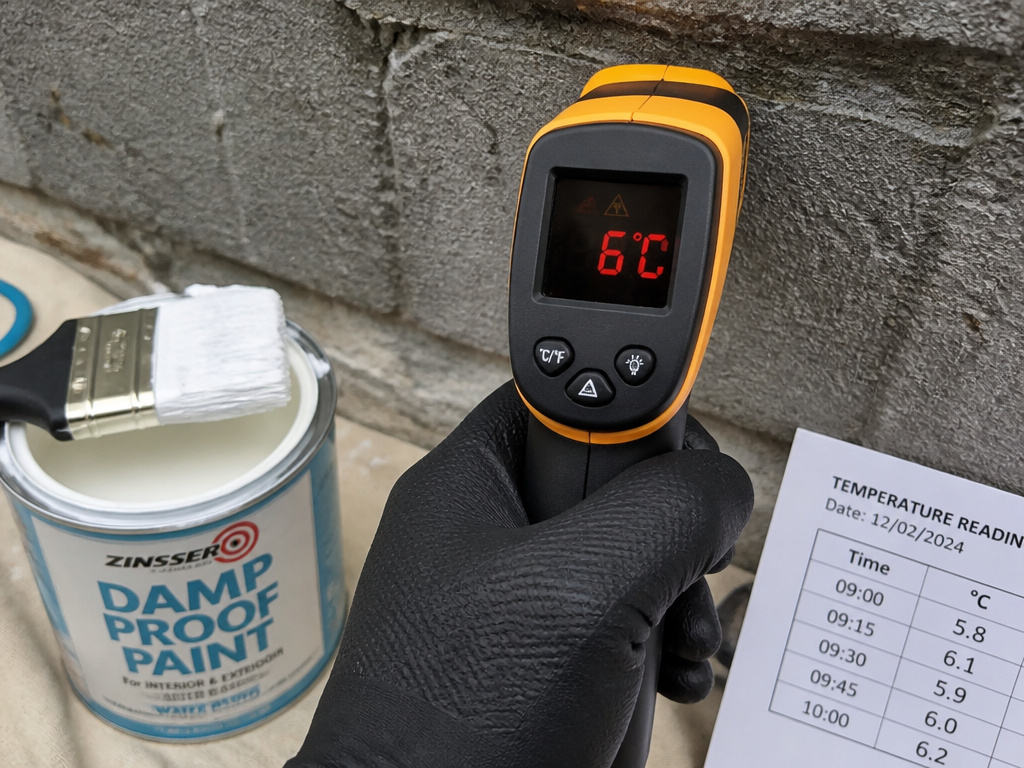
The published numbers do not line up.
Start with temperature, because it is the one that catches people mid-job. Dulux requires a surface temperature between 10 and 35 degrees C and bars painting in cold weather below 10 degrees C. NIST bars painting on frozen masonry or when the temperature may fall below 4 to 5 degrees C within 4 to 8 hours. A wall sitting at 6 degrees C passes the NIST test and fails the Dulux one.
Recoat intervals diverge just as sharply:
| Coating | Recoat interval | Overcoat deadline |
|---|---|---|
| Dulux Pre-Paint Dampshield | 4 hours at 23 degrees C | 7 days maximum at 23 degrees C |
| Zinsser Perma-White | 2 hours | None stated; full cure 7 to 10 days |
| NIST cement-water paint | 24 hours minimum | Damp-cure for 2 days after final coat |
Where one document says 10 degrees C and another says 4, the sources disagree; many painters pick the stricter number, but the wall does not care which one you followed. It only cares that the film cured.
Film build is the third gap. Dampshield wants two coats to a minimum continuous total of 100 microns. Perma-White wants 37.5 to 50 microns per coat. Those are different targets for different products, so do not average them.
The fourth disagreement is about old paint. NIST says old coatings remaining after a wire brushing need not be removed. Zinsser says surfaces should be free of loose paint and other contamination, and that all existing mold and mildew must come off. The sources disagree: NIST says sound old paint can stay after wire brushing, while Zinsser requires surfaces free of loose paint and contamination, so loose and flaking paint comes off.
There is also a research problem worth knowing about. A 2011 study in the Journal of Coatings Technology and Research tested 16 commercial paint systems on both dry and damp mortar and found that a coating’s effect on substrate drying varies significantly with the moisture content of that substrate. The authors concluded that vapour permeability measured on dry specimens may only predict behaviour on dry walls. In other words, a data sheet validated in a dry lab is telling you less than it appears to.
NIST later superseded its own circular with NIST Letter Circular 915, which is a useful reminder that masonry painting guidance has been revised before.
The Prep That Decides the Job: Bleach, Wire Brush, Chalky Plaster
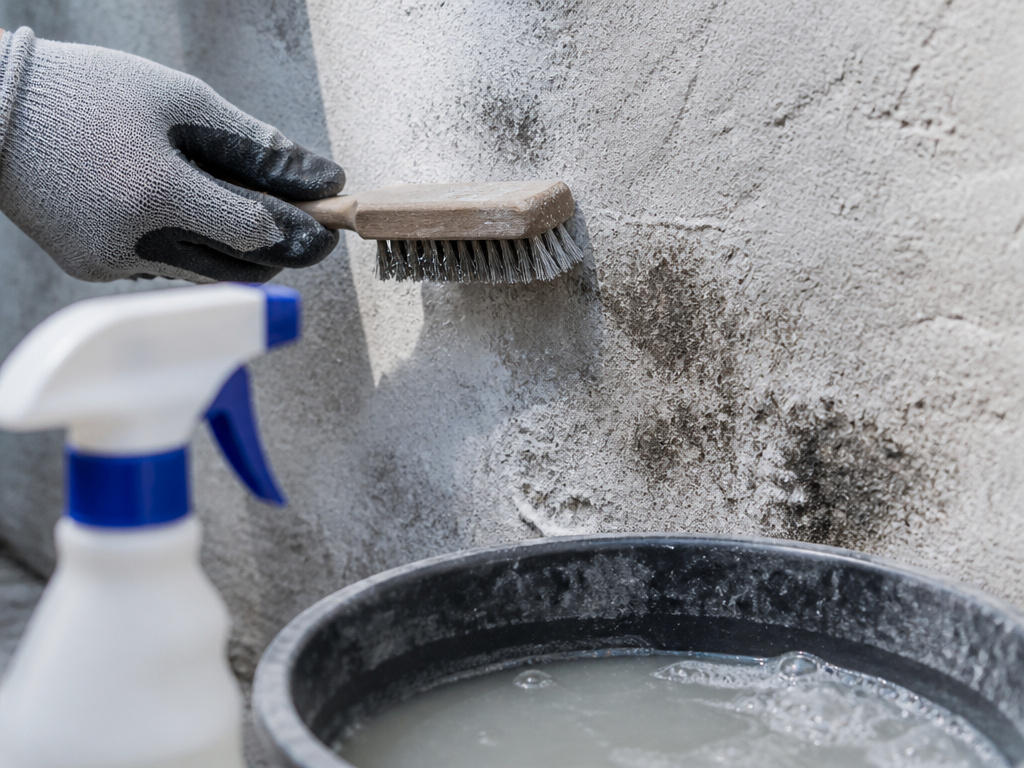
Everyone assumes the bleach mix is the important part. Both manufacturers are really asking for contact time.
Dulux specifies scrubbing with a 4:1 water/chlorine mix, or 4:1 water/sodium hypochlorite, saturating the area and letting it react for a minimum of 4 hours before rinsing thoroughly with clean water. Zinsser’s mix is far weaker: one cup of household bleach per 3.78 litres of water, or a biocidal wash.
Before you start: Chlorine bleach and sodium hypochlorite give off fumes that sting eyes and lungs, so open the room up and wear eye protection before you start scrubbing. Keep the solution off nearby metal and plants, and rinse the whole wall with clean water afterward, which both data sheets require before anything else goes on.
Killing mold before you paint
Zinsser requires all existing mold and mildew to be removed before painting, which means physically removing it before a brush goes anywhere near the wall. If you are dealing with mold on walls across a large area, the prep is the job and the paint is the last ten percent of it.
For a wall that keeps growing it back, a mold-resistant paint buys you time, but only after the spores are gone. Zinsser also advises contacting a professional mold remediation specialist if you are worried about growth behind walls, under flooring, or inside ventilation systems.
What to do with chalky or friable plaster
Chalky plaster is a hard stop for Dampshield. Drag a finger across it and your fingertip comes away white with dust; that powder is the surface failing, and a primer bonded to it will lift away with it.
NIST’s approach is a wire brush and a lot of elbow, with old paint coatings left in place after brushing. Friable plaster has to be removed and repaired first, and enamel surfaces get sanded back to a matt finish.
Before any of that, the wall needs to be clean. Dust, grease, wax, wall covering adhesive and soap film all interfere with adhesion, and Zinsser lists every one of them. Cleaning before painting is the least glamorous step and the one that decides whether the rest holds.
Five Steps to Paint Over Damp Walls Without Trapping Water
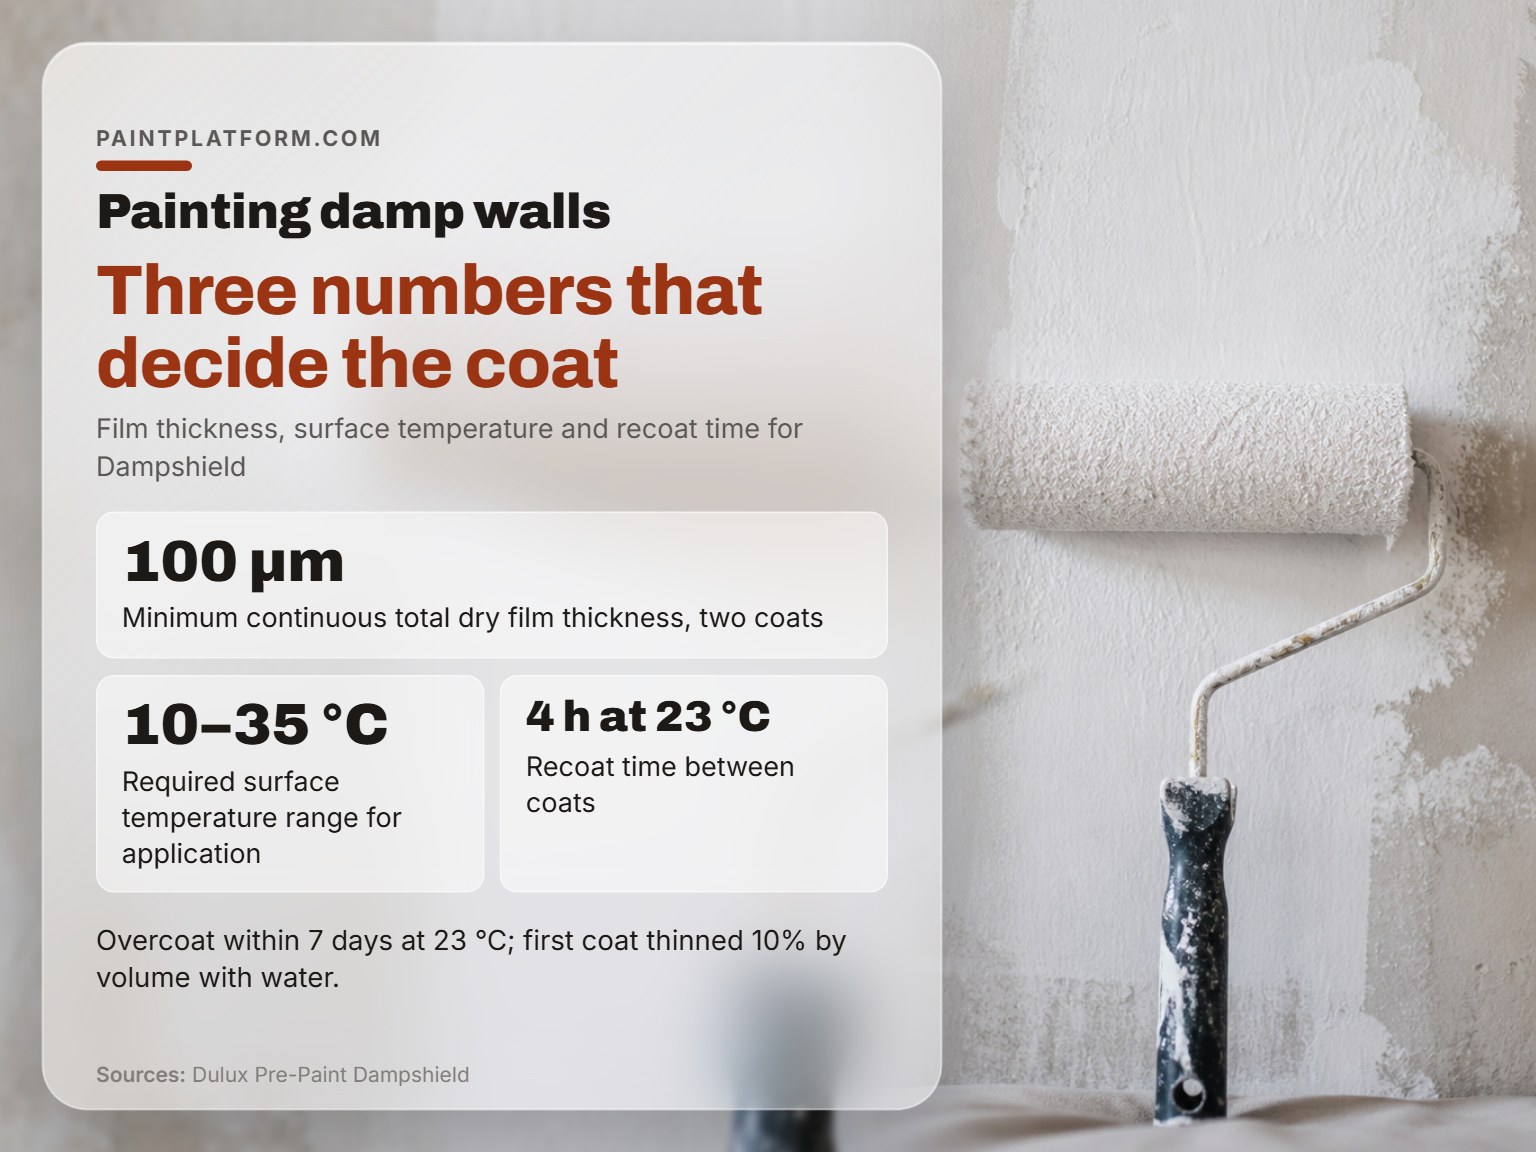
Three numbers decide whether this coat works: film thickness, surface temperature, and recoat time.
- Check the conditions. Surface temperature between 10 and 35 degrees C, relative humidity between 10 and 85%, or at least 2 degrees C above dew point. Ignore the humidity clause and the film can stay soft for days.
- Let new plaster dry 48 hours before Dampshield goes anywhere near it. Paint it green and you trap the construction moisture under a barrier.
- Thin the first coat 10% by volume with water. Dampshield is specified this way, and skipping it leaves a coat too stiff to work into the surface.
- Apply the second coat after 4 hours at 23 degrees C. Go early and you will drag the first coat rather than build on it.
- Overcoat within 7 days at 23 degrees C. Miss that window and Dampshield is no longer a weathering surface, because it is not designed to withstand natural weathering on its own.
The 1 square metre block method
Dulux recommends applying the coating in 1 square metre areas at a time, corner to corner, in a stepwise manner. Start smaller than you think and work outward from a corner.
Rolling an entire wall in one pass is how you end up with a wet edge that has already gone off by the time you come back to it. Small blocks keep the edge alive.
I learned the topcoat lesson the hard way going from a dark navy wall to a pale one. With a tinted primer, the same wall took fewer coats, and I stopped grumbling. Ask the paint counter to tint the primer toward your topcoat color.
Why Do Paint Bubbles Come Back?
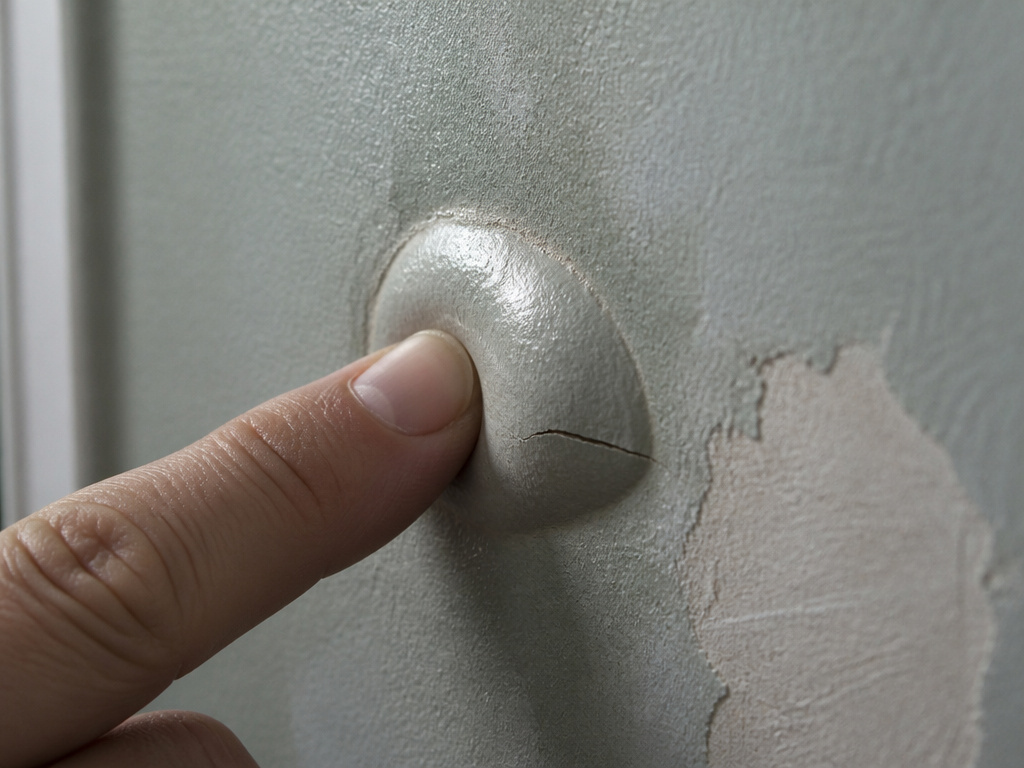
Sixteen paint systems went onto dry and damp mortar in a 2011 study, and the damp ones did not behave like the dry ones.
That is the mechanism behind every comeback blister. Moisture moves through masonry, and a coating that slows that movement on a dry wall can slow it differently on a damp one. The water still has to go somewhere.
Tap a blister with a fingernail and it sounds hollow, like a drum with nothing behind it. That is trapped vapour, not a bad batch of paint.
Three things to check before you blame the coating:
- Whether the wall still fails the palm test in wet weather
- Whether the blisters sit low on the wall, which points at rising moisture
- Whether they cluster in cold corners, which points at condensation instead
Small blisters get sanded back to sound paint and refilled. A whole wall of them means moisture is still arriving, and paint bubbling at that scale is a diagnosis problem before it is a paint problem.
If the wall is cold and the room is steamy, the water is condensing on the surface rather than travelling through it. That is a different fault with a different answer, and anti-condensation paint is one part of the fix rather than the whole of it.
Easy to miss: A wall that reads dry in July can be wet in January. Run the plastic test in the worst weather you get, not the best.
Frequently Asked Questions
Can I paint straight over a damp wall with no prep?
Not if it fails the palm test. Dulux requires the surface to be damp and not wet, and new plaster has to dry 48 hours first. Prep also means removing dust, grease and any existing mold, because Zinsser lists all of those as adhesion blockers.
What temperature is too cold to paint a damp wall?
It depends which document you follow. Dulux bars application below 10 degrees C surface temperature, while NIST only bars painting on frozen masonry or when the temperature may fall below 4 to 5 degrees C within 4 to 8 hours; the sources disagree, so use 10 degrees C as your working floor.
Will damp-proof paint stop the damp coming back?
No. Dulux states that Pre-Paint Dampshield will not rectify waterproofing problems, and Zinsser states that Perma-White is not designed to stop active water leaks. Both point to repairing the source, and Zinsser names Water-Tite Hydraulic Cement for patching leaks before waterproofing.
How soon can I wash a wall painted with Zinsser Perma-White?
Wait seven days. Perma-White reaches full cure in 7 to 10 days and must not be scrubbed for the first seven, even though it touch-dries in 30 minutes and takes a recoat after 2 hours.
Can I use Perma-White in a shower or on a floor?
No. Zinsser rules out floors, shower enclosures, saunas, steam rooms, and any surface under immersion or prolonged water contact, plus HVAC duct work. It is an interior wall and ceiling product.
Do I have to strip all the old paint first?
It depends which source you follow. NIST says old coatings left after a vigorous wire brushing need not be removed, while Zinsser requires surfaces free of loose paint and contamination; the sources disagree, so strip what is loose or flaking and leave what is sound.
Before You Go
Everything above assumes the water has a cause you can find and fix. When it does not, or when it keeps returning after an obvious repair, stop buying paint and get someone to look at the wall properly. That is not a failure of nerve. It is the cheaper path.
The number worth remembering is 10 degrees C at the surface. Below that, Dulux will not stand behind the coat, and a cold night can leave a film that never quite cures.
Tonight, tape a square of clear plastic to the worst wall in the house and leave it until tomorrow. That is the whole test. Ten minutes now beats a weekend of scraping later, and it tells you which of the two jobs you actually have.
