
Drawing for Beginners Guide: What to Buy First
This post contains affiliate links. As an Amazon Associate, we earn from qualifying purchases.
A drawing for beginners guide should start with three things: a graphite pencil, cheap paper, and a short daily session. Real beginner courses sequence graphite before charcoal, colored pencil, and pastel, and they ask for a #2 pencil, a kneaded eraser, and a sketchbook long before anything expensive.
Graphite earns that first slot because it’s the most forgiving mark you can make. It lifts with an eraser, it moves under a fingertip, and a bad line costs you a few seconds. That order of operations shows up in course syllabi and in published beginner books alike.
What follows walks the supply list a real college course hands out, the four places where reputable sources flat-out disagree, and the habits that keep a beginner drawing past week three.
Key Takeaways
- Graphite owns the first six lessons. A ten-lesson beginner course can run graphite-only for more than half its length before color appears.
- Buy the ASTM D-4236 label. CPSC advises choosing art materials marked “Conforms to ASTM D-4236” with no cautionary warnings.
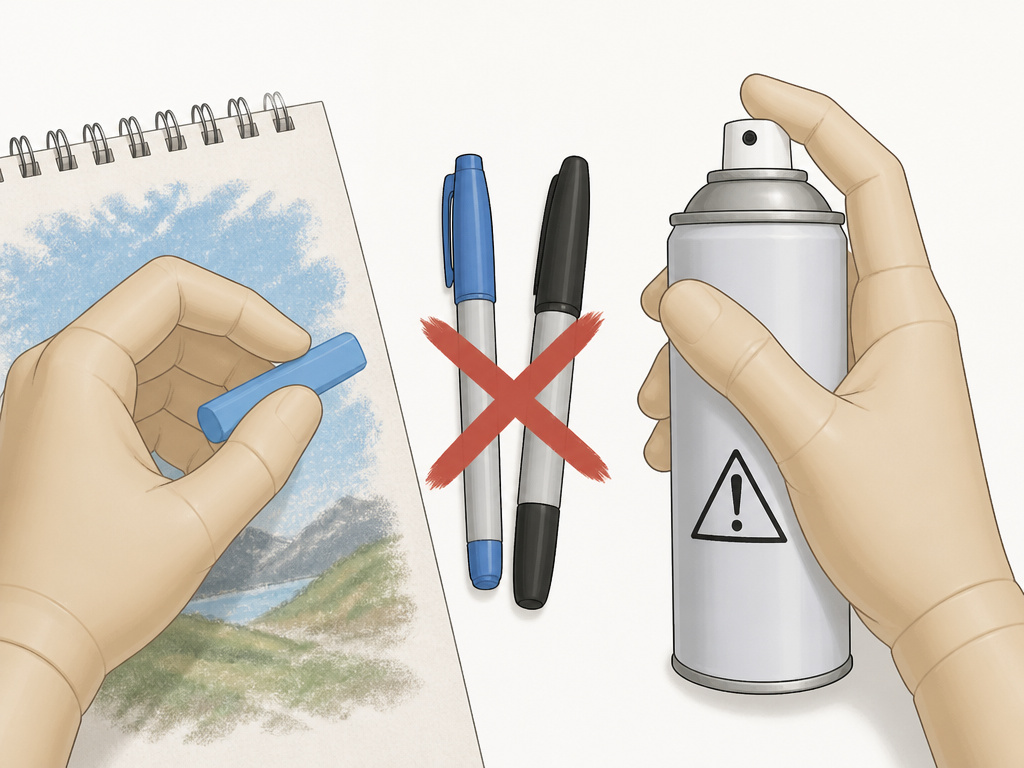
- Chalk pastels, per one course. The UND supply list specifies chalk and explicitly excludes oil pastels.
- Restate the line instead of erasing it. Overdrawing a correction keeps the paper intact and teaches your hand the right path.
- A cheap sketchbook beats a precious one. Precious paper makes people afraid to ruin it, and fear kills practice.
What a Drawing for Beginners Guide Should Tell You to Buy
The University of North Dakota’s Art 230 supply list is about as specific as beginner lists get, and it’s worth reading line by line.
A beginner drawing kit built to a ten-lesson college syllabus contains a #2 drawing pencil, a #4 graphite stick, a charcoal pencil, 12 to 24 color pencils, 12 to 24 chalk pastel sticks, a blending stump, grey and kneaded erasers, an erasable felt-tip pen, and a small can of fixative.
Notice what isn’t on it. No 72-pencil set. No studio easel, no brush roll, no wooden box with a sliding tray.
That list is a sequence. Lessons one through six run on graphite pencils for black-and-white work. Chalk pastel sticks arrive in lessons seven, eight, and ten, and colored pencil gets lesson nine to itself.
| Item | Spec the source gives | Where it shows up |
|---|---|---|
| #2 drawing pencil | Standard graphite, black and white | Lessons 1-6 |
| #4 graphite stick | Soft, wide marks | Lessons 1-6 |
| Chalk pastels | 12 to 24 sticks, oil excluded | Lessons 7, 8, 10 |
| Color pencils | 12 to 24 | Lesson 9 |
| Erasable felt-tip pen | Vis-a-vis named, not Sharpie | Course-wide |
The pencil slot is the one place I’d spend a little more, though a cheap sketchbook still beats a precious one. A mid-grade graphite pencil does what the #2 pencil on that list does. A grey eraser covers the grey eraser slot without crumbling into grey dust.
Building the rest of the kit is easy. A workable art supplies for beginners setup fits in one pencil case. Before you buy a pencil set, read up on pencil grades, because the H and B scale explains why different grades behave like different tools entirely.
Common mistake: Buying a large pencil set before you’ve filled one sketchbook. Most of those grades never get touched, and the tin makes every drawing feel like an exam.
Before you start: Fixative is an aerosol, and the CPSC art and craft safety guide groups aerosols under its chemical storage and ventilation precautions. Spray outdoors or with a fan moving air across the room, away from your face. Stack pages too soon and the fixative grabs, and you’ll peel pigment off the sheet the next day.
Graphite First, Pastels Later: How Beginner Lessons Sequence
Six of the ten lessons in that North Dakota course never touch color.
That’s deliberate. Graphite lifts off the page with an eraser, so a beginner can correct a wrong line in lesson one and still finish a clean drawing in lesson two. Charcoal and pastel don’t offer that reset. You build them up and you live with what you laid down.
- Lessons 1-6: graphite only. The workbook exercises live here, so skipping them leaves lessons seven through ten without a foundation.
- Lessons 7, 8, and 10: chalk pastel. Oil pastels blend differently, and the course excludes them on purpose.
- Lesson 9: colored pencil. It sits alone between the pastel lessons, which makes it a bridge rather than a finale.
- No exams anywhere. Assignments are drawings, journal entries, and a research paper.
The whole thing is self-paced, so you can take a month off. Self-paced means you can take a month off. It also means nobody chases you.
If you want to know which drawing pencils hold up under that much use, that’s a separate rabbit hole worth going down.
Value work is where the course earns its keep. A separate peer-reviewed beginner text, the college-level drawing basics OER from Lemoore College, treats value as its own skill with its own drills: hatching, cross-hatching, stippling, scribbling, blending, and rendering.
A graphite stick dragged sideways across cold paper makes a soft, gritty scratch. That sound tells you more about pressure than any written instruction does.
Where Beginner Drawing Advice Contradicts Itself
Two reputable sources can hand you opposite instructions and both be right for their own context.
That’s normal. An instructor writes for a classroom and a publisher writes for a bookstore.
| The question | One position | The other position |
|---|---|---|
| Pastels for beginners | UND: chalk pastels, oil excluded | Walter Foster: pastels, no medium limit |
| Fixative | CPSC: pick materials with no cautionary labels | UND: a small can of fixative or cheap hairspray |
| Erasable marker | UND: Vis-a-vis, not Sharpie | Common beginner kits: Sharpie |
| Sketching vs drawing | MIT OCW: freehand vs instrument | UND: one skill progression |
Take pastels first. The UND course specifies chalk pastels and explicitly excludes oil. Walter Foster’s beginner guide lists pastels with no medium restriction at all. If you’re following the course, buy chalk.
Fixative is the sharper conflict. CPSC’s guidance is to choose art materials with no cautionary warnings and to follow storage and ventilation precautions for chemical hazards, while the UND supply list asks for a small can of fixative or cheap hairspray and attaches no safety caveat. The aerosol doesn’t care which course you’re taking.
The erasable marker is a small one. UND names Vis-a-vis and says so plainly: not a Sharpie, while common beginner advice recommends Sharpie for erasable work.
Then there’s the word “drawing” itself. MIT’s 2.007 courseware splits sketching, which is freehand, from drawing, which uses instruments or a computer. UND treats drawing as one progression across graphite, charcoal, colored pencil, and pastel. Both readings are useful. Pick the one that matches what you want to make.
The full CPSC art and craft safety guide is worth a skim even if you never touch a spray can. And the University of North Dakota drawing course publishes its whole supply list and lesson map for free, which is rare enough to be worth bookmarking.
How Do You Stop Your Hand From Smudging Pencil Work?
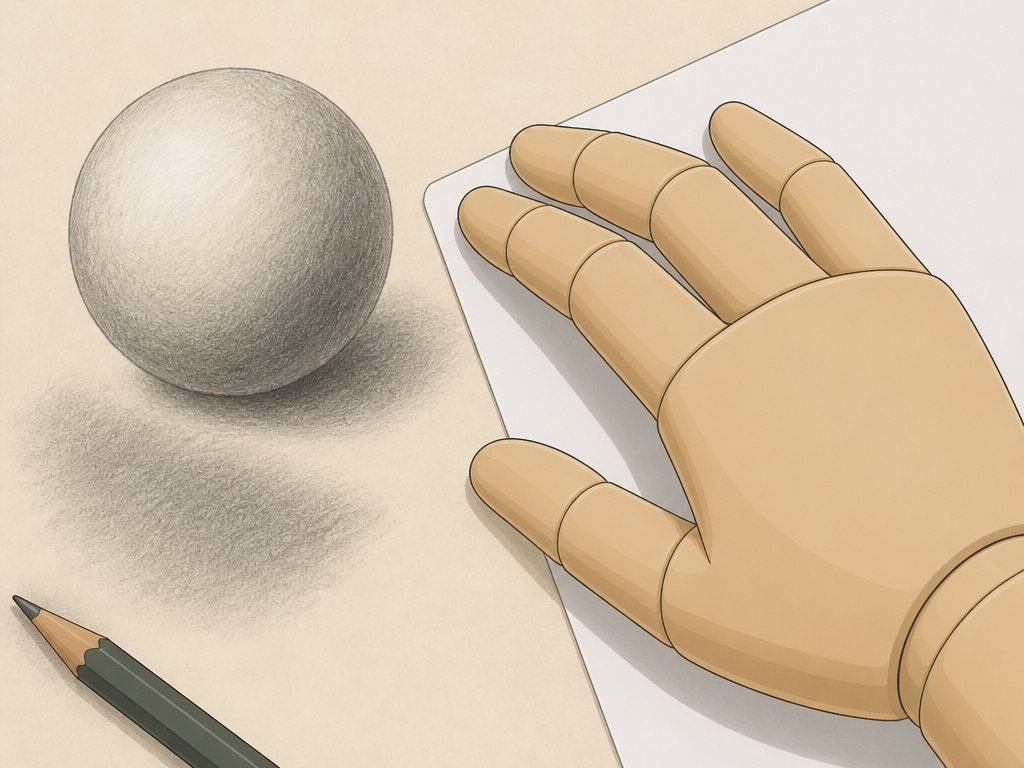
Halfway down a shaded page, the heel of your hand comes away grey and a shadow you spent ages building has gone soft.
That’s the moment a lot of beginners decide they’re bad at pencil.
I keep running into this with students who work on the right side of the sheet, where the hand has nowhere to land except fresh graphite. A plain scrap sheet under the hand has solved it every single time. No bridge, no glove, no special paper.
Graphite sits on the surface of the paper as a thin film. Warmth and pressure move it. So a dragging hand doesn’t just blur the work. It relocates it, lifting detail out of the dark areas and dropping it into the light ones.
Once the smudging stops, shading techniques become worth practicing, because you can finally see what you actually did. Paper matters too. The drawing paper types breakdown explains why a smooth Bristol refuses graphite that a rough sheet grabs.
I’d rather see a page of visible corrections than a page scrubbed down to a grey ghost. Restating a line teaches your hand where the line belongs. Erasing teaches it to hesitate.
Why Restating Beats Erasing
Erasing feels tidy. It also removes the evidence of the mistake, which is the part your hand needed to see.
Draw the corrected line right on top of the wrong one, slightly darker. The old line stays visible as a ghost, and after a few pages those ghosts show you exactly which curve you keep misjudging.
There’s a limit, though. If the paper has gone shiny and grey, you’ve erased past the point of correction, and no amount of overdrawing will rescue it. Turn the page and redraw the whole thing in two minutes.
Value, Shadow, and the Two Habits That Carry Everything Else
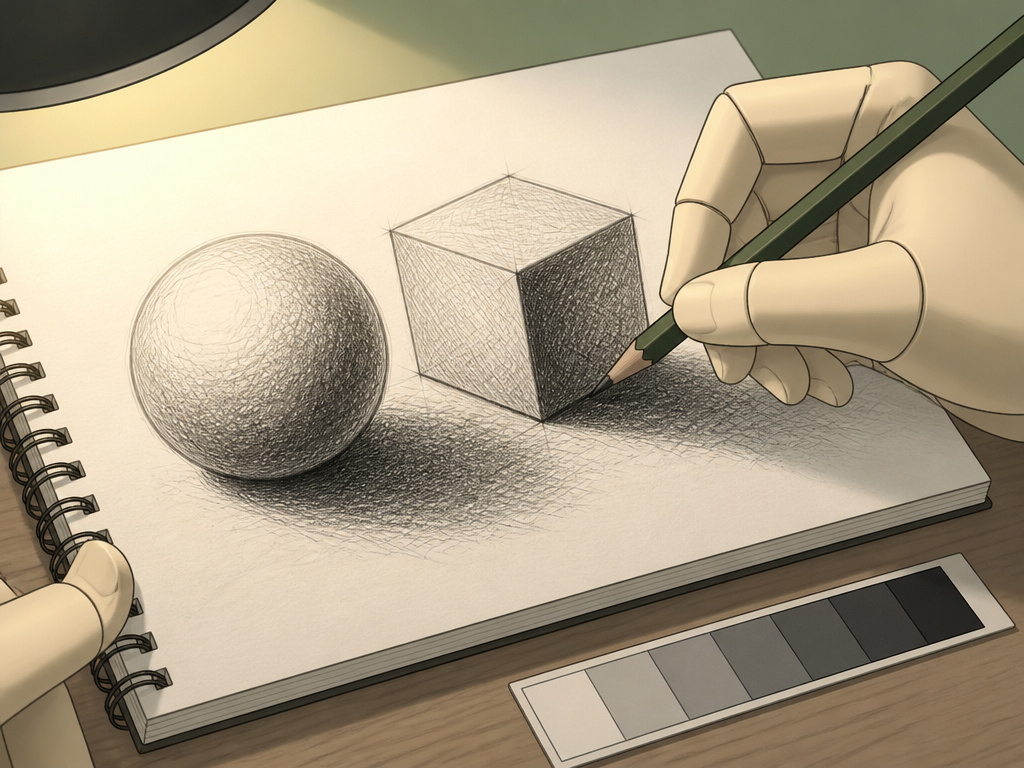
Value is the range of light and dark in a drawing, and it does more for realism than line quality ever will.
The Lemoore text is blunt about why. Value creates depth, form, and the sense that an object sits somewhere instead of floating.
Cast shadows do the anchoring. An object blocks light, the shadow falls on another surface, and the sharpness of that shadow depends on the distance between the object, the surface, and the light source. Move the lamp closer and the shadow hardens.
Hatching, Cross-Hatching, and the Rest
- Hatching. Parallel lines, spaced wide for light and tight for dark.
- Cross-hatching. A second set of lines at an angle, which builds density fast.
- Stippling. Dots. Slow, patient, and unbeatable for texture.
- Blending and rendering. Smooth gradients, usually worked with a stump.
- Scribbling. Loose, fast marks that read as tone from across the room.
The Gray Scale Finder and High-Key Versus Low-Key
A gray scale value finder is a strip of known values you hold up against the drawing. It takes the guesswork out of “is this dark enough.”
High-key and low-key lighting are two ends of the same dial. High-key keeps most of the page light with a few dark accents. Low-key runs the other way.
Value and drawing in perspective are the two skills that make a flat sheet read as a room. A still life setup gives you something to test both on, and it beats drawing from a photo because the shadows actually shift while you work.
If you can’t tell where the light is coming from in your own drawing, neither can the viewer. Pick a direction and commit to it for the whole page.
Should You Draw From Life or From Printed Shapes First?
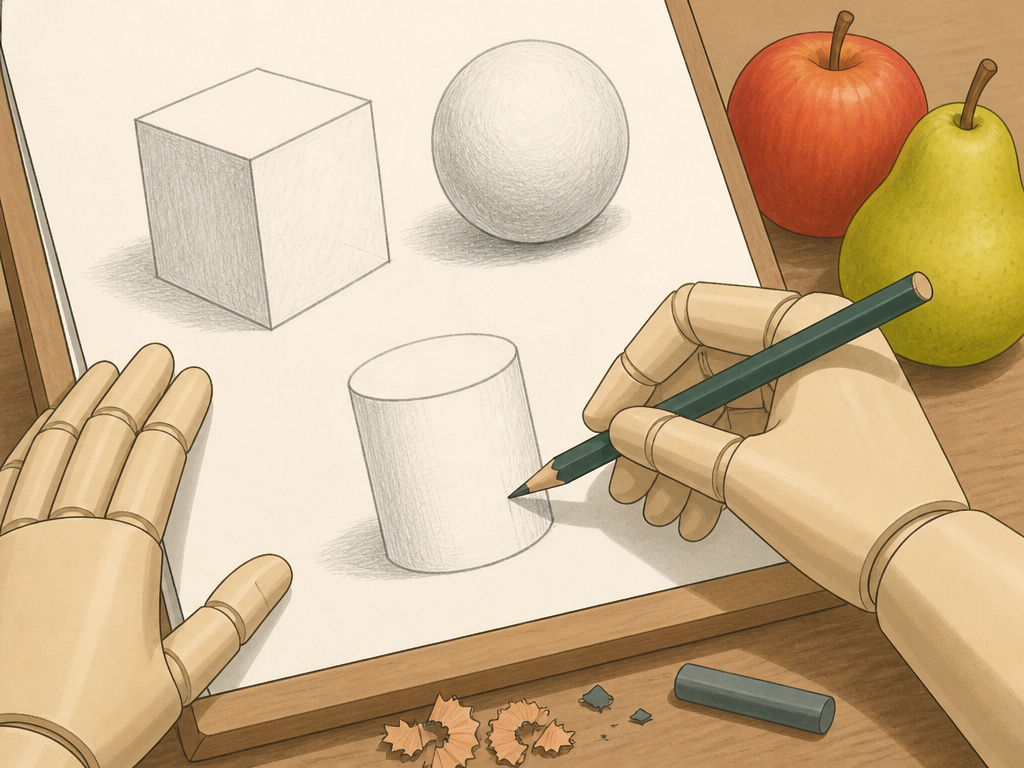
Drawing from life is the advice everyone gives, and for one nervous beginner I worked with, it was exactly the wrong first step.
She froze. A real object on the table meant every proportion could be wrong at once. We backed up to simple printed shapes, built them up for a few weeks, and then she moved to real objects without the panic.
Walter Foster’s Drawing: How to Draw 1 runs the same play. It starts with basic shapes and turns them into fruits, flowers, animals, portraits, and cartoons, all in graphite pencil.
Printed shapes versus life: shapes win in week one, life wins by week four. Shapes let you isolate one problem at a time. Life hands you information no photo carries, like the way a shadow softens as the afternoon goes.
Two exercises speed that transition up. Contour drawing forces you to follow an edge without looking at the page, which rebuilds the habit of seeing rather than assuming. Gesture drawing works the opposite muscle: fast, whole-body marks that catch a pose before it moves.
Where this goes sideways: Drawing from a photo and calling it a life study. Photos flatten shadows into a single value, so you end up copying a bad translation instead of learning to see.
Chalk pastel dust drifts across the page and settles on the easel ledge, and it smells faintly of chalkboard.
What to Read Next, and What to Skip
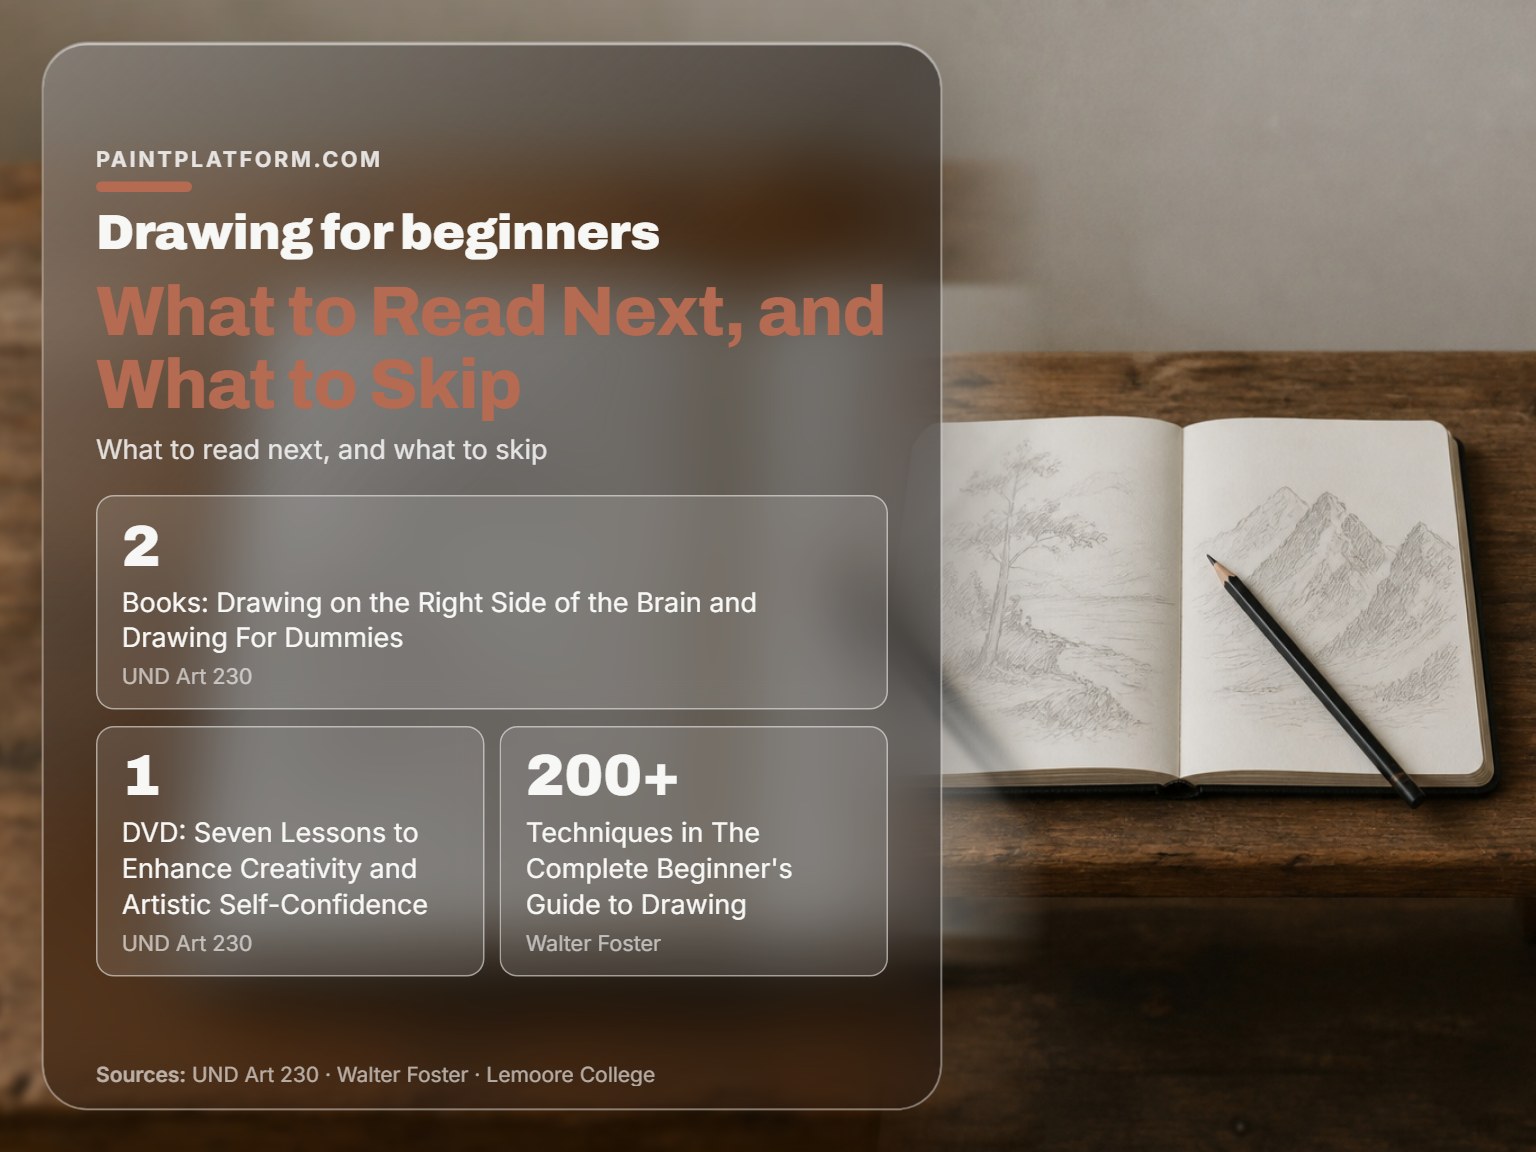
Three free sites, two books, and one DVD. That’s the short list.
Betty Edwards’ Drawing on the Right Side of the Brain, 4th edition, is the one most courses assign. UND pairs it with the 2nd edition workbook and a 1999 DVD, Seven Lessons to Enhance Creativity and Artistic Self-Confidence.
Drawing For Dummies, 3rd edition, is by Jamie Platt and runs 352 pages. The illustrations are newly enlarged in this edition, which matters more than it sounds when you’re copying shapes off a page.
Walter Foster’s The Complete Beginner’s Guide to Drawing packs more than 200 techniques into 240 pages of hardcover, covering landscapes, still lifes, flowers, animals, portraits, and the human figure.
For value specifically, the Lemoore text points at Giovanni Civardi’s Drawing Light & Shade: Understanding Chiaroscuro. Chiaroscuro there means the four light-related phenomena, which is a formal name for what you’re already doing with a pencil.
- Proko. Figure and portrait construction, heavy on structure.
- Drawspace. Printable lesson libraries.
- The Virtual Instructor. Long-form lessons on light and shadow.
- Ctrl+Paint. A digital painting site, but the value lessons transfer to paper.
- Artists Network. Articles and tutorials across every medium.
The National Gallery of Art drawing resource adds something none of those have: a working artist talking through his own drawings, plus galleries from the collection and a beginner lesson. It’s aimed at grades 6-12, and the explainer holds up fine for adults.
One skip. Skip any kit that promises to teach you to draw in a weekend. A sketchbook for beginners should be cheap enough that filling it fast feels like the point.
Frequently Asked Questions
Do I need expensive supplies to start drawing?
No. A #2 drawing pencil, a kneaded eraser, and a cheap sketchbook cover the first several weeks. CPSC’s guidance points at the label rather than the price: buy materials marked “Conforms to ASTM D-4236” with no cautionary warnings.
What’s the difference between chalk and oil pastels for beginners?
Chalk pastels are dry pigment sticks that blend by smudging and lift partially with an eraser. Oil pastels carry a wax binder and blend differently. The UND course specifies chalk and explicitly excludes oil, so buy chalk if you’re following a syllabus.
How long does a beginner drawing course take?
The UND Art 230 course is self-paced and finishes ten lessons. There are no exams. Assignments are drawings, journal entries, and a research paper.
Should I erase my mistakes or draw over them?
Draw over them. Restating a line slightly darker keeps the correction visible and teaches your hand the correct path. Erasing until the paper greys out removes the evidence you needed.
Can I learn to draw from photos instead of real objects?
Yes, with a caveat. Photos flatten shadows into a single value, so you copy a translation rather than the thing itself. Use photos for practice and set up a real object when you want to study how light actually behaves.
The Bottom Line
Here’s your first step, and it takes one evening. Buy one graphite pencil, one kneaded eraser, and the cheapest sketchbook you can stand. Draw the same mug from three angles. Don’t erase anything.
If you fill that sketchbook and the mug still looks wrong, that’s normal, and it’s the signal to add a course or a book rather than more supplies. A drawing for beginners guide can only take you to the edge of the page. The rest is repetition.
One honest caveat: if you’re working digitally, most of this doesn’t transfer. Software, layers, and brush engines are a different craft, and I’d be guessing.
Start with one mark on the cheapest paper you own.
