
Brush vs Roller for Trim: Which Should You Use?
This post contains affiliate links. As an Amazon Associate, we earn from qualifying purchases.
For brush vs roller for trim, use a brush on the cut-in edges, window casing, and any profiled molding, and use a roller on the flat faces of doors and baseboards. A 1- to 2-inch angled sash brush handles the detail; a small foam or 9-inch roller with a 3/8-inch nap covers the flat runs.
The 3/8-inch nap in that answer is the detail that decides whether the trim looks smooth or stippled. A cover that’s too thick leaves a bumpy orange-peel texture on a smooth door slab. A cover that’s too thin tears apart on textured casing.
Here’s what follows: the brush styles that actually earn their place, the roller setup that doesn’t leave texture on trim, and the sequencing mistake that leaves a visible stripe on every wall you cut in.
Key Takeaways
- Brush for cut-in and profiles, roller for flat faces. Window casing, muntins, and crown molding take a 1- to 2-inch angled sash brush because a roller can’t follow the profile.
- Cut in a 4-foot strip, then roll into it immediately. Cutting in the whole room first lets the edge dry and leaves a visible stripe called flashing.
- Two thin coats beat one fat coat. A heavy coat sags and ripples, and a light scuff with 220 grit between coats takes about 5 minutes per room.
- Skip the fancy edging pads. A cheap angled brush cleans up faster and cuts a cleaner line than a pad you’ll spend more time rinsing.
Where the Brush Wins on Trim (and Where It Doesn’t)
A 1- to 2-inch angled sash brush is the tool that handles every trim profile a roller can’t reach. The slanted bristle tips let you lay a straight line in a corner or along an edge without taping.
A 1- to 2-inch angled sash brush handles cut-in and trim profiles where a roller cannot reach. A 9-inch roller with a 3/8-inch nap covers flat trim faces such as door slabs and baseboards. Matching nap depth to surface roughness prevents stipple on smooth stock and prevents the cover from tearing on rough stock.
The Sherwin-Williams application guide puts brush widths at 1 to 4 inches across the line. For trim, you live in the narrow end. A 2-inch angled sash brush covers most casing and baseboard edges. A 1-inch brush gets into window muntins and tight corners where a wider brush smears.
Purdy XL and Wooster Shortcut both make solid 2-inch angled sash brushes. I reach for those before anything fancier.
Angled vs Flat: Which Brush for Trim?
An angled brush vs flat brush comparison comes down to reach and control. The angled tip follows a corner line; the flat tip covers a broad face faster. For trim, the angled sash wins on edges and the flat sash wins on wide, flat casing faces.
The Sherwin-Williams guide also lists chisel-trim brushes with square-cut ends for flat areas and angled brushes for window trim. Both are legitimate. The angled sash just does more jobs.
I won’t recommend a fancy edging pad for a first trim job. The setup takes longer than the cut-in, and the line isn’t cleaner than a cheap angled brush. I learned that the expensive way.
Here’s the short version of what to buy:
- 1-inch angled sash: window muntins and tight corners.
- 2-inch angled sash: casing, baseboards, and general cut-in. This is the workhorse.
- 2-inch flat sash: wide, flat casing faces where you want speed.
For most trim jobs, the paint brushes for trim that earn their keep are the 1-inch and 2-inch angled sash brushes. You don’t need a pricey brush. A mid-range angled sash does the job, and you replace it when the tip fans out.
The Roller Setup That Doesn’t Leave Stipple on Trim
A 3/8-inch nap is the default for smooth trim faces, and the wrong nap is the fastest way to ruin a door slab. The Sherwin-Williams guide lays out the full range, and it’s worth knowing before you grab a cover off the shelf.
| Nap Depth | Surface | Risk If Wrong |
|---|---|---|
| 1/4 in | Metal doors, plaster | Thick nap leaves orange-peel stipple |
| 3/8 in | Drywall, smooth trim | Standard for door slabs and baseboards |
| 1/2 in | Textured walls, decks | Thin cover misses texture valleys |
| 3/4 in | Rough wood, stucco | Thin cover rips apart on stucco |
| 1 in | Textured ceilings, stucco | Overkill on smooth interior trim |
| 1 1/4 in | Concrete block, brick, fences | Wrong tool for interior work |
The core matters as much as the nap. Sherwin-Williams specifies moisture-resistant plastic or phenolic cores. Cardboard cores absorb paint and break down, which means the cover slips or sheds halfway through a door.
A dry roller cover makes a hollow, papery tick against the trim. That sound means you’re about to press hard and leave streaks. Reload before you hear it.
Knit vs Woven Covers
Knit fabric holds more paint and covers more area, but it leaves stipple. Woven fabric reduces lint and stipple for a smoother finish. On trim, woven usually wins. On a big flat door, you can get away with knit if you finish with light passes.
Fabric type matters too:
- Synthetic (nylon, dacron, polyester): latex paints.
- Natural (mohair, sheepskin): oil-based paints.
- Polyester and wool blend: works with all paints.
- Cardboard cores: skip them; they absorb paint and break down.
Natural covers swell and mat when they meet water in latex, so keep them for oil-based trim paint.
A Purdy White Dove cover in 3/8-inch nap handles most trim faces without shedding. For semi-gloss trim, semi-gloss rollers with a woven nap give the cleanest finish. And a foam vs microfiber roller comparison helps on doors: foam leaves no texture, microfiber holds more paint.
Why Cutting In the Whole Room First Ruins Your Edge
I used to cut in the entire room before I touched the roller. By the time I got back to the first wall, the edge had dried and showed up as a flat, slightly duller stripe. Painters call it flashing, and it’s the most common reason a DIY trim job looks off from across the room.
Now I cut in a strip about 4 feet long and roll into it right away. The wet edge stays live, and the roller blends into the brush line before either one sets.
Before you start: Sanding old trim can release lead dust if your house was built before 1978. Test the paint or assume it’s lead and follow EPA lead-safe renovation guidance. Solvent-based paints need ventilation, so open a window and keep a fan moving air.
Here’s the sequence that fixed it:
- Load a 2-inch angled sash brush lightly and cut in a strip about 4 feet long along the edge.
- Roll that strip immediately, while the brush line is still wet, using light top-to-bottom passes.
- Move to the next 4-foot strip and repeat. Don’t cut in the whole room first.
- Finish each section with a light pass to knock down roller marks before the paint sets.
Skipping step 2 is what causes flashing. The brush line dries in the time it takes to walk back to the roller.
That gap between cut-in and roll was the real culprit. A dry edge shows every seam.
The ceiling line is the same story. I used to chase a perfect line with tape and still got bleed. Now I load an angled 2-inch brush lightly and go slowly, keeping a wet edge. From standing height, the line looks fine.
Brush vs Roller for Trim: Which Surfaces Take Which Tool?
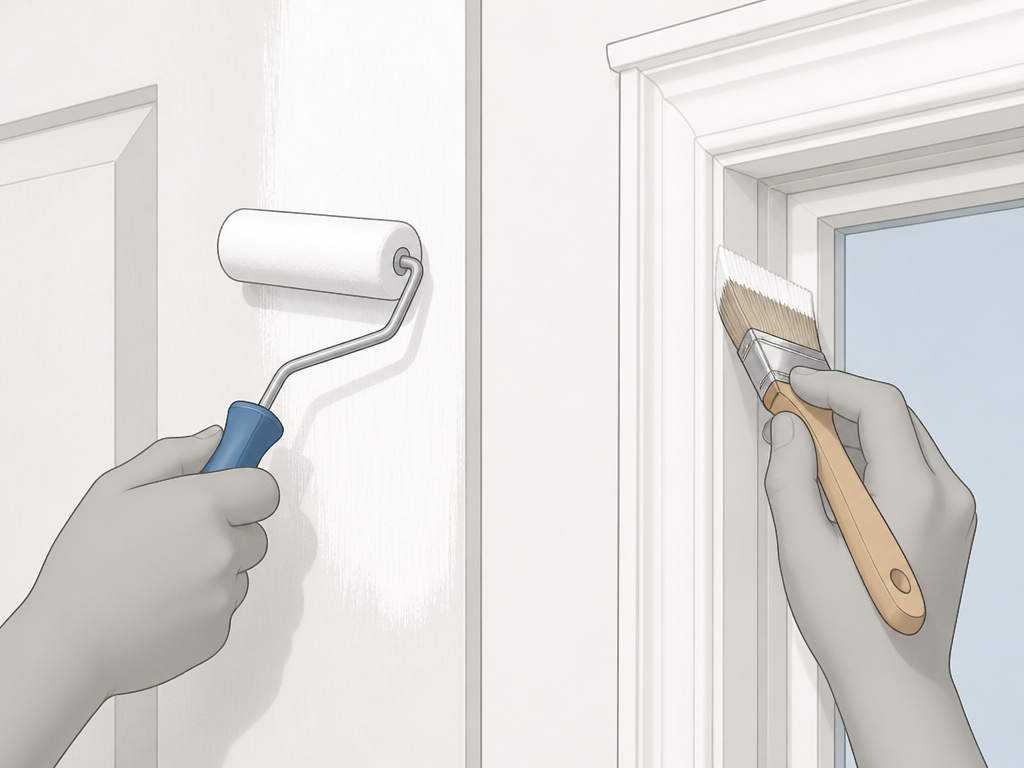
Doors and long baseboard runs take a roller. Window casing, crown molding, and muntins don’t. The profile decides which tool you reach for.
| Trim Surface | Best Tool | Why |
|---|---|---|
| Baseboard (long flat runs) | 9 in roller plus brush for edges | Fast coverage on flat faces |
| Door slabs | Small foam roller plus 2 in brush | Foam leaves no stipple on smooth stock |
| Window casing and muntins | 1-2 in angled sash brush | Roller can’t follow the profile |
| Crown molding | 2 in angled sash brush | Cut-in control on the profile |
| Wide flat casing | 2 in flat sash or small roller | Either works if the face is flat |
For door slabs, rollers for doors with a foam or short-nap woven cover give the smoothest result. A 9-inch roller is overkill on a door; a small foam cover is faster and leaves no texture.
What Size Roller Works for Trim Work?
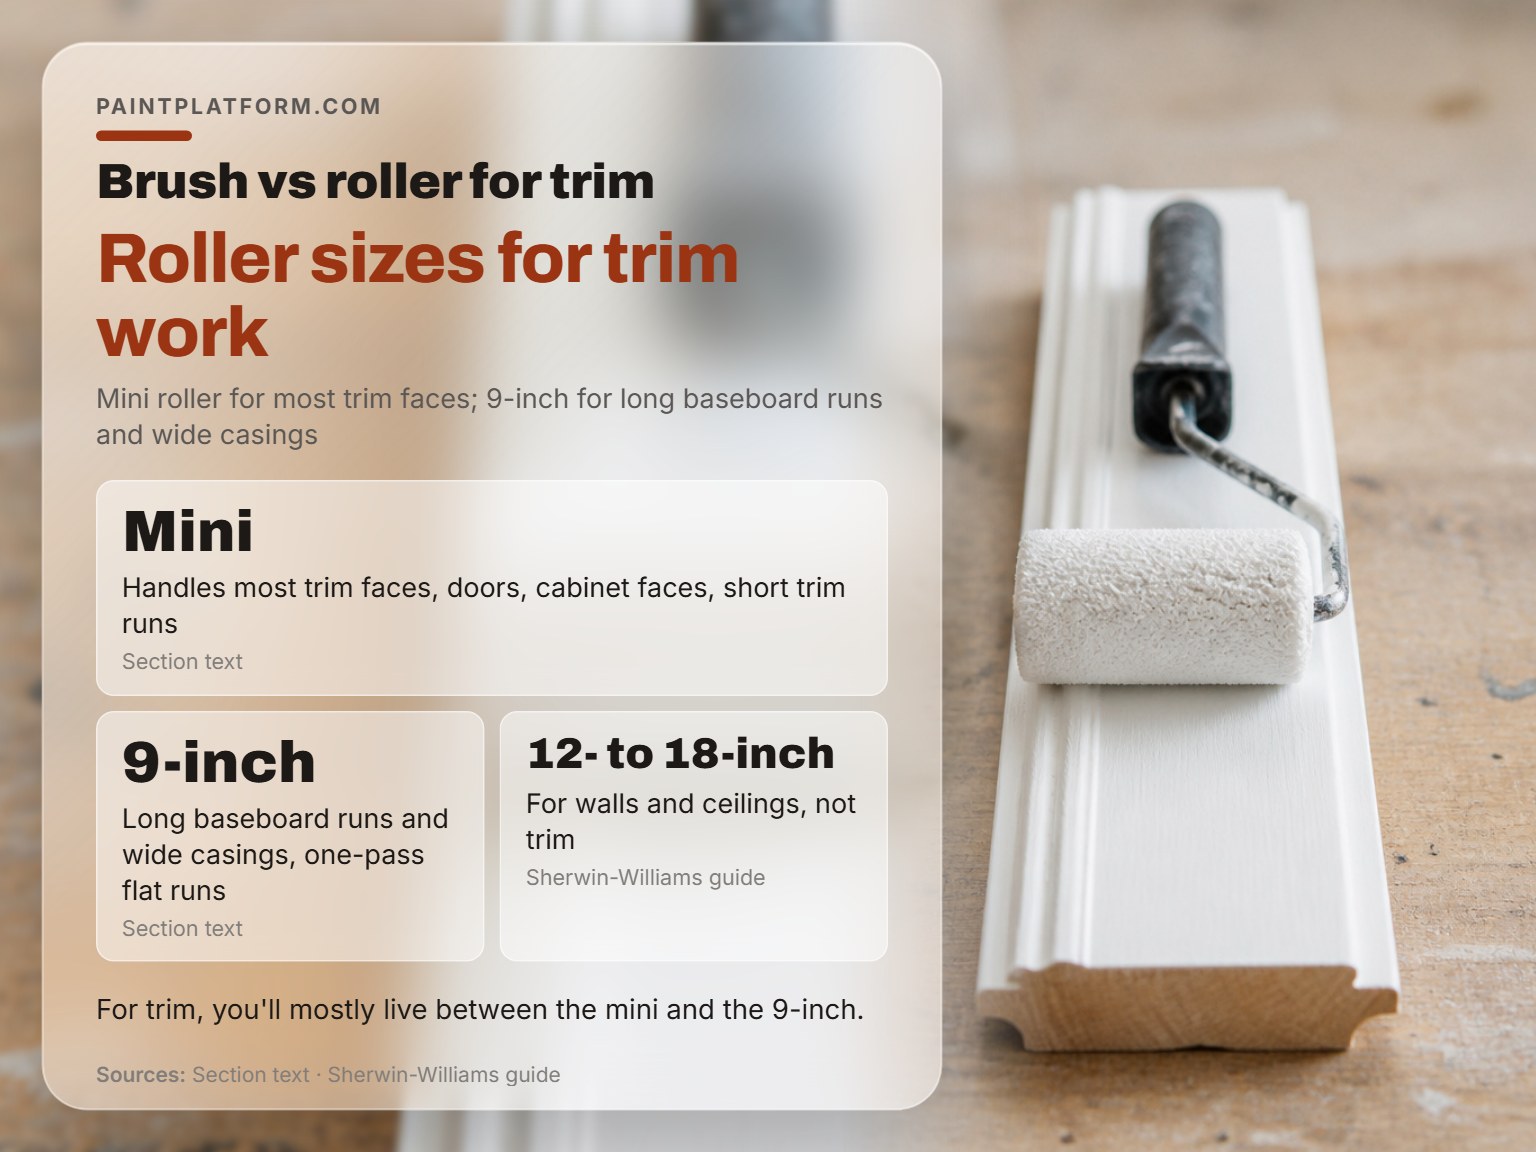
A mini roller handles most trim faces, and a 9-inch roller is for long baseboard runs and wide casings. The Sherwin-Williams guide lists small foam covers for doors and wainscoting, 9-inch for standard walls and ceilings, and 12- to 18-inch for large uninterrupted areas.
For trim, you’ll mostly live between the mini and the 9-inch. A mini roller for trim work gets into tight spots and covers door panels without slopping onto the stiles. The 9-inch earns its place on long baseboard runs where a mini roller would take twice as many passes.
Mini Roller vs 9-Inch: The Short Version
A mini roller wins on doors, cabinet faces, and short trim runs. A 9-inch wins on baseboards, wide casings, and any flat run you can cover in one pass. The 12- to 18-inch sizes are for walls and ceilings, not trim.
Brush Marks, Stipple, and When to Stop Chasing Glass
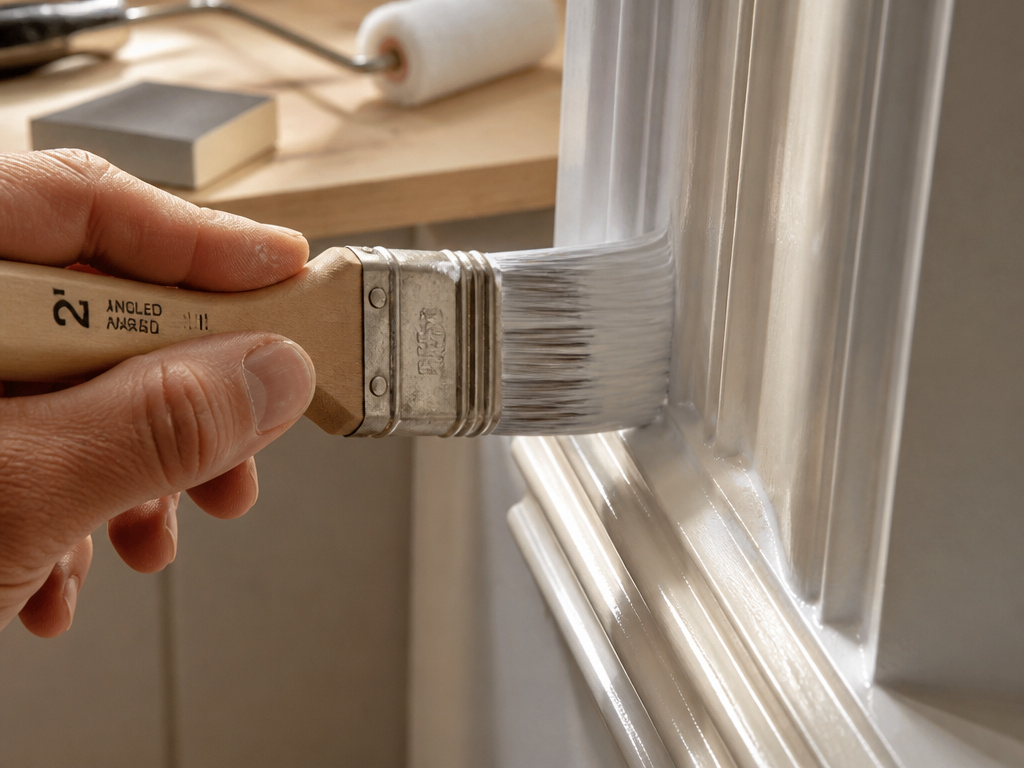
Two thin coats look better than one fat coat that sags and ripples. That’s the whole game on trim. A heavy coat pulls away from the profile and leaves a curtain at the bottom edge.
A 2-inch angled sash brush (Purdy and Wooster both make good ones) beats any fancy trick I’ve tried. Load it, lay the paint down, and tip it off with the brush nearly dry. The drag of a loaded brush feels tacky; a dry brush skates. You want the tacky drag.
Light scuff with 220 grit between coats takes about 5 minutes per room of trim. Slight brush marks that remain still disappear from standing height. I stopped chasing glass-smooth years ago.
If you want to get closer to a factory finish, painting trim without brush marks comes down to thin coats and a light scuff. A roller for a smooth finish helps on the flat faces, but the brush does the edges.
Frequently Asked Questions
Do I need to tape trim before rolling?
Tape helps on a first coat, but a steady angled brush usually beats it. Tape bleeds under texture and pulls fresh paint when you remove it. If you do tape, press the edge down with a fingernail and pull the tape while the paint is still slightly soft. 3M Scotch-Blue is the safe pick for delicate surfaces.
Can I use a foam roller on all trim?
Foam works on smooth door slabs, cabinet faces, and flat casing. It collapses on rough or textured stock and leaves bare spots. Use a short-nap woven cover on anything with grain or profile.
What nap depth should I use on baseboards?
3/8-inch nap handles most baseboards. Drop to 1/4-inch on metal or plaster, and step up to 1/2-inch if the baseboard has a heavy texture or the paint is going over rough wood.
How long should I wait between coats?
Follow the can for recoat time. A light 220-grit scuff between coats knocks down nibs without cutting through the previous layer.
Why does my cut-in line show up after the roller passes?
That’s flashing. The cut-in edge dried before the roller reached it, so the roller can’t blend into it. Cut in a short strip and roll into it while the edge is still wet.
Is a brush or roller faster on trim?
Roller is faster on flat faces. A brush is faster on profiles because you don’t have to tape or clean up roller spatter. For a whole room, the fastest path is cut in a strip, roll it out, and repeat.
The Bottom Line
If your trim is mostly flat door slabs and long baseboards, a roller does most of the work. If it’s window casing, crown, or anything with a profile, the brush does. For brush vs roller for trim, the tool split is real, but the sequencing matters more than either one.
Here’s the threshold: if your cut-in edge dries before the roller reaches it, you’ll get flashing no matter how good your brush is. Cut in a 4-foot strip and roll into it immediately. That single change fixes more trim jobs than a new brush ever will.
Fair warning: two thin coats will always beat one heavy coat. Load light, tip off, and let it dry.
