
How to Paint Over Wallpaper: Step-by-Step
This post contains affiliate links. As an Amazon Associate, we earn from qualifying purchases.
How to paint over wallpaper, in order: check the condition, clean the wall, let it dry at least 24 hours, repair seams and holes, flatten texture, prime, then roll two coats. Primer is the contested step; the sequence is not.
The primer argument is worth settling before you open a can. Three of the five sources below push an oil-based primer, one calls primer optional, and every one of them is describing the same wall.
What follows is the how to paint over wallpaper order I actually work in: condition check, clean, repair, prime, two coats. Along the way I’ll flag the places where the manufacturers genuinely disagree, so you can pick a side on purpose instead of by accident.
Key Takeaways
- Prep outlasts the painting. Cleaning, seam repair, and sanding take longer than the two coats that follow them.
- Oil-based primer is the majority position, held by This Old House, BEHR and Wickes. Zinsser requires one full coat of its Wallpaper Cover-Up, and Valspar calls primer optional and states no restriction on primer chemistry.
- Let washed walls dry at least 24 hours before priming, per This Old House. Valspar says the adhesive must be completely dry or the paper bubbles.
- Two coats is the floor, three is normal over a bold pattern. Wickes and Valspar both warn that two may not be enough.
- Fabric-backed vinyl should not be painted at all. This Old House says so outright, and that type strips easily anyway.
How to Paint Over Wallpaper: Check These Three Things First
Yes, you can paint over wallpaper if the paper is smooth, tight to the wall, and free of holes. Get any one of those wrong and paint turns a small repair into a much bigger one.
BEHR permits painting over wallpaper that is in good condition, without peeling areas or holes. This Old House sets the same bar: smooth, not scratched, peeling, or ripped. Valspar goes further and calls for stripping when chips, holes, or noticeable scratches are present. Fabric-backed vinyl is excluded by This Old House regardless of condition.
Three checks, in this order:
- Smooth. Run a flat palm across the wall at chest height. Any drag or ripple is a seam that will telegraph through the topcoat.
- Tight. Press a fingernail into a seam and let go. Paper that stays dented is loose and needs re-gluing before anything else happens.
- Sound. Hold a lamp flat against the wall and look along the surface. Chips, holes and scratches show up as hard shadows under that light, and Valspar’s position is that paint won’t hide them.
Fabric-backed vinyl is the one type This Old House rules out completely, whatever condition it’s in. The consolation is that vinyl papers tend to come off easily. The papers that take paint well are usually the ones that fight you during removal.
Adhesive dryness matters too. Valspar says the wallpaper adhesive has to be completely dry before painting, because damp adhesive lets the paper bubble as it moves. For freshly hung lining paper, Valspar’s general advice is to wait 36 to 48 hours before painting it.
Why Primer Is the Step Everyone Argues About
Zinsser wants one full coat of Wallpaper Cover-Up across every area you plan to decorate. Valspar says you don’t always need a primer at all.
Both are manufacturer instructions. Both are about wallpaper. That’s the state of this job.
| Source | Position on primer | Primer chemistry named |
|---|---|---|
| This Old House | Required, no exceptions | Oil-based, whatever the topcoat |
| BEHR | Prime before the topcoat | BEHR Oil-Based Primer |
| Zinsser | One full coat over every area | Zinsser Wallpaper Cover-Up |
| Wickes | Required before two or more coats | Oil or shellac-based, never water-based |
| Valspar | Optional; helps with bold prints, colour changes, vinyl | No restriction stated |
The reasoning behind the oil camp is consistent. This Old House says a water-based primer could soak into the wallpaper and loosen the adhesive underneath. Wickes makes the same point in different words: too much moisture activates the adhesive and the paper pulls away from the wall, leaving bubbling and unevenness.
Zinsser’s product does a second job on top of priming. Wallpaper Cover-Up is described as priming, sealing and blocking stains and patterns so they don’t bleed through the topcoat. If you’re covering a dark floral with off-white, that’s the part you’re paying for.
Whichever you pick, apply it evenly and avoid overspreading. Zinsser gives a minimum drying time of 4 hours in normal conditions before you recoat.
Oil-Based, Shellac, or Water-Based: Pick One on Purpose
For an ordinary wallpapered room, This Old House, BEHR and Wickes favour oil-based primer, which they say doesn’t wake up the adhesive the way a wet water-based coat can; Valspar, by contrast, states no restriction on primer chemistry.
Shellac earns its place in two situations: a pattern that keeps bleeding through, or a room that smells of smoke. Wickes names shellac as a valid alternative to oil. A shellac-based primer is named by Wickes as a valid alternative to oil.
Where does that leave water-based? Valspar states no restriction on primer chemistry, while This Old House and Wickes warn that water-based primer can soak in and loosen the adhesive. If you follow Valspar’s position, the wallpaper primer you choose matters less than applying it thin and letting it dry fully.
Clean the Wall, Then Leave It Alone for 24 Hours
Twenty-four hours is how long This Old House wants washed walls to dry before primer goes anywhere near them.
Before you start: Primer and cleaning solutions both want moving air, so open the windows and run an exhaust fan before you mix anything. This Old House puts goggles, gloves, a mask or respirator, and long sleeves on the supply list for this job. Don’t soak the wall with water or cleaner, because a soaked wall softens the adhesive underneath and the paper lifts.
Greasy kitchen walls get a diluted trisodium phosphate solution, usually sold as TSP. Everything else gets a lighter touch. Valspar recommends a degreaser or sugar soap applied with a sponge, then rinsed with a clean rag soaked in cold water and squeezed out first.
The cleaning walls before painting stage is about lifting oil, not about scrubbing harder. A wet sponge pressed hard against paper does more damage than a dry one used twice.
Dried paint splodges from an earlier job come off with isopropyl alcohol at 91% or 99%, per Valspar. Test it on a hidden patch first, dampen the splodge, then dab rather than rub. Wet paint is easier: warm water and a clean towel, dabbing only.
If you’ve stripped a wall before, wallpaper glue residue may need attention before primer.
Common mistake: Wiping down with a dripping cloth. Water tracks behind the paper, the adhesive softens, and a blister can show up along that seam.
Seams, Holes, and Texture: The Repair Stage
Three repairs happen before primer: loose seams get glued back down, seam lines get filled, and texture gets flattened.
Here’s the sequence, with what happens if you skip a step:
- Re-glue anything lifting. BEHR says to secure loose seams with wallpaper paste so they lie flat. Skip it and the roller peels the seam open on the first pass.
- Fill the seam line. BEHR uses drywall mud, allowed to dry and sanded smooth. Wickes uses filler. Either way, an unfilled seam reads as a hard line under a sheen finish.
- Fill holes and cracks. Wickes fills nail holes and cracks and sands them down. Wickes fills nail holes and cracks and sands them down before painting.
- Wipe the dust off. A damp microfiber cloth after sanding, every time. Skip it and the finish feels gritty under your hand, which is the single most common prep failure I see.
- Seal the perimeter. Valspar recommends a thin, transparent caulk line at the wall edges, the ceiling seam, and along the skirting board.
The seam material is one of the genuine splits. BEHR specifies drywall mud. Wickes specifies filler. Valspar specifies a thin transparent caulk line. All three solve the same problem with different products, and none of them is wrong.
Sanding Texture Flat Without Gouging
This Old House’s contractor Jim Clark sands textured wallpaper with 120-grit on a palm or orbital sander, then finishes with 220-grit. The supplies list in the same guide lists 150 to 180-grit, so treat the exact number as a range rather than a rule.
Wipe the sanding dust off before it gets walked through the house.
My read: Wickes says remove textured wallpaper, or if that’s impossible sand it down or use multiple coats of primer, while Valspar says the texture will show through no matter what; if you keep it, Wickes suggests a matt paint, which hides surface variation better than eggshell. This is the same sanding walls routine you’d use on any patched wall.
How Many Coats of Paint Does Wallpaper Actually Need?
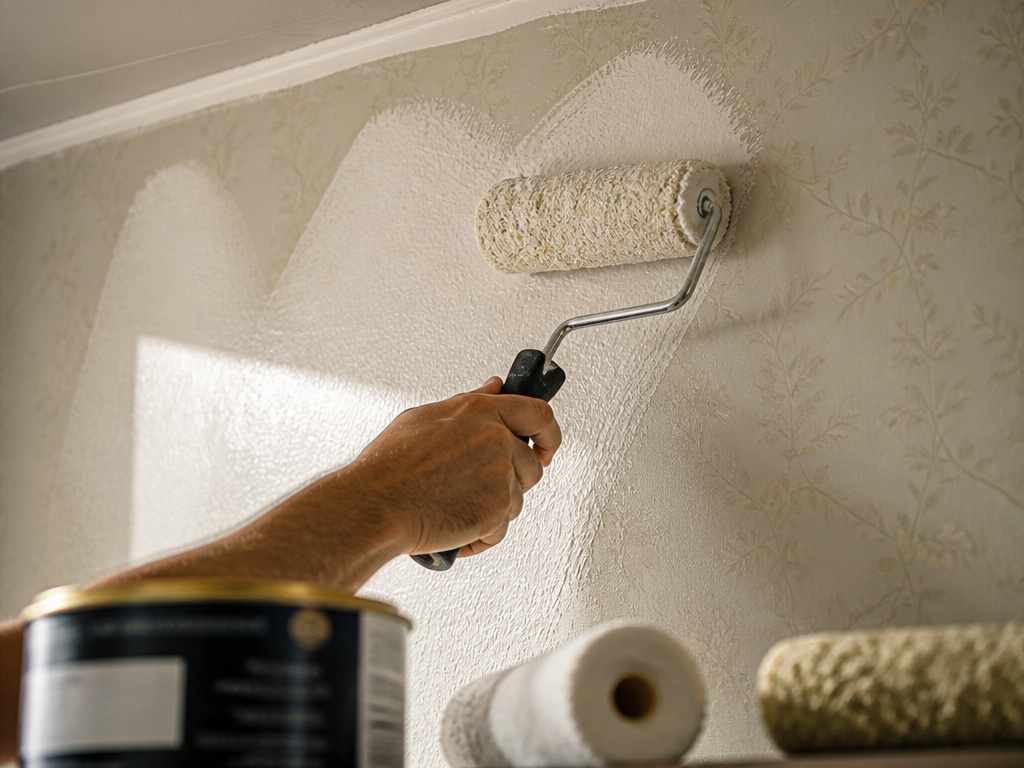
BEHR recommends a second coat for optimum colour and finish, This Old House says you’ll likely need two, Wickes says two or more with a third over patterned paper, and Valspar says you might need more than two.
BEHR recommends a second coat for the best colour and finish. This Old House says you’ll likely need two. Wickes says two or more, with a third over patterned paper to make the pattern stop showing. Valspar says you might need more than two depending on the paper or print.
Fair warning: the drying time between coats is where people wreck the job. The drying time between coats matters: Zinsser gives a minimum of 4 hours in normal conditions before recoating the primer. Paint over wallpaper punishes the same impatience.
Zinsser’s 4-hour minimum applies to the primer coat. For the topcoat, follow the recoat time on the tin.
Rolling in Sections, and the Roller-Cover Split
BEHR’s method is specific: work in 91 x 91 cm sections, roll in a W formation, and start 7.6 to 10 cm away from the cut-in line so the first pass is even. For larger walls, BEHR suggests an 18.9 L bucket with a bucket grid.
The roller cover is another disagreement. BEHR recommends a 9.5 to 13 mm cover. Zinsser recommends a short pile up to 5 mm, in mohair or microfibre. BEHR recommends a 9.5 to 13 mm cover, while Zinsser recommends a short pile up to 5 mm in mohair or microfibre.
Where this goes sideways: Rolling straight into the cut-in line on the first pass. The edge loads with paint, the film sags, and you get a visible ridge along the ceiling that no second coat will flatten.
Why Is the Pattern Still Showing Through?
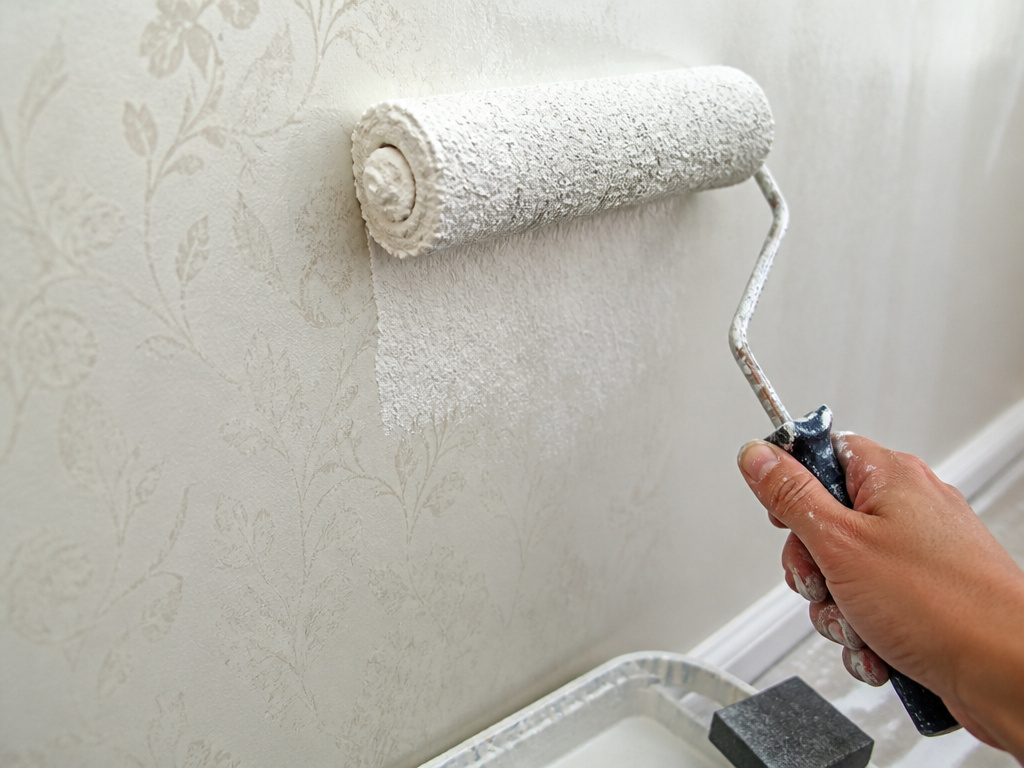
You finish the second coat, turn the light off, and come back in the morning to a wall with a ghost of the old print across it.
| What you see | Likely cause | Fix |
|---|---|---|
| Pattern visible after two coats | Topcoat too thin over a bold print | Third coat, or a thicker primer first (Wickes) |
| Blisters along one seam | Adhesive wasn’t completely dry (Valspar) | Stop, let it dry fully, fill, repaint |
| Gritty, sandpapery finish | Sanding dust left on the wall | Wipe with a damp microfiber, re-coat |
| Paint lifting at the skirting | Perimeter seam never sealed | Thin caulk line before the topcoat (Valspar) |
| Texture still obvious | Paper was embossed and never sanded | Sand flat, or accept it and use matt paint |
Wickes has the cleanest answer for pattern bleed: use a thicker primer to smooth out the pattern before the topcoats, then keep coating until the pattern stops reading. Valspar’s version is simply more coats.
Bleed-through from the paper itself is a different problem. Zinsser’s Wallpaper Cover-Up is formulated to block stains and patterns, which is why it’s the one product in this set described as doing both jobs.
When Painting Over Wallpaper Is the Wrong Call

Fabric-backed vinyl is the clearest no. This Old House says not to paint it, and it’s usually easy to strip anyway.
Holes, chips and scratches are the second no. BEHR limits painting to paper without peeling areas or holes. Valspar says strip instead if there are chips, holes or noticeable scratches. This Old House sets the bar at smooth and in good condition.
Peeling is the third. If you’re dealing with peeling paint rather than paper, the prep order changes, and the same applies to paper that’s lifting in more than one place.
Skip this if: You plan to sell or rent out within the year. Once the paper is painted, it’s much harder to remove. This Old House notes that removing wallpaper can take at least a day before prep even starts, so it can be worth removing wallpaper first.
Frequently Asked Questions
Do I have to use an oil-based primer over wallpaper?
Not according to every source, but it’s the majority position. This Old House, BEHR and Wickes all point to oil-based or shellac-based primer, with the shared reason that water-based primer can soak in and loosen the adhesive. Valspar states no restriction on primer type.
How long should I wait before painting over newly hung wallpaper?
Valspar’s general advice for lining paper is 36 to 48 hours after hanging, and the adhesive must be completely dry before paint goes on. Check the roll for the manufacturer’s own guidance, since Valspar notes that detail is usually printed there.
Can I paint over textured wallpaper?
You can, but the texture will still show. Wickes suggests removing it, or sanding it flat or using multiple coats of primer if removal isn’t possible. This Old House sands with 120-grit then 220-grit and paints over it. Valspar’s view is that texture can’t be completely covered.
How many coats of paint will I need?
BEHR and This Old House both land on two. Wickes says two or more, with a third over patterned paper. Valspar says you might need more than two depending on the paper or print you’re covering.
What do I do about the seams before painting?
Re-glue any loose seam with wallpaper paste, then fill it. BEHR uses drywall mud, Wickes uses filler, and Valspar uses a thin transparent caulk line at the wall edges, ceiling seam and skirting board. Sand the fill smooth and wipe the dust before priming.
The Bottom Line
Here’s the threshold I’d give anyone: if the paper lifts when you press a fingernail into a seam, stop and deal with that first. Paint over a loose seam and the roller can peel it open on the first pass, so deal with it first.
The concession is worth saying plainly. None of this applies to fabric-backed vinyl. This Old House notes that removing wallpaper can take at least a day before prep even starts. Weigh that before you buy primer.
Your quick check: pick one corner, press a thumbnail into the paper, and hold a lamp flat against the wall to look along the surface. If the seam already reads as a shadow line, it will read as a line under paint. Fill it now, while it’s still cheap to fix.
