
How to Paint Stair Spindles and Banisters: Step-by-Step
This post contains affiliate links. As an Amazon Associate, we earn from qualifying purchases.
To paint stair spindles and banisters, sand until the sheen is gone, prime if your paint label calls for it, then paint in thin coats, Valspar and GK Painting work spindles first and the handrail last, while Benjamin Moore starts at the handrail and spindles and works down from the top. Benjamin Moore specifies 220-grit paper and ADVANCE Interior Paint for handrails and spindles; Valspar says prime only when the label requires it.
The primer line is where those two guides split hardest, and it decides whether your topcoat grips or peels away in flakes at the spots hands touch most. Get the prep and the order right and the paint does very little work. This is why how to paint stair spindles and banisters comes down to priming first.
What follows is the sequence that survives all three sets of instructions, the grit that matches your spindle’s actual condition, and the dry and cure times printed on the back of the can rather than the front when you compare a how to paint stair spindles and banisters.
Key Takeaways
- Sand until the sheen is gone before anything else touches the wood. If the surface still shines, the new coat has nothing to grab.
- Prime by the label on your can, not by the guide you read first. Benjamin Moore primes the whole staircase; Valspar’s paint goes straight onto sound, non-bare wood.
- Order varies by guide. Valspar and GK Painting work spindles first and the handrail last, while Benjamin Moore starts at the handrail and spindles and works down from the top.
- Cure takes far longer than dry. Dunn-Edwards puts latex cure at 14 to 30 days, and a semi-gloss in a dark colour sits at the long end of that.
- Tape timing varies. Benjamin Moore says the moment the final coat is finished; Valspar and Wagner say while the paint is still wet; GK Painting says peel slowly once the paint is dry to the touch.
What Order Do You Paint Stair Spindles and Banisters?
Benjamin Moore starts at the handrail and spindles and works down from the top of the stairs. Valspar starts at the banister and spindles so you don’t splash a freshly painted staircase. GK Painting runs spindles first, newel posts second, handrail last.
Three guides, three sequences, and all of them treat the handrail as something that gets painted deliberately rather than whenever you get to it in a how to paint stair spindles and banisters.
The handrail takes more hand contact than any other surface on a staircase, so the coating cures under warm, damp skin long before the rest of the job is finished. A semi-gloss in a dark colour reaches full hardness last of all, and the first few weeks of use decide how the finish holds.
Before you start: Solvent and primer fumes collect fast in a closed stairwell, so open a window at both ends and run a fan through the space. If the house went up before 1978, the EPA says its paint is more likely to contain lead and lists stairways among the high-wear places to check for chipping and peeling. A ladder on a staircase stands on two different levels, so set both feet on treads and never on a nosing.
Here’s the order I’d use, with what each step costs you when it gets skipped.
- Check for movement first. Press and shake the handrail, the newel posts and a few balusters. GK Painting’s rule is blunt: a loose newel or wobbly spindle gets glued or refastened before paint, because paint hides the movement that tells you something’s wrong.
- Degrease the rail. Wash with a degreasing cleaner, then rinse and dry. Hand oils sit exactly where the grip is, and a primer that sticks to grease rather than wood fails along that line first.
- Sand until the sheen is gone. Valspar’s test is the one worth stealing: if it still shines, the new coat has nothing to hold. Bare wood only needs a light scuff to roughen the surface.
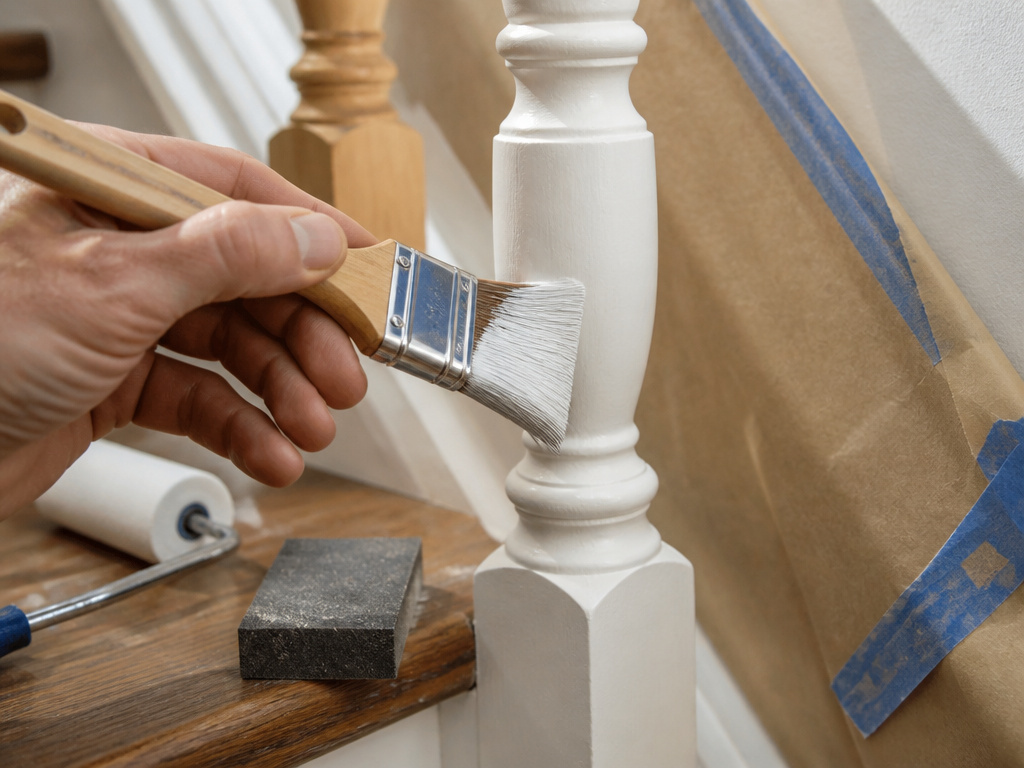
- Tape the edges with decorator’s tape. Valspar prefers it over masking tape because it stops colour bleeding through and gives a clean line. Skip it and you’ll spend the next evening picking paint off the wall with a fingernail.
- Prime, if your paint says to. Benjamin Moore primes the entire staircase. Valspar’s own paint goes straight onto sound, non-bare wood. Read the label on the can you actually bought.
- Paint spindles, then newels, then the handrail. Thin coats, brush loaded at the tip only so paint doesn’t pool in the joints. Working the rail last keeps your forearm out of wet spindles.
- Second coat, then pull the tape. Benjamin Moore says remove tape as soon as the final coat is finished, because tape left on too long can damage the wood underneath.
Do You Need to Prime Stair Spindles Before Painting?
Two manufacturers with equal standing give opposite answers, and each one is right about its own paint.
Benjamin Moore’s staircase walkthrough applies an even layer of Fresh Start High-Hiding All Purpose Primer to the entire staircase, starting at the handrail and spindles and working down. Valspar’s guide to painting stairs, spindles and bannisters says you only need to prime if the paint you’re using says it needs a primer, and that their paint goes straight onto wood on non-bare surfaces.
Both statements describe a system. Benjamin Moore is talking about a job built around their primer. Valspar is talking about a paint formulated to bond without one.
What most people get wrong: Buying one brand’s paint and following another brand’s prep. The primer instruction belongs to the can in your hand, not to the guide you read first. Get that backwards and you’ve either added a coat that does nothing or skipped one the topcoat needed.
The Polyurethane Problem
A varnished or factory-finished handrail is where the standard advice fails outright. Benjamin Moore carves out STIX Waterborne Bonding Primer for non-walking surfaces with an existing polyurethane finish, which covers handrails, spindles and risers.
GK Painting’s version of the same rule is a bonding or stain-blocking primer over varnish or dark stain. A varnished rail feels slick and slightly tacky under a warm hand, and if that shine isn’t fully dulled the new paint peels off in flakes at the grip line.
Dark stain going to white is its own job. GK Painting recommends a stain-blocking primer so tannins don’t bleed through, then two thin coats, and notes that dark stain going to white often benefits from an extra coat. Valspar goes further: a dark-to-light or light-to-dark colour change can need a tinted primer and a third coat.
That last point breaks the two-coat assumption everyone repeats. Colour change is the exception, and it’s a common one on a staircase.
The split runs wider than primer. Here are the same two guides side by side on the four points where they part company.
| Question | Benjamin Moore | Valspar |
|---|---|---|
| Prime the whole staircase? | Yes, Fresh Start over everything | Only if the paint label requires it |
| Grit on sound spindles | 220-grit fine paper | Fine paper, light pass |
| Grit on damaged paint | Not addressed | Scraper, then medium-grit to bare wood |
| When to pull the tape | As soon as the final coat is finished | While the paint is still wet |
What Grit Do You Sand Stair Spindles With?
Benjamin Moore specifies 220-grit fine sandpaper for spindles, handrails and other wood surfaces before painting.
Valspar splits it by condition instead of by number. Spindles in good shape with no peeling paint get a rough pass with fine paper. Damaged paint gets a flat scraper first to lift the flaking sections, then medium-grit paper down to bare wood.
That second version is the more useful instruction, because most spindles on an old staircase aren’t in good shape. Here’s what to look for.
- Peeling or flaking paint: scrape the loose sections off before you touch paper. Sanding across a flake just polishes the edge of a failure.
- A shiny, varnished surface: sand until the sheen is gone. That’s Valspar’s test and it’s the one that decides whether the job lasts.
- Bare wood: a light scuff to roughen the surface is enough.
- Dents and nail holes: wood filler, dry, sand flush, then wipe the dust off with a damp cloth.
Run a fingertip up a spindle after sanding. It should feel like a dull coin, not a polished stone. Any slick patch you can feel is a patch the primer won’t hold.
Light sanding between coats does as much for avoid brush marks as brush technique does.
Which Paint Goes on Which Part of the Staircase
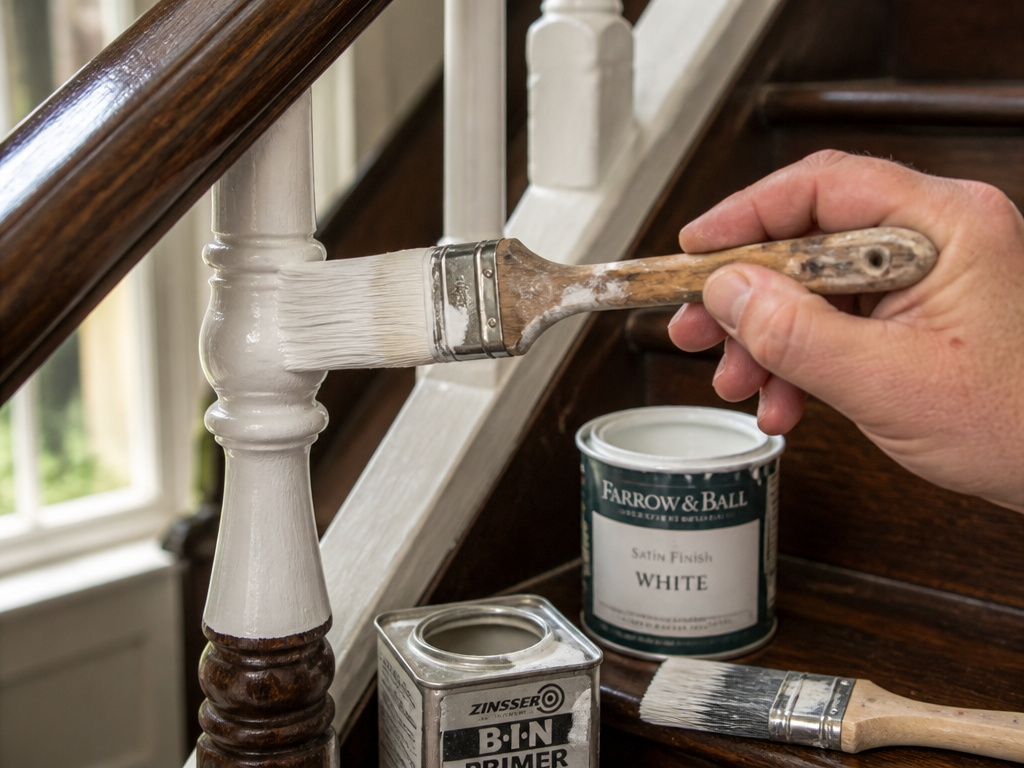
Benjamin Moore maps products to surfaces instead of naming one paint for the whole job, and that map is worth copying even if you use another brand.
- Handrails and spindles: ADVANCE Interior Paint.
- Treads, risers, stringers and nosing: Floor & Patio Latex Enamel.
- Risers and stringers only: INSL-X Cabinet Coat, which Benjamin Moore specifically keeps off treads.
- Metal spindles: brush the loose rust off, then a primer made for metal (GK Painting).
A rail takes more wear than a baseboard ever will, so durable paint for wooden stair spindles is worth settling before you settle on a colour.
Valspar’s position is that you can’t use wood or furniture paint on stairs, and that you need a hard-wearing floor paint instead. Read closely, that lines up with Benjamin Moore rather than contradicting it: the enamel goes on walking surfaces, and the interior paint stays on the rail and spindles.
Sheen, Light and a Dark Stairwell
GK Painting recommends a durable trim paint in satin or semi-gloss for a stair railing. Valspar notes that wood paint comes in eggshell, satin and gloss, and that a light-reflecting finish brightens a dark staircase or hallway with little natural light.
In a dark hallway, best indoor stair paint is a sheen decision as much as a colour one. A satin that bounces light does more for the space than a lighter tint in a flat finish.
If you’re already choosing trim and baseboard paint for the room, the rail wants the same durability in a sheen you can wipe down.
Treads get walked on, so they need a harder film than the rail, and painting stairs properly means treating the two surfaces as separate jobs with separate paints.
How Long Before You Can Use the Stairs Again?
Twenty-four hours is the number Valspar gives for most paints to settle before you can stand on them, and their workaround is to paint alternate steps so the staircase stays usable.
That solves the treads. The banister is harder, because you can’t paint every other spindle.
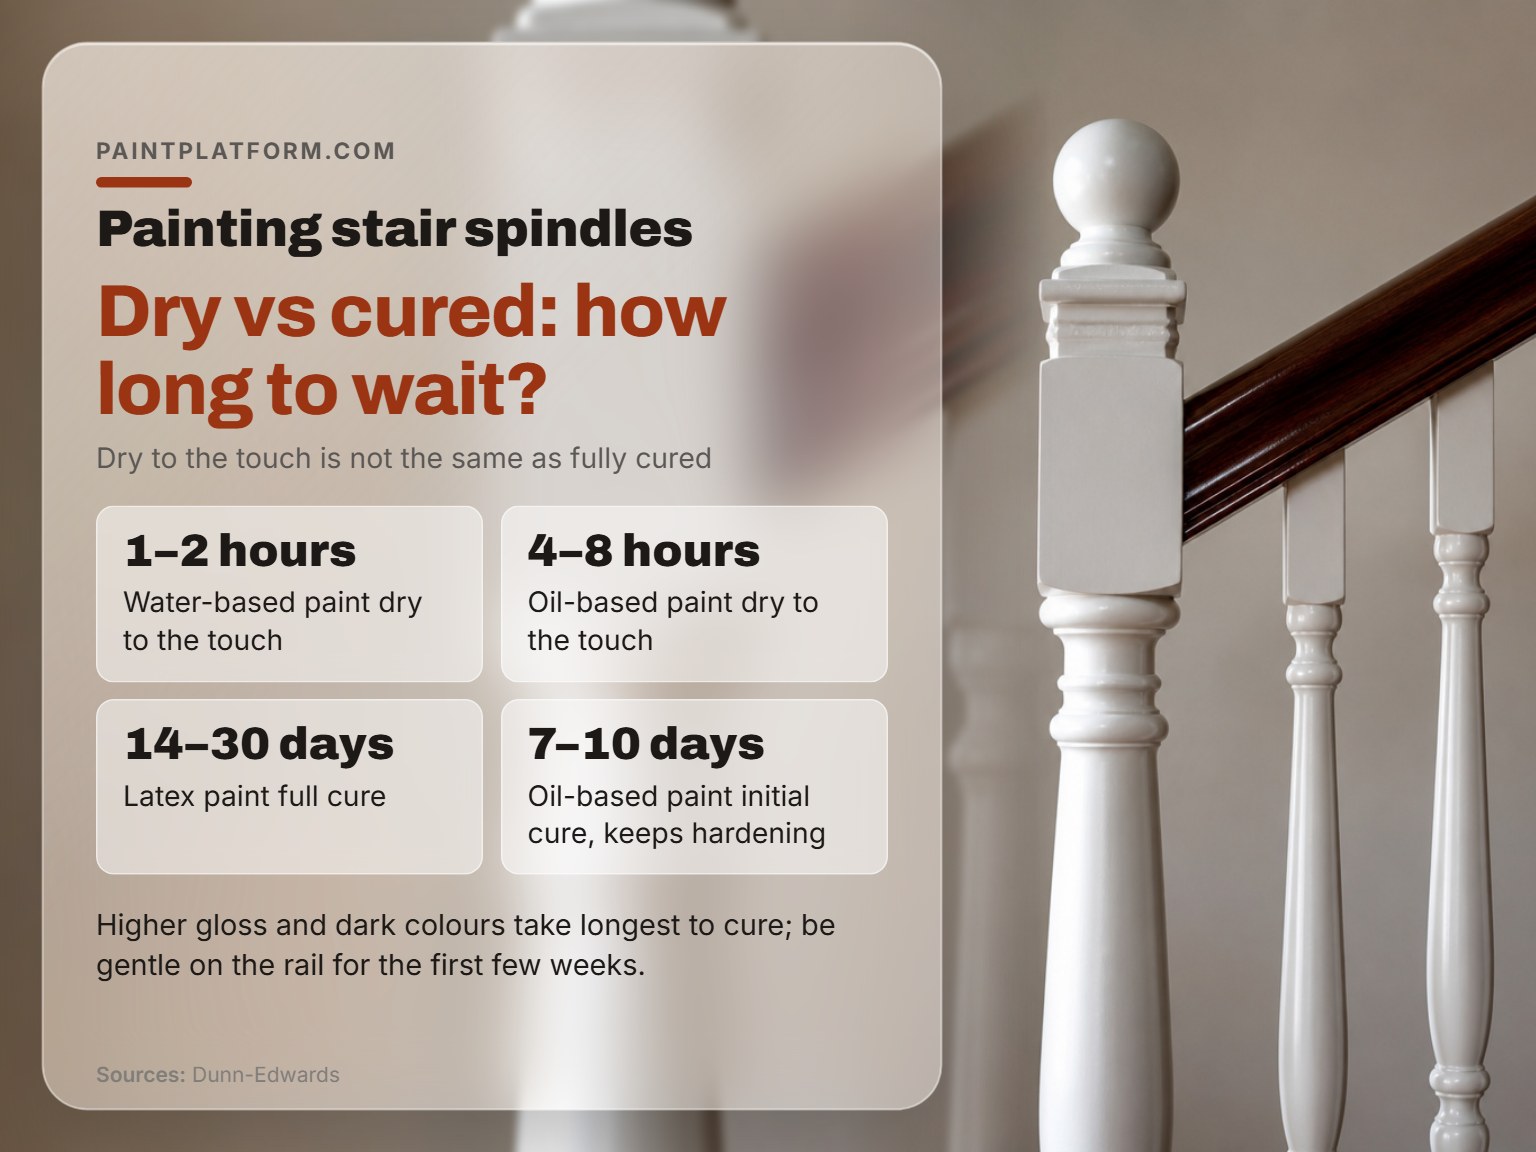
Dry and cured are different states, and Dunn-Edwards (cited by GK Painting) puts numbers on both.
| Coating | Dry to the touch | Full cure |
|---|---|---|
| Water-based / latex | 1 to 2 hours | 14 to 30 days |
| Oil-based | 4 to 8 hours | 7 to 10 days initial, keeps hardening |
| Between oil-based coats | 8 to 10 hours for pros | Not applicable |
| Higher gloss, dark colour | Longer than lower sheen | Longest of anything in this table |
Benjamin Moore’s version is simpler: check the back of the can for dry and cure times, and let the paint cure completely before putting the staircase to use. They also suggest priming one day and painting the next, so the primed staircase dries fully before you step on it.
Dry to the touch means you can look at it. Cured means you can lean on it. A handrail lives in the gap between those two, which is why the first few weeks feel soft under your palm.
GK Painting’s advice is to expect the finish to feel slightly less hard than it eventually will, and to keep heavy use off the rail while it hardens. Be gentle for the first few weeks. A semi-gloss in a dark colour takes longest of all.
Spray or Brush on Spindles?
Wagner’s guide to painting staircase banisters recommends spray technology for a particularly beautiful and even finish in a short space of time. Neither Benjamin Moore’s nor Valspar’s walkthrough mentions a sprayer at all, and both are written around a brush.
For a staircase in a house someone is living in, brush wins. Wagner’s own guide flags masking as critical during restoration in occupied homes, with spray drift risk in lived-in stairwells. A spindle run is a long series of small surfaces, and every one of them sits near a wall, a tread or the next spindle.
I’d rather brush a spindle twice than mask a stairwell once.
Where Spray Genuinely Wins
A two-colour banister is the case Wagner makes well: handrail and spindles in different colours, which reads especially strong on a traditional wooden staircase. So is a full staircase repaint in an empty house, where you can mask everything and walk away.
Thin coats on a 1 1/2 inch angled sash brush, sanded lightly between, come out flat enough that nobody spots the difference from the bottom of the stairs. I reach for an angled sash brush in that size for spindles and a small foam roller on any flat faces. Thin coats and light sanding keep brush marks on trim down to a level you have to hunt for.
Where the Job Goes Wrong and How to Catch It Early
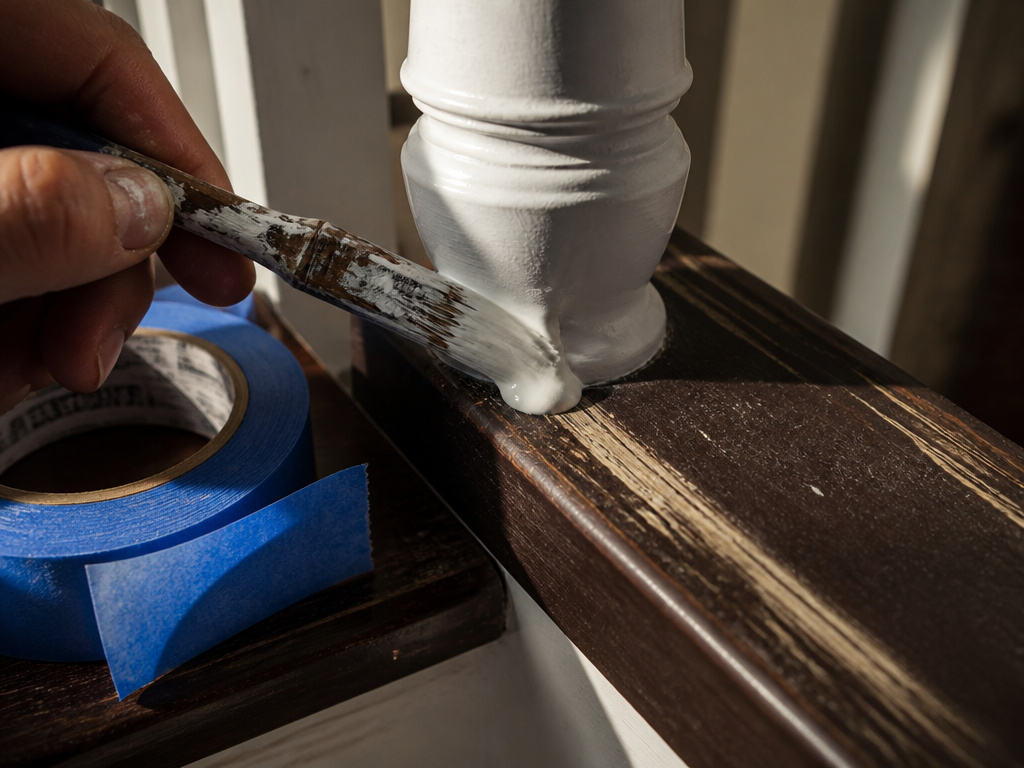
You finish the last spindle, step back, and the light catches a bead of paint hanging at the joint where it meets the handrail. It’s already too heavy to brush out.
GK Painting’s fix is to check each spindle a few minutes after painting. Drips and runs form as the paint settles, and they brush out easily while wet and fight you once dry.
A work light held low across the railing shows the spots you missed. Raking light is unforgiving in a useful way.
Where this goes sideways: Leaving tape on overnight. Benjamin Moore warns that tape can damage wood surfaces like risers, treads and handrails if it’s left on too long, and the damage shows as a lifted edge running along the tape line.
Tape Timing and the Damage It Causes
Four sources, four slightly different answers. Benjamin Moore says pull it as soon as the final coat is finished. Valspar says peel decorator’s tape while the paint is still wet. GK Painting says peel slowly once the paint is dry to the touch.
The common thread is that nobody recommends leaving it until morning. Pull slowly, at a shallow angle, and let the tape come away rather than snap.
The wall above the staircase is a separate problem, and painting stairwell walls without a ladder covers the reach you can’t get from standing on a tread.
Frequently Asked Questions
Do I have to sand between coats?
Light sanding between coats gives the next layer something to bite into and knocks down any dust nibs. It takes a minute per spindle and it’s the difference between a finish that feels factory-flat and one that feels like a painted stick.
Can I paint over varnished spindles without stripping?
Yes, with the right primer. Benjamin Moore specifies STIX Waterborne Bonding Primer for non-walking surfaces with an existing polyurethane finish, which includes handrails, spindles and risers. GK Painting’s version is a bonding or stain-blocking primer over varnish. The one thing you can’t skip is dulling the shine first.
What’s the best brush for round spindles?
GK Painting recommends a 1.5 to 2 inch angled brush for spindles and a small foam roller for flat faces. Benjamin Moore specifies a 2 1/2 inch and a 1 1/2 inch angle-sash brush for the whole job. Load only the tip so paint doesn’t pool at the joints.
How long should I wait before a second coat?
Dunn-Edwards puts water-based coatings dry to the touch in one to two hours and oil-based in four to eight. Professionals often wait 8 to 10 hours before another oil-based coat. Dry to the touch is the minimum, and the back of your can is the final word.
Can I paint the spindles a different colour from the handrail?
Yes, and Wagner suggests exactly that on traditional wooden staircases. Tape as close to the spindle edge as you can, and paint the spindles before the handrail so you aren’t reaching across wet paint. Valspar’s note applies here: a strong colour change can need a tinted primer and a third coat.
The Bottom Line
If your house went up before 1978, stop before you sand anything and treat the stairway as a lead risk first. The EPA lists stairways among the high-wear places to check for chipping and peeling, and the Renovation, Repair and Painting rule covers paid work in older homes but generally doesn’t cover you working on your own. That’s a test-it-first situation, not a sand-it-and-see one.
Tonight, before you buy anything, press and shake the handrail and a few spindles. If anything moves, you’re repairing before you’re painting, and that changes your whole supply list.
Everything above assumes spindles you can reach from the treads. A curved run or a stair open to a two-storey hallway is a different job with a different risk profile, and no brush technique fixes a ladder set on a nosing.
