
How to Paint Crown Molding: Step-by-Step
This post contains affiliate links. As an Amazon Associate, we earn from qualifying purchases.
To paint crown molding, clean and degloss the profile, caulk the ceiling seam, then brush two thin coats of a satin or semi-gloss trim paint. Keep the surface between 50 and 90 °F, and wait the full 6-hour recoat window at 77 °F and 50% humidity before the second pass.
That 6-hour recoat window is the number most trim jobs get wrong, because the surface feels dry to the touch in about an hour at 77 °F. Touch it early and the second pass drags the first, leaving a lap line you’ll only see in raking light. Knowing how to paint crown molding means respecting that window.
What follows covers the prep that actually decides the finish, the temperature and humidity numbers worth checking before you open the can, and the sheen argument that three reputable sources don’t agree on.
Key Takeaways
- Clean before you sand to prevent driving contamination into the substrate. Sanding first drives grease and grit into the old coating and the new paint grips the contamination instead of the trim.
- The 50–90 °F surface window comes straight from the Insl-X Cabinet Coat data sheet. Fine Homebuilding sets a tighter 55–80 °F interior range, so 55–80 is the safer bet.
- No primer needed on sound, previously painted trim, per the manufacturer, though Fine Homebuilding and This Old House list primer as an essential step. Bare cedar and redwood still need Prime Lock Plus or 1–2 coats of Aqua Lock Plus.
- Humidity above 85% RH causes blushing, sags, wrinkling, or film failure. Wait it out.
- Satin hides flaws, per This Old House, while Angi recommends semi-gloss or high-gloss to set off the crown and NPS notes high-gloss is easier to wash. Pick by trim condition, not by habit.
Prep Decides the Finish, Not the Topcoat
The how to paint crown molding prep is where the job is won or lost, and the order matters more than the products. Clean first, sand second.
Cabinet Coat’s data sheet is blunt about this: always clean before sanding to prevent driving contamination into the substrate or previous coatings. Skip that and the topcoat bonds to a film of kitchen grease instead of the paint underneath.
Cabinet Coat applies at a wet film of 3.6 to 4.6 mils, which dries down to 1.3 to 1.7 mils. A coat brushed too thin reads as a wash and telegraphs the wood grain; a coat laid on too heavy sags at the profile edges before it sets.
Before you start: Sanding or scraping old paint can release lead dust, which is toxic and especially dangerous to children and pregnant women. Wear a NIOSH approved respirator, clean up with a HEPA vacuum and a wet mop, and call 1-800-424-LEAD or check epa.gov/lead if your home may have old lead paint.
The prep sequence that actually holds up:
- Wipe the profile with warm soapy water or a degreaser, then let it dry fully.
- Fill nail holes and dents with spackle or wood filler, then sand flush.
- Sand glossy surfaces to dull the sheen, even though Cabinet Coat is built for hard-to-coat surfaces.
- Vacuum the room with a HEPA-filter machine and non-marring attachments before any finish coat.
That last step matters more than it sounds. Fine Homebuilding’s Tim Leahy points out that dirt goes airborne when you kick a drop cloth or drag a ladder, and it lands in wet paint.
Caulking the seam between the molding and the ceiling is what makes the whole thing look built-in rather than nailed on.
What Temperature and Humidity Actually Allow?
For how to paint crown molding, fifty degrees is the manufacturer’s floor and ninety is the ceiling, but the trade sources pull that window tighter.
The Insl-X Cabinet Coat data sheet specifies a 50 °F minimum and 90 °F maximum surface temperature during application, and the same range applies to storage. Fine Homebuilding’s Tim Leahy writes that interior temperature should sit between 55 °F and 80 °F when painting trim. The two sources are describing the same operation with different ranges.
Humidity is where the disagreement gets sharper. Leahy calls anything under 50% RH ideal, 50–80% less than ideal, and above 85% a failure threshold where paint won’t dry properly and may blush, sag, wrinkle, or fail as a film. Cabinet Coat’s sheet names 50% RH only as the test condition for its dry times and sets no upper humidity limit at all.
Practical read: Insl-X allows 50–90 °F, while Fine Homebuilding sets a tighter 55–80 °F interior range. If your shop hygrometer reads above 85%, close the can.
That recoat window is where I’ve paid for impatience. The finish went cloudy and the two layers blended into a muddy film that no amount of sanding brought back cleanly. Now I wait the full window and work on a second length of molding while the first rests.
Common mistake: Judging dry time by touch alone. Cabinet Coat is touch-dry in 1 hour at 77 °F and 50% RH but needs the full 6 hours before recoat, and high humidity or cool air stretches both numbers.
The Sheen Argument Three Sources Don’t Agree On
Ask three sources what sheen belongs on crown molding and you get three answers, all defensible.
Angi recommends semi-gloss or high-gloss to set off the crown and create visual interest. This Old House argues satin hides imperfections and suits older homes with less-than-perfect trim, while gloss highlights every flaw. The NPS Preservation Brief 28 adds a cleanability angle: flat paints attract dirt, and high-gloss surfaces are easier to wash. Meanwhile Insl-X Cabinet Coat, the flagship trim product from Benjamin Moore, ships in satin at 27–32 gloss.
| Sheen | Who recommends it | Trade-off |
|---|---|---|
| Satin (27–32 gloss) | This Old House, Insl-X Cabinet Coat | Hides flaws; less scrub-resistant than gloss |
| Semi-gloss | Angi | Sets off the profile; shows dents and patches |
| High-gloss | NPS Preservation Brief 28 | Washes easiest; highlights every imperfection |
Here’s my read, and it lines up with the satin camp. On older trim with years of dings, satin is the forgiving choice. On new poplar crown in a high-traffic hallway, semi-gloss earns its keep. The trim paint you choose should follow the condition of the molding, not a rule someone repeated on a forum.
Slight brush marks in satin are fine, by the way. Chasing a glass-smooth sprayed look on a brushed profile is a lot of stress for a difference nobody sees from standing height.
How Do You Cut In Crown Molding Without a Steady Hand?
Ladder moved, brush loaded, ceiling line just above your eye. Crown molding punishes a shaky cut-in because the seam sits in shadow and every wobble shows.
Angi’s sequencing tip for large double-crown profiles is to paint the deeper edges in sections you can reach between ladder moves first, then lay off the larger curved surfaces before shifting the ladder. That way you’re always brushing into a wet edge instead of chasing a dry one.
An angled trim brush does most of the work. Cabinet Coat’s sheet specifies synthetic bristle only and a short-nap roller under ½ inch, so a natural-bristle brush is the wrong tool here.
Where this goes sideways: Loading the brush too far up the bristles. The excess runs down the ferrule, drips onto the wall below, and you spend the next coat touching up instead of finishing.
For a cleaner ceiling line, painter’s tape along the seam works, but so does a steady hand and a light load. If you want trim without brush marks, the trick is laying off in one direction with the brush tip, not sawing back and forth.
The 8-Step Order, and Where People Skip Ahead
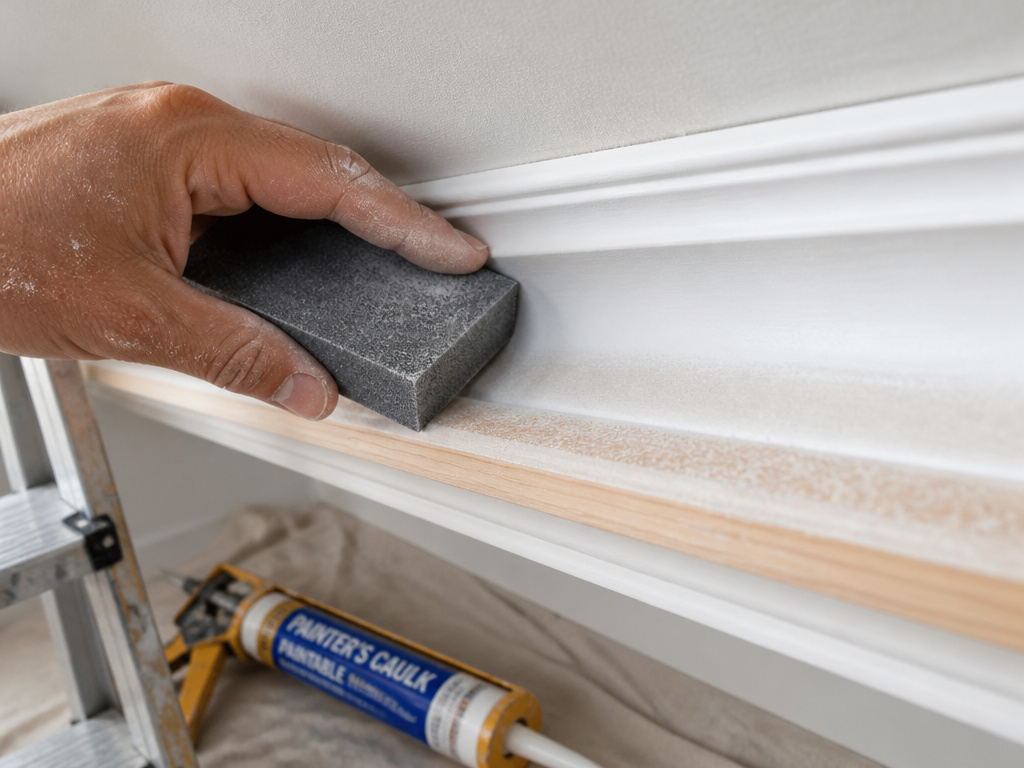
Eight steps, in this order, from Fine Homebuilding’s Tim Leahy: clean the air, clean and protect the room, fill holes, sand surfaces and edges, apply primer, sand primer coats, caulk seams, apply two topcoats.
- Clean the air and the room. Vacuum floors and walls with a HEPA machine and non-marring attachments before any finish coat.
- Fill holes and sand edges. Feather every rough paint edge into the surrounding surface.
- Prime where the surface calls for it. Skip this on sound previously painted trim; don’t skip it on bare wood.
- Sand the primer coat. This is the step most people cut, and it’s the one that keeps the topcoat flat.
- Caulk the seams. Ceiling line, wall line, and any joint where two pieces of molding meet.
- Apply the first topcoat thin. Wet film of 3.6–4.6 mils, brushed with the grain of the profile.
- Wait the full recoat window. Six hours at 77 °F and 50% RH, longer in cool or humid air.
- Apply the second topcoat and leave it alone. Two topcoats total, per Leahy’s procedure.
The trim painting order matters too: ceilings first, then walls, then crown, then casings, then base. Working top-down means drips land on surfaces you haven’t painted yet.
Primer is where the sources genuinely split. Cabinet Coat’s data sheet says no primer is needed on previously painted surfaces in good condition, and no primer on melamine or Formica either (light sand with fine paper, then tack rag). Fine Homebuilding lists primer as an essential step in the 8-step procedure. This Old House includes primer in the required tools list. The manufacturer says no primer is needed on previously painted trim in good condition, while Fine Homebuilding and This Old House list primer as an essential step.
For bare non-bleeding wood and engineered wood, Cabinet Coat calls for Insl-X Aqua Lock Plus or Cabinet Coat itself as the primer. For priming trim on cedar or redwood, you need Insl-X Prime Lock Plus or 1–2 coats of Aqua Lock Plus, because the tannins bleed through a single standard prime.
Easy to miss: Latex will adhere to oil-based painted trim, but oil-based paint won’t adhere well over latex. If you don’t know what’s on the molding, This Old House says go with latex, while Angi says prime first before applying latex over oil.
When the Standard Method Fails
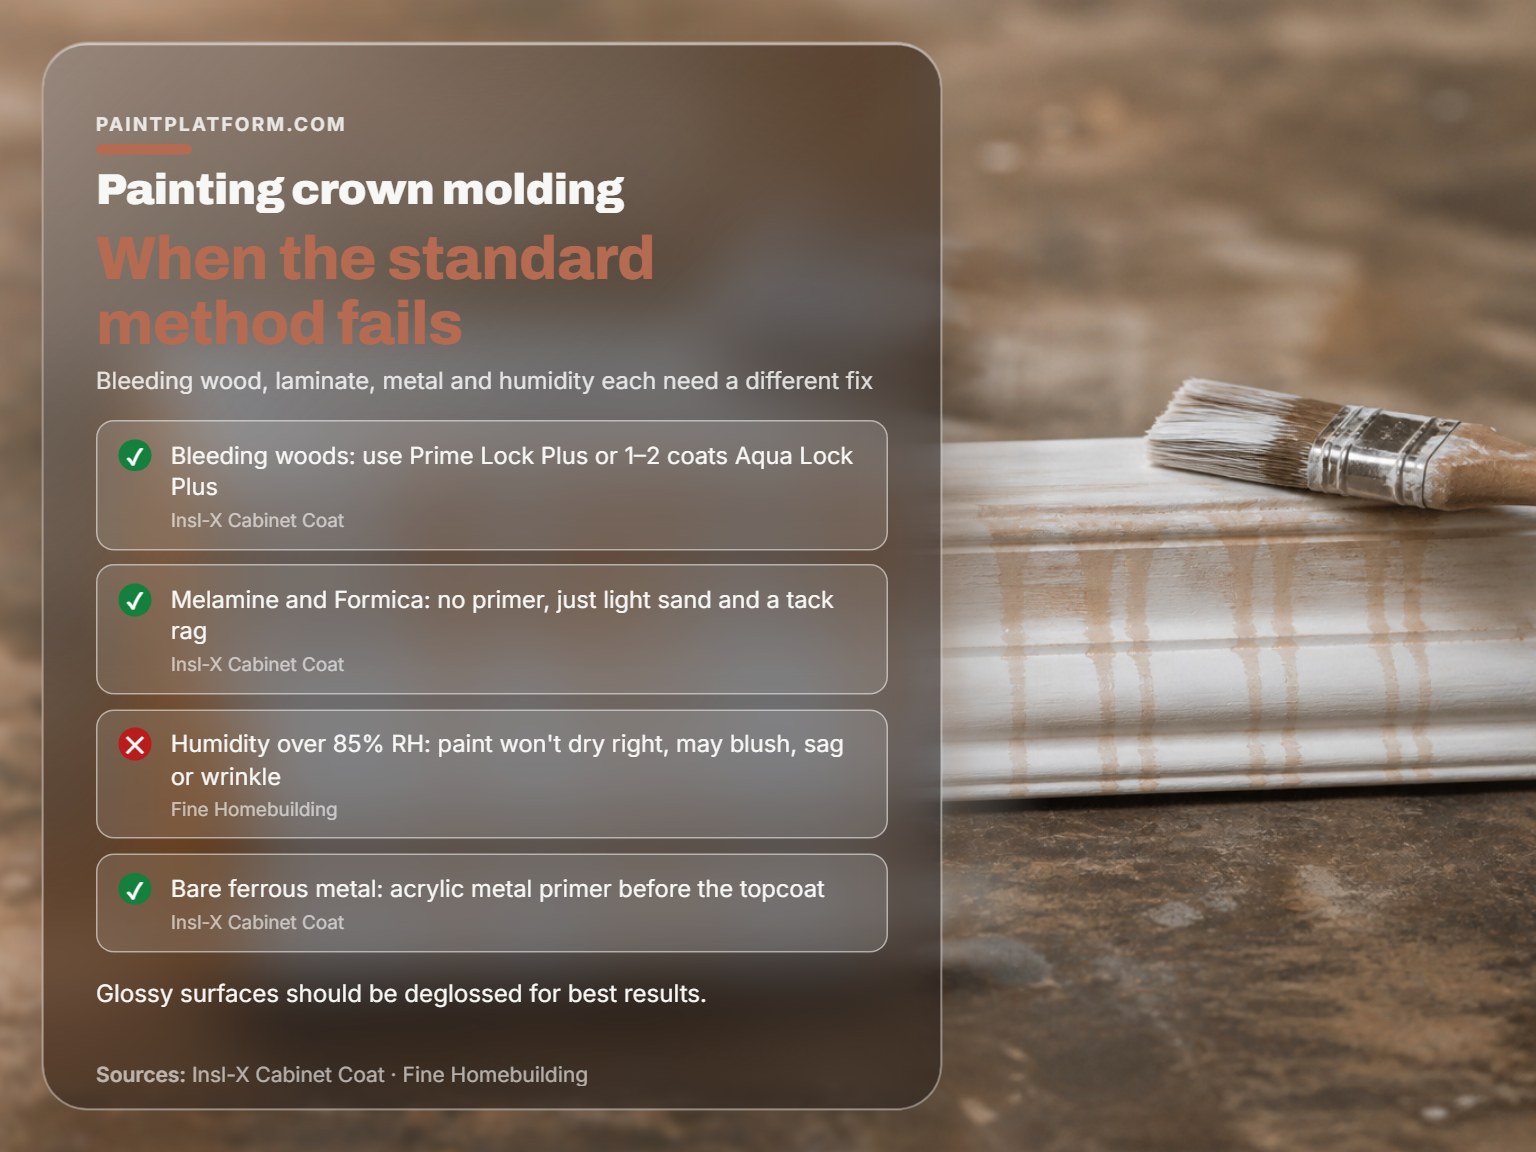
This one costs you a whole weekend if you don’t see it coming.
Bleeding woods are the classic trap. Redwood and cedar carry tannins that push through a single coat of standard primer, and you’ll see brown streaks bleeding through the topcoat. The fix is Prime Lock Plus or two coats of Aqua Lock Plus before any finish paint.
Melamine and Formica are the opposite problem. Cabinet Coat’s sheet says no primer is needed there at all, just a light sand with fine paper and a tack rag to lift the dust. Adding primer to that surface is wasted work.
| Problem | Cause | Fix |
|---|---|---|
| Blushing, sags, wrinkling | Humidity over 85% RH | Stop and wait for drier air |
| Tannin bleed on cedar or redwood | Standard one-coat prime | Prime Lock Plus or 1–2 coats Aqua Lock Plus |
| Lap lines at the seam | Second coat inside the 6-hour window | Wait the full recoat time |
| Paint won’t adhere over old gloss | No deglossing before the topcoat | Light sand to dull the sheen first |
Bare ferrous metal needs an acrylic metal primer before Cabinet Coat, which is easy to forget on decorative brackets and register covers. Homes with old paint should be tested for lead before anyone touches sandpaper.
For base molding with a carpet gap underneath, tape has to be pushed under the molding with a putty knife or the paint bridges the gap and glues the carpet to the trim. If you want to paint baseboards without that mess, the putty-knife trick is the whole game.
Frequently Asked Questions
Do I need to prime crown molding before painting?
Only if the surface calls for it. The Insl-X Cabinet Coat data sheet says no primer is needed on previously painted trim in good condition, and none on melamine or Formica. Bare non-bleeding wood needs Aqua Lock Plus or Cabinet Coat as a prime coat, and bare cedar or redwood needs Prime Lock Plus or 1–2 coats of Aqua Lock Plus to block tannin bleed.
What sheen should I use on crown molding?
Satin hides imperfections and suits older trim, which is why This Old House recommends it for less-than-perfect profiles. Angi recommends semi-gloss or high-gloss to set off the molding, and the NPS Preservation Brief 28 notes high-gloss cleans up easier, while This Old House argues satin hides imperfections. Pick satin on dinged-up trim, semi-gloss on new molding in a high-traffic room.
How long before I can apply a second coat?
Six hours at 77 °F and 50% RH, per the Cabinet Coat data sheet. The surface will feel dry to the touch in about an hour, but recoating that early drags the first coat. High humidity and cool temperatures stretch both the touch-dry and recoat times.
Can I paint crown molding without sanding?
On new, smooth molding, a light sand with 120-grit is enough to give the paint something to bite. On previously painted glossy trim, deglossing is still recommended even though Cabinet Coat is formulated for hard-to-coat surfaces. On bare wood, sanding is part of the prep, not optional.
What temperature is too cold to paint trim?
Below 50 °F surface temperature, per the Cabinet Coat data sheet. Fine Homebuilding sets the interior floor at 55 °F. Below either number, the paint won’t flow out properly and adhesion suffers. Above 90 °F, the same problem in reverse: the paint skins over before it levels.
The Bottom Line
One rule most guides skip: give the finish 30 days to cure before you clean it with anything wet. This Old House puts the cure window at about 30 days, and cleaning a trim job with a damp cloth before it cures is how you dull the sheen before it ever sets.
If the paint is chipping or you don’t know what’s underneath, stop and test for lead before you sand a single inch. That’s the one step where the stakes are higher than a bad finish.
Everything else here assumes sound, previously painted trim in a room you can hold between 50 and 90 °F and under 85% RH. If your space runs outside that window, wait. The paint will still be in the can tomorrow.
