
How to Paint a Rainbow Wall: Step-by-Step
This post contains affiliate links. As an Amazon Associate, we earn from qualifying purchases.
To paint a rainbow wall, mark a level midline, tape each arc, press the tape edge flat, and pull the tape while the paint is still damp. Purdy’s color-block guide runs a WhiteDove roller in a V pattern, and it treats stripe width and coat count as choices rather than fixed rules.
Two published tutorials will hand you different numbers for the same decision. One calls for 7-inch stripes, another 10. One says two coats, another three. Neither is wrong, and knowing why they split is most of the skill, much like learning how to paint a rainbow wall.
What follows is the order that holds up across all of them: marking, taping, sealing, painting, and peeling at the right moment. The two places where the sources genuinely contradict each other get their own table, so you can pick a side on purpose.
Key Takeaways
- Peel the tape while the paint is still damp per Purdy’s instructions, though A Beautiful Mess applies a bleed coat, lets it dry, then peels the tape after drying.
- 7-inch and 10-inch stripes are both published choices. Pick by wall height, not by what a tutorial used.
- Two coats or three, depending on the source. Remodelaholic says three coats are needed for the best coverage, while Aubabyshop paints two coats onto the prepared stripes and lets them dry.
- Seal only the tape edge where the next color lands per Purdy’s guide, while A Beautiful Mess seals and bleed-coats the seam instead.
- Low-VOC brands matter most in a nursery. ECOS, Sherwin Williams Harmony, and Benjamin Moore Natura are named options, and time beats ventilation.
Tape That Actually Follows a Curve
Straight painter’s tape will not follow an arc. Press harder and it kinks. Pull it tight and it lifts off the wall behind you.
Standard painter’s tape cannot follow a curve without modification. Sources disagree on the method: A Beautiful Mess slits the tape down the centerline or notches the outer edge to the halfway mark, while Aubabyshop makes little tears in the tape so it can follow a curved line. All relieve tension so the tape bends without lifting.
The slit runs down the middle of the tape’s width, so the two halves fan apart and each one lies flat on the wall. Notching to the halfway mark does the same job.
Little tears suit gentler curves. You pinch the tape and rip a shallow nick, and the paper backing gives before the adhesive does.
Here is the part you notice with your hands rather than your eyes. Run a thumb along the arc and any section that pushes back is still under tension. Re-tear it.
Tighter radius curves need the same tension logic, and a painted arch is where tape alone stops holding and a template takes over. Purdy’s own color block wall instructions skip curves entirely for that reason: straight edges seal predictably, arcs do not.
How Wide Should the Stripes Be, and How Many Coats?
Seven inches. Ten inches. Both are published, both work, and neither is a standard.
| Decision | What one source says | What another says |
|---|---|---|
| Stripe width | 10 in (A Beautiful Mess) | 7 in (Aubabyshop) |
| Coats for coverage | 3 coats (Remodelaholic) | 2 coats (Aubabyshop) |
| Bending tape on a curve | Slit center or notch to halfway (A Beautiful Mess) | Little tears along the edge (Aubabyshop) |
| Tape removal | Peel while damp (Purdy) | Bleed coat, dry, then peel (A Beautiful Mess) |
Width is a proportion decision. A 7-inch stripe reads as a narrow band on a tall wall and as a bold arc on a short one. A 10-inch stripe fills more of the wall.
Count your curves before you commit. One 10 ft by 7.5 ft wall used 6 rainbow curves with the first color painted twice, once on the outside and once on the inside. That is a real layout, not a guess, and it tells you the wall can carry six bands without crowding.
Coat count follows the paint, not the tutorial. A paint-plus-primer or one-coat formula, which Purdy’s guide recommends for speed, usually closes in two passes. If you want the wider planning view, stripe width planning covers the same math on straight bands.
Where this goes sideways: Painting every stripe in one sitting before any of them dries. Wet edges meet fresh tape and the second color lifts the first one off the wall in patches.
The Order That Works: Mark, Tape, Seal, Paint, Peel
Five moves, in this order: mark the line, tape it, seal the edge, paint, peel while damp.
Before you start: A stepladder under a tall arc will slide if you lean past the rails, so set it on bare floor and keep your hips inside the frame. Household paint releases volatile compounds while it cures, so open a window and run a fan even on a mild day. Tape pulled at a sharp angle takes fresh paint with it, so pull back along the wall.
- Wipe the wall and mark the midline. A clean, damp cloth first, then a level line. One nursery tutorial set the rainbow midline at the midpoint of the window frame, 37 inches off the ground, and marked it with tape.
- Draw the arcs with a pencil you can cover. Purdy’s instructions call for a light pencil line. A Beautiful Mess warns that ordinary graphite is hard to hide under pale paint and suggests a light-pink colored pencil matched to the stripe. Aubabyshop swaps pencil color for every band. I have stopped trusting graphite under anything lighter than a mid-tone.
- Tape the outer edge of each stripe only. Aubabyshop tapes the outside of the line so you can finish one stripe completely and let it dry before the next one starts, while Micah Juliet buys multiple brushes to paint the whole rainbow in one shot without waiting for a brush to dry between colors.
- Press the tape edge with your thumb. Purdy’s guide calls for thumb pressure to seal the tape against the wall. Seal only the edge where the next color will land, or the tape grabs the coat underneath.
- Roll in a V pattern. The recommended WhiteDove roller cover is 9 by 3/8 inches, and the V stroke keeps the finish even and lint-free. Reach for an extension pole once you are past arm’s length.
- Peel while the paint is still damp per Purdy, or apply a bleed coat, let it dry, then peel per A Beautiful Mess. Pull back along the wall rather than out from it.
Corners and the trim around windows want a brush, not a roller. Purdy’s Clearcut brush comes in 2-inch and 2.5-inch sizes, and the stiff bristles are what produce a sharp cut-in line. A soft brush will splay and leave a fuzzy edge.
For the sealing step itself, the mechanics are the same whether the line is straight or curved, and sealing tape edges explains the thumb-press and bleed-coat options side by side.
Choosing Colors Without Buying Sixteen Pots
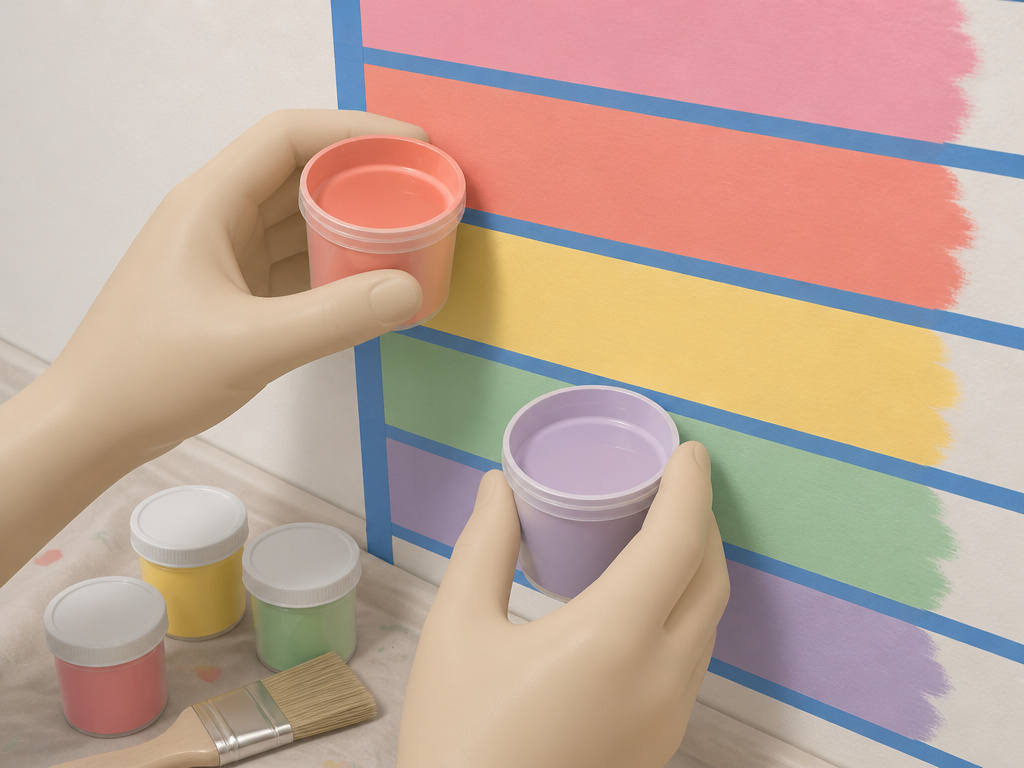
Sixteen colors is a palette, not a plan.
The quantity question has a real answer. A 10 ft by 7.5 ft wall came in using about half of each sample container, so sample-size pots are enough for a bedroom-scale rainbow. That is the number to plan around, and it means you can test a scheme without committing to quart cans.
Named palettes you can copy
- BEHR ombre, 16 shades running from Beloved Pink #S130-1 through Coral Fountain #MQ4-3 and Jackfruit #PPU6-07 down to Ancestry Violet #S100-4, sampled in satin or eggshell.
- Valspar, 5 shades top to bottom: Champagne Pink, Baby Blush, Opal Blush, Warm Cappuccino, Pink Wink.
- Sherwin Williams, 7 shades used in one nursery: Cheery, Melon, Friendly Yellow, Cool Avocado, Alexandrite, Cay, and Inspired Lilac.
- Dutch Boy, 6 shades from a video tutorial: Ruffled Tutu, Sugar Rush, Lemon Curd, Siesta Key, Morning Jog, Lavender Lace.
Sixteen bands is a lot of taping. The BEHR sequence exists because someone wanted a full ombre, and the coat count and cure time scale with every band you add. Most walls look better with fewer bands.
A painter I know kept her work gray and brown for months because color scared her. She mixed two greens from a blue and a yellow, watched them behave, and her next few weeks went bright. Two paints did that.
Easy to miss: Sample pots are mixed in whatever base the store has on hand. Two pots of the same code bought weeks apart can sit a shade off, so buy every pot for one wall in a single trip.
If you want to see the colors on the actual wall before taping anything, test paint colors covers patches and peel-and-stick samples.
VOCs, Nurseries, and the Waiting Game
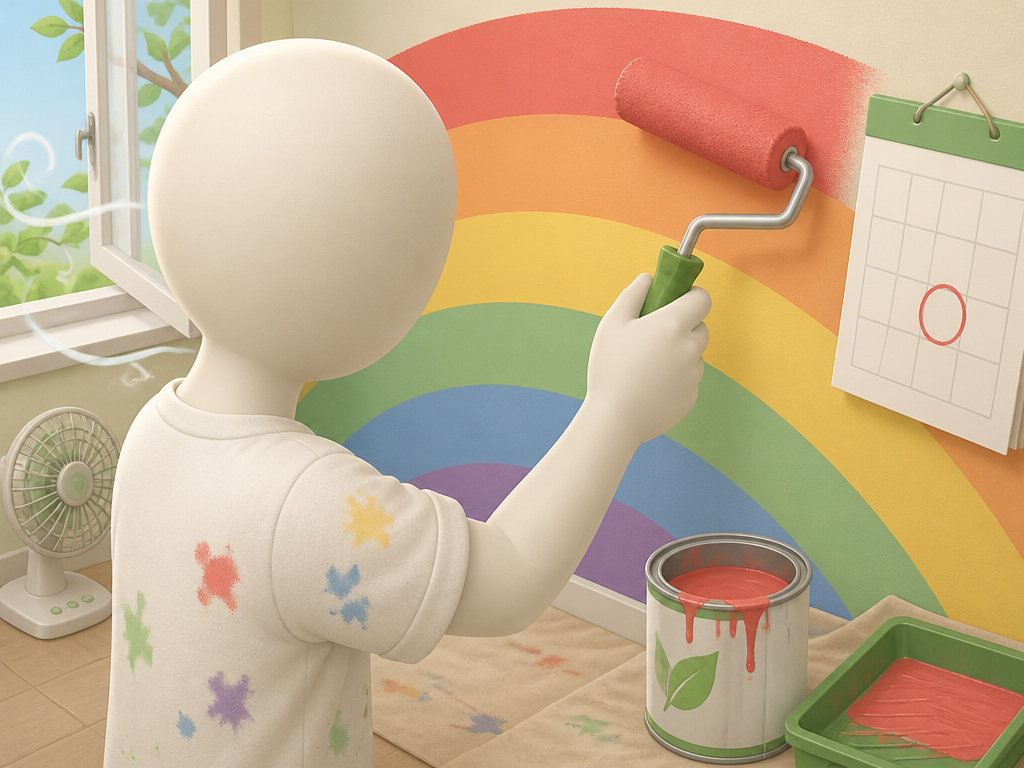
One nursery tutorial describes taping stripes from a stepladder, windows open. That is a story about timing, and the timing was wrong.
Household paints are a source of volatile airborne toxins that can be particularly harmful to pregnant women and small children, per Aubabyshop. The practical fix is boring: finish the wall a few months before the baby’s arrival and let the room air out.
Low-VOC and no-VOC brands named in that same guide:
- ECOS
- Sherwin Williams Harmony
- Benjamin Moore Natura
- Earth Pigments
Ventilation helps while you work. It does not replace cure time. Paint that smells neutral is still off-gassing for a while after that, and a closed nursery door traps all of it.
Why Is My Rainbow Bleeding Under the Tape?
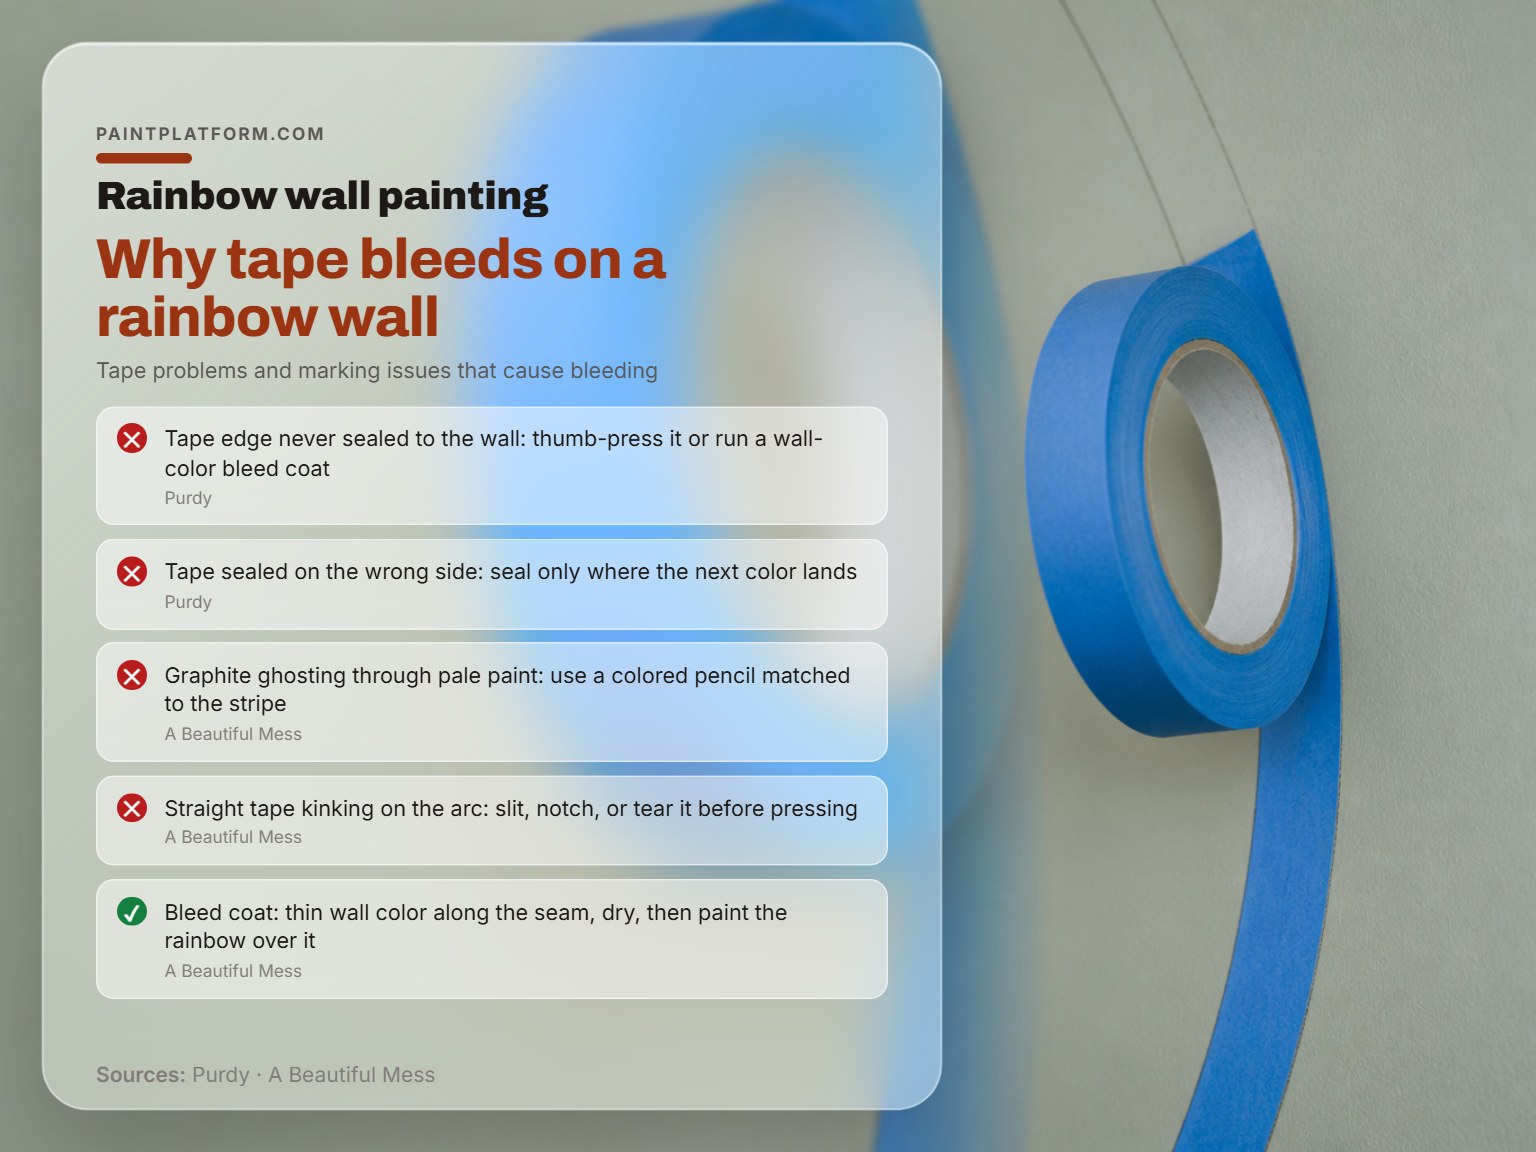
Almost every bleed has one of four causes, and three of them are tape problems rather than paint problems.
| What you see | What caused it | The fix |
|---|---|---|
| Ragged color creeping under tape | Tape edge never sealed to the wall | Thumb-press the edge, or run a wall-color bleed coat |
| First stripe peeling up with the tape | Tape sealed on the wrong side | Seal only the edge where the next color lands |
| Pencil ghosting through pale paint | Graphite under a light topcoat | Switch to a colored pencil matched to the stripe |
| Tape kinking on the arc | Straight tape forced around a curve | Slit, notch, or tear the tape before pressing |
The bleed coat is the alternative to thumb pressure. You paint a thin line of the wall color along the tape seam, let it dry, then paint the rainbow color over it. Any seepage that gets under the tape is wall color, so it disappears.
The part nobody mentions: Overworking a glaze or a thin coat turns it flat and muddy. A loaded roller beats a dry one, every time.
Shiplap and Corner Rainbows: When the Flat-Wall Method Breaks
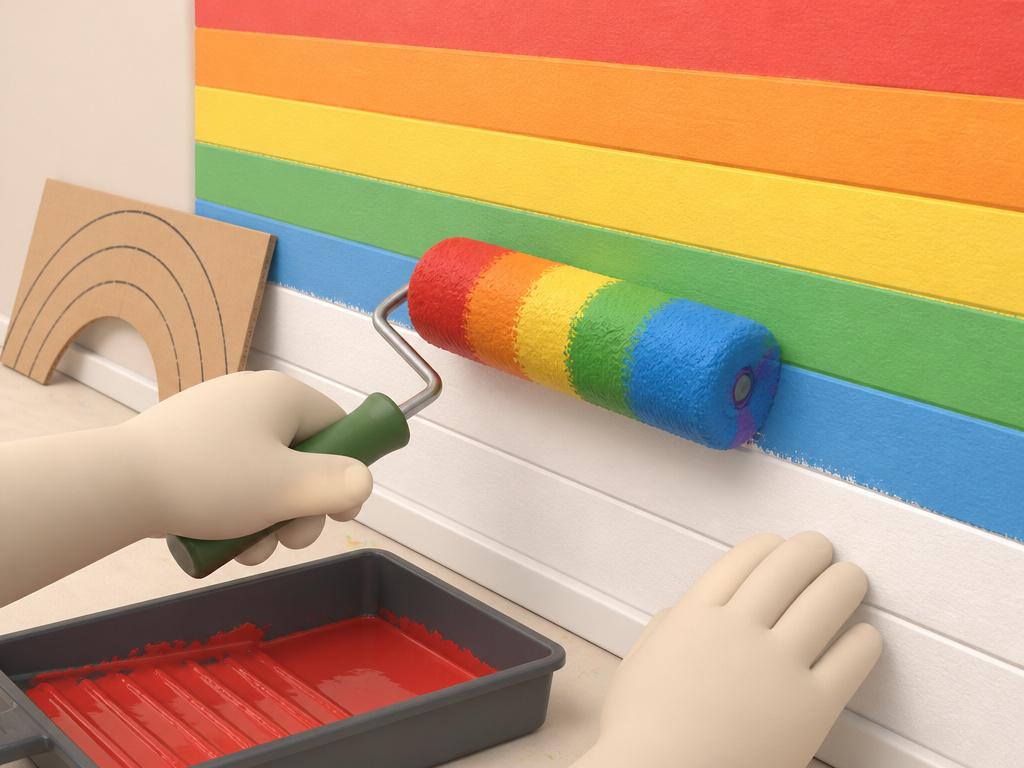
Remodelaholic’s shiplap version starts with plywood math before a single drop of paint gets mixed.
The shiplap version
A 12 ft by 8 ft wall is 96 square feet, which means 3 sheets. Paint the wall itself first if you are using spacers, because the wall color shows through the gaps.
That tutorial also reverses its own advice. The author started at the bottom of the wall and says plainly that starting at the top would have been better, so any ripped piece ends up at the floor instead of at the ceiling.
Three coats went on the boards, poured directly onto the wood and rolled out, with drying time between each.
The corner rainbow
The corner version needs a cardboard template and a stepladder, working upward as you tape the outer edge. The template is what keeps the bands even when the arc wraps two walls, and the upward direction keeps you from leaning across wet paint.
For layouts that combine bands with triangles or blocks, geometric accent wall covers the same template-and-tape approach. If you are still deciding whether the rainbow belongs on one wall or the whole room, start with the accent wall basics and work outward.
Frequently Asked Questions
Do I have to use painter’s tape for a rainbow wall?
No, but the alternatives cost more time. Freehand arcs on a wall show every wobble, and a cardboard template only helps you draw the line, not paint it. Tape is what gives you the hard edge, and a slit or notched strip is what allows that edge to curve.
Can I paint a rainbow wall over an existing dark color?
Yes, with an extra pass. A one-coat paint-plus-primer formula is designed for this, but a satin sample pot over a dark wall usually needs three coats rather than two. Test on a small patch first and count how many passes it takes to hide the old color.
How long should I wait between stripes?
Until the previous stripe is fully dry, and the paint label gives the exact cure time. Purdy’s instructions say to check the label rather than guess. Taping over paint that is dry to the touch but not cured is how you lift a corner of the band you just finished.
What if my wall has texture?
Rolled texture eats tape edges. Press the tape down with a thumb to push the adhesive into the dips. On heavy texture, a bleed coat can help.
Is a rainbow wall safe in a nursery?
With low-VOC or no-VOC paint and enough cure time, yes. Aubabyshop recommends finishing the project a few months before the baby arrives so the room can air out, and names ECOS, Sherwin Williams Harmony, Benjamin Moore Natura, and Earth Pigments as low or no VOC options.
The Bottom Line
Both 7-inch and 10-inch stripes are published choices; pick by wall height, not by what a tutorial used. That single decision settles most of the layout before you buy anything.
The one rule I would defend against any tutorial: pull the tape while the paint is still tacky, as Purdy advises, though A Beautiful Mess applies a bleed coat, lets it dry, then peels the tape after drying. Every torn edge I have seen on a rainbow wall came from waiting. The bleed coat is the backup plan, and it works, but it costs you an extra pass per stripe.
Fair warning, though. This whole method assumes you are painting on a flat interior wall with paint you have already tested. If the wall is textured, or the room is a nursery with a deadline, the order changes: test the color and paint a few months before the baby’s arrival. Everything else can wait.
