
How to Choose a Primer for Walls: Match It to the Problem
This post contains affiliate links. As an Amazon Associate, we earn from qualifying purchases.
To choose a primer for walls, match the primer to the problem: a basic acrylic like Benjamin Moore Drywall Primer 380 for new drywall, a shellac or oil-based stain blocker for water marks and knots, and a bonding primer for glossy or hard-to-stick surfaces. Temperature and recoat time decide the rest.
Those recoat numbers on the label assume 77F and 50 percent relative humidity. Benjamin Moore’s own data sheet says high humidity and cool temperatures stretch dry, recoat, and service times longer. That’s how a two-hour recoat turns into an afternoon.
What follows is the order I actually use: substrate, then the stain, then the temperature window, then the product. Two tables of specs, one honest look at where the manufacturers disagree with each other, and the spot-priming habit that made a quart of primer last four rooms.
Key Takeaways
- Match the primer to the surface before you match it to a brand: Drywall Primer 380 for drywall (and, per its data sheet, cured plaster), Ultra Spec 571 block filler for rough masonry, though the Advance 790 system names Fresh Start N023 or 046 for plaster.
- Tint the primer toward the topcoat color on big color changes. It cut my navy-to-pale job down to far fewer coats.
- Recoat times are written for 77F and 50 percent humidity. Outside that window, two hours stretches longer.
- Water-based primers lock stains, they don’t block them, so a tannin or nicotine mark can still show through until the topcoat goes on, though Cabot notes acrylic technology has improved tannin resistance and two coats may be needed on high-tannin woods.
- Spot prime patches instead of rolling the whole room unless the wall is bare, badly stained, or changing color hard.
How to Choose a Primer for Walls: Four Surfaces, Four Answers
Four surfaces cover almost every wall job: bare drywall, cured plaster, masonry, and a wall that’s already painted. Each one wants a different primer, and the can usually tells you which.
Benjamin Moore Drywall Primer 380 carries 30 plus or minus 2 percent volume solids and spreads 350 to 450 square feet per gallon. Wet film builds 3.6 to 4.6 mils and dries to 1.1 to 1.4 mils. Recoat time is two hours at 77F and 50 percent relative humidity. Application surface temperature runs 50F to 90F.
Bare drywall is the easy case. Drywall Primer 380 is an acrylic primer built for new or previously painted drywall and plaster, and it seals the paper face so the topcoat sits on something uniform instead of fuzzing the surface. Sherwin-Williams PVA Primer and Easy Sand Primer do the same job for new residential drywall and wood trim, with a one-hour recoat.
| Surface | Primer that fits | Why it fits |
|---|---|---|
| Bare drywall | Benjamin Moore Drywall Primer 380 | Acrylic sealer, recoat in 2 hours at 77F |
| Cured plaster | Fresh Start N023 or 046 | The Advance 790 system names these for plaster |
| Rough or pitted masonry | Ultra Spec 571 Hi-Build Block Filler | Fills pits a thin primer can’t bridge |
| Previously painted wall | Spot prime bare patches only | Full priming is for new surfaces |
The how to choose a primer for walls question is like stocking a small kitchen. Salt, a pan, and one good knife cover most meals, and you don’t need eleven bottles of sauce to cook dinner.
If you want the wider shortlist, the primers for interior walls roundup covers the same four surfaces with more product options. For the paper-face and joint-compound side of things, the drywall primer guide goes deeper than I can here.
Why Did My Navy Wall Eat Four Coats of Paint?
Too many coats. That’s what a dark navy wall cost me the first time I painted it pale, and I stood there for a while afterward wondering where my Saturday went.
The fix was embarrassingly simple. When you compare a how to choose a primer for walls, the paint counter tinted the primer toward the topcoat color, and the same wall took far fewer coats. Same paint, same roller, same me.
Benjamin Moore’s data sheet backs the idea: for best hiding, tint Drywall Primer to the approximate finish coat color. Cabot’s technical bulletin puts a number on the ceiling for their Problem-Solver primers, at up to four ounces of colorant per gallon.
Here’s my honest take, and it’s where I part ways with the “tint everything” crowd. Tinting earns its keep on big color changes and on dark-to-light flips. On a same-tone repaint, you’re paying for a custom mix that changes nothing you’ll notice. Red walls under a pale topcoat were the case where the tinted primer really saved me a lot of grumbling.
Tint the primer, not the topcoat, when you’re covering a dark color. A tinted primer coat hides in one pass. Tinted paint hides in three, and you’ll blame the paint.
Use a roller for primer with a nap matched to the wall texture, not the one you use for finish coats. Primer is thicker and it loads differently.
Stain Blocking: Oil, Shellac, and the Water-Based Stain Lock
Dow Coating Materials states it plainly: oil-based primers are better at blocking wood tannins. That single sentence explains most of the confusion in the primer aisle.
Where this goes sideways: Rolling a basic water-based primer over a water stain. Water-based primers use stain locking, so the mark is trapped in the film but still visible until the topcoat goes on. You’ll see it grinning at you through the first coat.
Oil-Based Alkyd: Still the Tannin King
Oil primers sand easily, level beautifully, and block tannins in red species. Cabot’s bulletin names western red cedar, redwood, and Douglas fir as the woods where alkyd retards extractive bleeding. The cost is real: higher VOCs, strong odor, mineral-spirit cleanup, and 24 to 48 hours to dry. Dow also notes oil primer can be food for mold even under latex topcoats, so use one with a mildewcide or add your own.
Water-Based Acrylic: Stain Locking, Not Stain Blocking
Water-based primers are lower in VOC, lower in odor, and clean up with soap and water. What they don’t do well is block nicotine, food stains, or oil-based stains including wood tannins. Where they beat oil is on solvent-based marks like marker and tar. Cabot notes that acrylic technology has improved tannin resistance, but two coats may be needed on high-tannin woods.
Shellac and Synthetic Shellac
Sherwin-Williams White Pigmented Shellac Primer blocks fire, flood, and pet stains plus cooking and cigar smoke odors in one coat, and it spot-primes knots and severe tannin on bare wood. Synthetic shellac performs close to the real thing per Sherwin-Williams, and it cleans up with mineral spirits instead of alcohol.
| Primer type | Best at | Watch out for |
|---|---|---|
| Oil-based alkyd | Tannin bleed in cedar, redwood, Douglas fir | 24 to 48 hours dry time; strong odor; can feed mold |
| Water-based acrylic | New drywall, low odor, soap cleanup | Locks stains instead of blocking them |
| Shellac | Knots, smoke, pet and water stains in one coat | Film cracks as the substrate moves |
| Synthetic shellac | Same stain jobs, steadier supply | Cleans up with mineral spirits |
The sources genuinely split on tannin. Benjamin Moore’s Drywall Primer data sheet says an alkyd-based primer may be the best choice for severe tannin or smoke staining. Benjamin Moore’s own Advance 790, a waterborne alkyd, is explicitly not recommended for blocking tannin, sealing knots, or going over pine sap. Dow says oil wins on tannins. Cabot says alkyd retards bleeding in red species while acrylic may need two coats. Sherwin-Williams sells an oil-based exterior wood primer specifically for severe tannin in red cedar and redwood.
Read that pile of positions carefully and the practical answer falls out: for severe tannin or knots, many sources reach for solvent-based alkyd or shellac, though Cabot notes acrylic technology has improved tannin resistance and two coats may be needed on high-tannin woods. For everything else, water-based is fine. The stain-blocking primer guide walks through the specialty products if you’re dealing with smoke or nicotine. If you want the full chemistry argument, the water-based vs oil-based primer comparison lays it out side by side.
The Spot-Priming Habit That Stretches a Quart Across Four Rooms
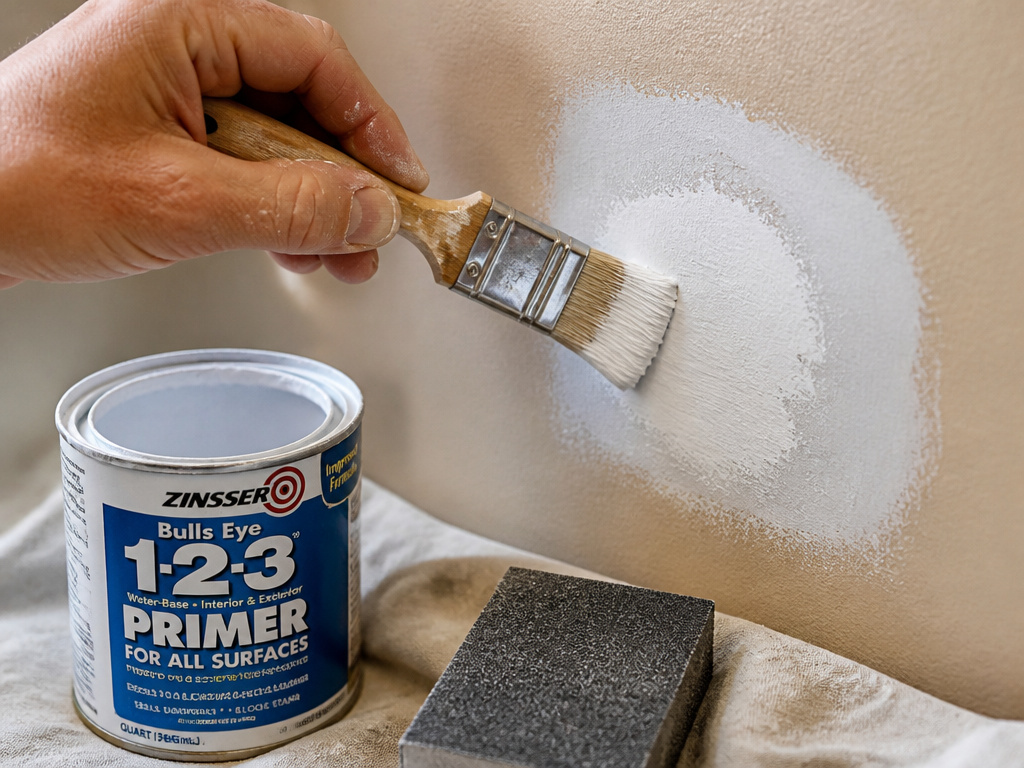
I used to roll primer over entire rooms out of pure habit. Now I dab it on the patched spots with a cheap 2-inch brush, and a quart goes much further.
The habit came from a mistake. I skipped spot priming a spackle patch once, and that patch flashed like a dull gray thumbprint under the topcoat, even after two coats. I stood there staring at it, which fixed exactly nothing.
Before you start: Sanding or scraping old paint can release lead dust, which is toxic. Wear a NIOSH-approved respirator, clean up with a HEPA vacuum and a wet mop, and call 1-800-424-LEAD or check epa.gov/lead before you touch painted trim.
The sequence that works:
- Wipe the patch with a damp cloth and let it dry completely. Dust left on the compound sits between primer and patch, and the primer film lifts in sheets.
- Dab primer on with a 2-inch brush, working slightly past the patch edges. Stop at the edge and the rim shows as a pale halo under the topcoat.
- Feather the primer thin at the border. A thick ridge there sands into a visible ring you’ll see in raking light.
- Wait the full recoat time before topcoating. Paint too early and the primer film tears and balls up under the roller.
Spot priming is the right call on a sound painted wall with a few patches. It’s the wrong call on a bare wall or a wall with a big color change, and the when to prime walls breakdown covers the cases where a full prime is the cheaper path.
How Cold Is Too Cold to Prime a Wall?
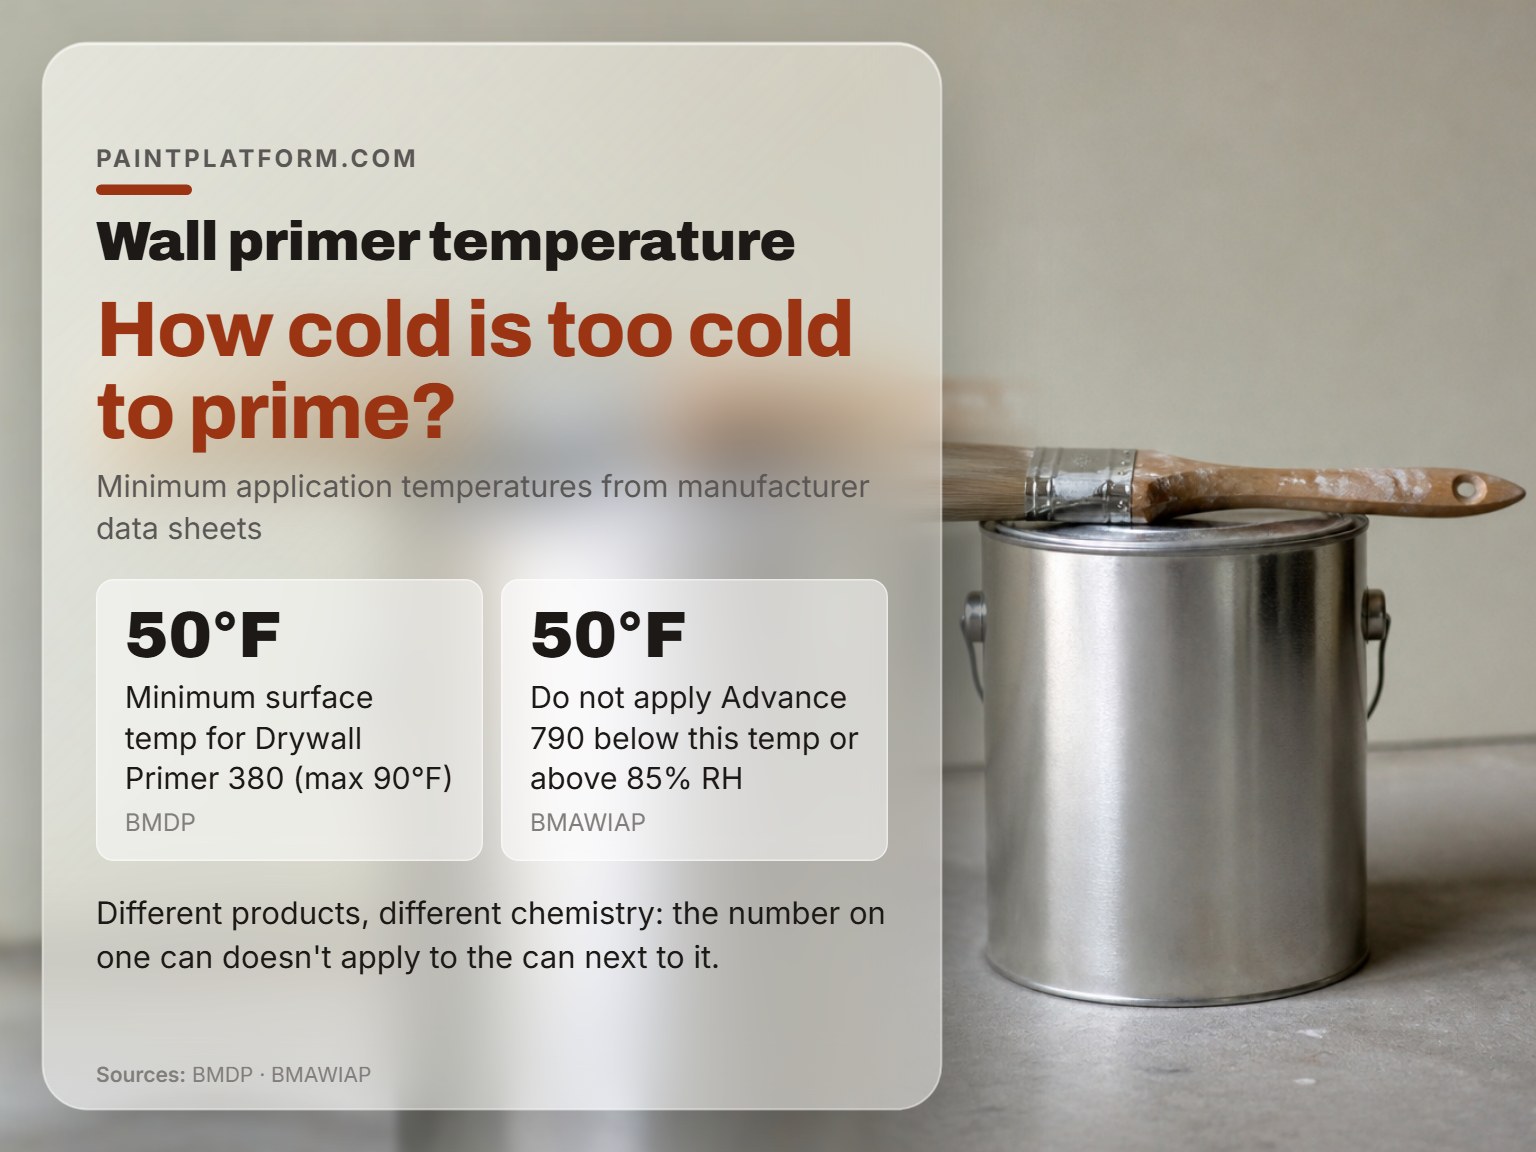
50F is the number printed on most Benjamin Moore data sheets, and it’s the one I plan around, though Sherwin-Williams lists some products down to 35F or 40F.
Drywall Primer 380 lists an application surface temperature of 50F to 90F, with storage at 40 to 90F. Advance 790 says do not apply below 50F or above 85 percent relative humidity. Sherwin-Williams goes lower on some products:
- Multi-Purpose Latex Primer applies down to 35F
Those aren’t contradictions so much as different products with different chemistry. The mistake is assuming the number on one can applies to the can next to it.
Easy to miss: The two-hour recoat on Drywall Primer 380 is void outside 77F and 50 percent humidity. In a cool garage in October, plan on a longer window and check the film with a light touch before you load a roller.
Humidity matters as much as temperature. Advance 790 needs extra ventilation under humid conditions to speed drying, especially over sealed or non-porous surfaces. If you’re priming a steamy room, the bathroom wall primers picks account for moisture far better than a general-purpose can will.
New Plaster and New Concrete: Where the Sources Flat-Out Disagree
Ask three sources how long new plaster should cure before priming and you get three answers, which is exactly why this trips people up.
Benjamin Moore Drywall Primer 380 says new plaster or masonry must cure 30 days before the base coat, while Sherwin-Williams Loxon Acrylic Conditioner allows coating before a 30-day cure and the 1932 NBS report painted panels within 48 hours of plastering. Sherwin-Williams Loxon Acrylic Conditioner allows new concrete, stucco, and cementitious surfaces to be coated before a 30-day cure. And the 1932 National Bureau of Standards publication “Paint for priming plaster surfaces” painted panels within 48 hours of plastering, then held them in a humidity box for 34 days plus 14 more with no marked defects.
The 30-Day Rule and Who Disagrees With It
The NBS report is worth reading for one more reason: it documents the actual failure mode. Panels embedded in wet sand showed color failure with loss of gloss and blistering after 24 hours, worsening over six more days. Color failures on concrete were more severe than on plaster. The panels in the humidity cabinet survived because no condensation reached the painted face.
So liquid water at the film is the enemy, not ambient damp. That’s the mechanism behind every “wait for it to cure” rule you’ve ever heard.
Common mistake: Sanding a plaster wall. Benjamin Moore says never sand plaster. Knife off protrusions, prime before and after patching, and check that the cured surface is hard with a slight sheen and a pH no higher than 10. Soft, powdery plaster means it isn’t cured, and primer over it will fail.
The government report on priming plaster also notes that how dry plaster should be before painting was not studied in that investigation. Anyone quoting a hard number as settled science is overselling it.
For high-pH masonry, Sherwin-Williams Loxon Concrete and Masonry Primer/Sealer tolerates the alkalinity common in new masonry and prevents peeling from alkali salt damage. That’s a different job from sealing a wall, which is why the primer vs sealer distinction matters before you buy.
Slick, Glossy, and Already Painted: The Adhesion Problem
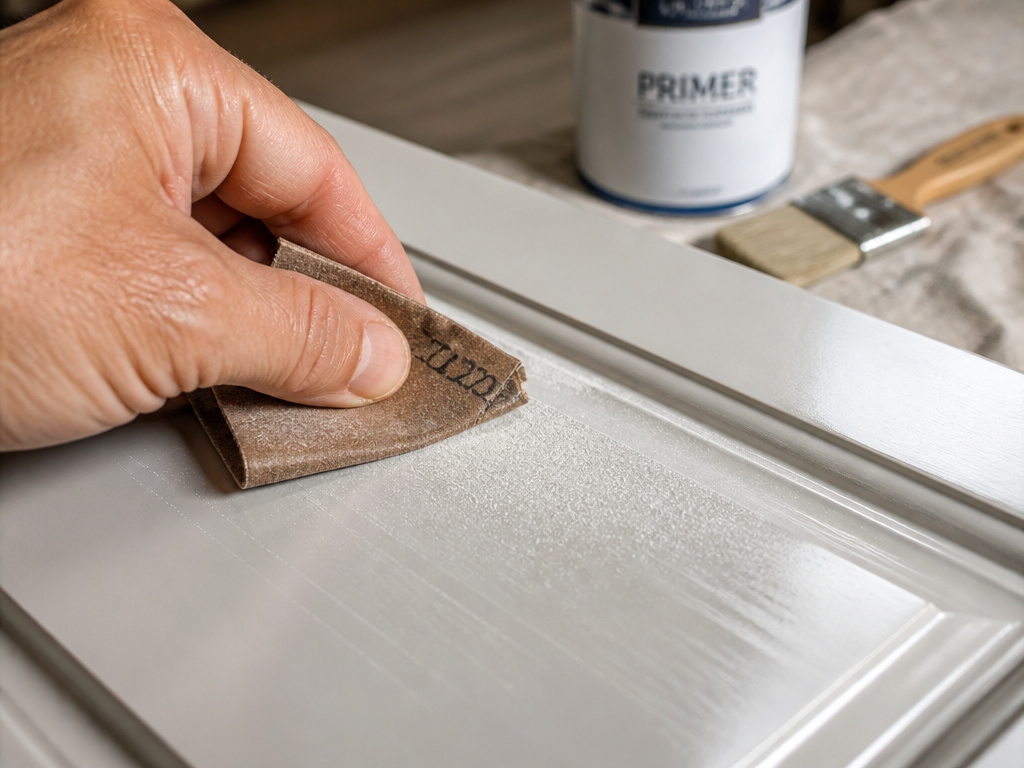
Glossy trim and old enamel are where primer earns its money, and where most of the failures I see actually start.
Sherwin-Williams puts the prep rule in four words: clean, dry, dull, and sound. Dry is the one people get wrong. It means the moisture content of the material is within the primer’s tolerance, not that the surface feels dry to the touch.
When to abrade before priming:
- Hard glossy alkyd surfaces: sanding is required for optimum adhesion, per Benjamin Moore’s 790 data sheet
- Cabinetry: roughen with 220 grit or coarser before priming, then sand lightly between coats
Sherwin-Williams Extreme Bond Primer handles the hard cases in one coat on hard-to-paint and glossy surfaces. Where shellac gets risky is movement: Fine Homebuilding notes shellac-based primer film cracks easily as the material underneath expands and contracts, and it has poor metal adhesion.
One more thing that gets skipped. Interior primers can be left exposed longer than exterior ones, but topcoat them as soon as you can. Dust settling on an open primer film is enough to compromise the bond, and you won’t find out until the paint peels a season later. More options for repaint work live in the primers for painted walls list.
Frequently Asked Questions
Do I really need primer on a wall that’s already painted?
Only where the surface is bare or compromised. Benjamin Moore’s guidance is that new surfaces should be fully primed while previously painted surfaces may be primed or spot primed as needed. Patched spots, sanded areas, and bare drywall need primer. A sound, clean painted wall usually doesn’t.
Can I use the same primer on drywall and plaster?
Drywall Primer 380 lists both drywall and cured plaster, so one can cover both, though the Advance 790 system names Fresh Start N023 or 046 for plaster. The Advance 790 system takes a different route and names Fresh Start N023 or 046 for plaster. Pick the primer your chosen topcoat system specifies rather than assuming one product covers everything.
How long do I have to wait before painting over primer?
It depends entirely on the product. Drywall Primer 380 recoats in two hours at 77F and 50 percent humidity. Advance 790 needs eight hours under mild conditions. Sherwin-Williams PVA and Easy Sand primers recoat in one hour. Read the can, not a forum.
Does primer freeze in a cold garage?
Benjamin Moore lists storage at 40F to 90F for Drywall Primer 380, so a garage that dips below freezing is the wrong place for it. Let a cold can come back to room temperature before you open it.
Is paint-and-primer-in-one good enough?
Not on stains, bare wood, or big color changes. A combined product saves a step on a clean, previously painted wall in a similar color. On a tannin stain or a bare patch, it’s doing two jobs at once and doing the primer half badly.
The Bottom Line
Here’s the threshold I’d give anyone: if the wall is bare, stained, or changing color dramatically, use a real primer matched to that specific problem. If it’s a sound painted wall with a few patches, spot prime and save your money.
The first step this week is quick. Buy a quart of primer and a cheap 2-inch brush, then dab every patch, nail fill, and scuff in the room you’ve been putting off. Feather the edges thin. Let it dry the full recoat time.
Then paint, and see whether you can find the patches afterward. If you can’t, you’ve just learned the whole skill.
