
How to Paint a Geometric Accent Wall: Step-by-Step
This post contains affiliate links. As an Amazon Associate, we earn from qualifying purchases.
To paint a geometric accent wall, you clean and repair the wall, tape the outer edges, mark a measured grid in pencil, then paint the lightest color first and work toward the darkest, brushing the taped edges before you roll the middle. Pull the tape while the paint is still tacky.
The tacky part is where the instructions split. Sherwin-Williams says pull while the paint is tacky, This Old House says pull before it dries, and FrogTape says pull while it’s wet. All three describe the same narrow window, and missing it is how a clean geometric wall turns ragged. Knowing how to paint a geometric accent wall means respecting that window.
What follows is the order that holds up: the tools worth buying, the grid math, the prep step that eats the clock, and the tape argument nobody settles.
Key Takeaways
- Prep is 75 percent of the job. Painting contractor Jim Clark, quoted by This Old House, puts surface preparation at three-quarters of the time a paint project takes.
- Divide the wall, don’t eyeball it. A 96-inch wall split into 6 rows gives 16-inch rows; a 174-inch wall split into 6 gives 29-inch shapes.
- Start with the lightest color. Sherwin-Williams recommends painting the lightest color first, then taping and painting the darker tones in turn.
- Pull tape at 45 degrees while the paint is still tacky. Sources differ on the exact window: Sherwin-Williams and Toolstation say tacky, FrogTape says wet, and This Old House says before it dries.
- Standard tape is wrong on a wall painted less than a month ago. FrogTape specifies its Delicate Surface tape for that case.
What You Need Before You Tape a Single Line
Six things, and you probably own four of them.
Painter’s tape only seals when pressure runs along its full length. A thin coat of the wall’s base color laid over the tape edge lets the tape’s polymer react with the water in the paint and gel into a micro-barrier, so the next coat cannot creep underneath and the finished line stays sharp.
That barrier is the whole trick. Ace Hardware describes FrogTape’s PaintBlock as a super-absorbent polymer that gels on contact with latex paint, which is why the tape earns more of your attention than the brush does.
- Painter’s tape in two widths — 0.94 in. For pattern lines and 1.88 in. For the wider gaps, the split FrogTape’s grid method uses.
- A laser level, or a long straightedge and a pencil. Toolstation lists both.
- A 2½-inch angled synthetic brush for cutting in, or a 2-inch synthetic angled brush, which is what Ace uses.
- A 3/8-inch nap roller cover and frame.
- Filler, a sanding sponge, and a clean cloth.
- Undercoat, if you’re priming.
For a first geometric wall, FrogTape Multi-Surface Painter’s Tape is the one to reach for. It’s the tape named in FrogTape’s own geometric mural instructions, and the PaintBlock edge is forgiving of a slightly uneven hand. FrogTape Multi-Surface Painter’s Tape is the tape named in FrogTape’s own geometric mural instructions.
If the wall was painted less than a month ago, use FrogTape Delicate Surface Painter’s Tape instead. Standard tape can grab a finish that hasn’t fully cured.
How Do You Work Out the Grid So the Shapes Actually Fit?
Divide the wall’s height by the number of rows you want, then divide its width by the number of shapes across. That’s the entire method. Sherwin-Williams ran a 96-inch wall through 6 rows for a 16-inch row height, then split a 174-inch width into 6 for 29-inch shapes.
Mark those measurements lightly in pencil. You’ll erase or paint over them, so there’s no reason to press hard.
This Old House takes a different route on the same wall: mark the height of the first section on the left edge, then run a straightedge from that mark down to the opposite corner. Their first mark sits at 30 inches high. From there you draw a second line from the center of the first to the upper corner.
FrogTape starts at the middle of the wall instead, levels the first line, and works outward and down. Starting centered keeps the pattern symmetrical if your wall isn’t perfectly square, which most aren’t.
Easy to miss: Wall imperfections lift tape. Toolstation points out that lumps and bumps stop the tape from sitting flat, and that’s where bleeding and wobbly shapes come from. Sand the wall before you measure, not after.
Prep Eats 75 Percent of the Clock
Seventy-five percent of a paint project’s time goes into surface prep, according to painting contractor Jim Clark in This Old House. That number sounds like an exaggeration until you’ve spent an afternoon filling nail holes while wondering how to paint a geometric accent wall.
Wash the wall first. Sherwin-Williams uses a cloth or cellulose sponge with water and a little mild dishwashing liquid. Ace goes with soap and water, then a dry cloth, then a full dry before anything else happens. Both routes end in the same place: no dust, no grease, no lint.
Then fill and sand. Spackle the holes, sand the patches smooth, and wipe the dust away. Filler dust settles on the baseboard in a fine white film, so run a damp cloth along it before you tape.
Before you start: Sanding or scraping old paint can release lead dust and fumes that cause brain damage, with children and pregnant women at highest risk. Sherwin-Williams specifies a properly fitted NIOSH-approved respirator plus containment and cleanup, and directs questions to the National Lead Information Center at 1-800-424-LEAD. Test old paint before you touch it with sandpaper.
Priming is where the sources genuinely disagree. Toolstation calls for an undercoat before the design goes on, arguing it improves adhesion, prevents a patchy look, and gives better depth of color. The same page also says that on clean, already-painted walls priming isn’t always necessary but can improve the finish. Sherwin-Williams and This Old House skip priming entirely and go straight from cleaning to paint. FrogTape’s method uses a full high-gloss base coat in place of a separate primer.
Read that as three positions, not one rule. Fresh plaster, bare drywall, dark walls, and patched walls all want an undercoat. A clean wall with sound paint can skip it.
Color choice matters more than most people expect. I’ve watched paint that looked exactly right on the wall dry a shade or two darker by the time it cured. Now I swatch and let it dry before committing. That’s also why I’d push you toward a deeper version of your existing wall color rather than a hard contrast pulled off a trend photo. A dramatic dark accent chosen from a phone screen reads flat once real room lighting hits it, which is why how to paint a geometric accent wall starts with color. If you want help narrowing the field, there’s a full walkthrough on choosing an accent wall color that covers undertones and lighting.
Tape: Loose Guide or Sealed Barrier?
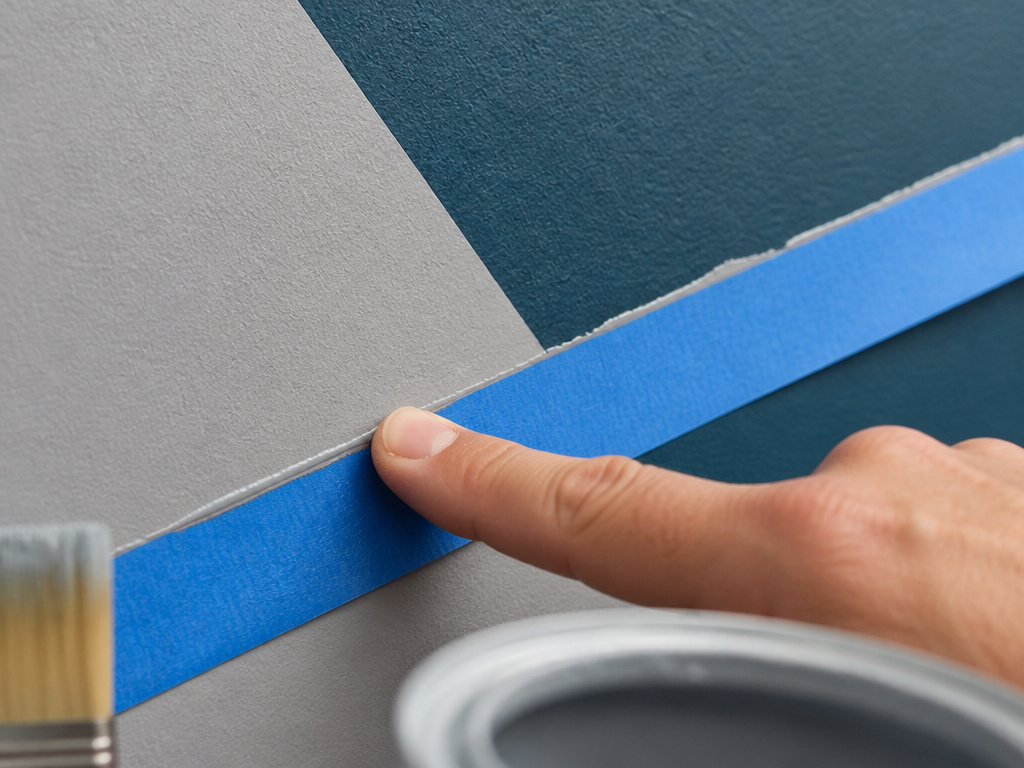
Two manufacturers give opposite instructions for the same step, and both of them are describing tape.
Sherwin-Williams says to let the tape guide you and not pull on it, keeping it a bit loose. Toolstation says press the tape firmly along its entire edge and then seal it with a thin layer of base color. Those are not compatible instructions.
Here’s how the rest of the disagreements stack up.
| Question | One position | Another position |
|---|---|---|
| Tape tension | Sherwin-Williams: keep it loose, don’t pull | Toolstation: press firmly, seal the edge |
| Priming | Toolstation: undercoat first | Sherwin-Williams, This Old House: no primer step |
| Base coat | FrogTape: full high-gloss base required | This Old House: base color marked optional |
| Coats per section | Ace: one coat, work fast | This Old House: second coat if necessary |
| Tape pull direction | This Old House: toward painted side on flat work | This Old House: away from painted surface in corners |
For a beginner on a lumpy wall, Toolstation’s sealing method is the safer bet, though Sherwin-Williams advises keeping the tape a bit loose and letting it guide you. Press the tape down, then brush a thin line of the wall’s base color along the tape edge and let it dry before your pattern color goes anywhere near it. Sherwin-Williams’s caution is about stretching tape out of line, which is a different problem from bleed.
Run a fingernail along a taped edge and you can feel which one you’ve got. Sealed tape drags slightly. Loose tape lifts.
Where this goes sideways: Taping over a wall painted less than a month ago with standard tape. The finish hasn’t cured, the adhesive grabs it, and a strip of your base color comes away with the tape. FrogTape Delicate Surface is the fix.
The Paint Order That Keeps Edges Crisp
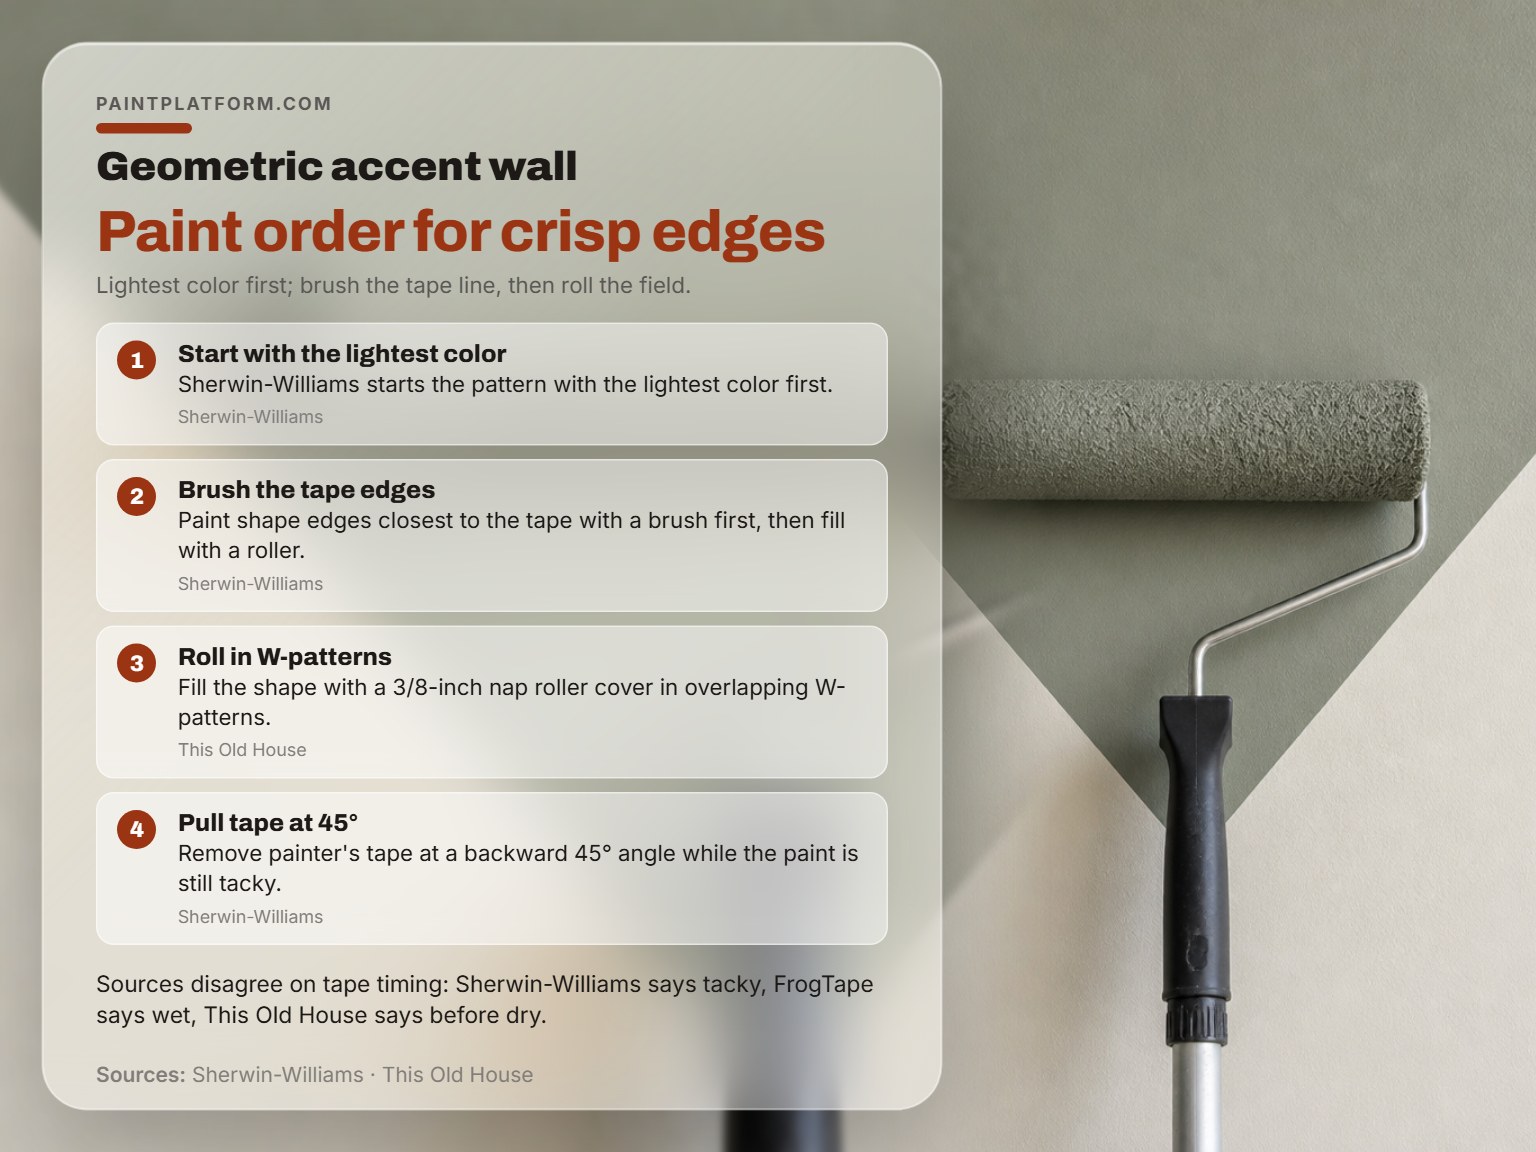
Lightest color first, then work darker. Sherwin-Williams recommends it, and the reason is practical: a pale color that bleeds slightly into a dark neighbor is nearly invisible, while a dark bleed into white is the first thing anyone sees.
Brush First, Roll Second
Paint the edges closest to the tape with a brush, then fill the middle with a roller. Sherwin-Williams and Ace both describe this order. The brush gives you control at the line; the roller gives you an even texture across the field. If you roll right up to the tape, you push paint under it.
Use a 3/8-inch nap roller cover and work in overlapping W-patterns, which is how This Old House applies the base and section colors.
The sequence for each color:
- Tape the outer border of every shape in that color. Press the edge down and seal it with a thin line of base color.
- Cut in along the tape with the angled brush. Keep the brush moving; a loaded brush at the tape line is how bleed starts.
- Fill the shape with the roller in overlapping W passes, reloading before the cover goes dry. 4.
Coats are contested. Ace works fast and applies a single coat on each section because, in their method, you only get one coat. This Old House lets the section dry and applies a second coat only if necessary. Sherwin-Williams tapes and paints each color in turn across multiple sessions. Ace works in a single coat, while This Old House applies a second coat only if necessary; dark over light generally needs two.
On paint itself, Sherwin-Williams Emerald Interior Acrylic Latex is what This Old House used for an entryway, on the strength of it being durable and washable for high-traffic areas. That’s a sensible pick for a hallway or stairwell. For a low-traffic bedroom wall, a standard interior paint does the job.
I’ve stopped judging color on wet paint. Wet paint reads lighter and glossier than the cured film, so a section that looks perfect at coat one can settle a shade off by morning. Wait for dry before you panic.
If you’re planning a design built from big solid fields rather than line work, the approach in this color block wall guide handles the layout differently.
When Do You Pull the Tape?
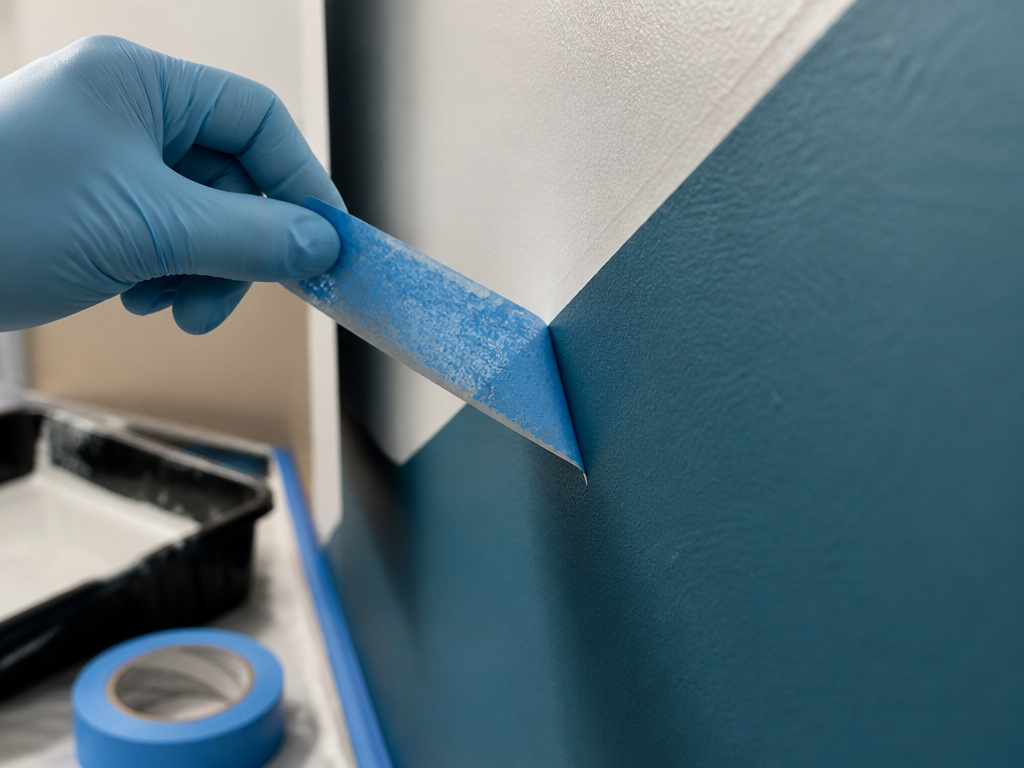
Pull it while the paint is still tacky, per Sherwin-Williams and Toolstation; FrogTape says peel while the paint is still wet, and This Old House says remove the tape before the paint dries.
The reason is mechanical. Paint that dries across the tape seam forms a bridge. When you peel, the bridge tears and takes wall paint with it. A line pulled too late comes up with a rubbery ridge along its edge and a bald patch where the base color used to be.
The angle is where the advice gets more precise. Sherwin-Williams and Toolstation both say 45 degrees. This Old House splits it by geometry: on a flat surface like stripes, pull slowly toward the painted side at 45 degrees. In a perpendicular corner, such as where wall meets window trim, pull away from the painted surface at 45 degrees instead.
Start at the ceiling and pull downward on an angle for the cleanest release. That’s This Old House’s rule, and it keeps gravity working with you instead of against you.
A rule worth taping inside your toolbox: if the tape fights you, stop pulling and score the seam with a sharp blade first. A slow pull costs little time. A torn line costs a repaint.
Peel slowly, per Ace, so you don’t rip the paint underneath. And use blue painter’s tape rather than tan masking tape, which This Old House notes can leave adhesive residue on walls and woodwork. Blue tape peels clean even after several days, which matters when your pattern spans multiple sessions. The same taping logic scales up on a striped accent wall, where a single wandering line is instantly visible.
Which Geometric Pattern Suits Your Wall?
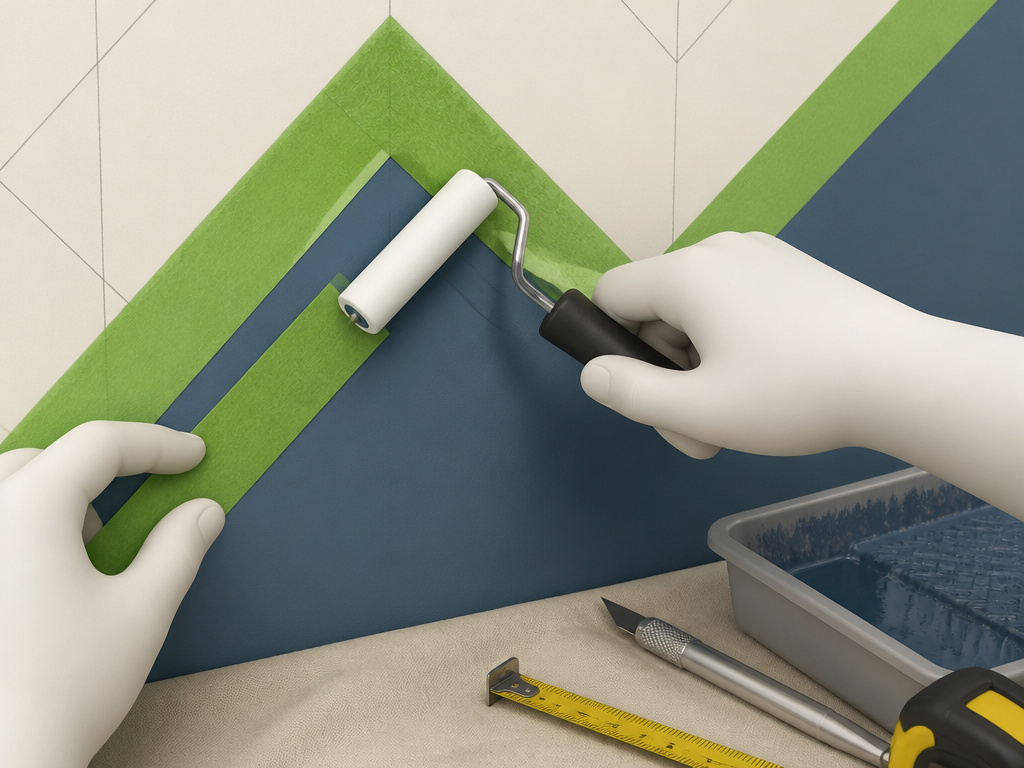
Sherwin-Williams names five popular options: herringbone, chevron, hexagon, harlequin, and trellis. Each one has a different appetite for setup work.
Patterns That Need a Full Grid
Herringbone and chevron both depend on a consistent repeat, so the measuring step from earlier carries all the weight. Get the row height wrong and the drift shows up several rows later. A herringbone pattern is the more forgiving of the two because the broken joints hide small errors. A diamond pattern, which is what FrogTape’s mural method builds, also wants a grid, and it reads well on a narrow wall where a wide repeat would get chopped.
Patterns You Can Freehand With Tape
Stripes and simple blocked shapes don’t need a full grid. Ace points out that horizontal stripes make a room feel more spacious while vertical stripes make the ceiling feel higher, which is the cheapest design decision in the whole project. A buffalo check is stripes in two directions and looks harder than it is.
Curves are their own category. A painted arch needs a template or a compass rig rather than a straightedge, so budget extra time for the marking.
I’d start with stripes if this is your first wall. A few bands, one color plus your base, done in a session.
The part nobody mentions: Cutting tape with an Exacto knife takes barely any pressure. FrogTape’s instructions say use just enough to cut the tape and not damage the wall. Press hard and you’ll score the drywall paper, and that scar shows through the new paint.
Once the pattern is taped, go over the whole wall with a dry roller to burnish the tape down. That’s FrogTape’s step, and it’s the one most people skip.
Where Geometric Walls Go Wrong
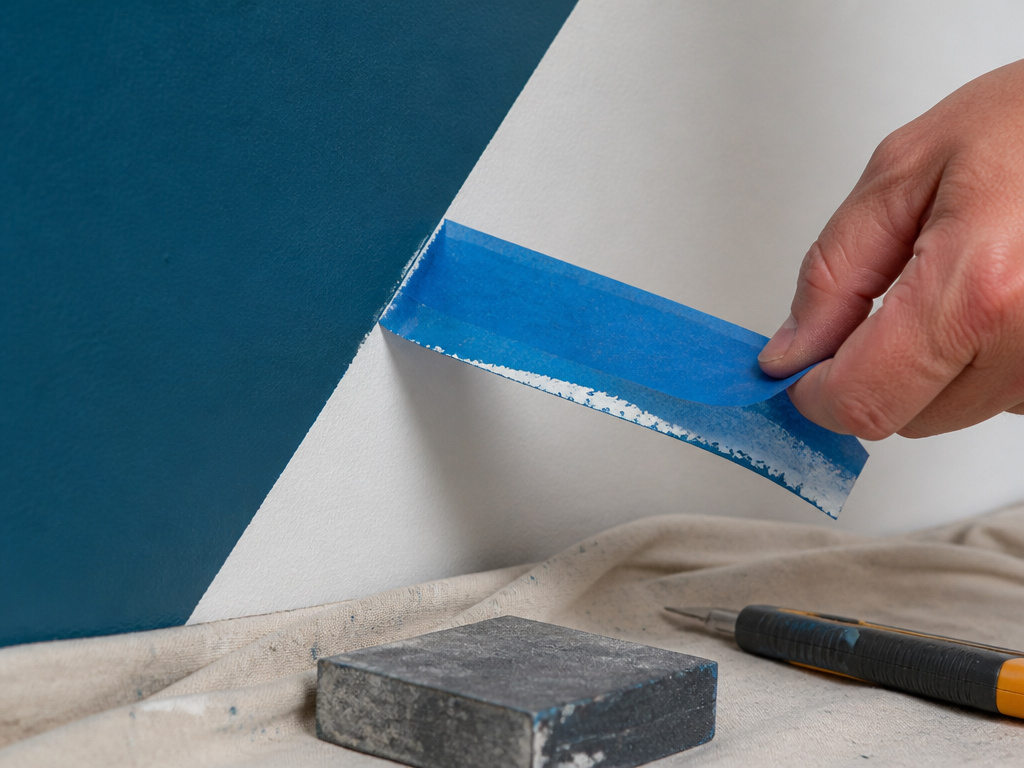
You pull the tape and the line is perfect for about six inches. Then it wobbles, and a ragged strip of base color comes up with it.
| Symptom | Likely cause | Fix |
|---|---|---|
| Paint crept under the tape | Tape not sealed with base color | Seal the edge, repaint the sliver |
| Tape lifted before painting | Wall lumps or dust under the tape | Sand smooth, wipe, re-tape |
| Base color came off with tape | Tape pulled after paint dried | Pull while tacky, at 45 degrees |
| Patchy, uneven color | No primer over patched or dark wall | Undercoat first, then paint |
| Visible roller texture in a shape | Roller used right up to the tape | Brush the edges, roll the middle |
Common mistake: Peeling tape straight up and away from the wall. That pulls perpendicular to the seam and tears the bridge of paint every time. Go back at 45 degrees, slowly, starting at the ceiling.
Give the wall 24 hours to dry completely and a couple of days to cure before you push furniture back against it or hang anything on it. Toolstation’s numbers, and they’re worth respecting. A geometric wall looks finished long before it is.
For the wider decisions around picking the wall itself, the accent wall guide covers which wall the eye actually lands on when you walk in, which matters more than which wall happens to be empty.
Frequently Asked Questions
Do I have to prime before painting a geometric wall?
Not always. Toolstation says clean, already-painted walls can skip it, though priming improves the finish. Fresh plaster, bare drywall, dark walls, and patched areas all want an undercoat. Sherwin-Williams and This Old House skip priming entirely on sound walls.
How long does a geometric accent wall take?
This Old House estimates 6 hours for a three-color pattern and rates the skill level 3 out of 5. Toolstation puts most geometric projects between a few hours and a full day including drying time. Prep is the variable, since it can eat 75 percent of the clock.
What if the wall was painted recently?
If it was painted less than a month ago, use FrogTape Delicate Surface Painter’s Tape rather than standard tape. Standard adhesive can grab a finish that hasn’t fully cured and pull it off when you peel.
Why does paint bleed under painter’s tape?
Either the tape wasn’t pressed down along its full edge, or the wall underneath is uneven. Toolstation notes that lumps stop tape from sitting flat, which opens a gap for paint. Sealing the tape edge with a thin coat of base color closes that gap.
How many coats does each color need?
Ace works in a single coat and advises moving quickly. This Old House applies a second coat only if necessary. One careful coat covers when you’re painting over a sound base of similar tone; going dark over light needs two.
The Bottom Line
If you take one thing from this, take the timing. Tape comes off while the paint is still tacky, at 45 degrees, starting from the ceiling. Everything else on this page is recoverable. A line pulled too late isn’t.
One threshold worth writing down: if your wall was painted less than a month ago, buy the delicate-surface tape before you buy anything else. That single swap prevents the failure that ruins more first geometric walls than bad math does.
And start smaller than you think. One wall, a few colors at most, one session. A finished geometric wall you’re slightly bored by beats a half-taped masterpiece you abandoned in week three.
